Categories
Tech

Hack Pro (Late 2013) // Build update – October

20141028-Hackintosh-094

The other day it clicked that I hadn’t posted any updates regarding my Hack Pro (Late 2013) Hackintosh build since my last post way back in January.

2014 has been a crazy busy year for me so I’ve struggled to find the time to work on ‘The Bin’ as I like to call it. It hasn’t helped that roughly for the past 6 months the bin has left in the workshop back at my family home, with me stuck in London with no workshop. So work towards the project has been very hit and miss, with me only able to work on it when I found myself back home for an unexpected weekend visit.

That said, I would like to share with you my progress so far on the build. With project being away from me for most of the time, I have had a lot of time to think the design over. Initially my time was

This post is one big post that should of been many smaller posts, so be prepared for one long post with lots of build photos. I’ll do my best to post the build details in chronological order, solely relying on the photos date metadata to guide me.

The build so far

It’s been a challenge to find components that will deliver good overall computing performance, that are reasonably priced within the chosen budget, and most importantly will conform to the space restrictions of fitting comfortably in the small bin.

Categories
Misc

London workspace setup

london desk landscape

This is where the magic happens!

It’s important to have someplace comfortable to work. Where you have everything you need in order to be your most productive. Apart from being at my works office, I find I’m most productive simply with a decent desk that I can get my long legs under. Working in a public place or at some generic loud coffeeshop isn’t my idea of ‘productivity heaven’, nor do I unnecessarily want to advertise my work to prying eyes or rubber necks.
So for the past couple of months I’ve been working towards setting up a suitable place to work at home.

One Saturday morning I did a ‘quick’ dash to Ikea (hell for the undomesticated). After navigating through the endless rooms full of slow moving people, I managed to grab a cheap Linnmon table top in oak effect (£25.00), plus four silver legs (£10 each). This was followed by a quick pit stop to B&Q to pick up supplies for constructing some made to measure shelves.

All in all the setup cost me about ~£85, which is pretty good going as I was only trying to achieve a cheap setup. There is no point in me investing in anything too fancy as I have a tendency to move places often.

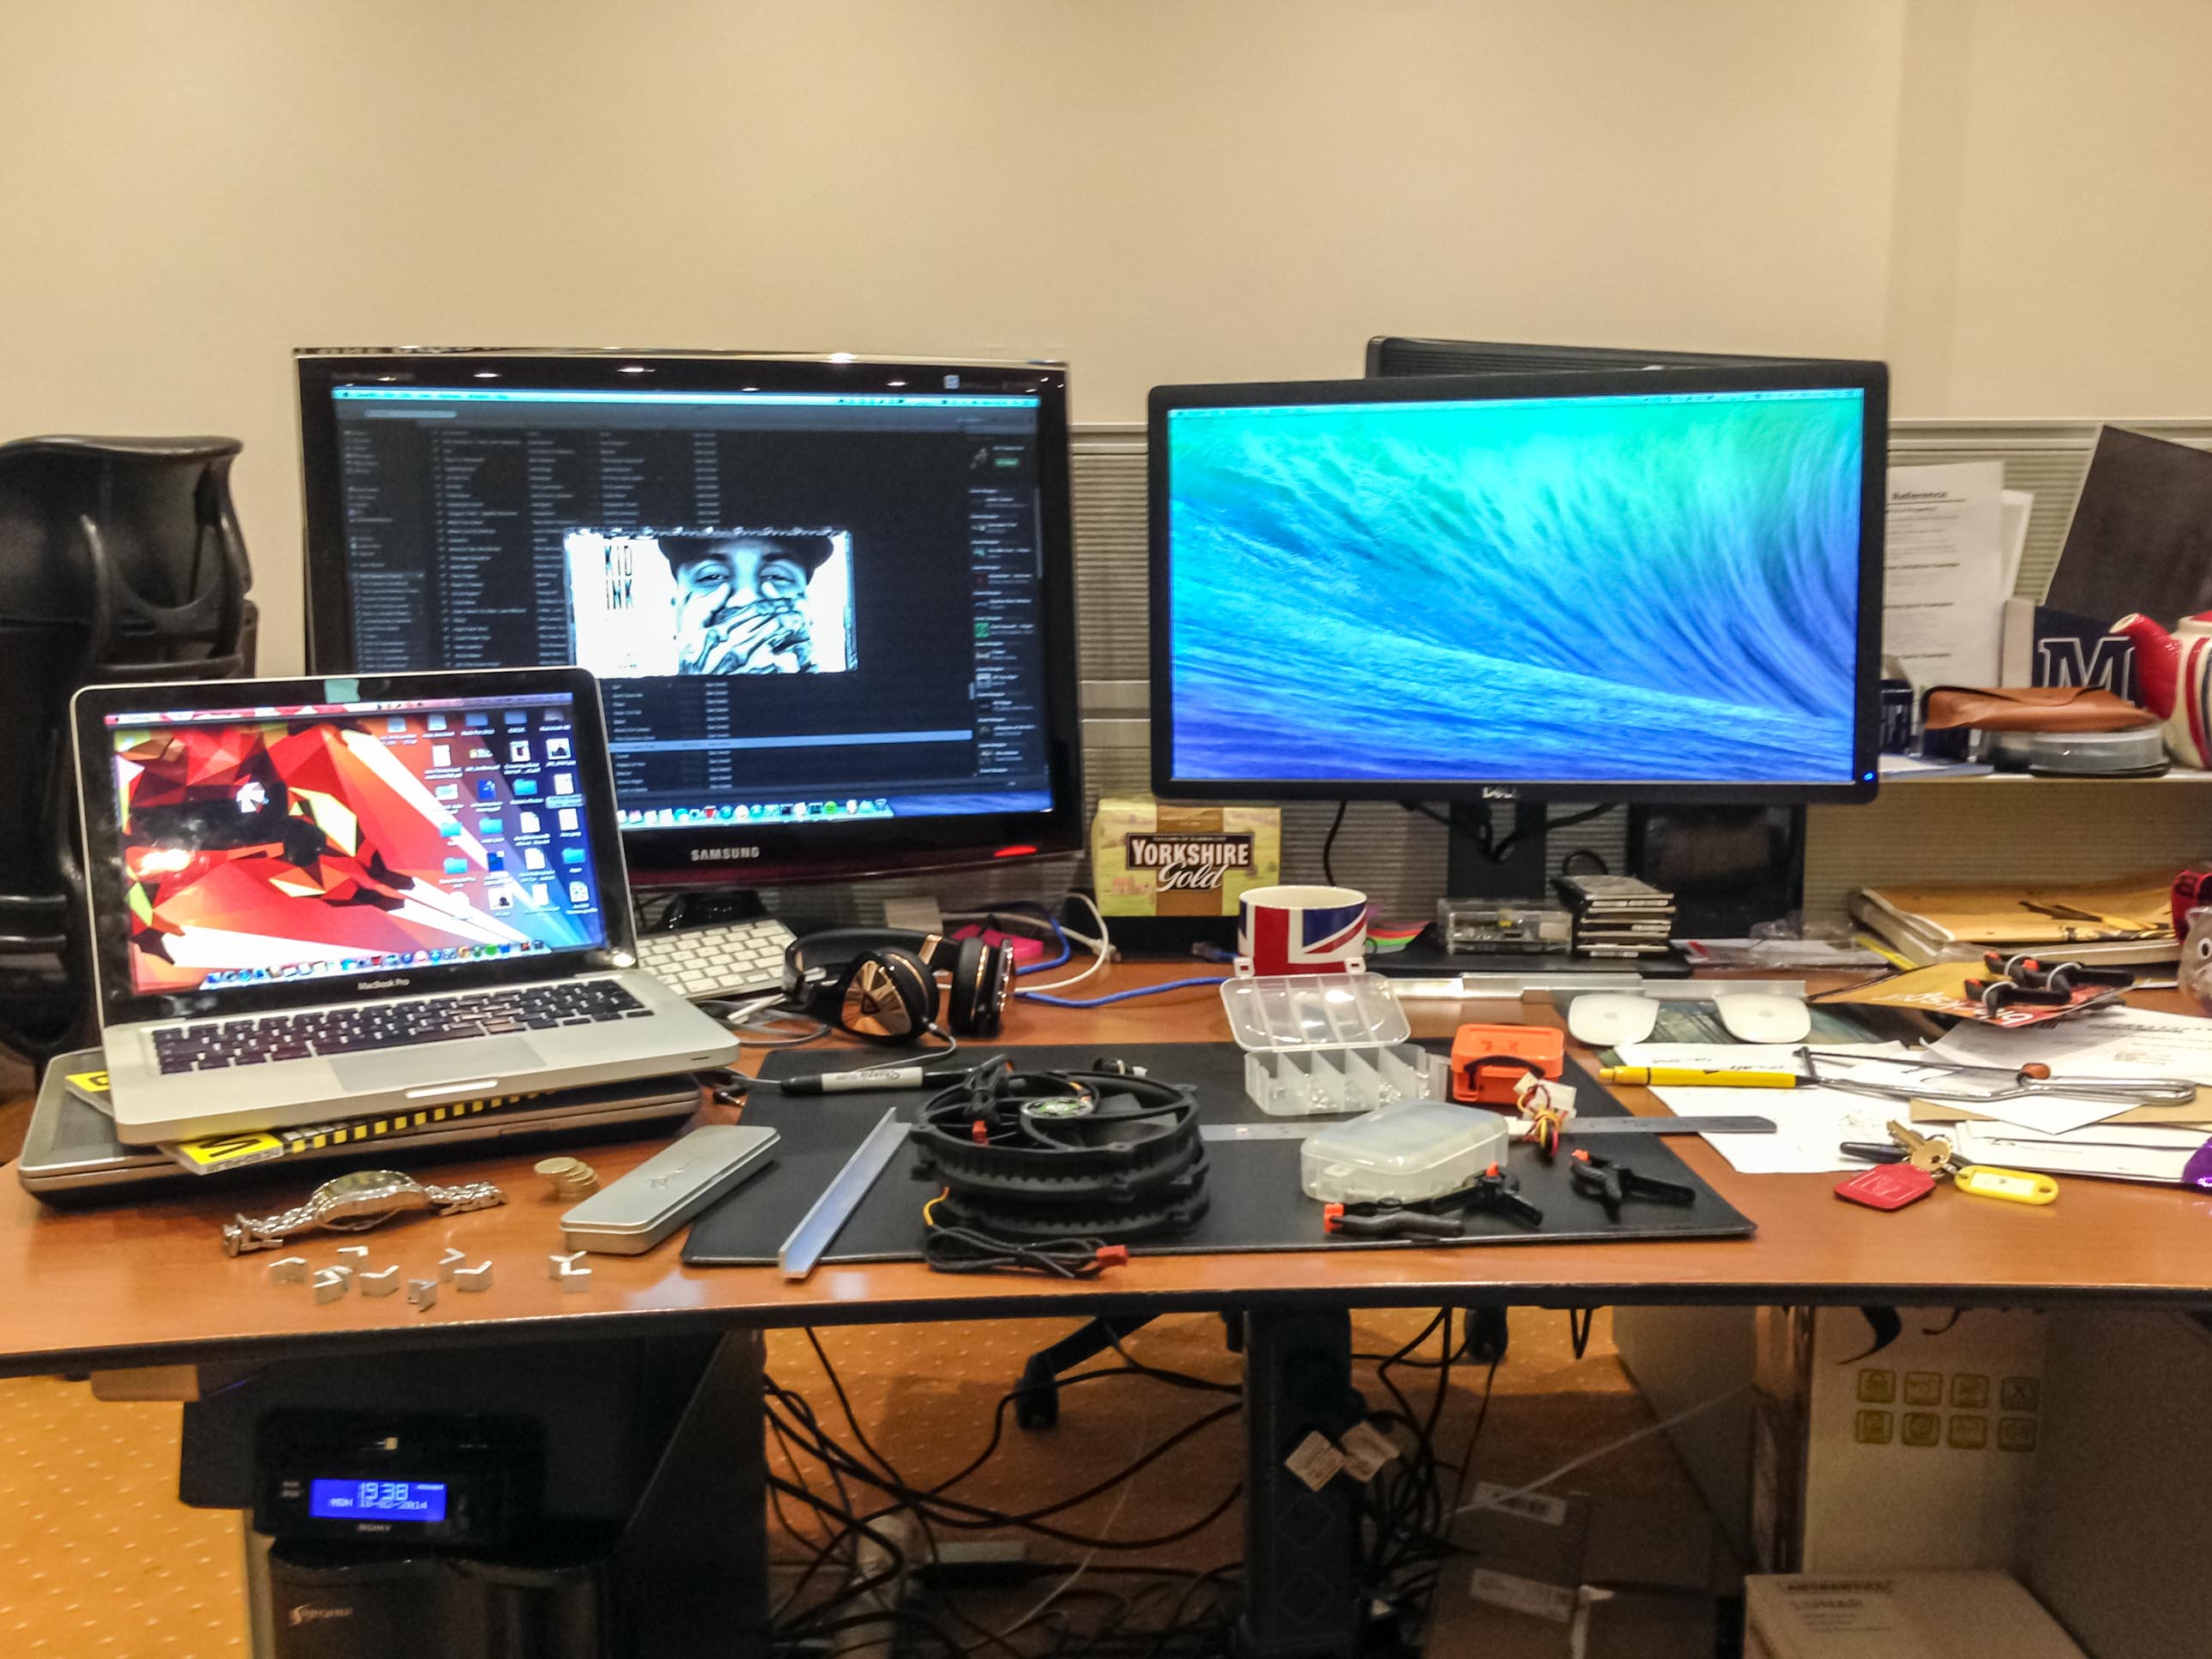
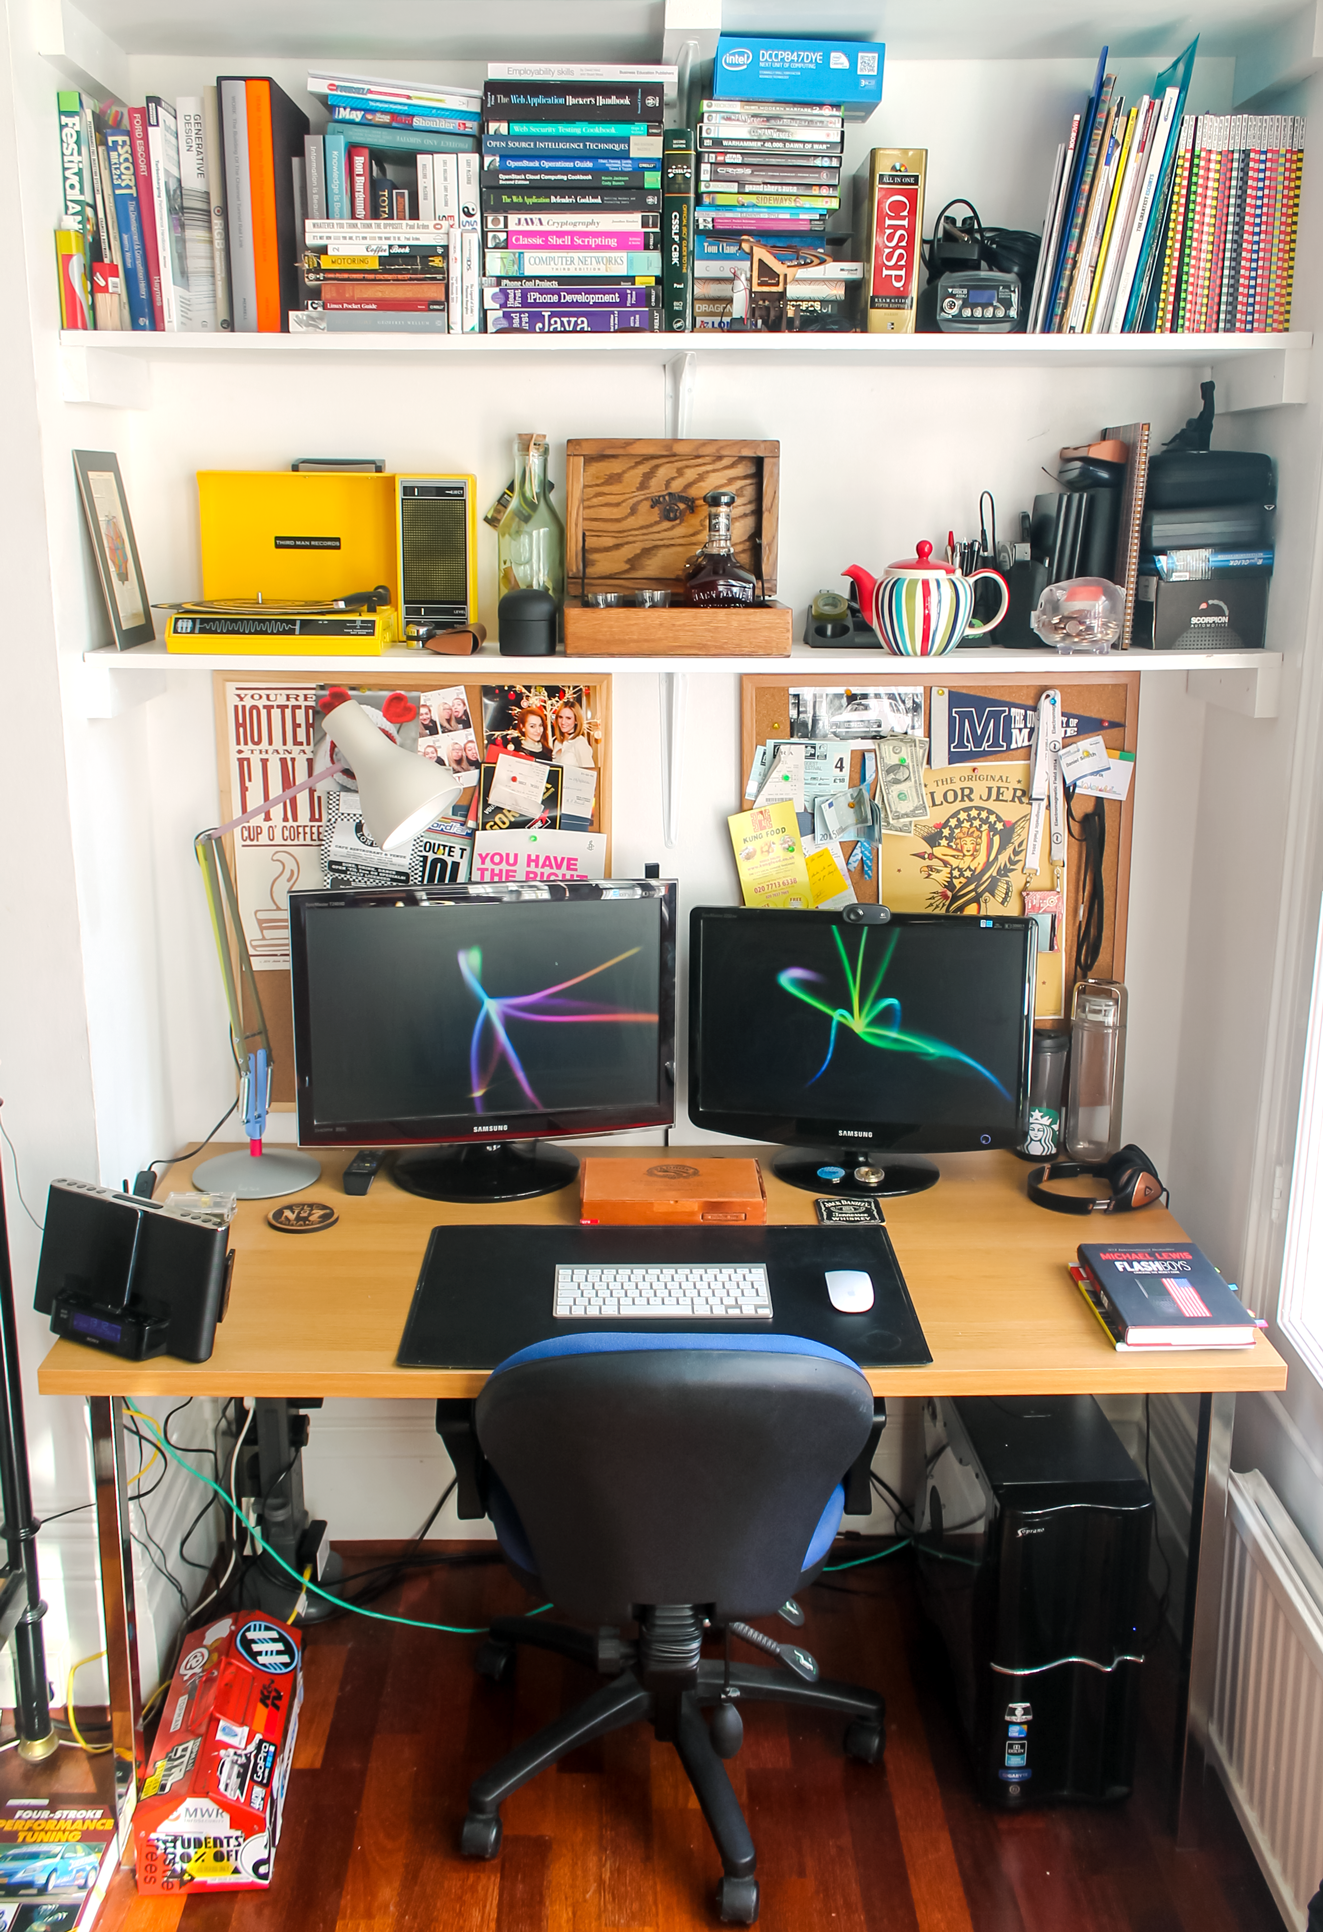
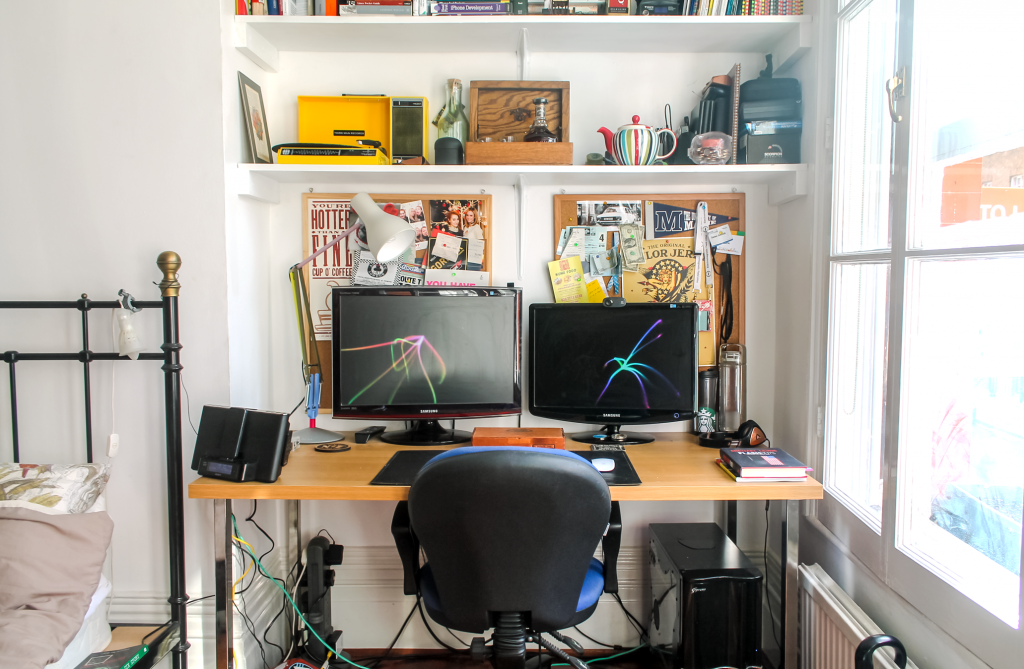
Below is a shot of how the current setup at my place in Chancery Lane looks.

london desk portrait

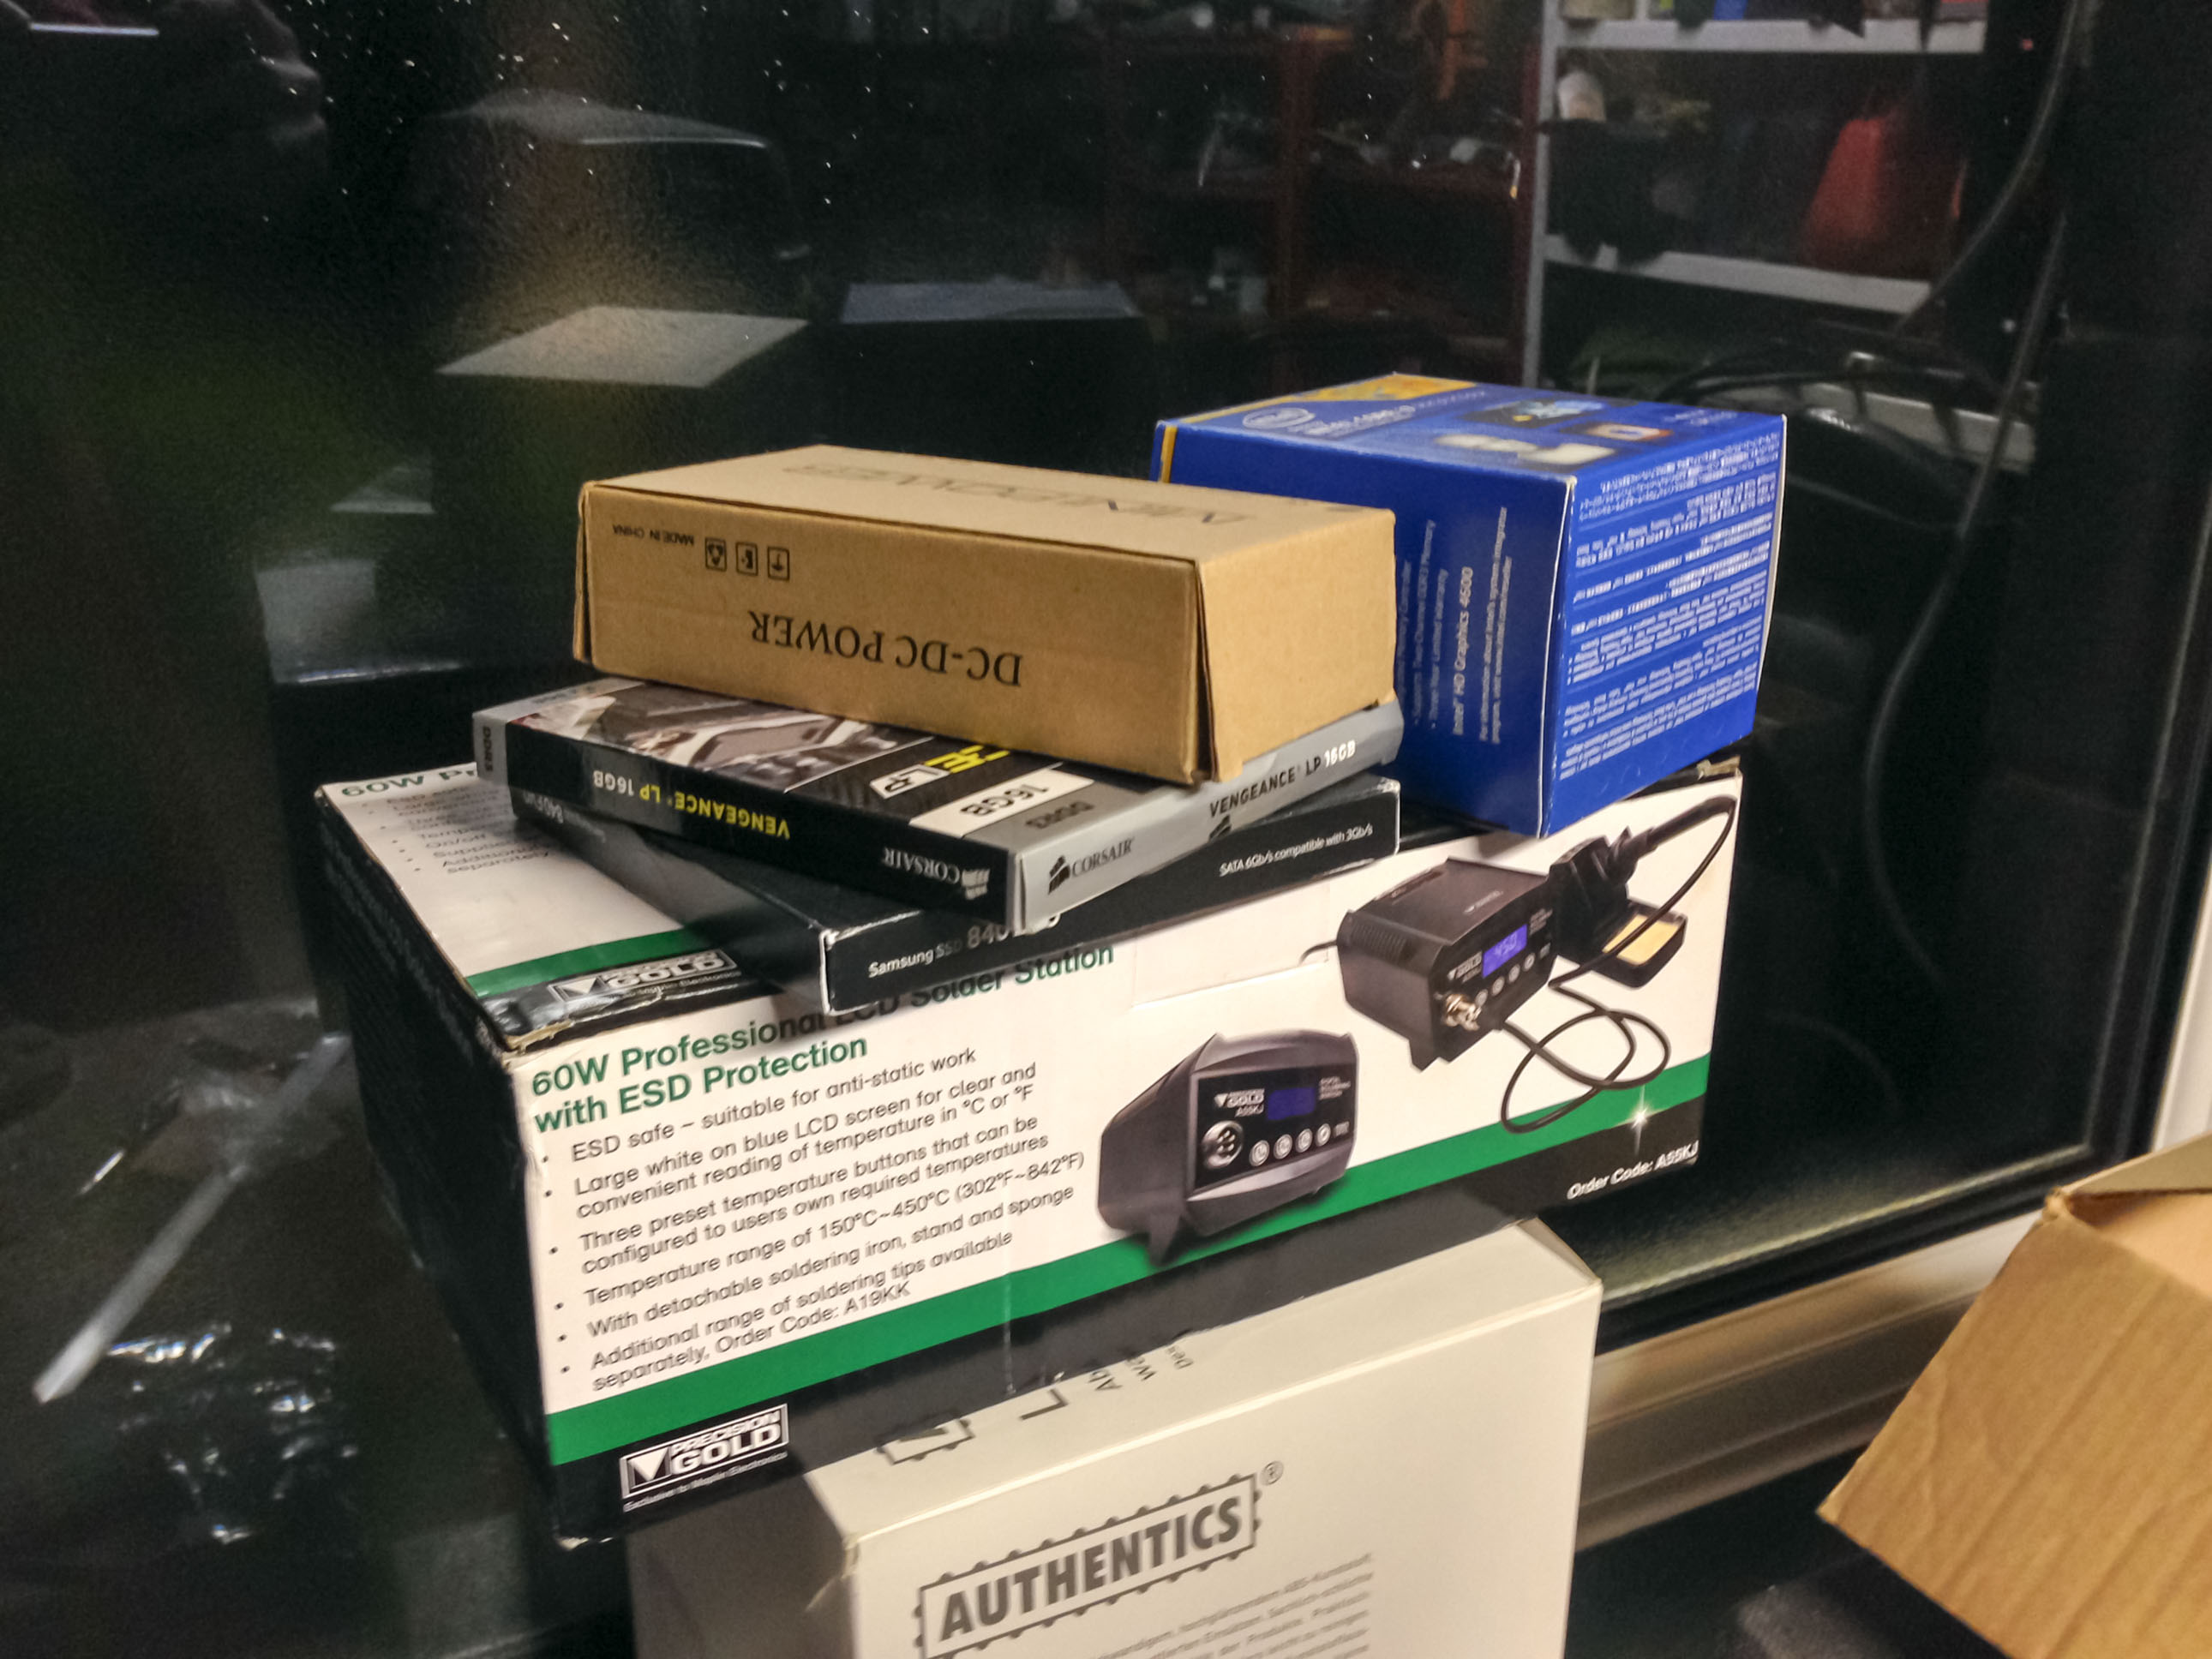
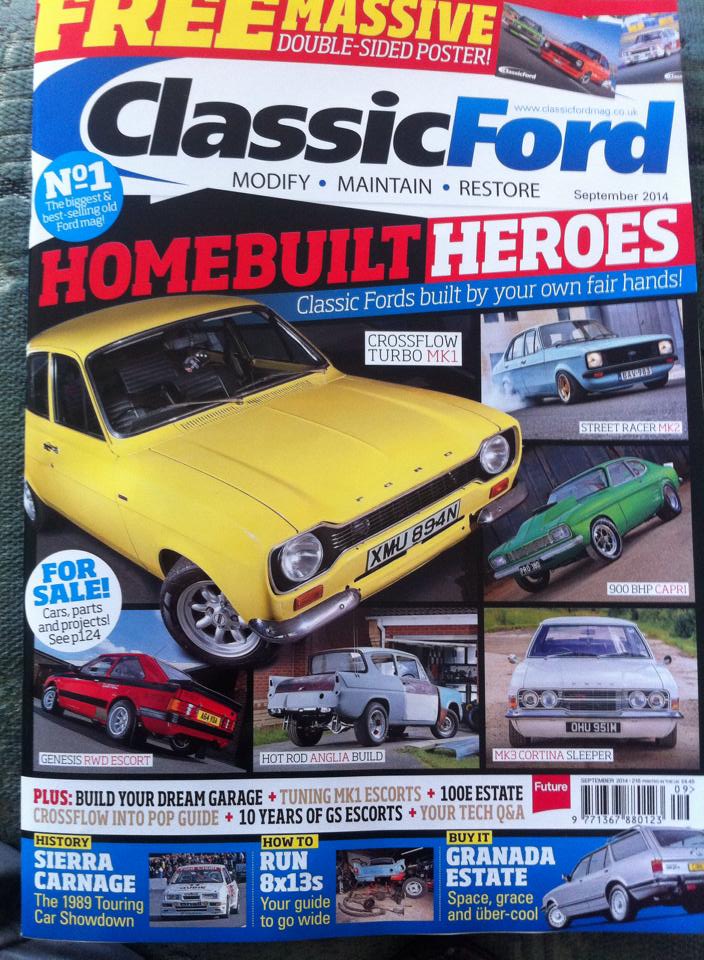
In the photo you can see that the top shelf is pretty much reserved just for books. From left to right are; engine tuning guides, Mk1 Escort manuals, graphic design, financial, security, coding books, as well as a few classics (Gatsby). My digital solder station is also stored up there, tucked next to a bunch of Wired UK and Classic Ford magazines.

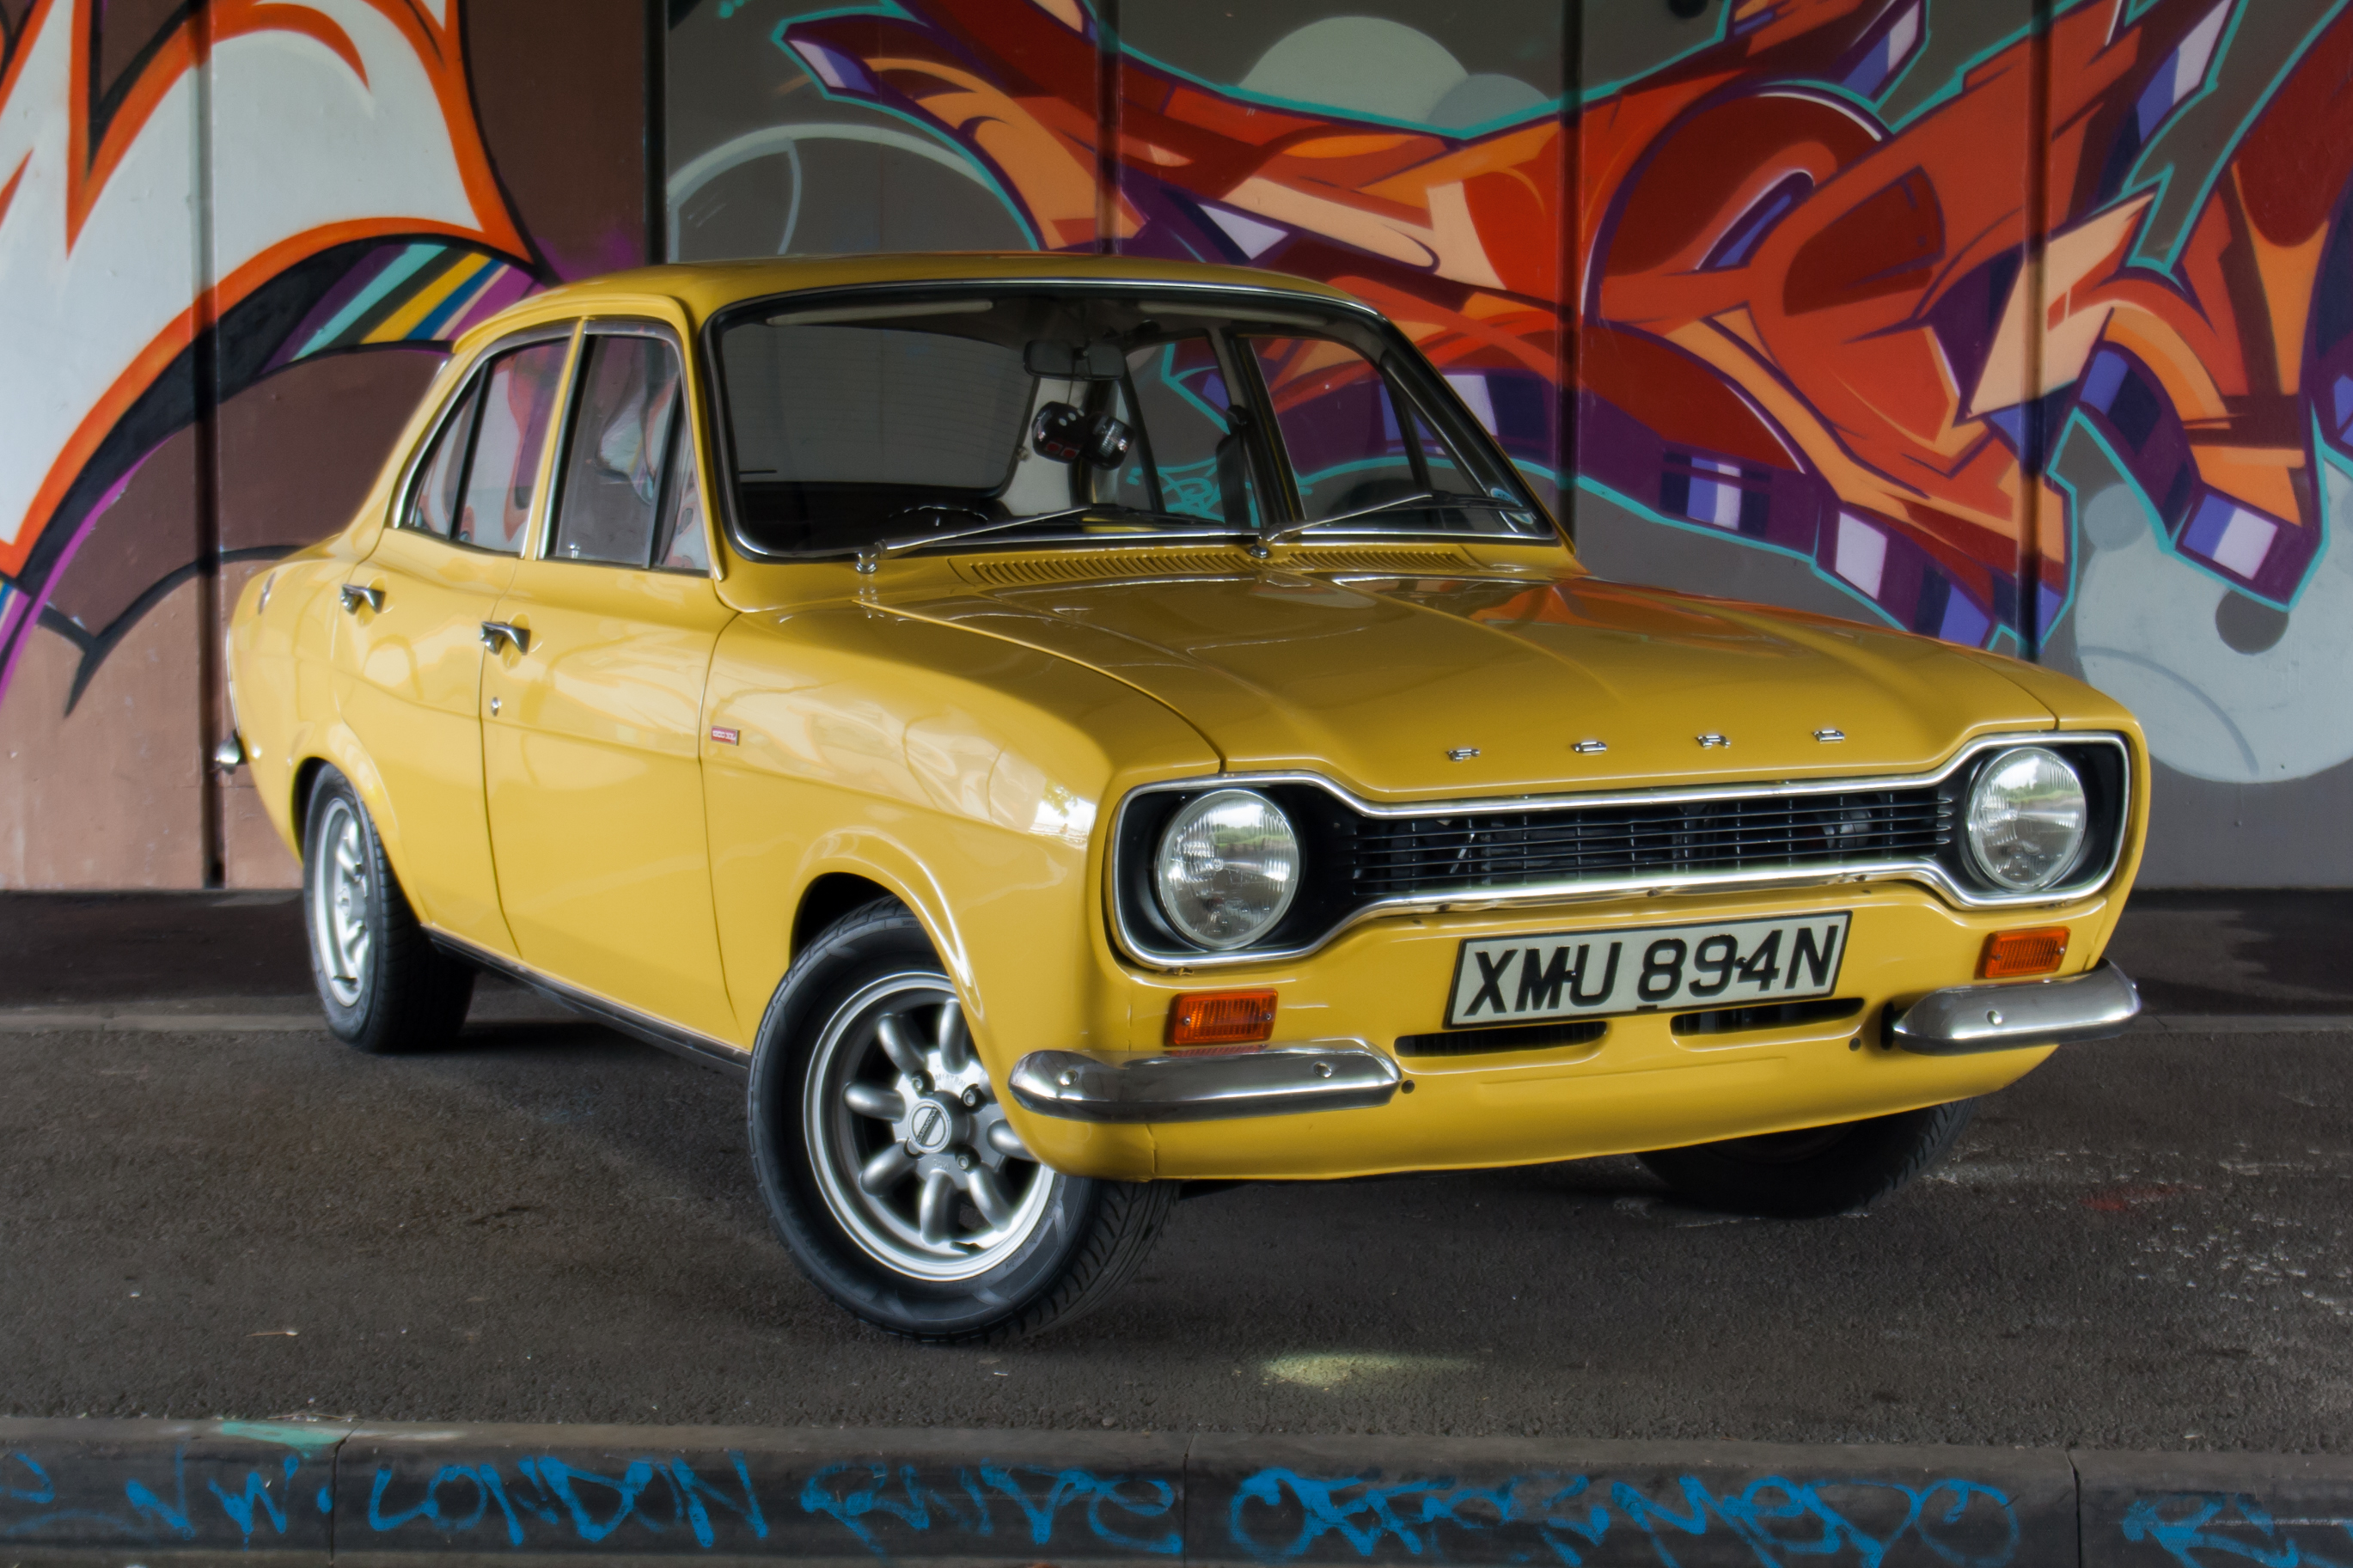
The bottom shelf contains more personal possessions that I prefer to keep within arms reach. Left to right; my Third Man Records branded Crosley turntable that I picked up on a visit to the States, a pair of RayBan 3025 aviators in gold and my Armani watch enscribed with ‘Happy 21st’ from my folks. From the States also is a Jack Daniels whiskey box made from recycled barrels with a bottle of rested rye, Whittard of Chelsea teapot and a cased GoPro HERO3+ Black Edition mainly used for shooting videos of the Mk1.

Most things I try to keep off the desk as having a width of only 150cm, space is somewhat at a premium. Left to right is; Anglepoise Type 75 Paul Smith Special Edition, Sony Dream Machine for iPhone 5, dual Samsung screens, Apple wireless mouse and keyboard, a recycled cigar box used as a trinket box, Starbucks mug, Kor One hydration vessel in chrome, one pair of AWESOME Monster Monster DNA on ear headphones in black with rose gold, and finally the last book I have read, Flash Boys by Michael Lewis.

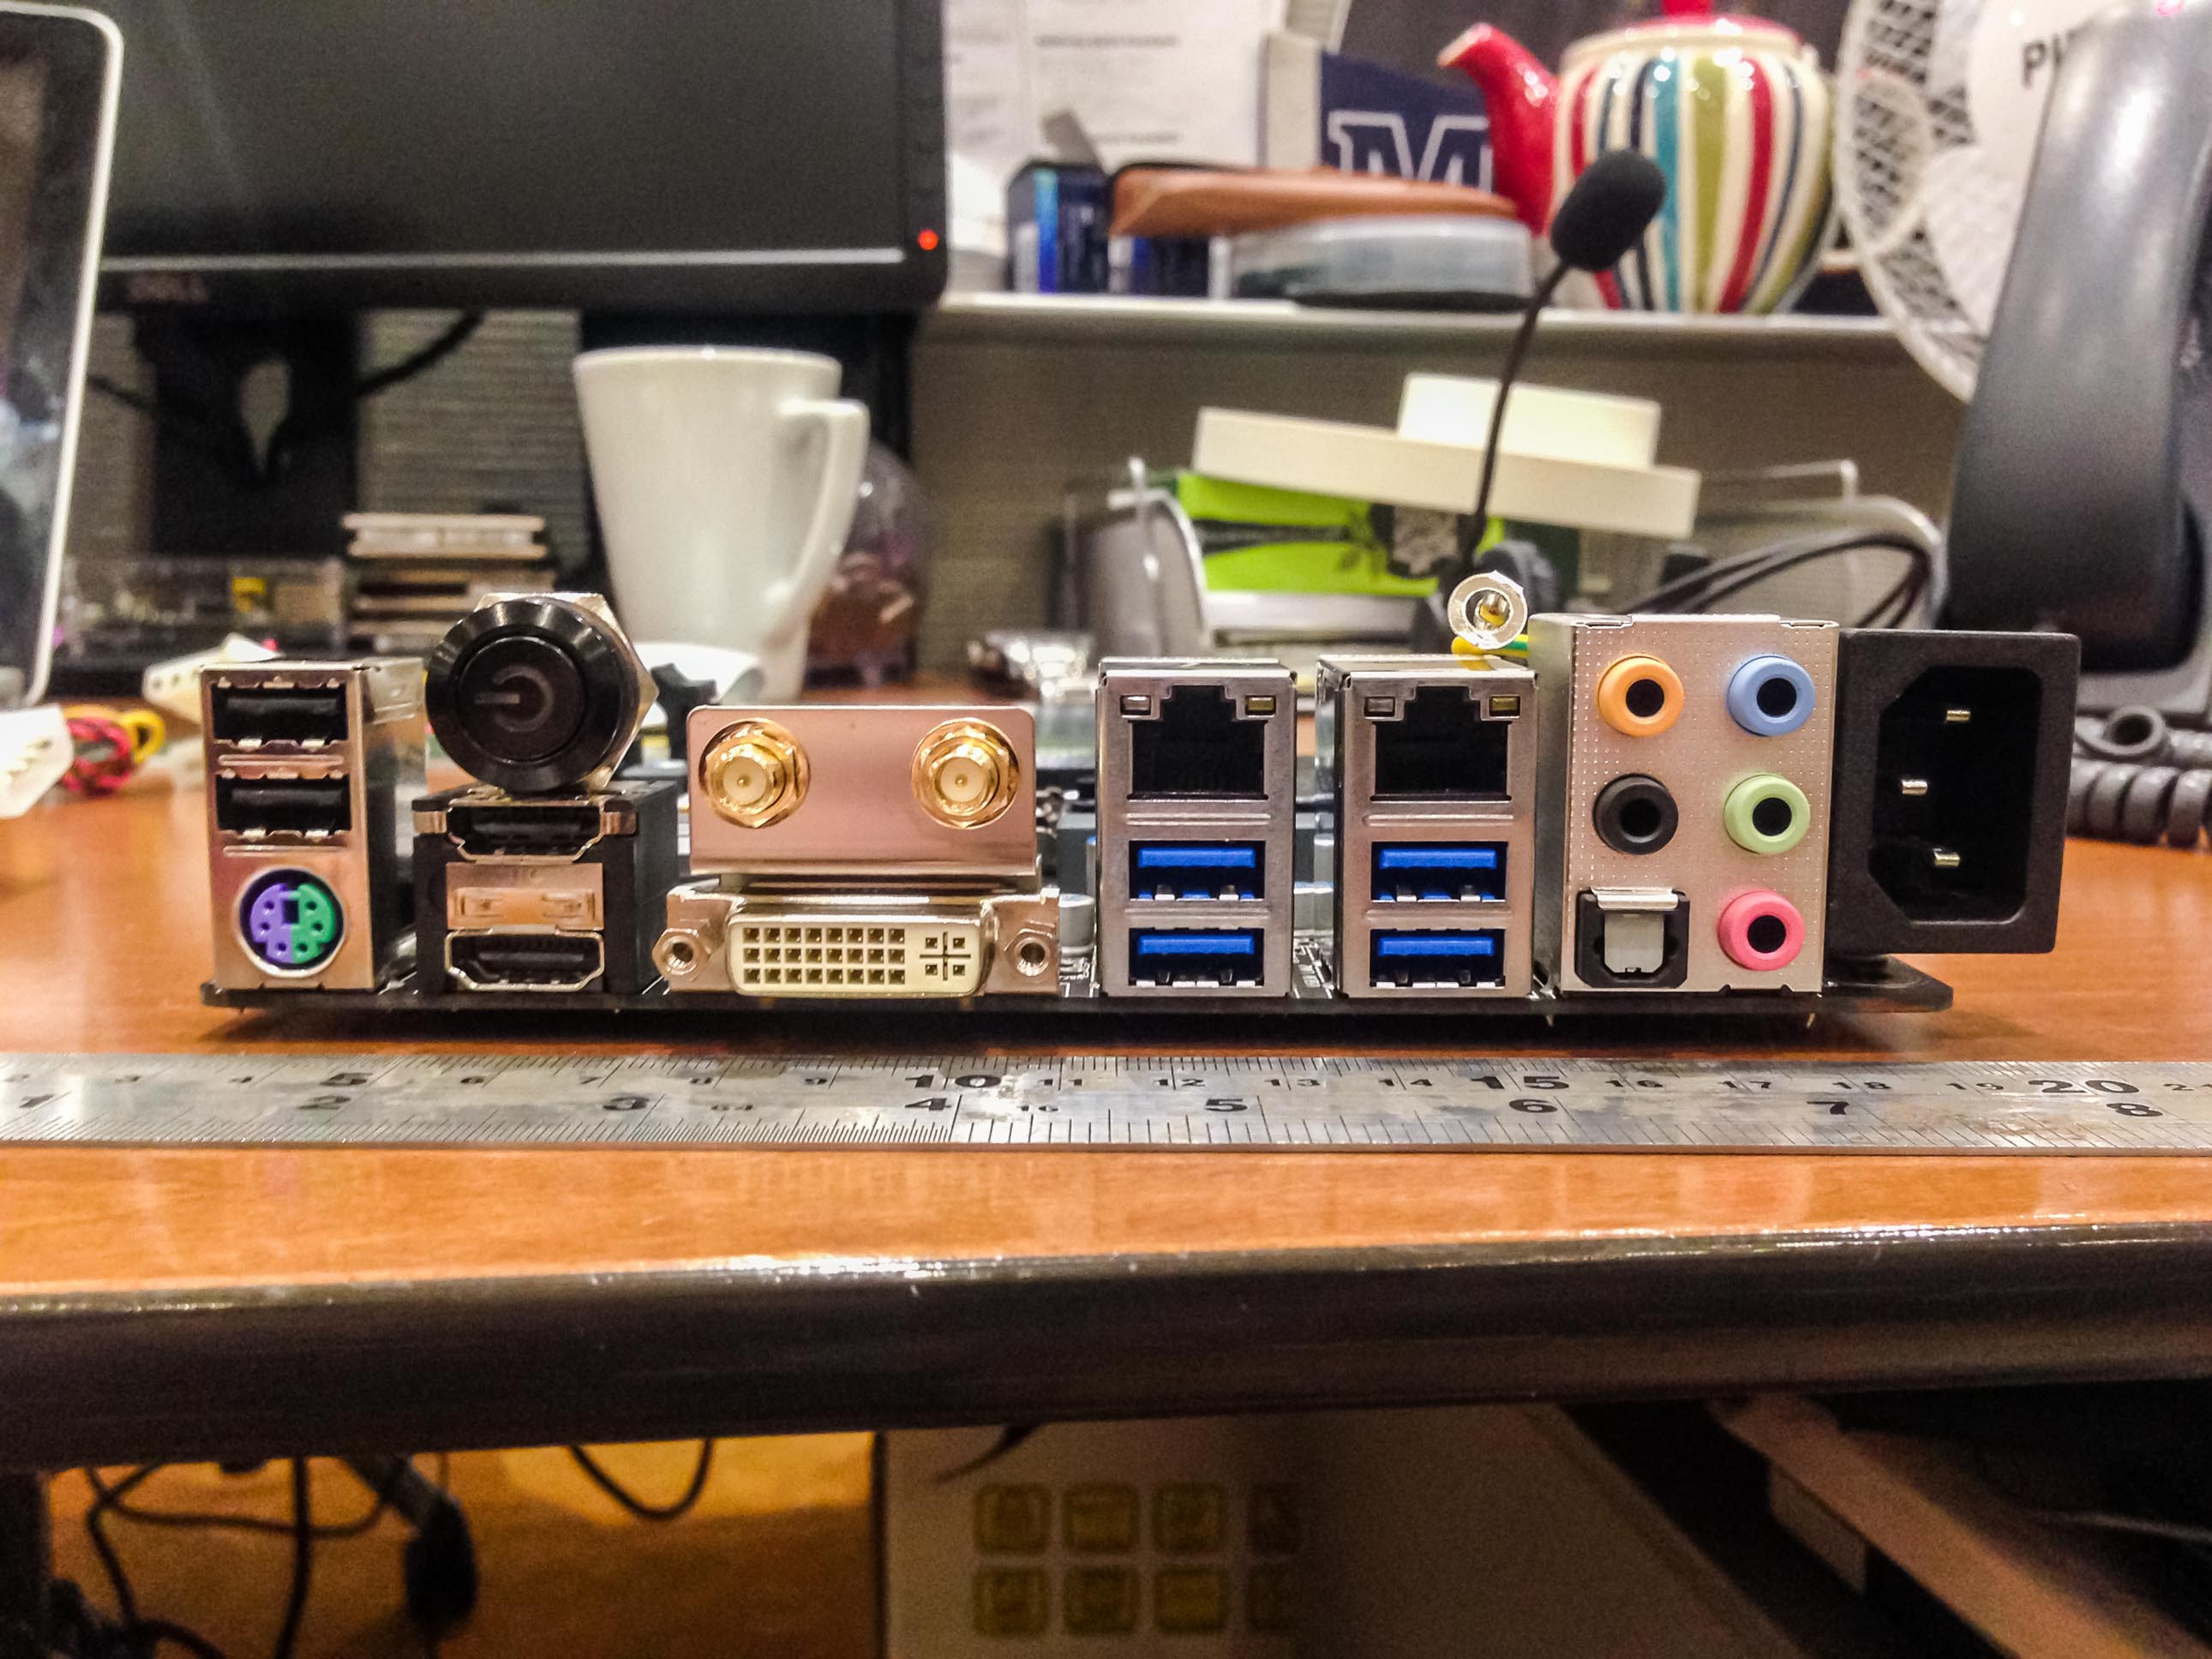
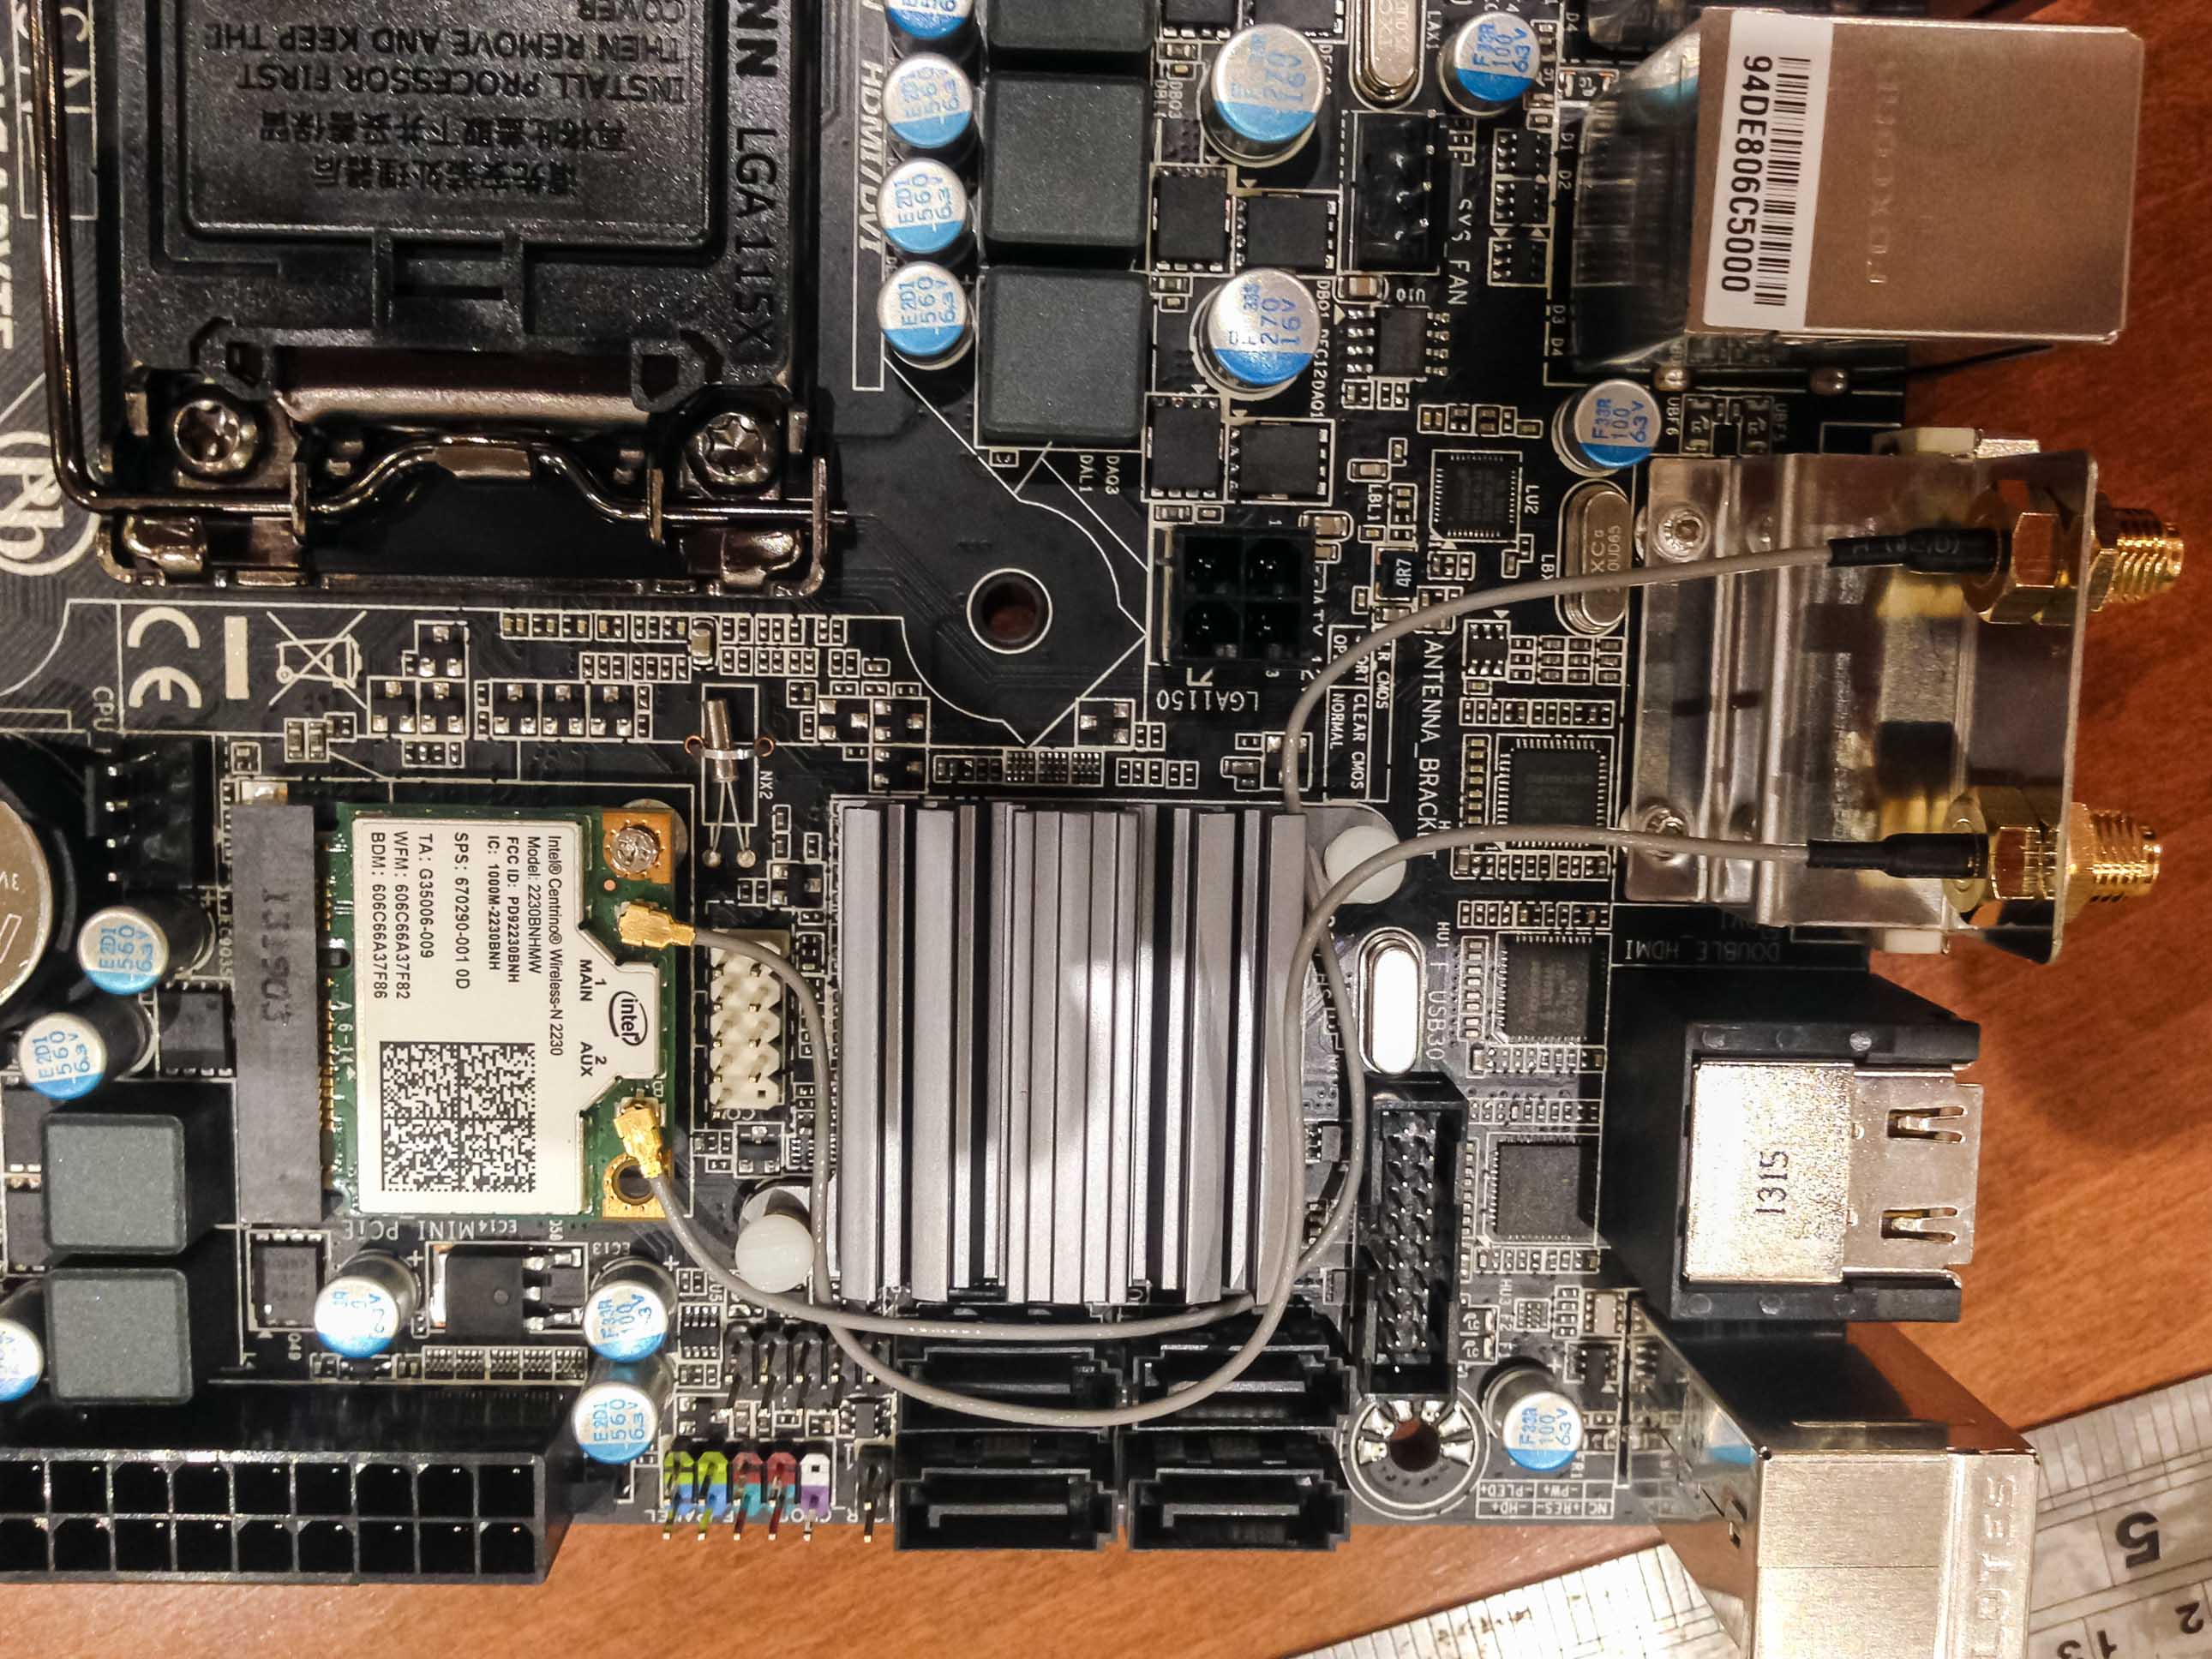
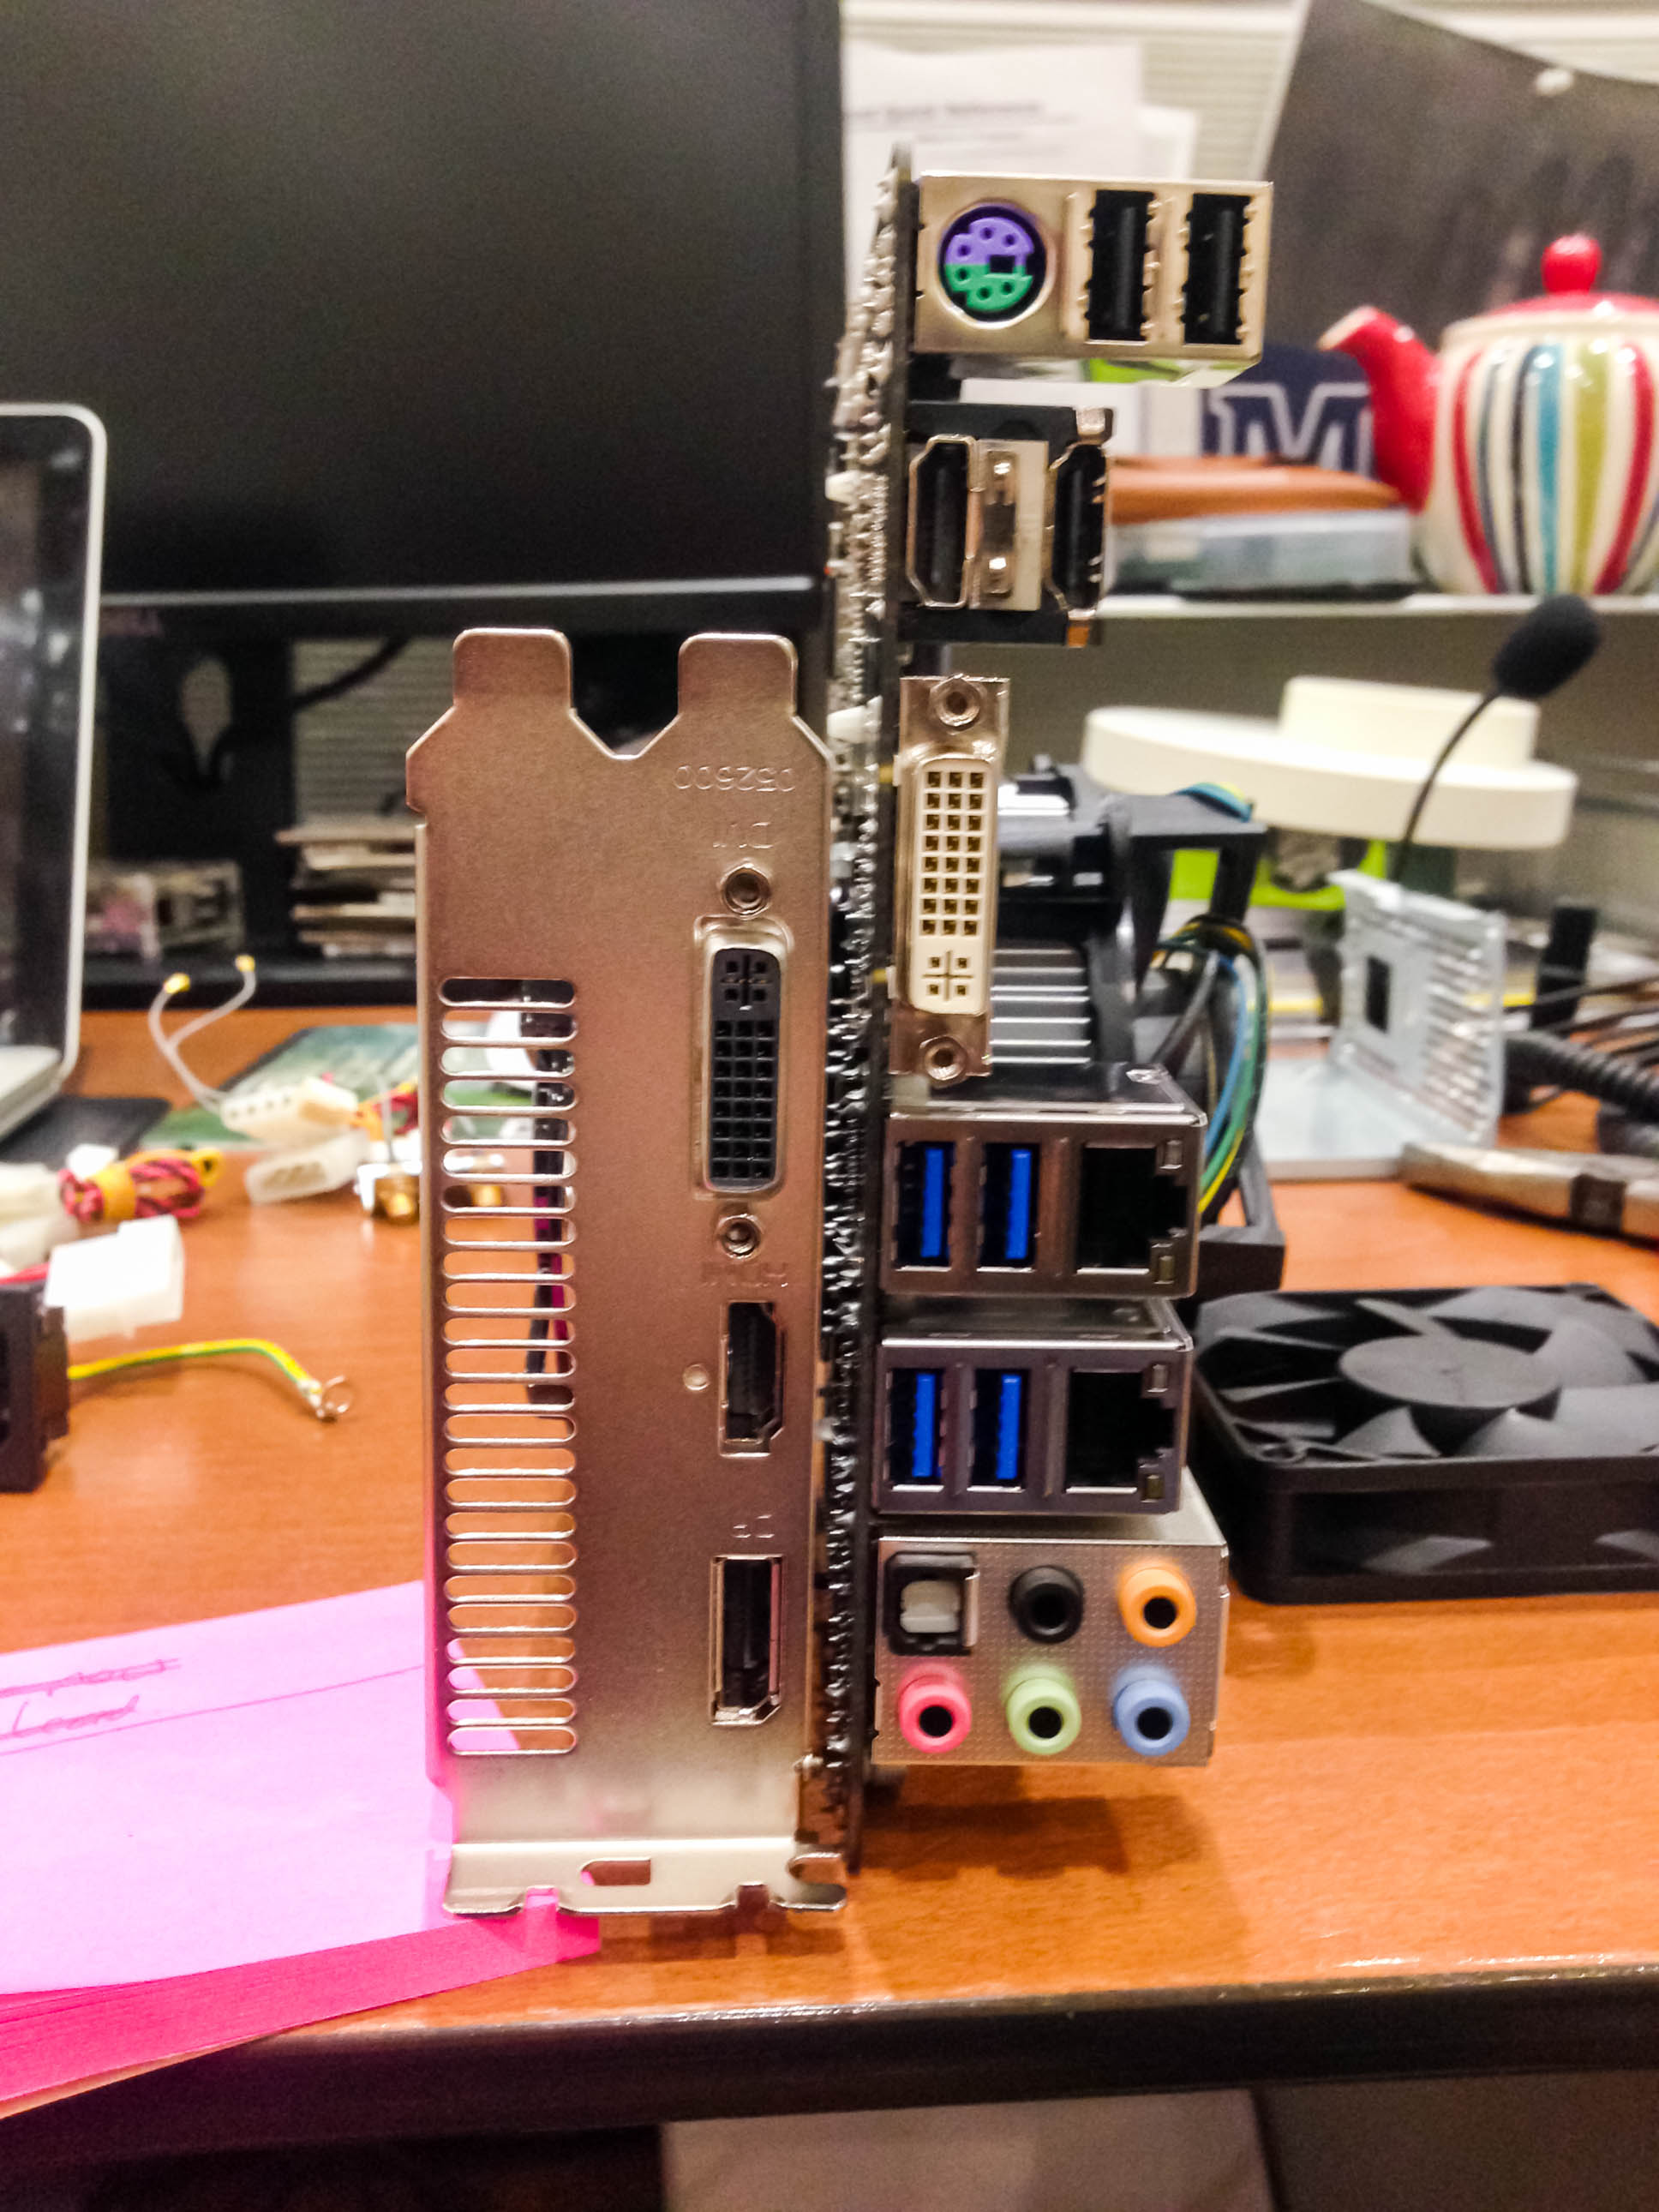
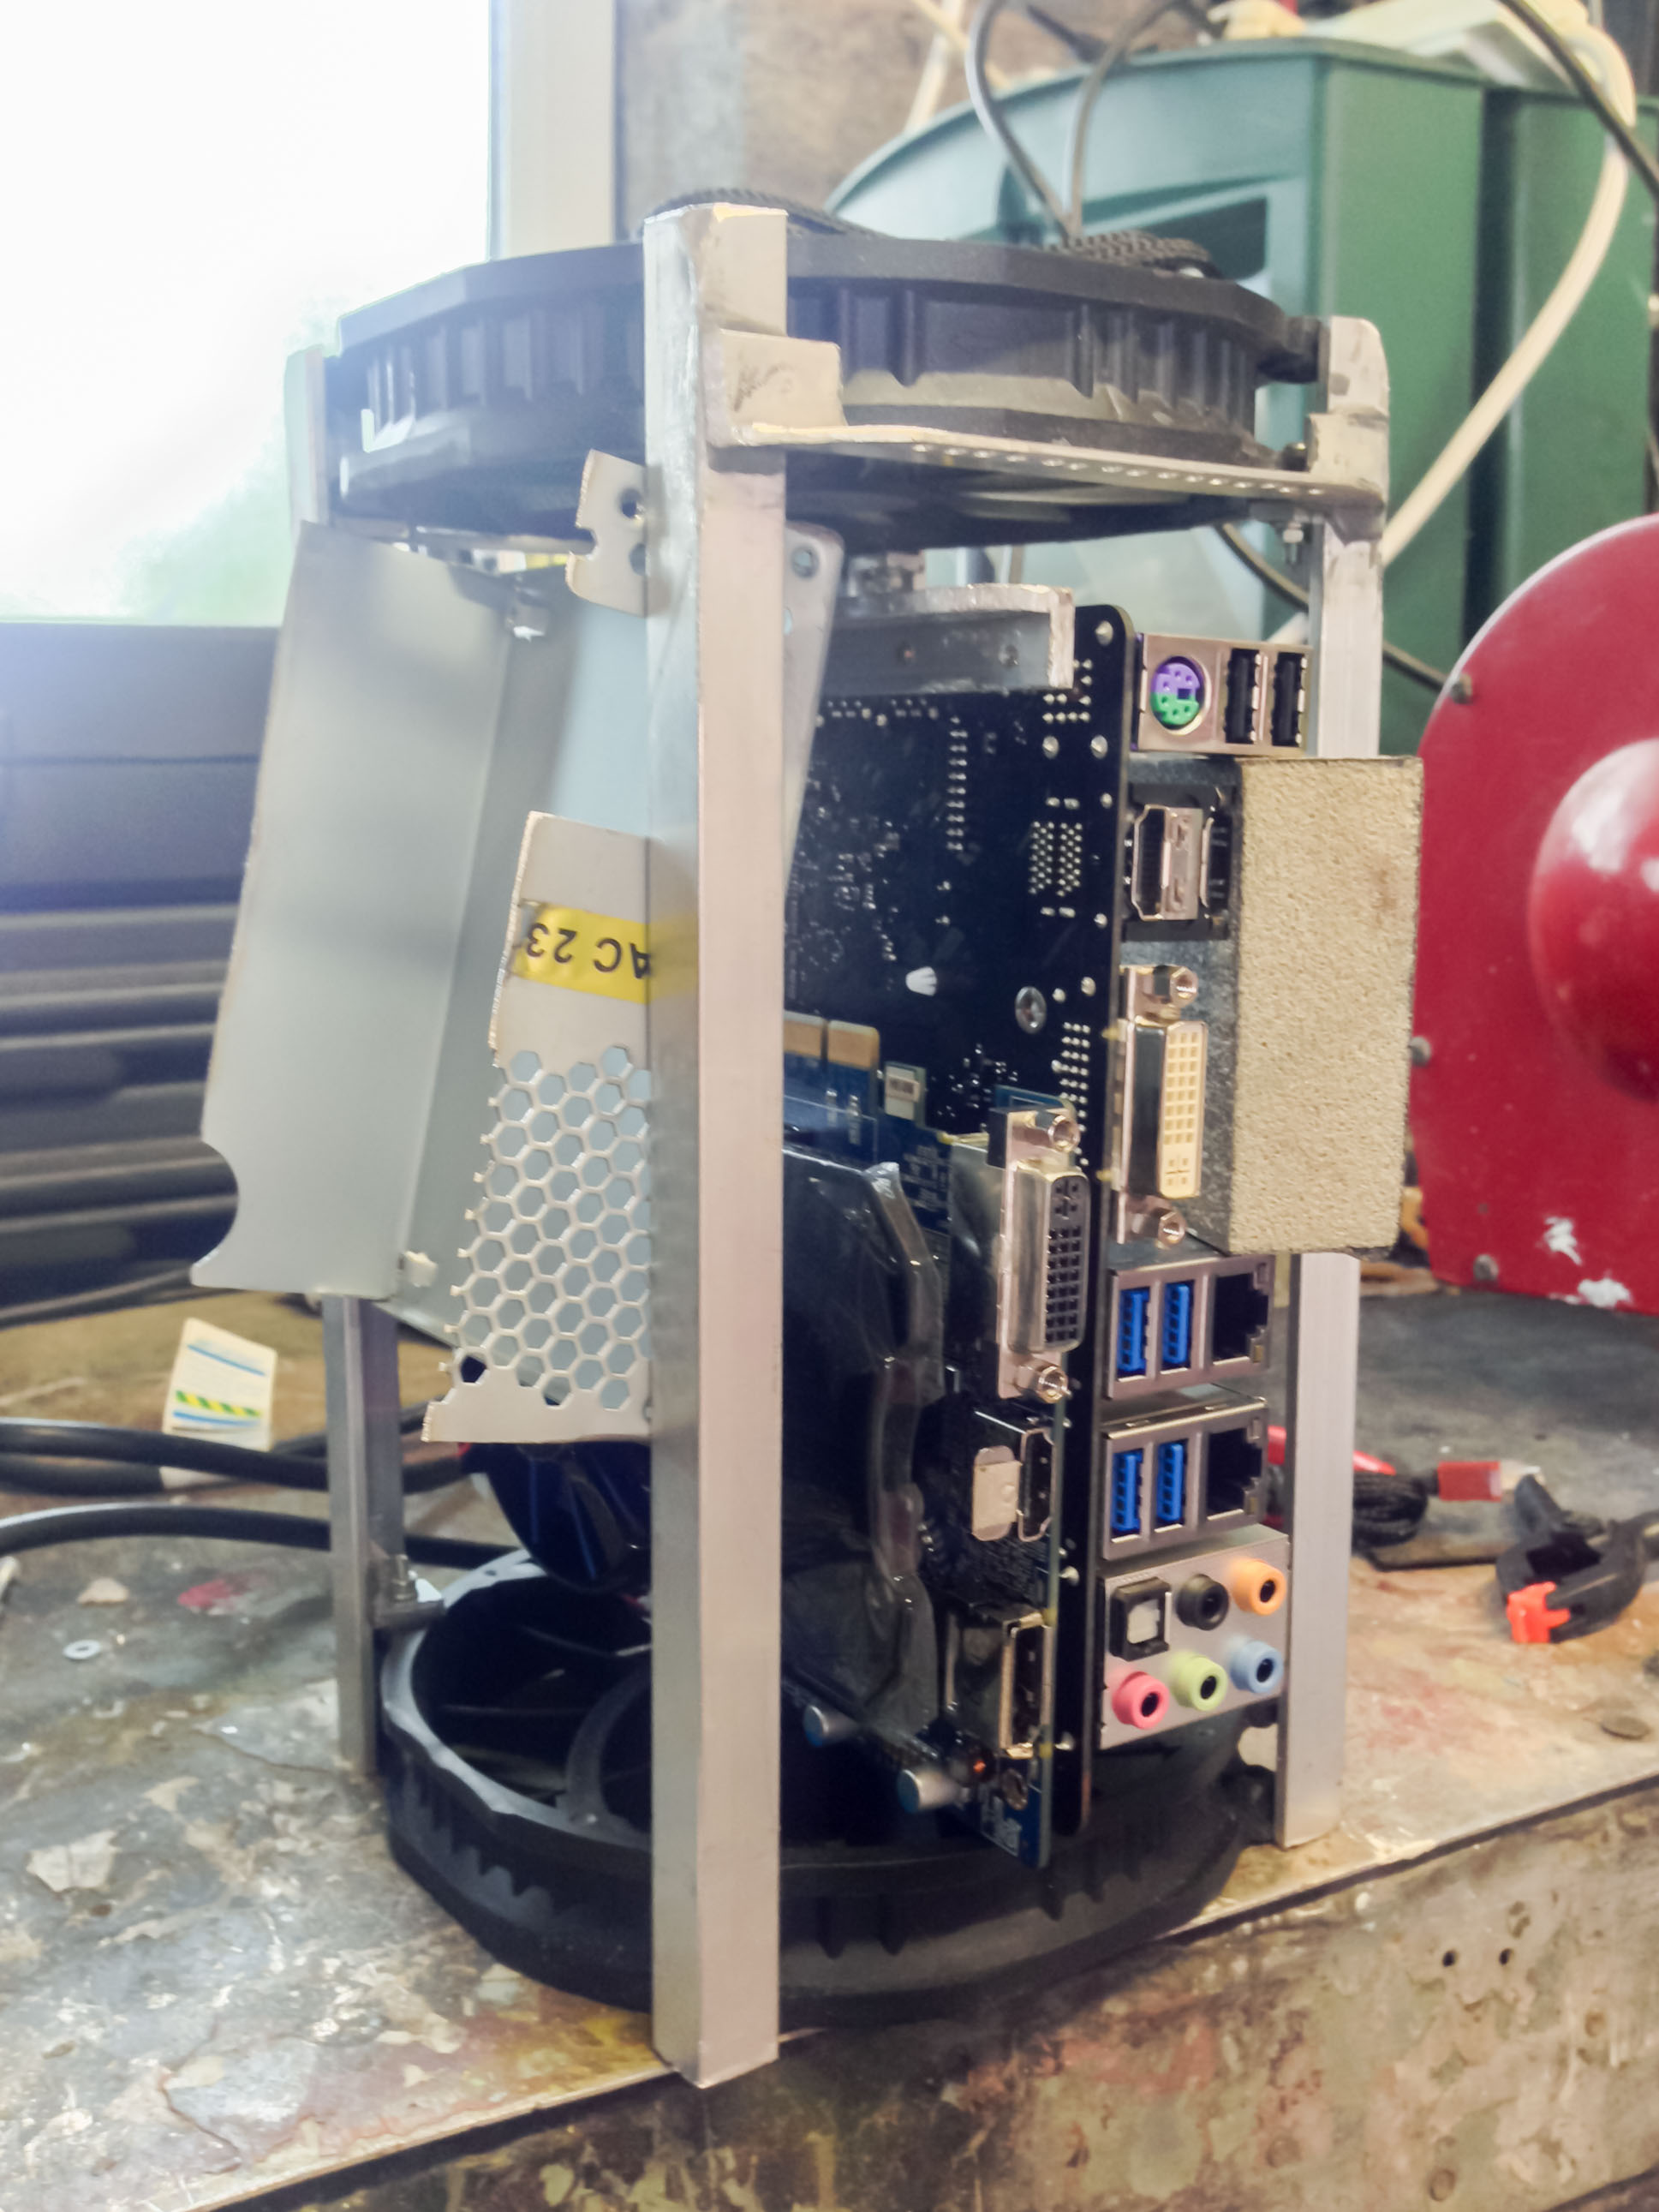
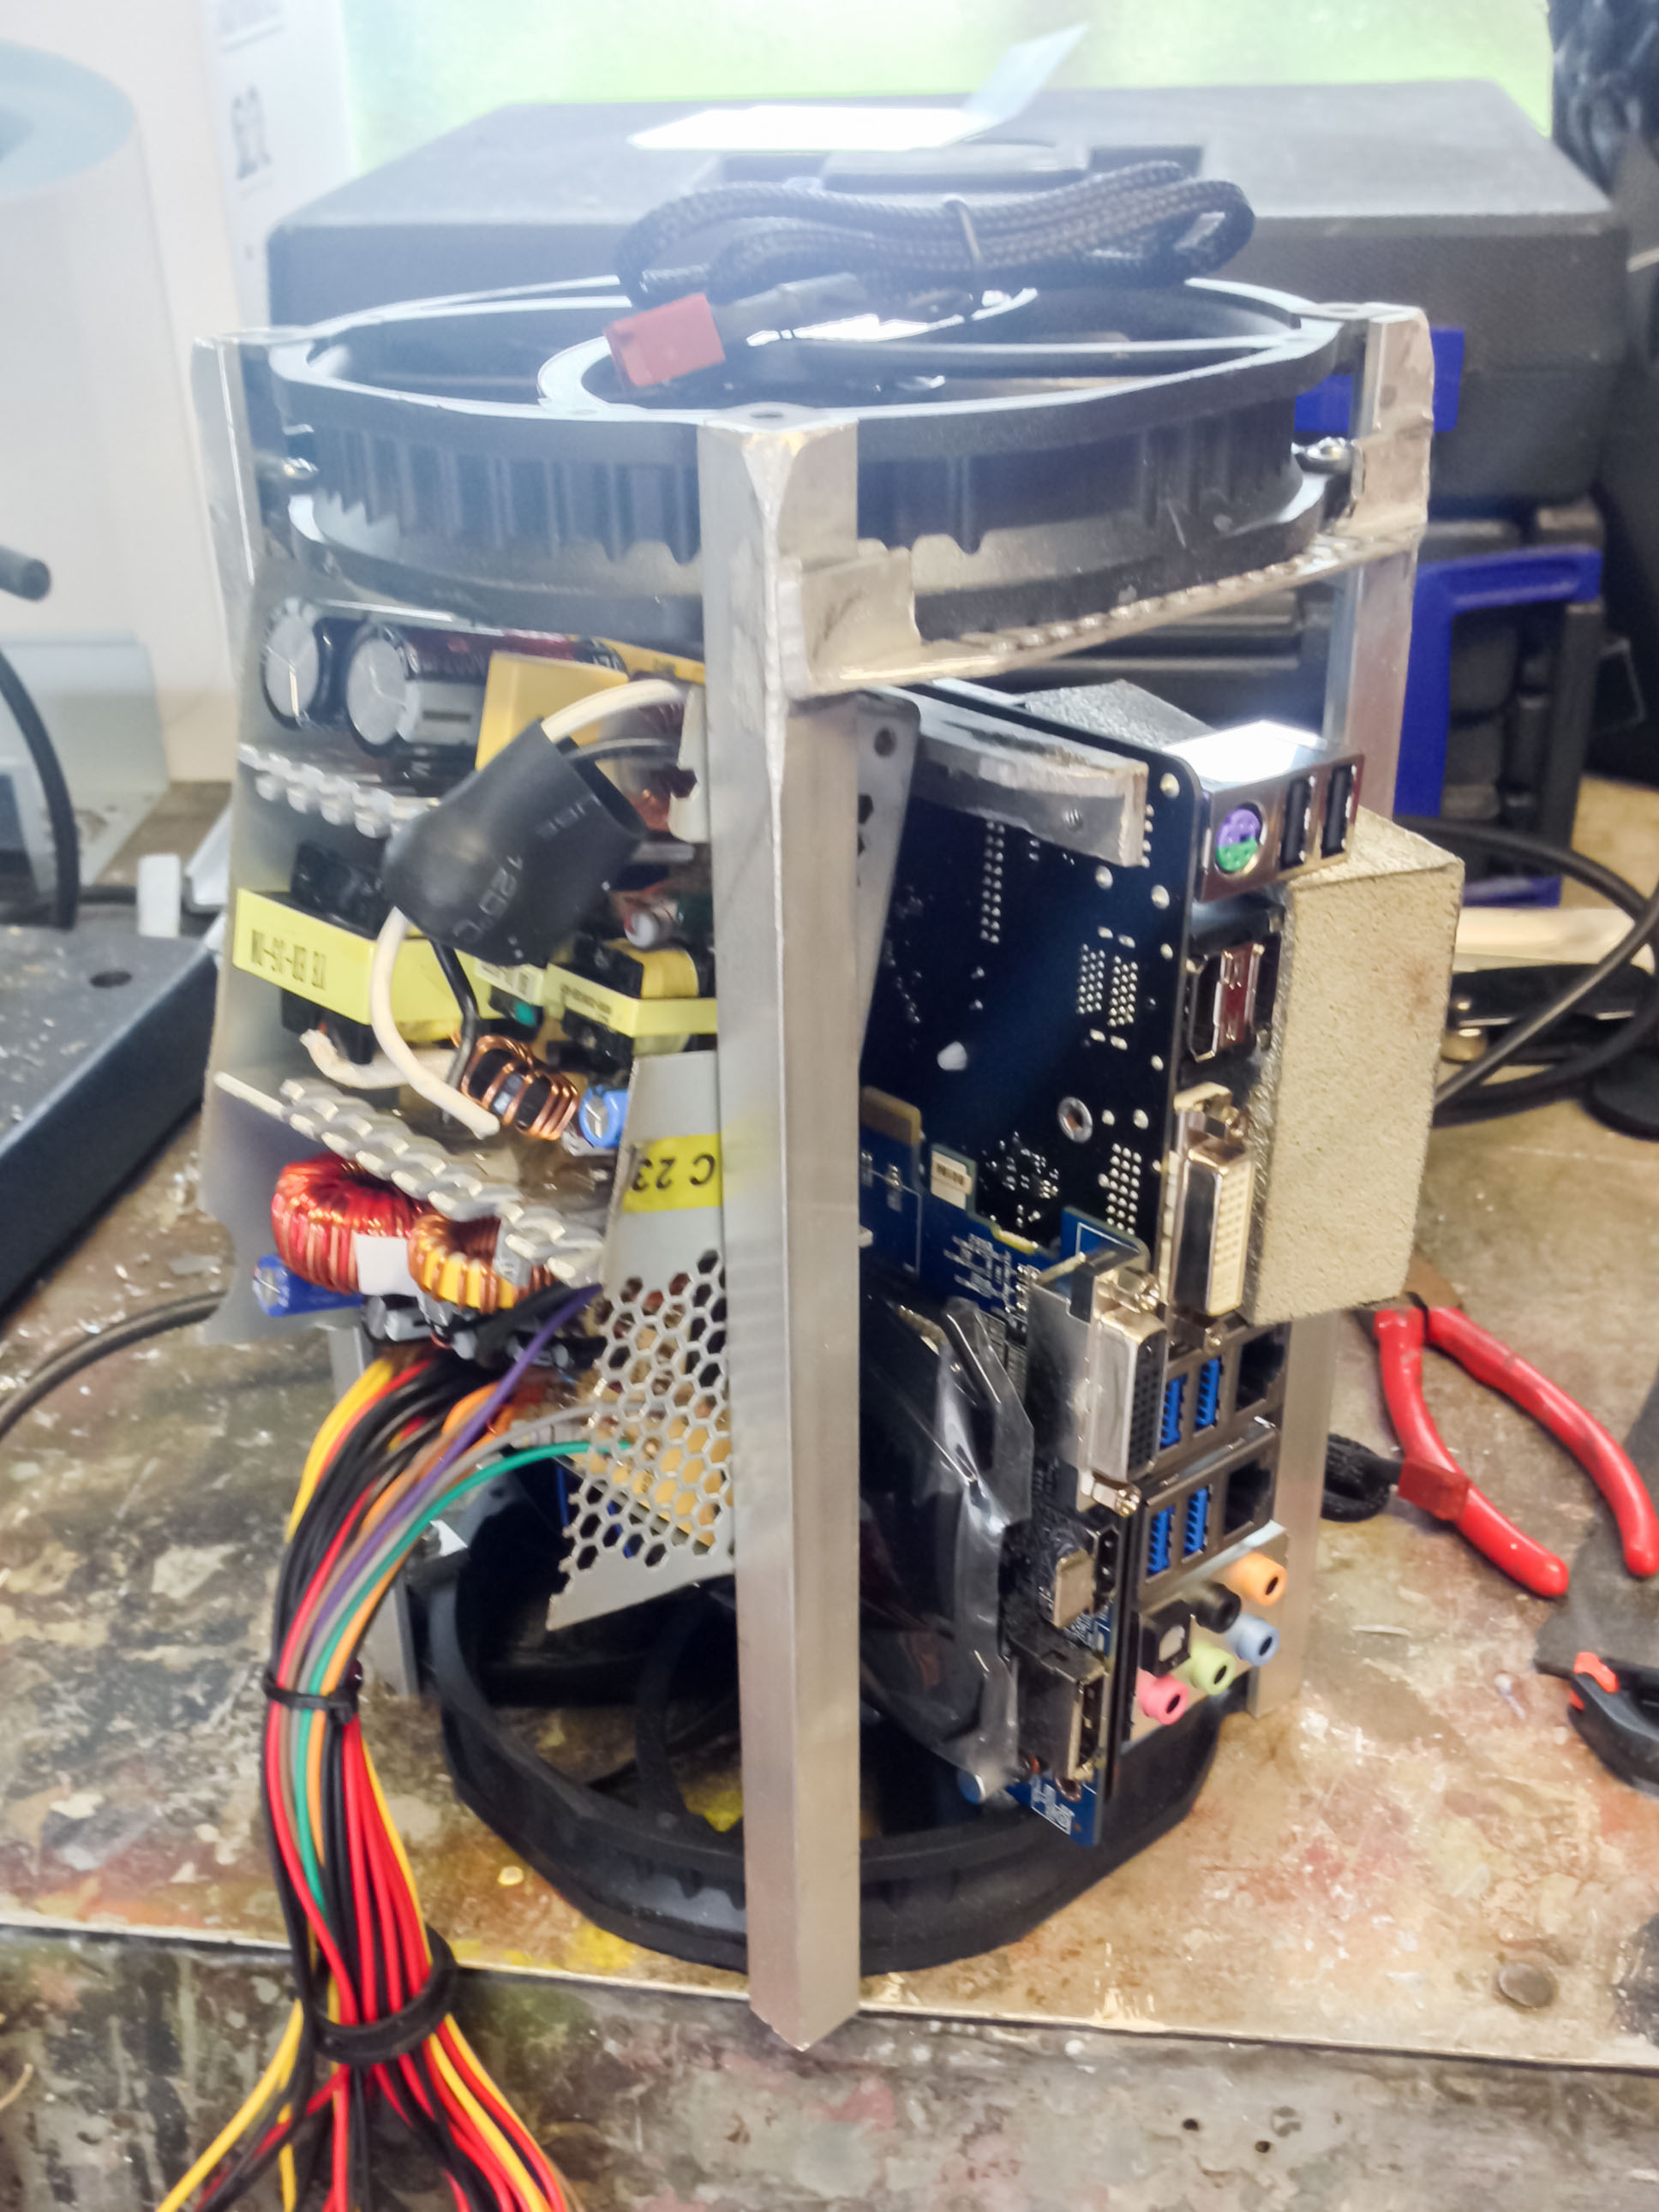
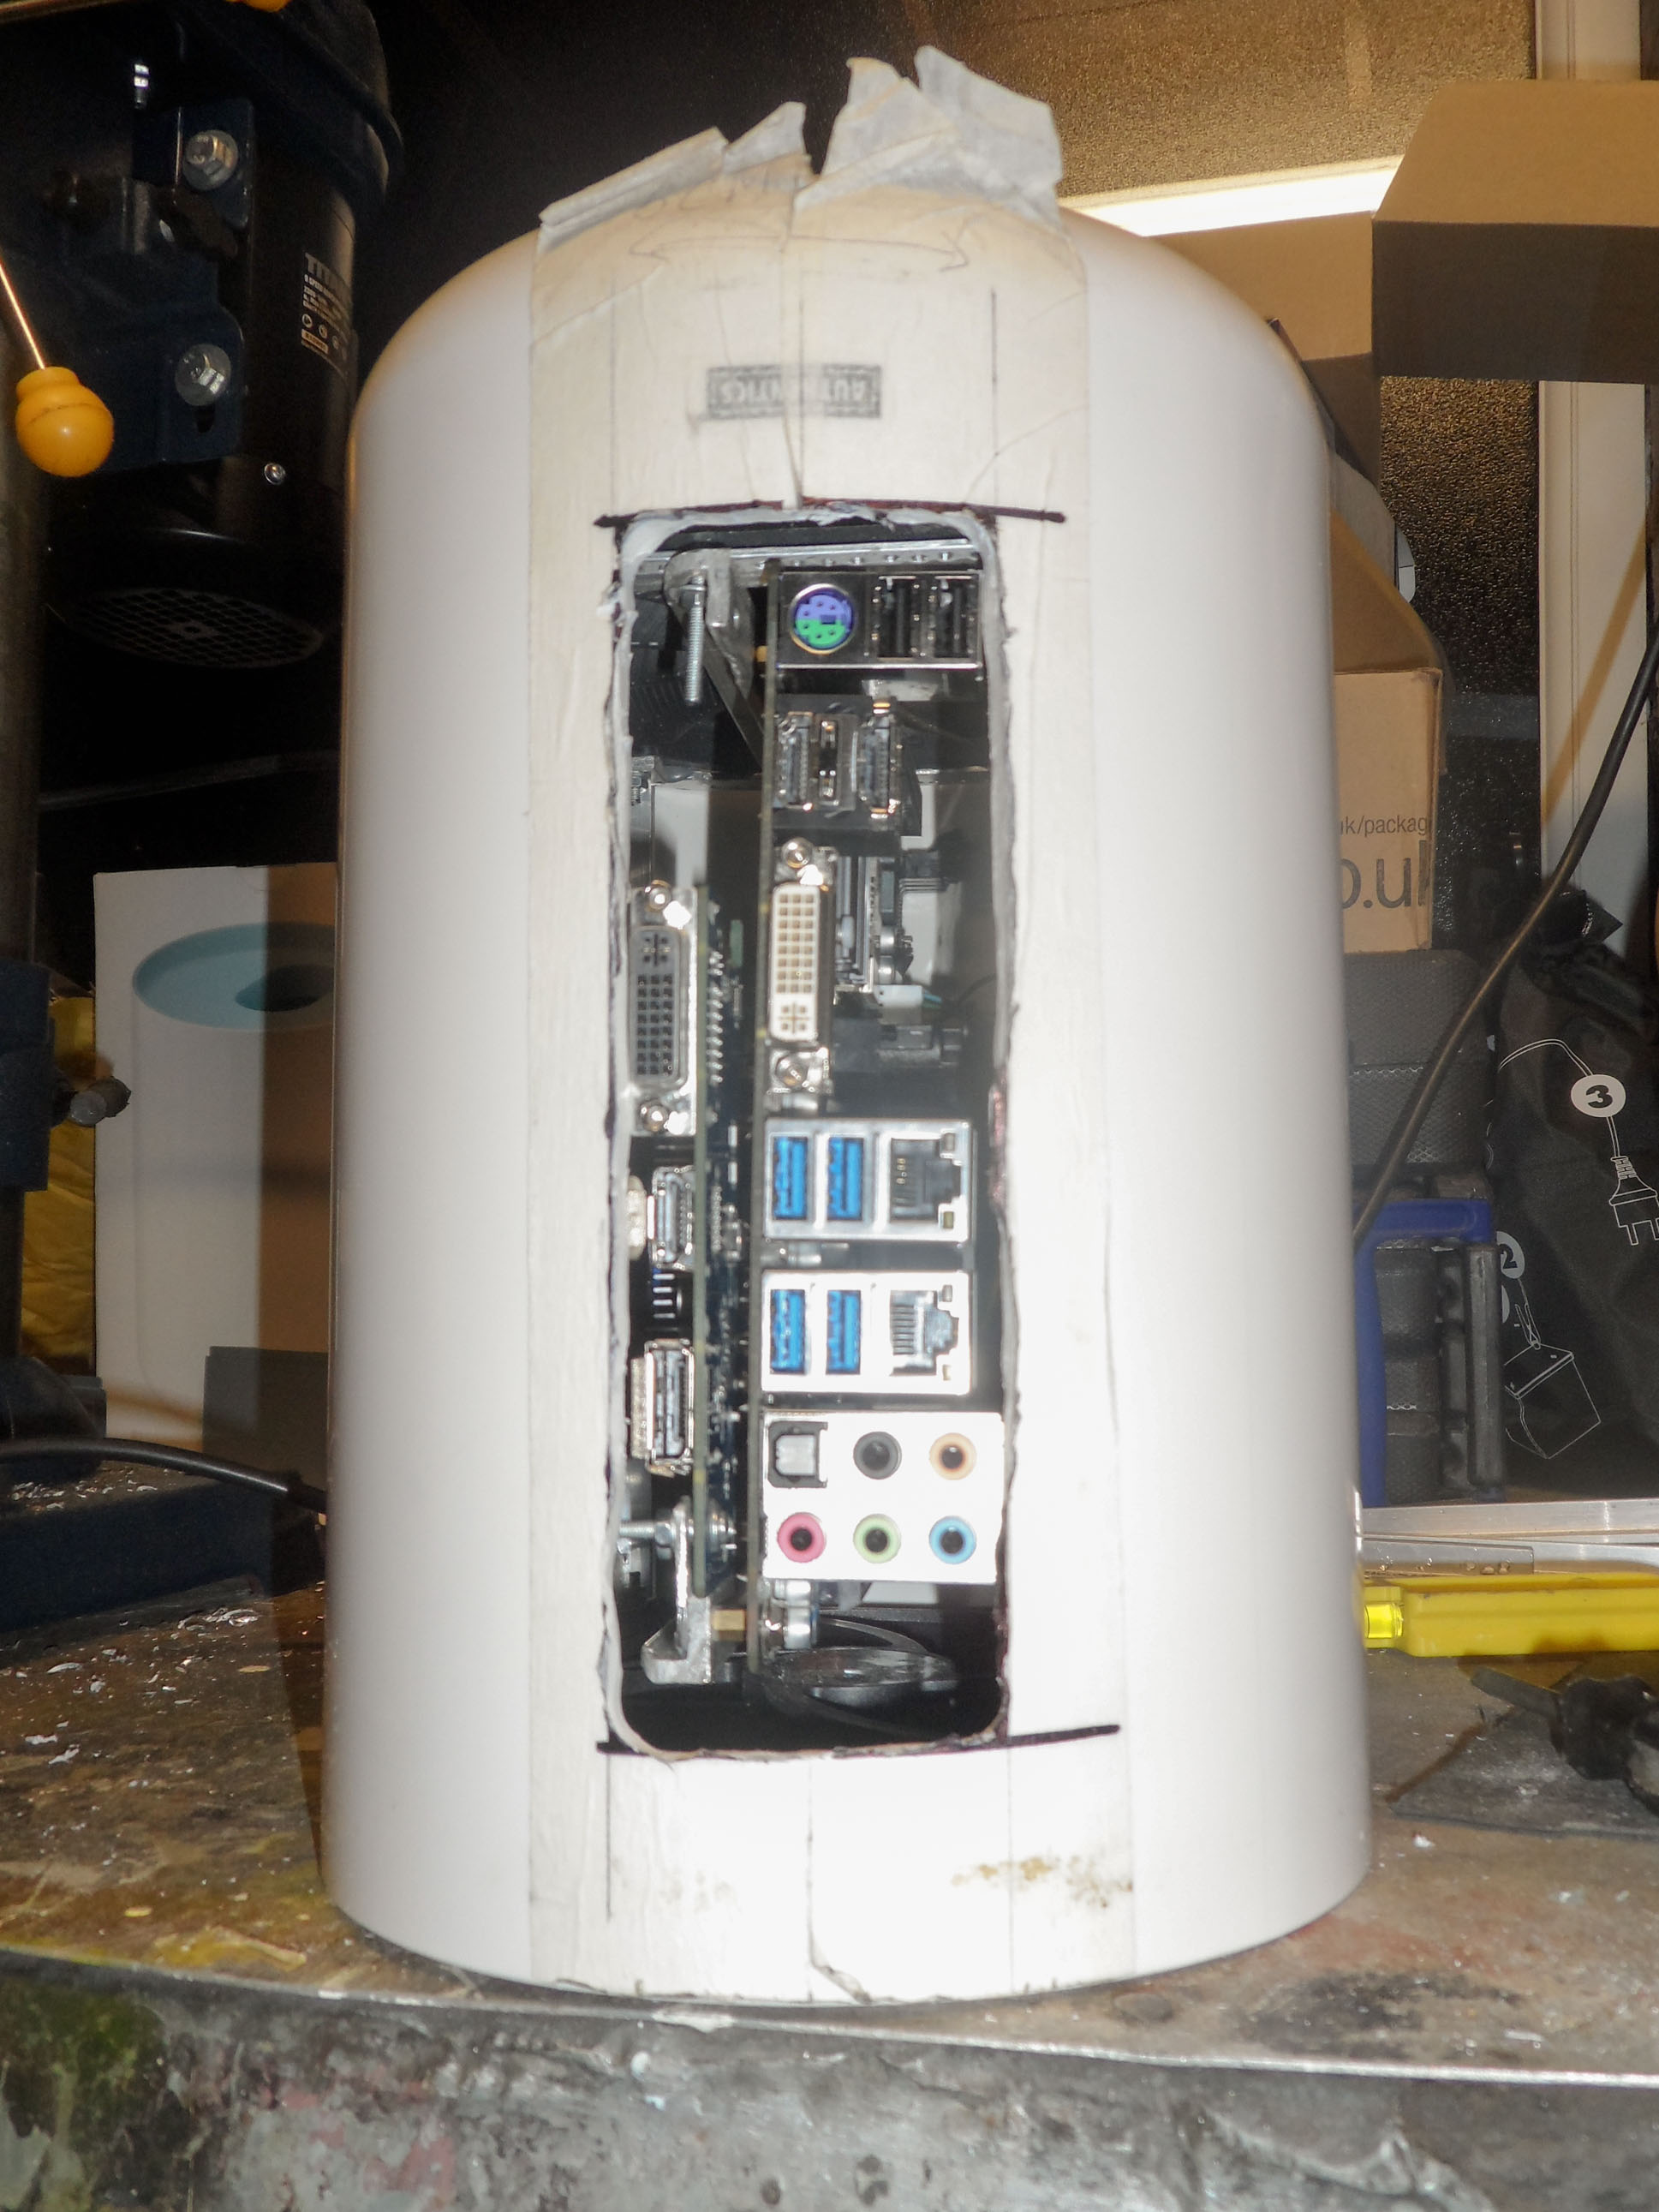
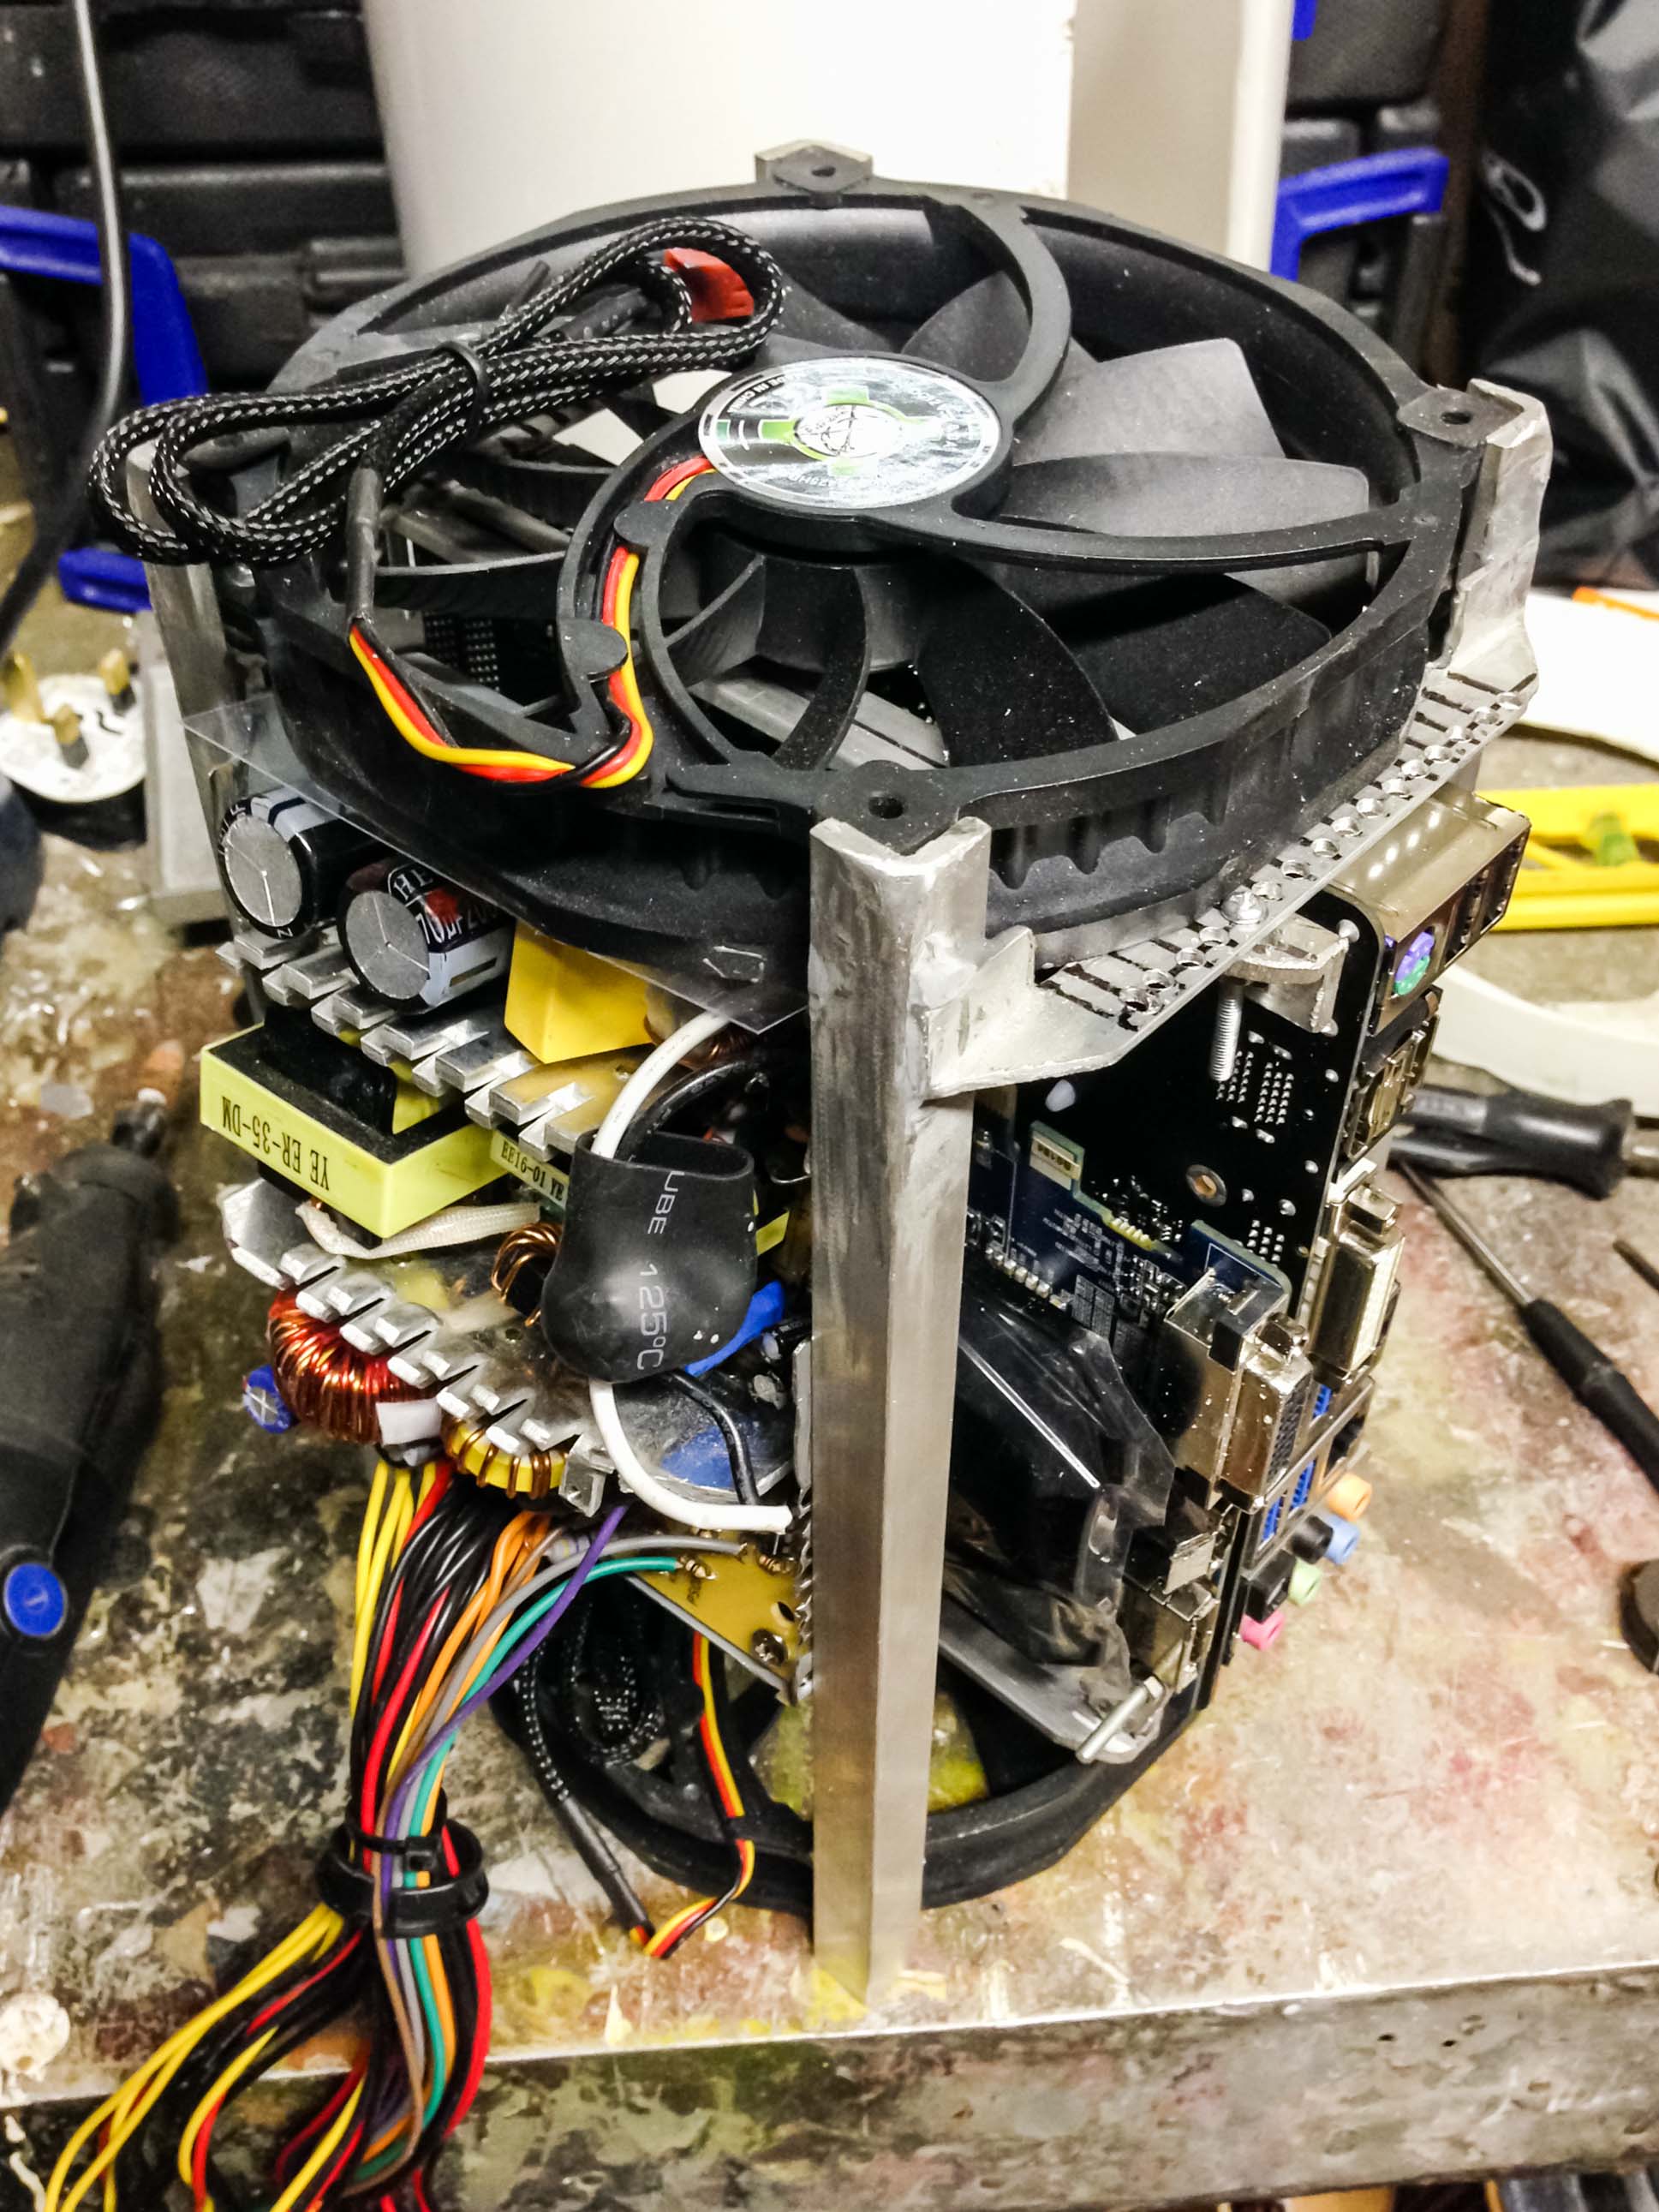
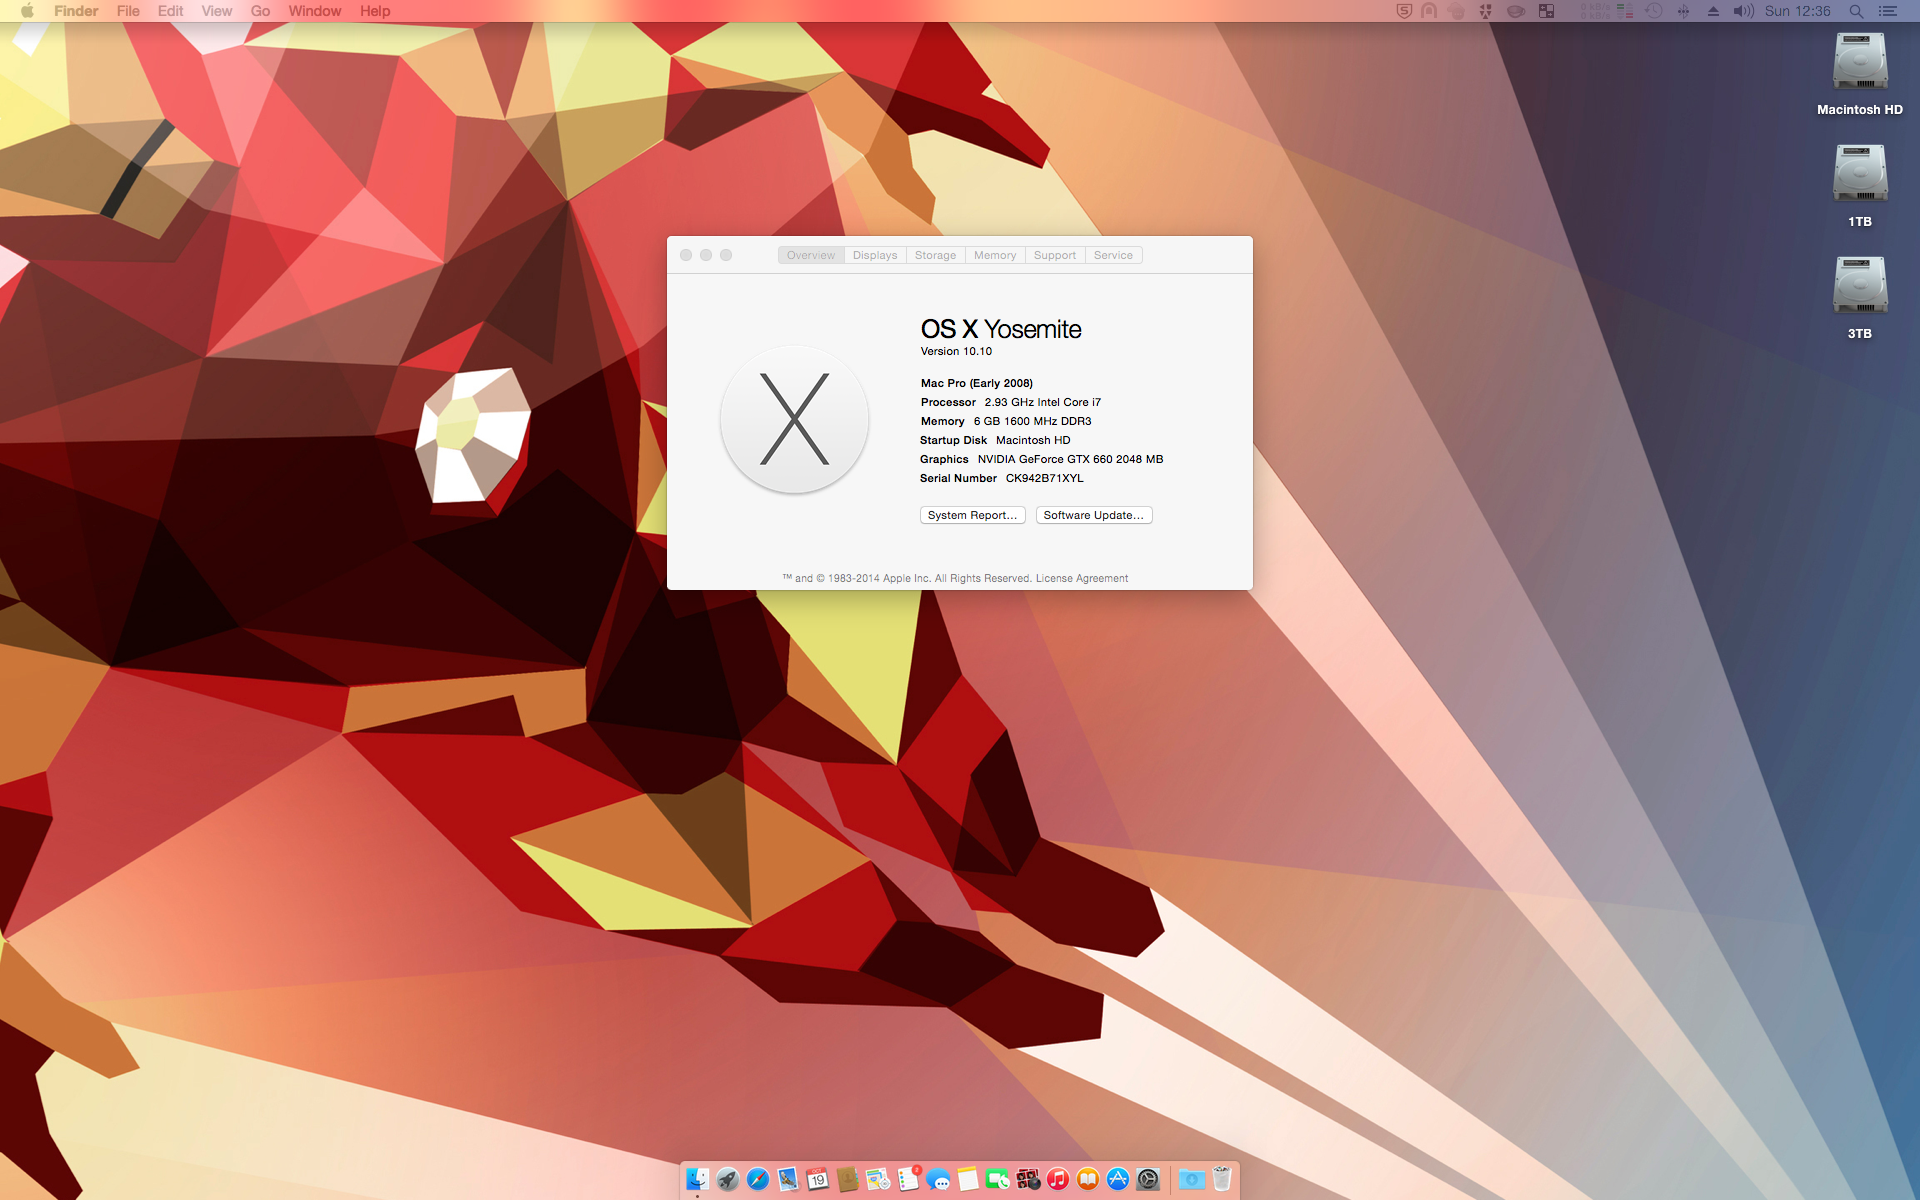
On the floor to the left is my trusty red toolbox that my granddad gave as a birthday gift when I was around five. On the right is my beast of a Hackintosh running OS X 10.10 Yosemite.

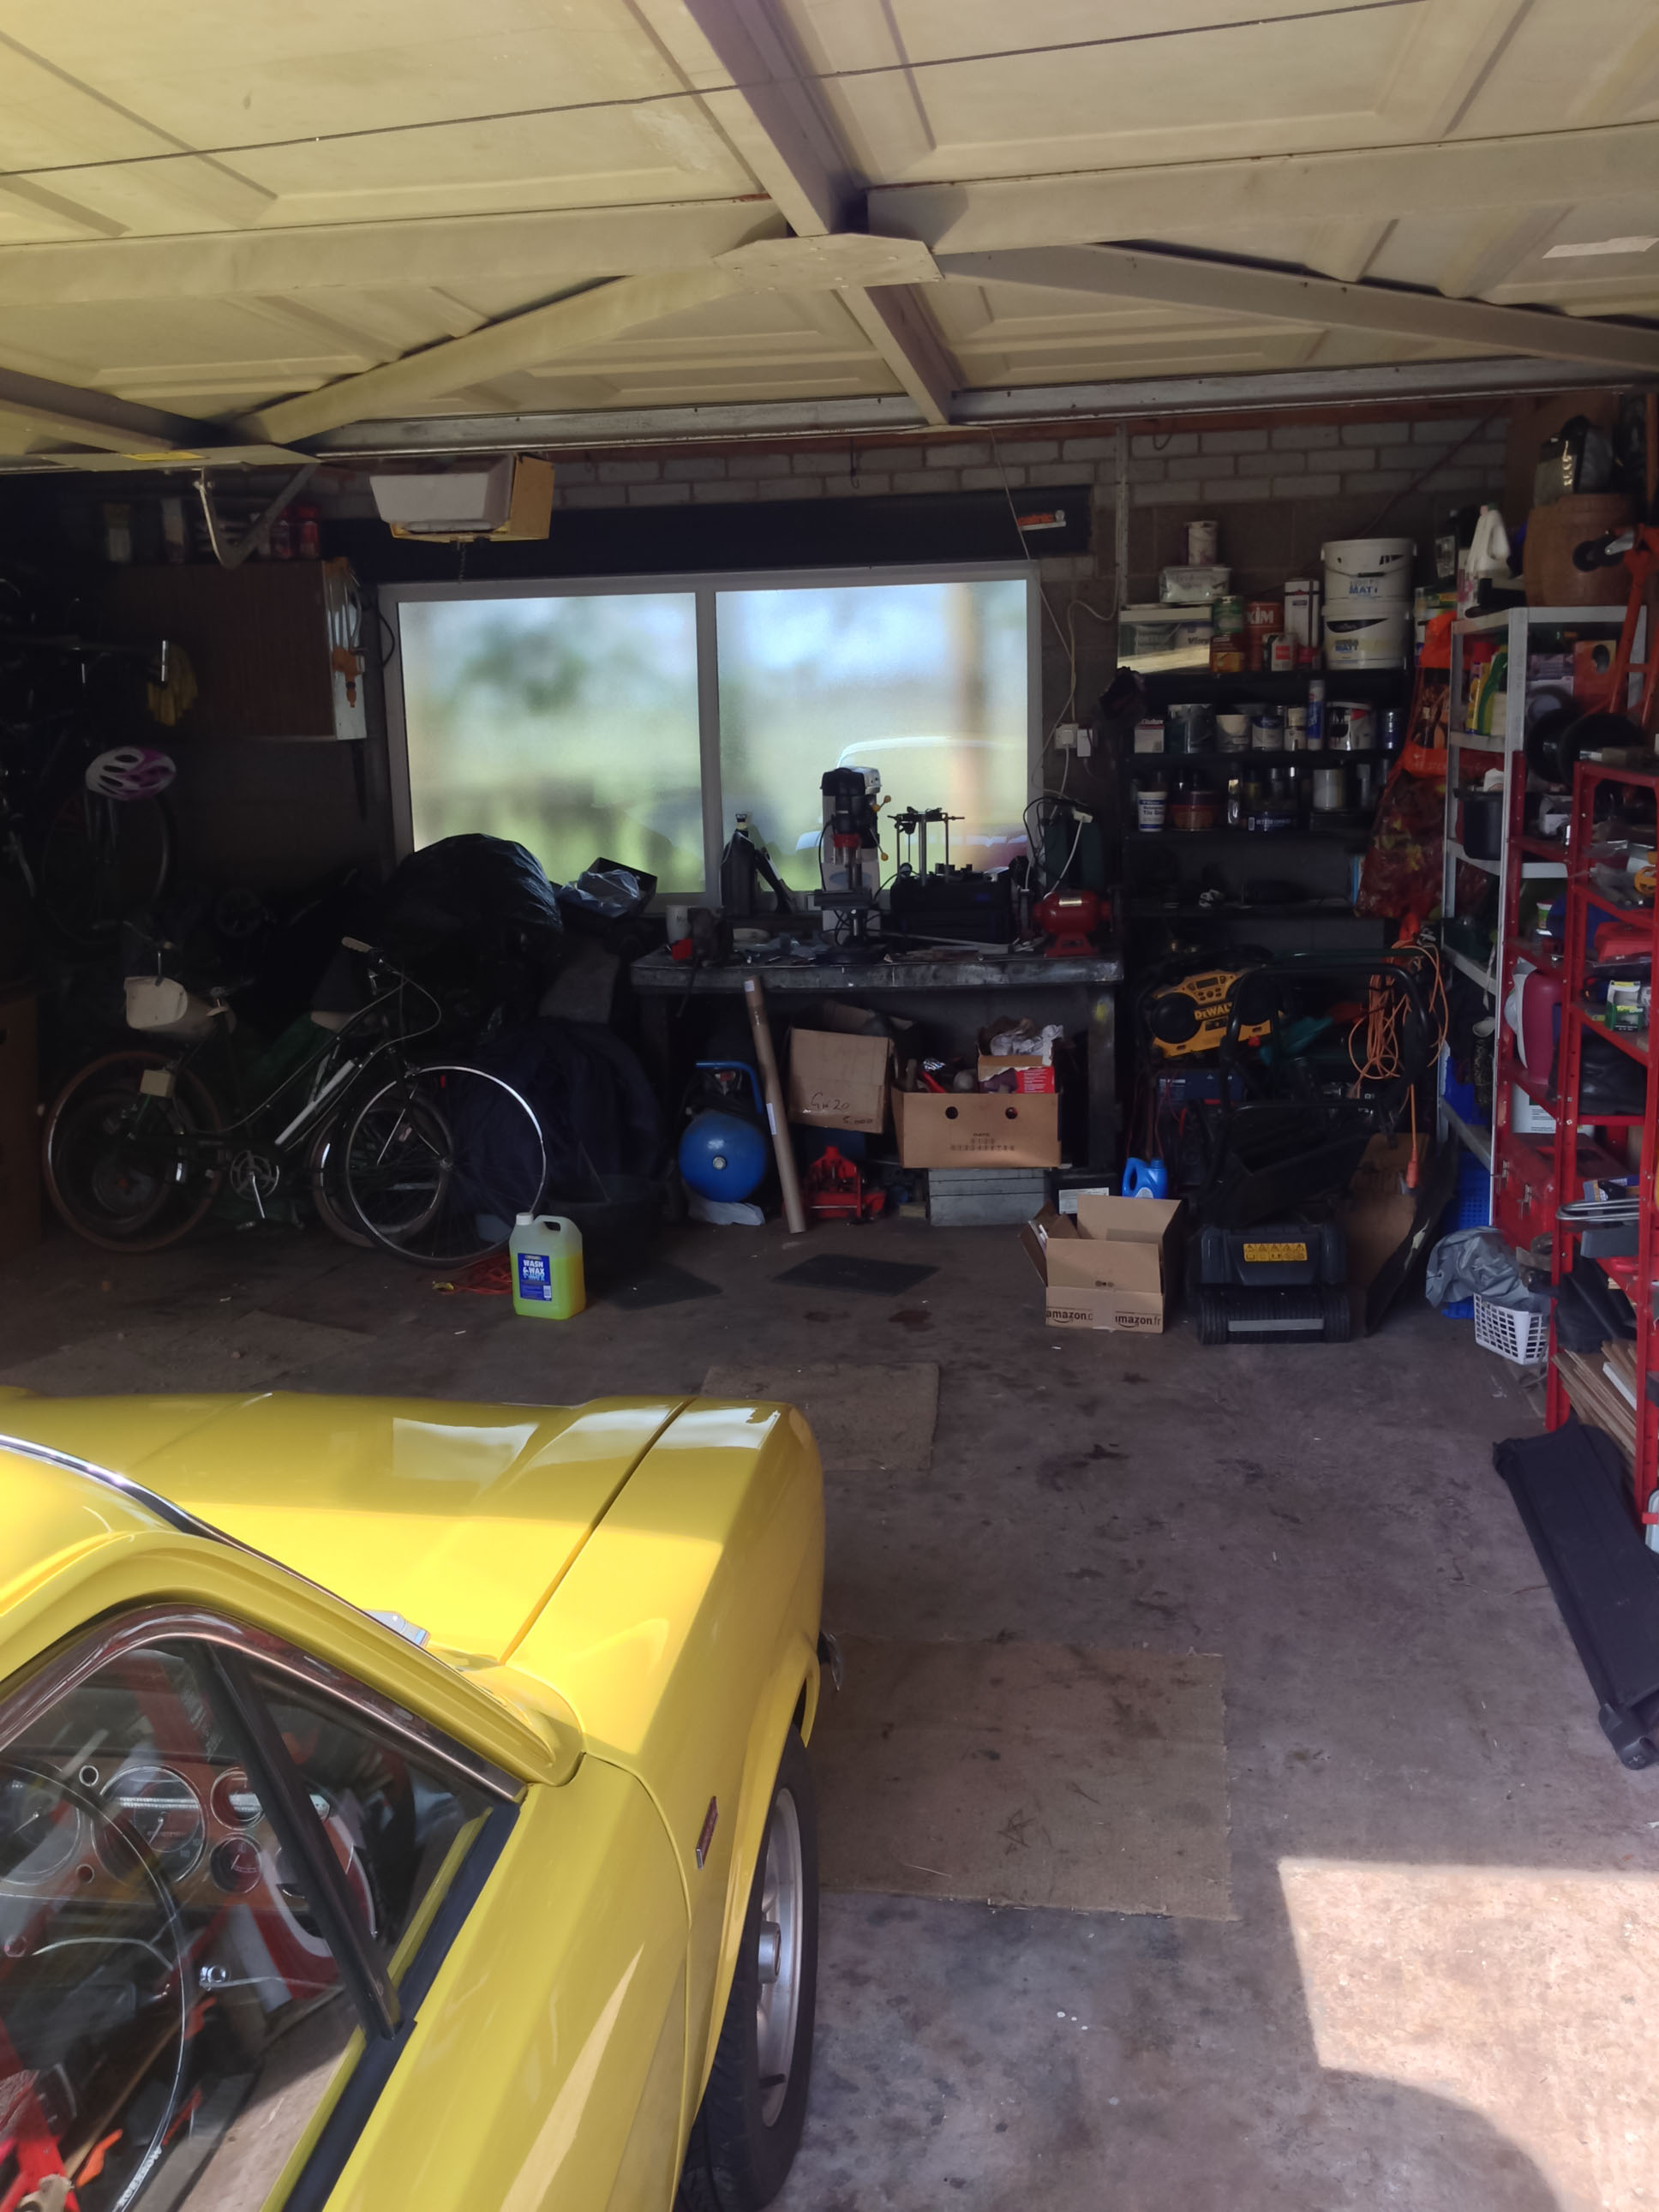
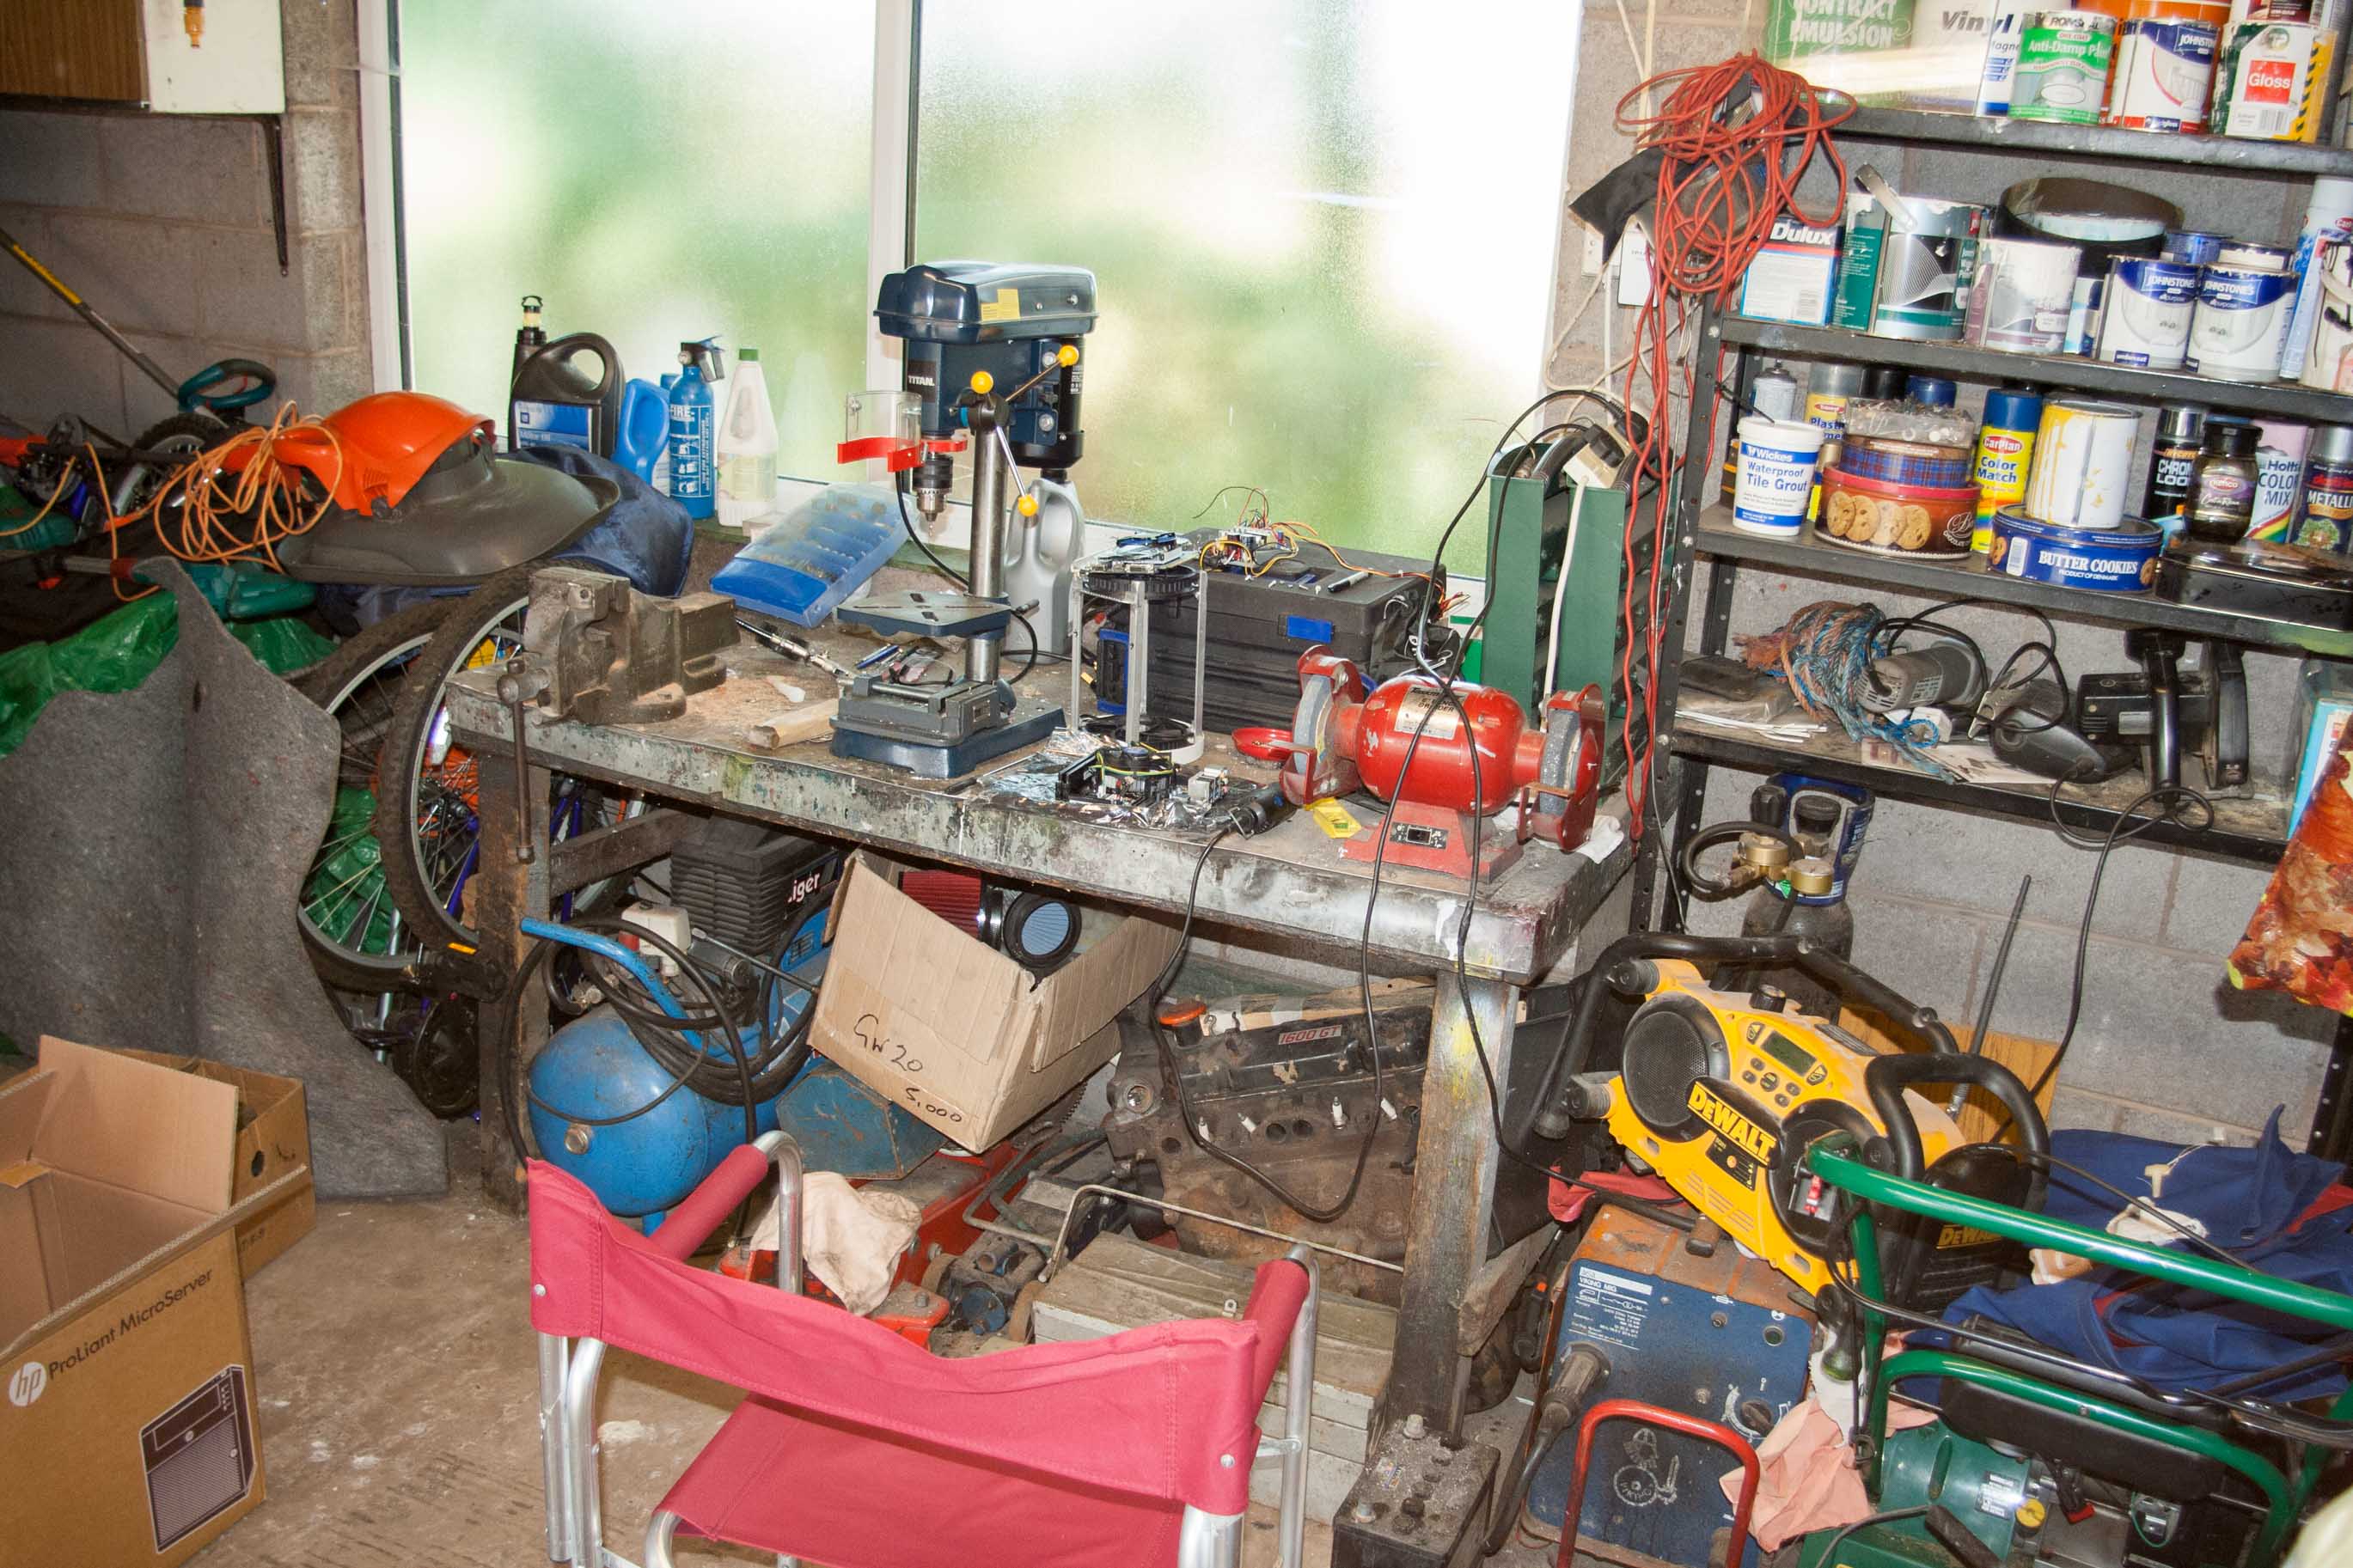
That’s it for the current London setup. Sometime in the near future I might do a follow up post on the workshop back at my family’s home if I get the chance.

Feel free to tweet me with your workspaces (so long as they’re also a geek station) at @bytesandbolts

-Dan

Categories
Tech

OS X 10.10 Yosemite GA-X58A-UD3R Hackintosh install

OS X 10.10 Yosemite

Over the weekend I was battling with installing the latest release of OS X on my Hackintosh. I’m happy to report that I now have a stable install of OS X 10.10 Yosemite running smoothly on my GA-X58A-UD3R, with everything working (network, audio, bluetooth, GPU) except sleep.
I’m still using UniBeast and MultiBeast provided by tonymacx86 for now, but I intend on migrating to the much superior Clover EFI bootloader when I find time. The Clover project has excellent documentation highlighting the differences between OS X bootloaders for Hackintosh’s on their wiki.

OS X Yosemite Hackintosh
Another Hackintosh with Yosemite installed and working

I wouldn’t listen to upgrade Hackintosh 10.9 to 10.10 post too much when it states that the upgrade is an easy one. Still the post does list some useful steps.
On my upgrade attempt, I ran into a seemingly endless supply of problems as detailed below, thankfully I was able to tackle and fix them all. Listed chronologically in order, same order as I faced them.

  • First ran into an error message that kept popping up during the Yosemite install, ‘This copy of the Install OS X Yosemite application can’t be verified’. After some reading, seems as though a few others were running into a similar issue also. After downloading a new copy of the Yosemite app bundle and creating a new UniBeast USB installer, the installation began.
  • Issue found when using UniBeast (5.0.0). Kept receiving error messages from the bootloader about the kernel couldn’t be found when booting. UniBeast 5.0.1 was released which seemed to fix the issue. Thread detailing the issue here.
  • Installed Yosemite successfully, but couldn’t get the system to boot without booting from the UniBeast USB. It repeatedly would crash at the ‘mbinit’ step during the boot process. Managed to fix the issue by booting into the system using UniBeast and installed the 10.9.5 AppleACPIPlatform Rollback which fixed the issue. Thread detailing the issue here.
  • Ran into an issue where the system wouldn’t boot with kernel caches enabled. Not sure if this was linked to the “Kernel compression is bad” error I was getting at boot, post detailing the error here. I believe this was linked to a change in kernel compression new to Yosemite.
    		# Edit file /usr/standalone/bootCaches.plist and for key 'Preferred Compression', change the value 'lzvn' to lzss'.
    		vi /usr/standalone/bootCaches.plist
    		# Regenerate kernel cache with the following commands
    		sudo kextcache -system-prelinked-kernel
    		sudo kextcache -v 1 -a i386 -a x86_64 -m /System/Library/Caches/com.apple.kext.caches/Startup/Extensions.mkext -z /System/Library/Extensions/

    Thread detailing the issue here.

  • Finally got the system working, but got strange error at boot about not being able to parse plist, ‘Error parsing plist file, Errors encountered while starting up the computer. Pausing 5 seconds’. For some reason the com.apple.Boot.plist at /Library/Preferences/SystemConfiguration was corrupted with kext-dev-mode=1. This conflicted with the MultiBeast plist in /Extra/org.chameleon.Boot.plist, which also contained a kext-dev-mode=1 entry. Deleting the com.apple.Boot.plist plist fixed the issue. Thread detailing the issue here.
  • TRIM enabler app appeared to be stuck in loop upon system boot. I enabled TRIM support by removing the utility and enabling TRIM through MultiBeast.
  • To get audio working I had to install Realtek ALC889 audio driver, easy fix.
  • Useful MultiBeast configure for X58A-UD3R here.

Happy Hackintosh’in,
-Dan

Update Jan 2015

tonymacx86 have released an updated guide for the UD3R, it may help selecting the correct MultiBeast options.

Categories
Tech

My Hackintosh ‘Hack Pro’ rig setup

Hackintosh - Think really different

A quick post that summarises my current Hackintosh rig as of October 2014. The following details my second Hackintosh, it’s the first build where I purposely selected all components for maximum compatibly with OS X. The first rig I ran to test the waters of running a Hackintosh was an old ASUS T2-PH1 hacked together with way too many kexts to keep count. It served well for its purpose at the time, but after a couple years I decided upgrade to something better. Note: this rig was first built back in January 2011 so it’s running a first gen Intel i7 which is pretty old nowadays, I should of really wrote this post a few years back. However some people are still running the old X58 series today so it should still have some relevance.

Rig details

  • Gigabyte GA-X58A-UD3R Rev 2.0 (BIOS ver FA)
  • Intel i7-930 2.80 GHz (overclocked to 2.93 GHz)
  • Corsair 6GB (3 x 2 GB) 1600 MHz XMS3 DDR3
  • EVGA GeForce GTX 660 Superclocked 2048 MB GDDR5
  • Samsung 840 EVO 120 GB 2.5″ SSD (MZ-7TE120BW)
  • WD Red 3TB 3.5″ HDD (WD30EFRX)
  • Corsair A50 1366 performance CPU cooler
  • Antec TruePower 650W modular PSU
  • Sony Optiarc DVD RW AD-7260S
  • ATAPI iHAS124 B (w/ custom FW for burning Xbox backups)
  • Display 1: Samsung SyncMaster T240HD (1920 x 1200)
  • Display 2: Samsung SyncMaster 2232BW (1680 x 1050)
  • ASUS USB-N13 300 Mbps WIFI dongle
  • Belkin F8T016cw Bluetooth adapter (HID proxy)
  • Apple wireless keyboard and Apple mighty mouse
  • Logitech C310 HD webcam

Upgrades

I’ve ran the X58A-UD3R for over 3 years now with no issues, so at this point in time I have no need to replace the motherboard. Same goes for the CPU. The RAM I intend to max out to 24 GB (4 x 6 GB) at some point in the future as 6 GB is low even by todays standards for a workstation. The GTX 660 was dropped in about a year ago to replace an ageing 7950 GT 512 MB. Both of the hard drives are relativity new, the SSD is used for the system boot and the WD Red is used for document storage. The system is dual booted with a Windows 7 install which is stored on an additional hard drive.

It took me a while to find a reliable bluetooth adapter that was HID proxy compatible, meaning that I could use the wireless keyboard and mouse when interacting with the BIOS. Luckily I stumbled across the Belkin F8T016cw after a few failed attempts. Same goes for the wifi adapter, the ASUS USB-N13 is a solid piece of kit for the price you pay (not much).

From OS X 10.6 to 10.10

The system was first built to accommodate OS X 10.6 Snow Leopard, and 4 years later it is still fighting on strong with most recently having OS X 10.10 Yosemite installed. Considering the system was first built when I was at uni (thank you student loan), it has held up very well over the years. The main two benefits being; the reduced upfront cost of the components compared to a genuine Mac, and the added future proofing gained by using commercially available off the shelf components (non-Apple hardware).

Make your own

I’d recommend to anyone who wants to use OS X as their main OS to have a go at building a Hackintosh. It’s no where as difficult as it used to be getting a stable build working, there are countless forum threads and YouTube videos detailing successful build combinations like mine above. Not only is it a great learning experience to build your own computer, most importantly you also save ALOT of pennies!

To give you a kick start, Tonymacx86.com is a great resource for building your first Hackintosh, with new detailed and up to date build guides released monthly. Link here

Categories
Automotive

Crossflow Turbo // Budget booster preface

Preface

It’s a great feeling when ideas finally become reality. Earlier this year I had the pleasure of overseeing ideas that had been rattling around in my head for many years, come to final fruition. Back in 2009 was when the first ideas first began to circulate in my mind. I was in my first year of university when one day a friend who I’d met in Computer Science lectures introduces me to the concept of an open-source engine management system. That was when I was first found out about the MegaSquirt ECU. Apart from having a confusing product name, the MegaSquirt ECU truly is a mighty piece of kit. It wasn’t until 2011 that I actually got around to building one. Yeah it took me a while.. but sometimes these things do, and for something as complicated as soldering together your own ECU, a little patience isn’t going to hurt anyone. The only thing is, back then, little did I know that the ‘simple’ plan of converting my car to run EFI would lead me down the road to dabbling in the darks arts of forced induction, as well as unexpectedly discover the pain and suffering felt when a full body restoration is undertaken.

Ford Mk1 Escort Turbo
A true homebuilt hero

This multipart blog series is to document in great detail my story of retrofitting the MegaSquirt ECU into a crossflow’d Ford Mk1 Escort, tacked on with the many unplanned detours experienced along the way. That said, I don’t intend to write a step by step ‘installation guide’ for MegaSquirt. A lot of the engine work was completed years ago and I can’t recall all the exact steps taken. The issues tackled in this blog series aren’t easy ones, that’s why its taken me so long to do! Automotive manufactures during the 80’s/90’s faced the same issues, the only difference being they had whole teams of engineers and wads of cash to get the job done. So don’t expect anything other than a long ride.

MegaSquirt ECU
Built not bought

Depending on your background and areas of expertise, you may find some areas of the build easier to follow than others. For those of you know your bolts better than yours bytes, and know your way round a set of spanners you should be fine. However it would be beneficial to know a little about engine principles, automotive electronics and engine component design. For those who are a little more geeky and technical minded, I will also cover putting together the ECU and making it past your first firmware burn. Having a little knowledge on computer engineering and familiarity with CLI’s wouldn’t go amiss here.

I will do my best to try and write a new post every week or so, but work is always busy. Thankfully for you readers, the hard part of building the car is already done and I just need to find time to do a huge mind dump and get everything wrote down. Ideally each post will be focused primarily on one topic, however due to the lengthy time-span of the build some crosstalk is bound to happen, as well as reasons for design change decisions.

For those who a little more impatient and just want to see the end result, a summarised story of the build was recently featured in Septembers (2014) issue of Classic Ford magazine here in the UK.

Mk1 Escort Turbo
The car made it to the front cover!

On a final note, I hope you enjoy reading about my car build as much as I did putting it all together.

Your (constructive) comments and questions are of course most welcome.
Either leave me a comment, fire an email dan@bytesandbolts.com, or send a tweet @bytesandbolts.

Thanks,
-Dan