Categories
Tech

Clover r4586 update results in black screen

After updating my Z97X-UD3H running 10.12.6 to Clover r4586 the system would hang on a black screen shortly after the Clover boot menu.

Luckily I stumbled across this post that says the OsxAptioFix3Drv-64.efi driver has been removed, and that AptioMemoryFix.efi should be installed as its replacement from now on.

I can’t remember if Clover deleted OsxAptioFix3Drv-64.efi for me or not, but after installing AptioMemoryFix.efi the system started working again. Success!

A quick but useful explanation of the various drivers64UEFI memory fixes can be found here

Categories
Tech

Gigabyte GA-X58A-UD3R 48GB RAM working install

Corsair Vengeance 16GB RAM kit

A few days ago I spotted an awesome RAM deal on HotUKDeals, Amazon UK were selling 16GB of Corsair Vengeance low profile (2 x 8GB) DDR3 1866 Mhz for only £83.57 inc VAT + delivery. My order was placed at the right time so it seems, as according to Amazon price checker camelcamelcamel £83.57 is the lowest price recorded.

I already had a set of this RAM lying around, so ordered two more kits for a total of 48GB (6 x 8GB modules). 24GB is the official maximum supported RAM for the X58 chipset, but after reading online about some success stories with 48GB I thought it was worth a shot. Popped the modules in my Gigabyte GA-X58A-UD3R Rev 2.0 and can confirm it runs as sweet as a nut. OS X Yosemite recognises the full 48GB and all 6 modules correctly, with no issues reported so far.

A nice quick win, a rarity so it seams for Hackintosh builds 😛

Categories
Tech

OS X 10.10 Yosemite GA-X58A-UD3R Clover install

Clover project logo

Clover > Chameleon

After many years of running the Chameleon boot loader, the time has come to climb Hackintosh ‘Everest’ and make the transition from Chameleon to using the Clover project boot loader. Like Chameleon Clover is a boot loader that allows Mac OS X to run on non-Apple hardware, however it is meant to bring numerous benefits and fixes over the former solution.

From reading forums online and after several previously failed attempts I don’t expect this to be an easy task, but this time I am determined to get it working.

Motivations

Clover is labeled as real EFI and Vanilla than Chameleon. Apple for one reason or enough has recently spruced up their security and services that used to run fine; like iMessage, no longer work. More commonly sleep has historical always been a sore spot for Hackintosh’s. Clover claims to alleviate most of these issues, only time and effort will tell.

Prerequisites

  • Disable USB 3.0 controller in BIOS
    • The installation kept freezing upon launch in Clover, after some reading I realised it was linked to the USB 3.0 controller. After disabling the USB 3.0 controller installation proceeded without issue. I will re-enable support at a later date and see if the controller still causes problems.

Installation

After a lot of reading online and testing different configurations I managed to get a working system booted, but my experience wasn’t as straight forward compared to other peoples from what I can tell.

I followed steps 1 to 3 from TonyMac’s guide clover guide. I then created a UniBeast USB in order to boot the freshly installed system, as for the life of me I could not get the system to boot using a USB installed with Clover. Once booted into the system I downloaded the latest version of Clover and began the installation process, which is similar to step 4 from TonyMac’s guide.

Clover USB installer checked configuration settings:

  • Install clover in the ESP
  • Bootloader > Install boot0af in MBR
  • CloverEFI > CloverEFI 64-bits SATA

Once installed I rebooted the system, removed the USB and was gladly presented with the OS X boot screen, Happy day!

Post Install

  • My Nvidia 680 GTX is natively supported, therefore I did not enable the Nvidia inject option.
  • Audio I got working using the usual method of Multibeast, I haven’t had any luck with getting it working using any of the alternative Clover methods yet.
  • Network also I got working using Multibeast
  • My 26GB RAM setup stopped working, but I have a feeling this might be linked to some of the SMBIOS settings as the Mac is now reporting as an iMac11,2 instead of my previous setup as a MacPro3,1

Either way I’m glad it is finally working.

About this Mac

Categories
Tech

My Hackintosh ‘Hack Pro’ rig setup

Hackintosh - Think really different

A quick post that summarises my current Hackintosh rig as of October 2014. The following details my second Hackintosh, it’s the first build where I purposely selected all components for maximum compatibly with OS X. The first rig I ran to test the waters of running a Hackintosh was an old ASUS T2-PH1 hacked together with way too many kexts to keep count. It served well for its purpose at the time, but after a couple years I decided upgrade to something better. Note: this rig was first built back in January 2011 so it’s running a first gen Intel i7 which is pretty old nowadays, I should of really wrote this post a few years back. However some people are still running the old X58 series today so it should still have some relevance.

Rig details

  • Gigabyte GA-X58A-UD3R Rev 2.0 (BIOS ver FA)
  • Intel i7-930 2.80 GHz (overclocked to 2.93 GHz)
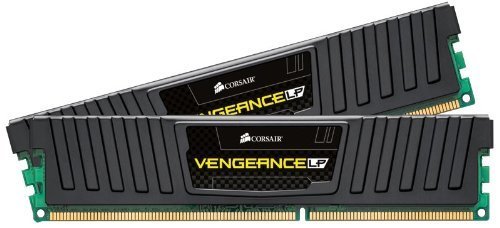
  • Corsair 6GB (3 x 2 GB) 1600 MHz XMS3 DDR3
  • EVGA GeForce GTX 660 Superclocked 2048 MB GDDR5
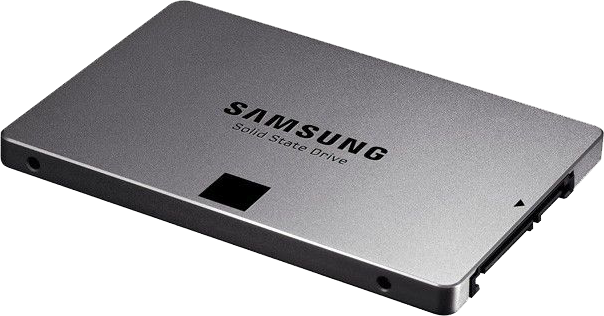
  • Samsung 840 EVO 120 GB 2.5″ SSD (MZ-7TE120BW)
  • WD Red 3TB 3.5″ HDD (WD30EFRX)
  • Corsair A50 1366 performance CPU cooler
  • Antec TruePower 650W modular PSU
  • Sony Optiarc DVD RW AD-7260S
  • ATAPI iHAS124 B (w/ custom FW for burning Xbox backups)
  • Display 1: Samsung SyncMaster T240HD (1920 x 1200)
  • Display 2: Samsung SyncMaster 2232BW (1680 x 1050)
  • ASUS USB-N13 300 Mbps WIFI dongle
  • Belkin F8T016cw Bluetooth adapter (HID proxy)
  • Apple wireless keyboard and Apple mighty mouse
  • Logitech C310 HD webcam

Upgrades

I’ve ran the X58A-UD3R for over 3 years now with no issues, so at this point in time I have no need to replace the motherboard. Same goes for the CPU. The RAM I intend to max out to 24 GB (4 x 6 GB) at some point in the future as 6 GB is low even by todays standards for a workstation. The GTX 660 was dropped in about a year ago to replace an ageing 7950 GT 512 MB. Both of the hard drives are relativity new, the SSD is used for the system boot and the WD Red is used for document storage. The system is dual booted with a Windows 7 install which is stored on an additional hard drive.

It took me a while to find a reliable bluetooth adapter that was HID proxy compatible, meaning that I could use the wireless keyboard and mouse when interacting with the BIOS. Luckily I stumbled across the Belkin F8T016cw after a few failed attempts. Same goes for the wifi adapter, the ASUS USB-N13 is a solid piece of kit for the price you pay (not much).

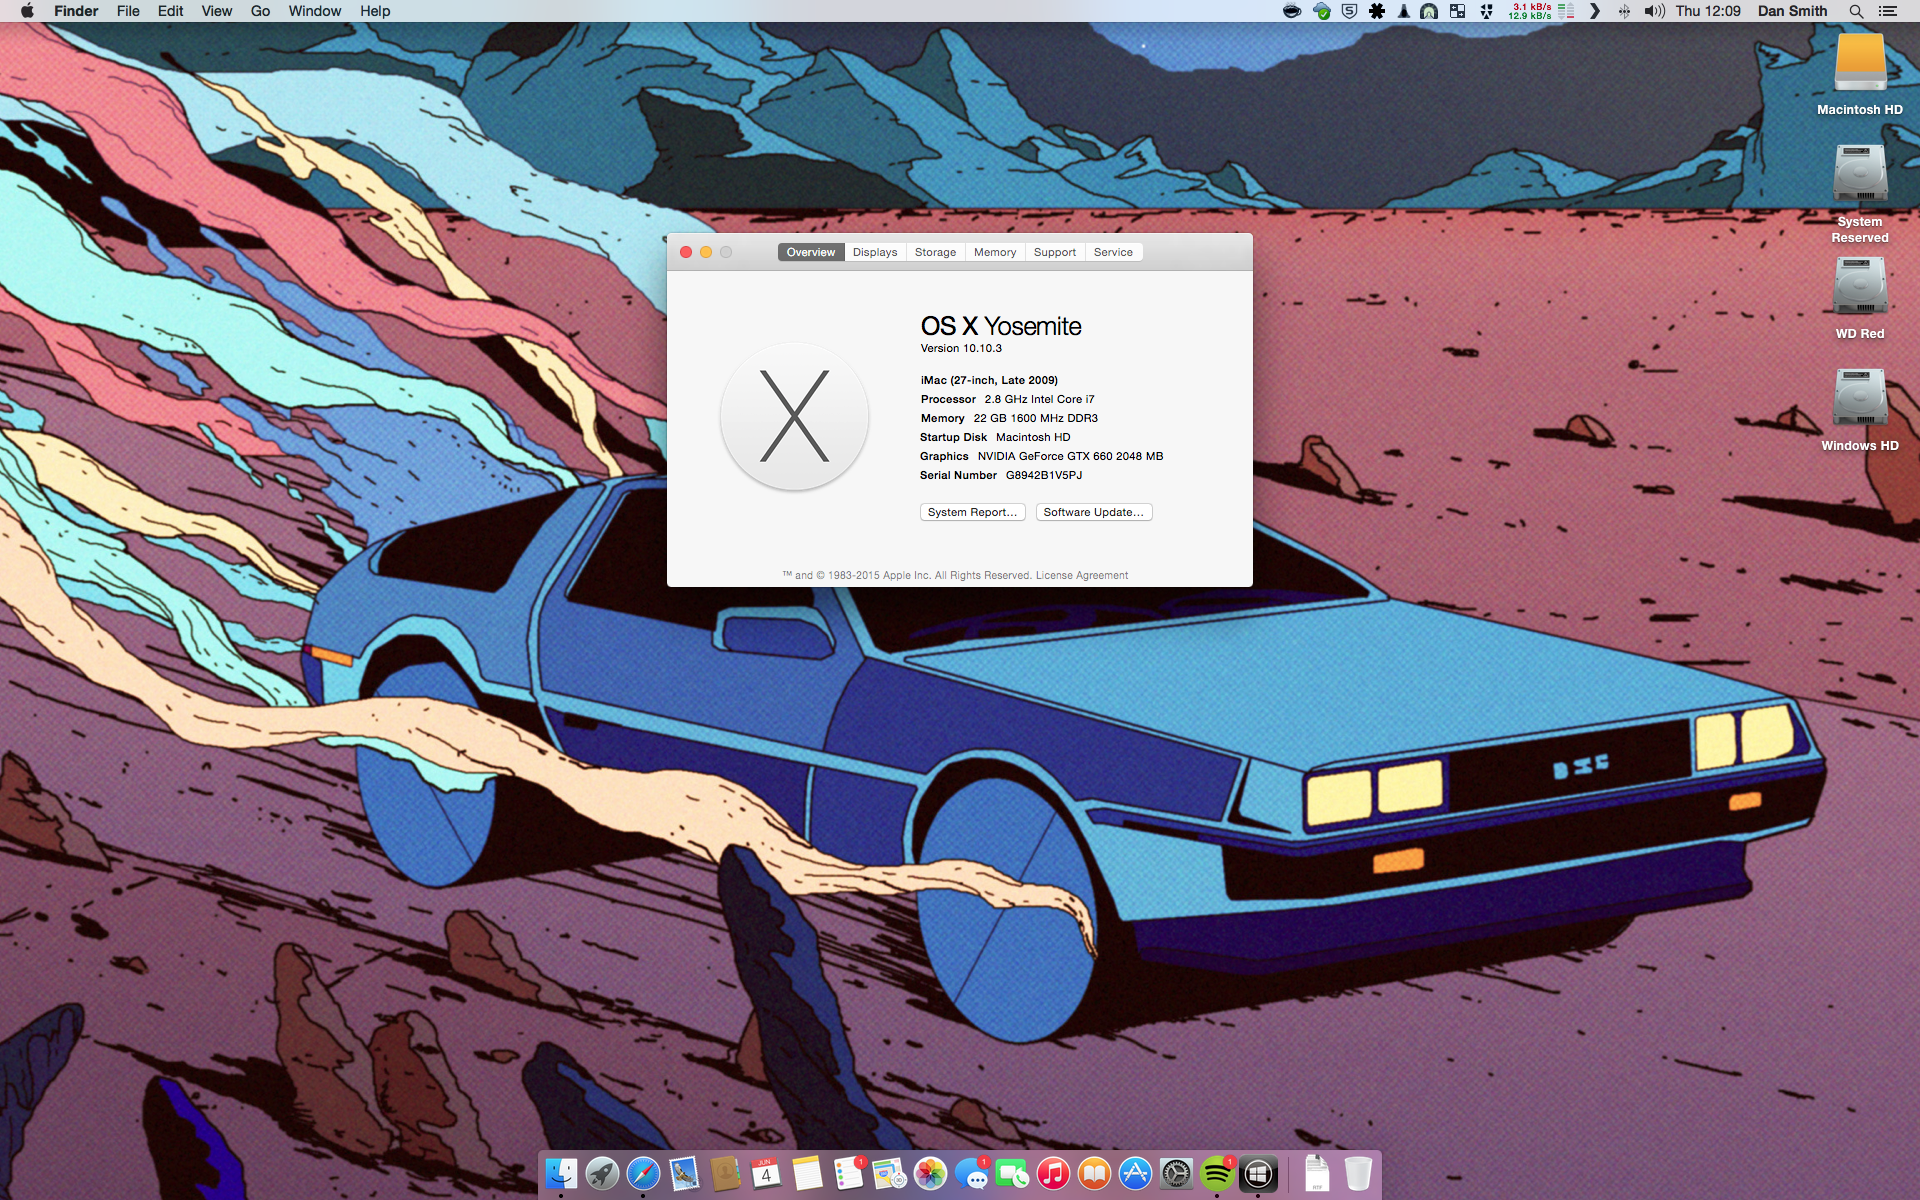
From OS X 10.6 to 10.10

The system was first built to accommodate OS X 10.6 Snow Leopard, and 4 years later it is still fighting on strong with most recently having OS X 10.10 Yosemite installed. Considering the system was first built when I was at uni (thank you student loan), it has held up very well over the years. The main two benefits being; the reduced upfront cost of the components compared to a genuine Mac, and the added future proofing gained by using commercially available off the shelf components (non-Apple hardware).

Make your own

I’d recommend to anyone who wants to use OS X as their main OS to have a go at building a Hackintosh. It’s no where as difficult as it used to be getting a stable build working, there are countless forum threads and YouTube videos detailing successful build combinations like mine above. Not only is it a great learning experience to build your own computer, most importantly you also save ALOT of pennies!

To give you a kick start, Tonymacx86.com is a great resource for building your first Hackintosh, with new detailed and up to date build guides released monthly. Link here

Categories
Tech

SSD Hackintosh: SATA III 6Gb/s working on Gigabyte GA-X58A-UD3R

Samsung 840 EVO

It’s really frustrating to have a high-spec computer and for it to feel slow and sluggish as time goes on. Modern desktops and laptops still outperform the computing capability of smartphones and tablets, however I can’t deny that I find myself reaching for my iPhone more often than not when wanting to access the Internet. This is simply just because browsing the web on a device that utilises flash memory provides a faster and more responsive experience, rather than hanging around like a spanner waiting for things to load.

Drive manufactures have really changed the game when it comes to drive latency, with the use of non-volatile NAND flash memory as storage devices. Solid state drives as they have come to be known, aka SSD’s, utilise flash memory instead of spinning platters found in traditional hard disk drives (HDD’s). This results in SSD’s having extremely fast read and write speeds that even the fastest traditional HDD’s simply cannot match. So the solution is to swap out the existing SATA HDD for a SSD equivilent.

So recently my Hackintosh was feeling a little slow, so I asked the rents’ nicely if I could have an SSD for Christmas as I didn’t know what else I wanted (my family firmly believes in practical christmas presents). So on Christmas day after opening a few presents I gladly came across a Samsung SSD 840 EVO 120 GB with my name on 😉 as well as a professional series soldering iron, iPhone alarm clock and electric coffee grinder (sadly, no car battery chargers or fire extinguishers this year).

After arriving back in London at the weekend, I installed the SSD into my Hackintosh in addition to the existing 3 HDD’s. I used the opportunity of the new OS install to upgrade from using OS X 10.8 Mountain Lion to the most recent 10.9 Mavericks. There are mixed reports on google whether the Gigabyte X58A-UD3R works with Mavericks, but I can confirm that it works without a hitch. All the usual areas of difficulty associated with Hackintosh installs work correctly; sound, sleep, graphics (EVGA Nvidia GTX 660 Ti 2GB), bluetooth and USB 3.

To my complete surprise I also noticed that the SATA III ports were now capable of running at the full speed of 6 Gb/s instead of the usual SATA II 3 Gb/s. I have tried the Samsung SSD using both speeds and I can report the following (Old HDD speeds also shown).

  • Samsung SSD 840 EVO using onboard Intel SATA II – 270 MB/s read / 230 MB/s write
  • Samsung SSD 840 EVO using onboard Marvell SATA III – 390 MB/s read / 230 MB/s write
  • Samsung HHD HD103SJ using onboard Intel SATA II – 43 MB/s read / 43 MB/s write

My HackPro now turns on in just a few seconds (once past the boot loader), which is just FAB!.