Spread out over the past few months I have been gradually reverse engineering the entire wiring diagram for my Mk1 Escort. This is for when I recreate some of loom to update and surpass Ford’s original specification in order to be more accommodating for my MS3 ECU and larger loads placed upon the cars electrics. In addition to having a more reliable and updated car, I personally benefit from the knowledge gained by having a good understanding of the attitude Ford engineers of the 70’s/80’s had with designed cars. My research has also led me to writing more of my own more in documentation which provides much greater detail than some of the existing diagrams and service manuals currently available.
Recently I have found myself modelling a few connectors I will need for upcoming project work on my Mk1. I believe most of the connectors are proprietary and were produced specifically by Ford, resulting in the connectors being decades out of production and cannot be sourced online easily (or cheaply).
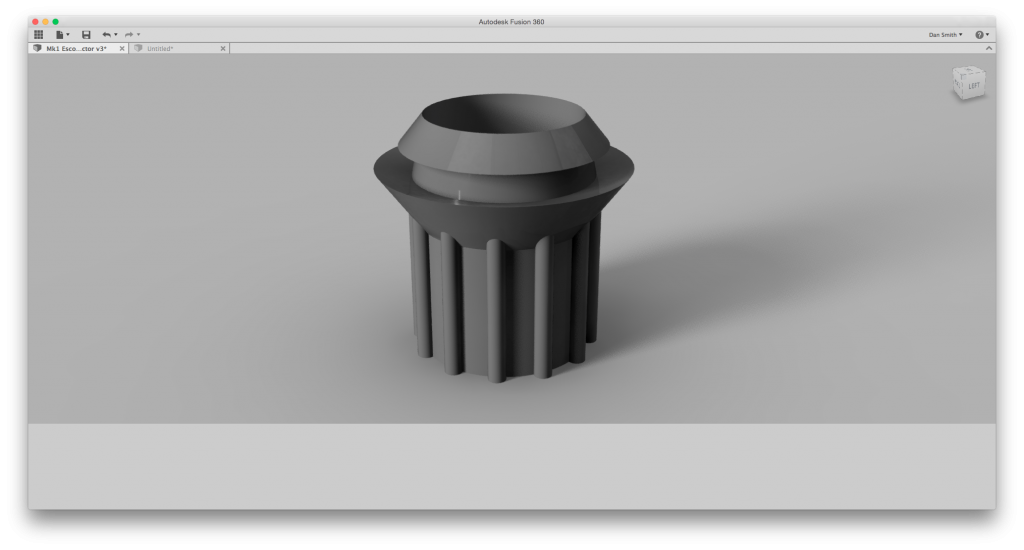
This 12 pin round male connector connects the main 2/6 pod cluster gauges to the main loom inside the dash. Using a set of digital vernier callipers I measured and poked all over the original connectors to document the measurements as best I could. I then fired up Autodesk Fusion 360 for the first time and began modelling after watching a few YouTube videos showing basic parametric modelling techniques.
Being my first ever 3D CAD model and also my first time using Fusion 360, I was very pleased with the final model outcome.
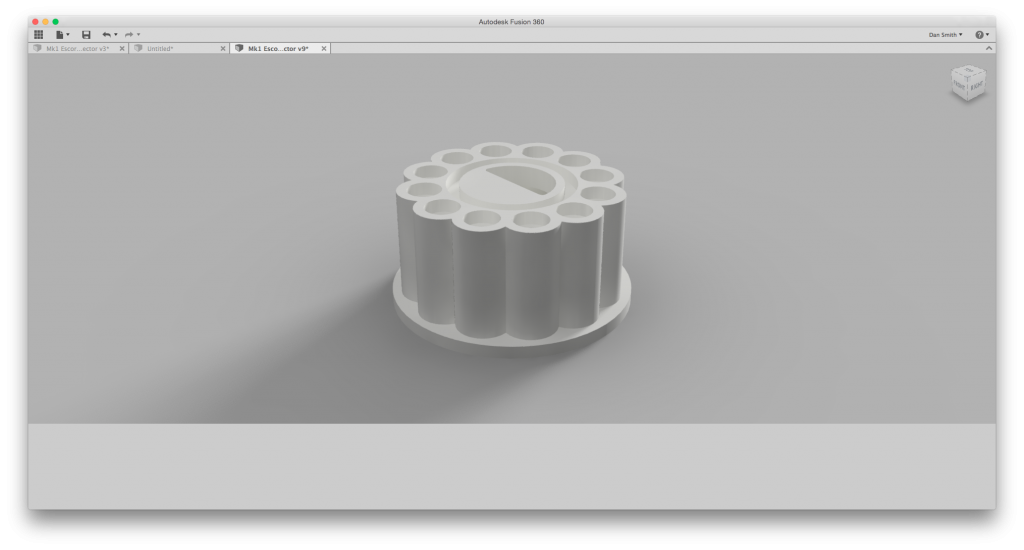
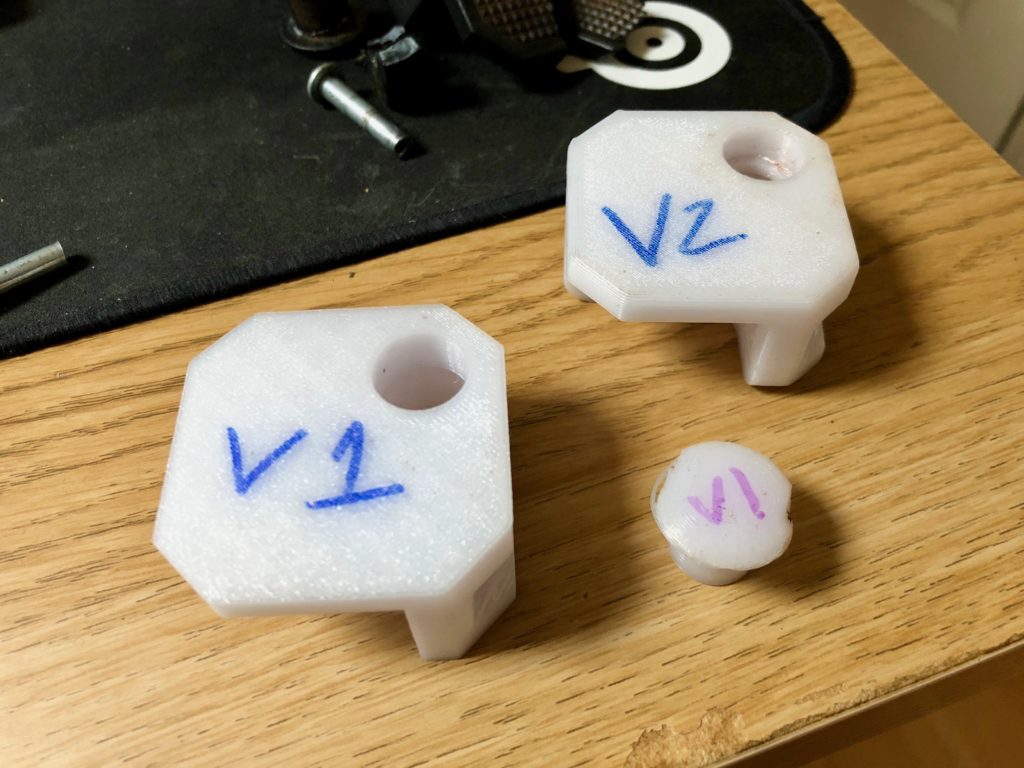
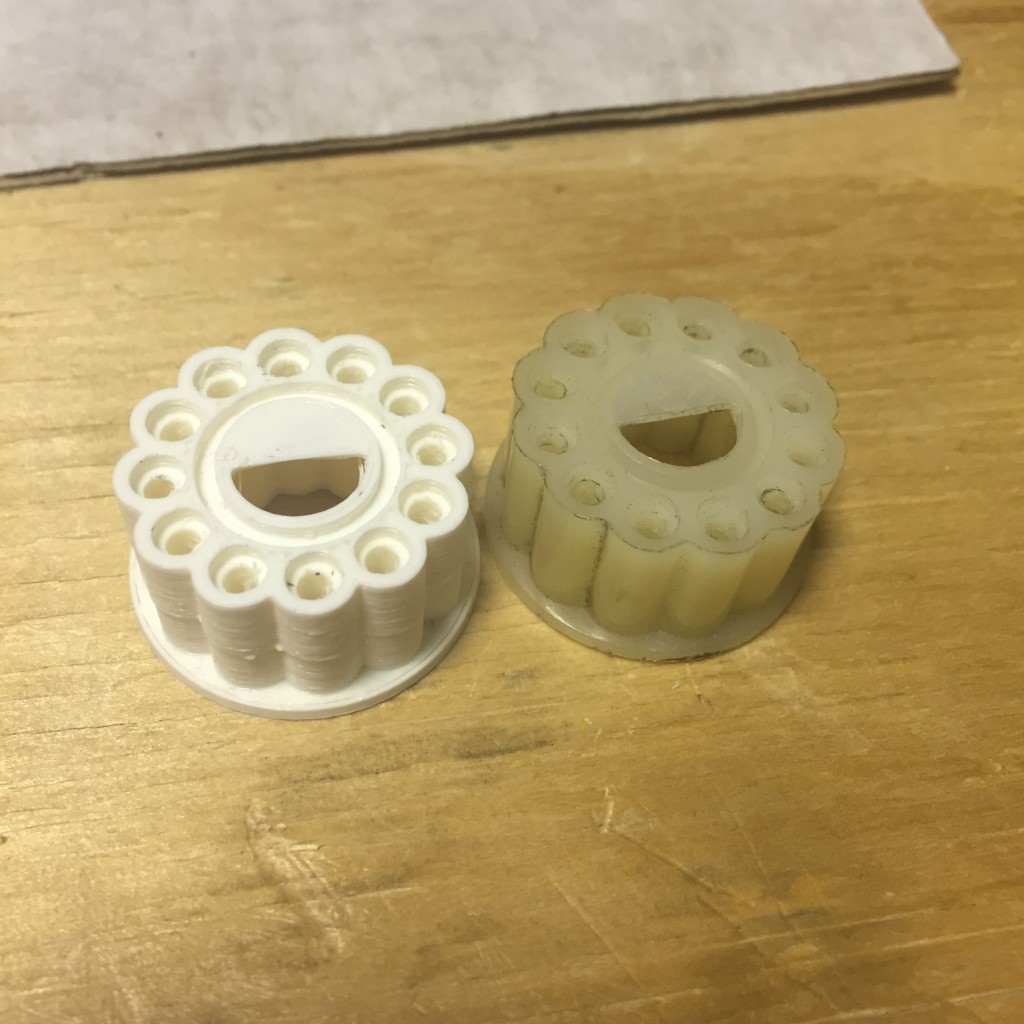
It was 3D printed using white PLA plastic with 100% fill rate on a Ultimaker 2 3D printer. I understand PLA is not ideal material for automotive applications, so I will most likely reprint in ABS plastic when it comes to using the final part.
This was also one of my early 3D prints, and was my first time printing something I had directly modelled myself. The white part to the left is my 3D printed copy and the clear part on the right is the original.
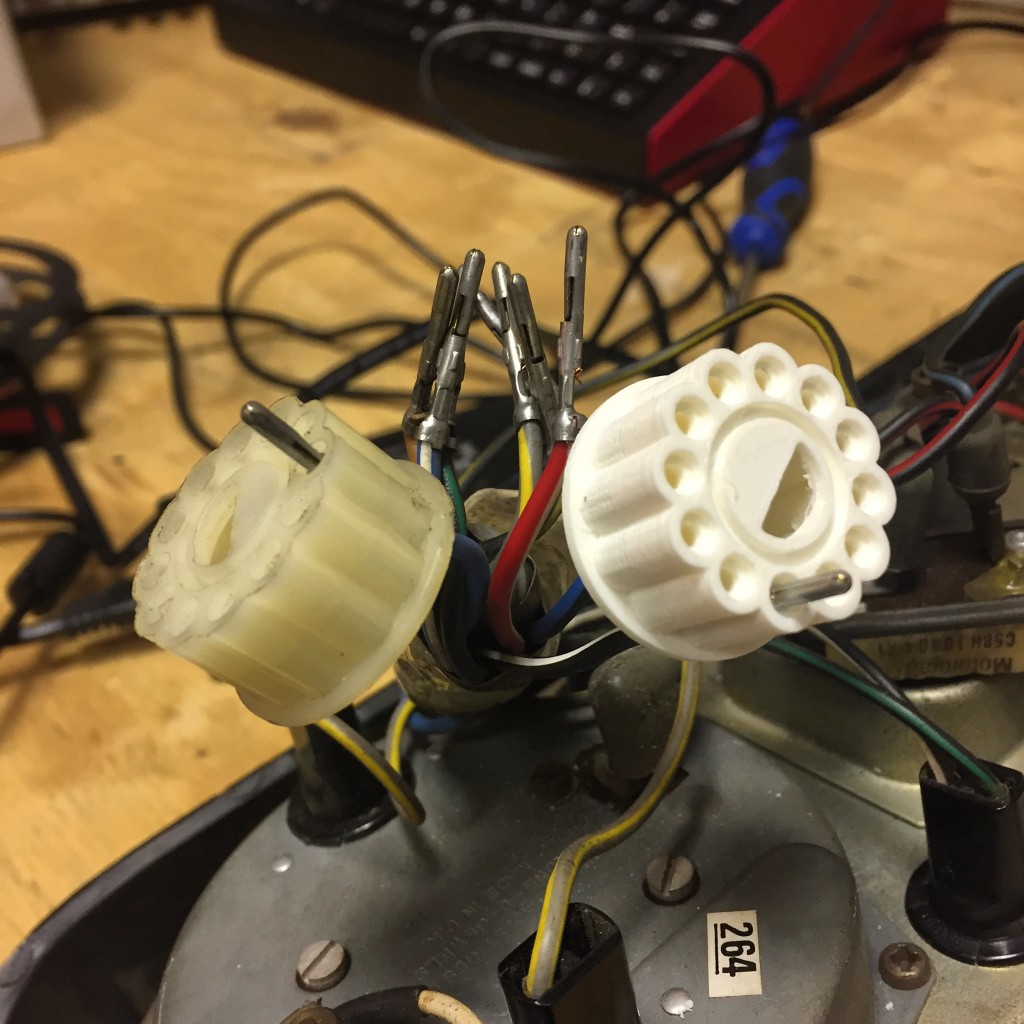
The pins fit nice and snug on the copy as they do on the original piece.
My latest model is the 8 pin connector which pokes through the firewall for the main engine loom. I will probably have a go at printing this in flexible PLA filament, however I really do not think the material will be up to scratch coping with the harsh environment exposed in the engine bay (high temp, oil, moisture, extreme vibrations etc). So this model will most likely serve as a mould of some kind in order to allow use of a more suitable material (yet TBD).
I’ll keep posting updates as I continue to model and print new parts and pieces for my Mk1 Escort.
