Intro
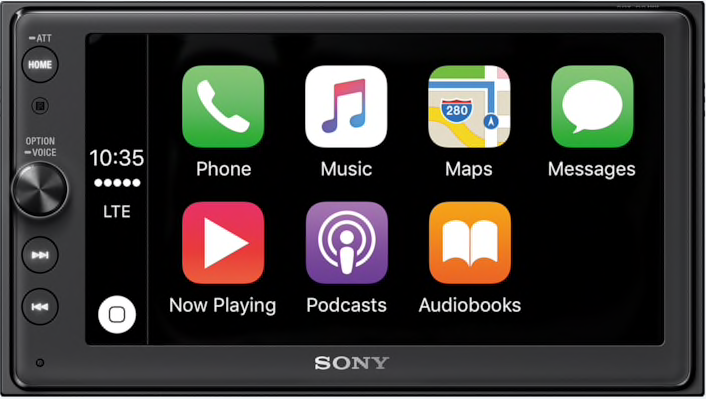
This summer I picked up a Sony XAV-AX100 head unit to replace the stock Blaupunkt TravelPilot EX in my 2004 Ford Mondeo Mk3. The Blaupunkt was slowly disintegrating with age and suffered from annoying issues like being able to hear a high pitched whine in sync with engine speed (I actually thought it was the turbo whistling the first time I heard it). In comparison; the XAV-AX100 is cheap, has both Apple CarPlay and Android Auto, has a minimal and flat native UI meaning it should age well with time and is still receiving regular firmware updates from Sony.
I was about to undertake the long drive to Edinburgh and thought the 16 hour return trip would be more than enough to test out the unit. It was purchased from Halfords for ease of return incase I didn’t like it. Also this was early Friday evening and I was due to drive to Edinburgh Saturday morning, so I installed the radio on Halfords carpark as I knew I’d need some adapter cables but didn’t know which ones.
The head unit installation was simple enough however the steering wheel controls for volume up/down, seek next/back and mode selection didn’t work. This post covers how I got the steering controls fully working and documents a couple of mistakes I made along the way which could save time and effort for those reading.
Mistake #1 – Purchased incomplete harness adapter
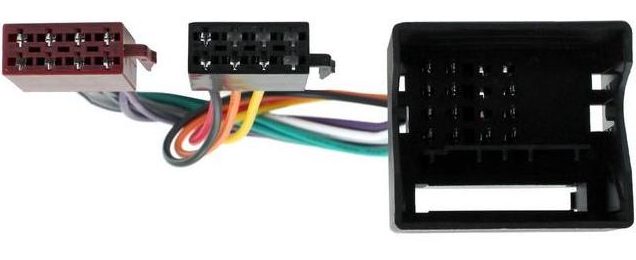
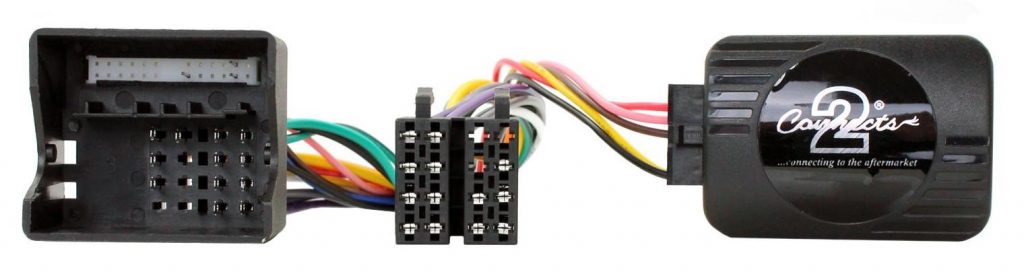
During the initial install at Halfords I ended up using two adapters; a quadlock to ISO adapter for the main harness and a ISO female to DIN male adapter for the radio antenna.
Whilst this adapter did the job to get the radio working in time for my trip, it doesn’t include the necessary connector blocks and terminals pins inside the quadlock to interface with the steering wheel controls.
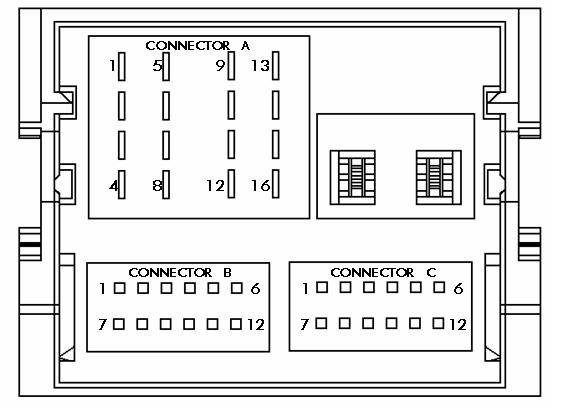
If we check the pinout of the quadlock connector on the Ford harness, the pins we are interested for steering wheel controls is pin 6 (SWC) and pin 8 (SWC Gnd) located on connector B.
As you can see below the Halfords adapter has a gap inside the connector where the missing connector block should be (image has been rotated to match pinout orientation). Obviously using adapter isn’t going to result in working steering wheel controls in its current form.
Ford Steering Wheel Controls
Up to this point I’d identified the pins relating to steering wheel controls on the Ford harness but I didn’t know how when I pressed a button on the steering controls that was signalled to the headunit. Before I’d removed the stock Ford radio my gut instinct was this would all be CAN-bus or LIN-bus controlled however when looking back at the pinout on the Ford quadlock, pins 9 and 10 on connector A are responsible for CAN and I very much doubted a car as old as mine would have multiple CAN networks.
The diagnostics wiring diagram in Autodata for my specific Mondeo model verified that there was only one CAN network and so everything was on a flat network, great this makes it super simple to sniff traffic.
I confirmed that the controls wen’t CAN based by hooking up a Macchina M2 to the OBD port and firing up SavvyCAN to filter through CAN frames as I was pressing buttons on the steering controls with the IGN on/engine off. Nothing in the filtered traffic showed showed a timing pattern inline with when I was clicking the steering controls, so this ruled CAN out for me.
I then stumbled across this very useful post which indicated the Ford steering controls used a simple resistor ladder as shown below.
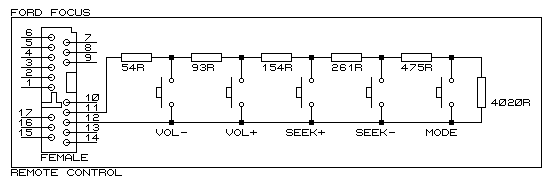
The author of the post was writing about connecting his older Sony radio to his Ford Focus, and he’d come up with a small microcontroller to handle the difference in Ford’s resistance values to ones the Sony radio would correctly understand. At this point I figured I’d need something along the lines of one of these micro controllers… I would turn out to be wrong.
Mistake #2 – Headunit 3.5mm remote control jack
Now that I’d figured out what was going on from the Ford harness side, it was time to do the same for the headunit.
The steering controls aren’t passed to the headunit using the ISO connectors like the rest of the wires, instead it has a dedicated 3.5mm audio style jack that it is used for ‘steering wheel remote control’ according to the XAV-AX100 user guide. Sony doesn’t specify any further instructions on how this can be wired up other than to contacting your local auto audio professional for more guidance.
The user guide does mention that the RC-SR1 connection cable as the only other related part, but I couldn’t find that exact Sony part available in the UK.
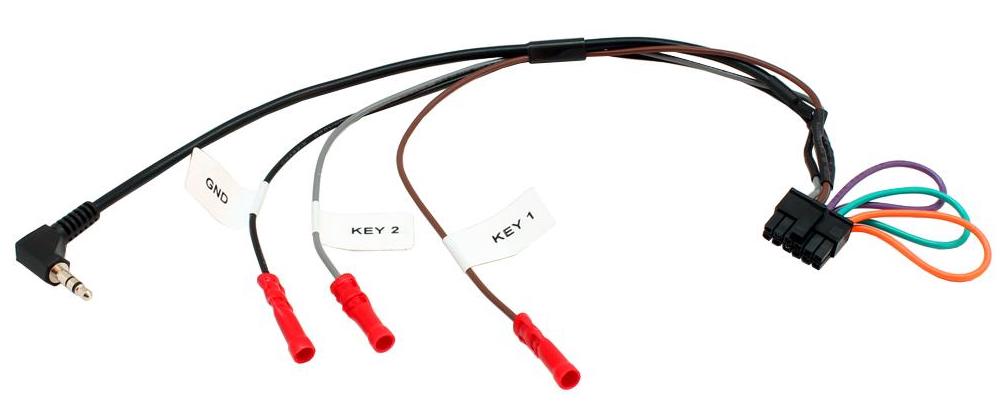
However searching for this part did lead me to this product on eBay (manufacturer product info) which appeared to solve all my issues, a new harness with all the correct blocks and pins in place and a microcontroller to translate the Ford resistance values to ones Sony headunits can understand and included the 3.5mm remote jack connector!
I ordered and installed the new adapter harness. It appeared to be a universal product made to work with several headunit brands, the instructions claimed it worked out of the box with Sony which turned out to be partially true as only volume up/down would work. This confirmed it was at least possible to get something from the Mondeo steering controls working with the XAV-AX100 which I was happy about.
With some further tweaking in the Sony settings there is an option to configure custom steering controls, once selected you enter a wizard where you press and hold the action on-screen you wish to configure (e.g. seek forward), then you press and hold the physical button on the steering controls, after a few seconds the headunit registers the button press and prompts for the next button. This took a while to figure out and the instructions didn’t help clarify the steps required here, but through this method I was able to get the volume up/down and seek next/back buttons working. However I was unable to get the mode button working which was frustrating.
It was only after doing this process that it occurred to me that newer Sony headunits are capable of dynamically adapting to whatever steering controls are present in your vehicle by reading the resulting voltage from each of the button presses (altered by resistor ladder) and storing them in memory. A much more elegant solution than hardcoded values and therefor the microcontroller isn’t needed for this setup to work…
Final setup
I removed the microcontoller from the setup but left the new harness adapter in place. Using a multi meter I figured out which wires on the 3.5mm patch cable correspond to the 3.5mm jack positions and added in a couple of temporary jumper wires to complete the circuit. Yo behold after going through the steering control wizard one more time I was able to get all buttons working, using a much simpler harness too now that the microcontroller was not needed.
This is how its hooked up:
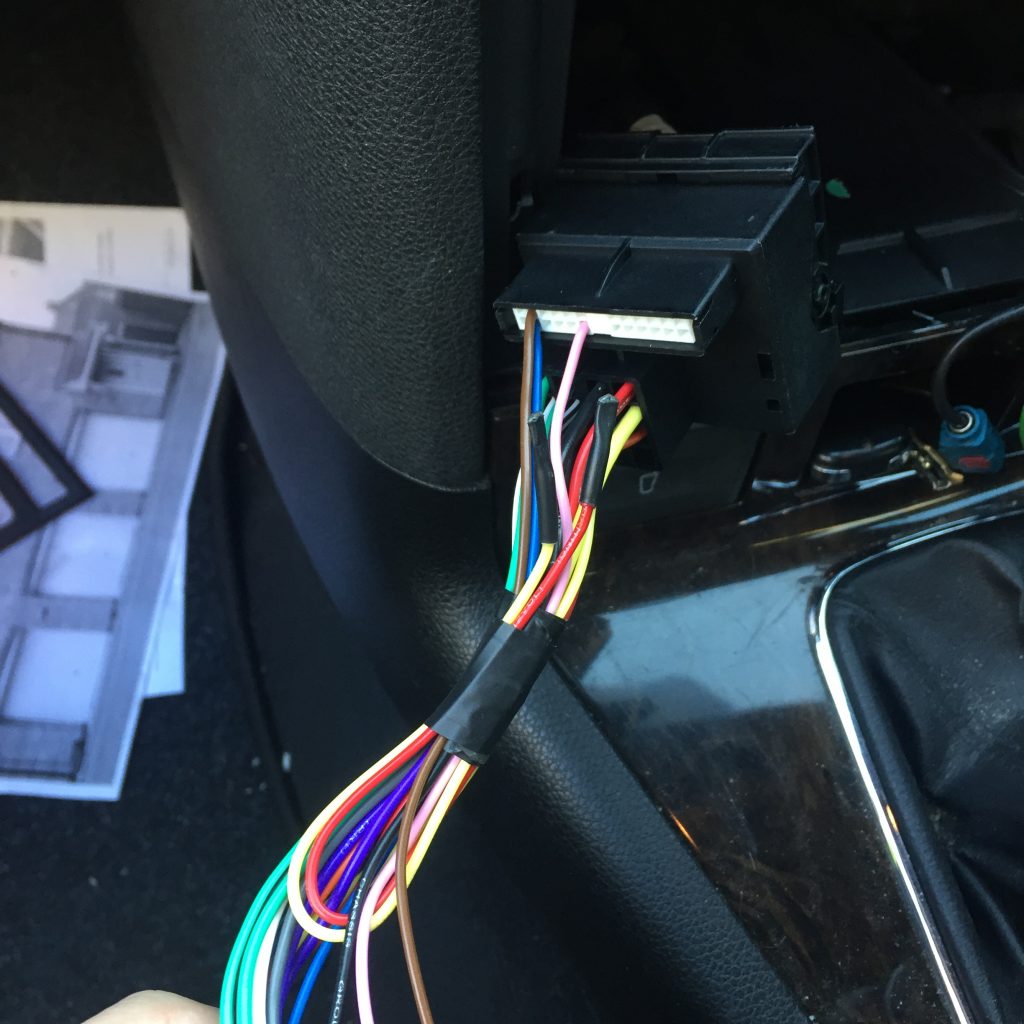
- Ford harness, Pin 6, Connector B -> Pink wire -> Black wire -> Innermost 3.5mm jack position (Closest to black plastic boot/strain relief)
- Ford harness, Pin 8, Connector B -> Brown wire -> White wire -> Outermost 3.5mm jack position on (Furtherest away from black plastic boot/strain relief)
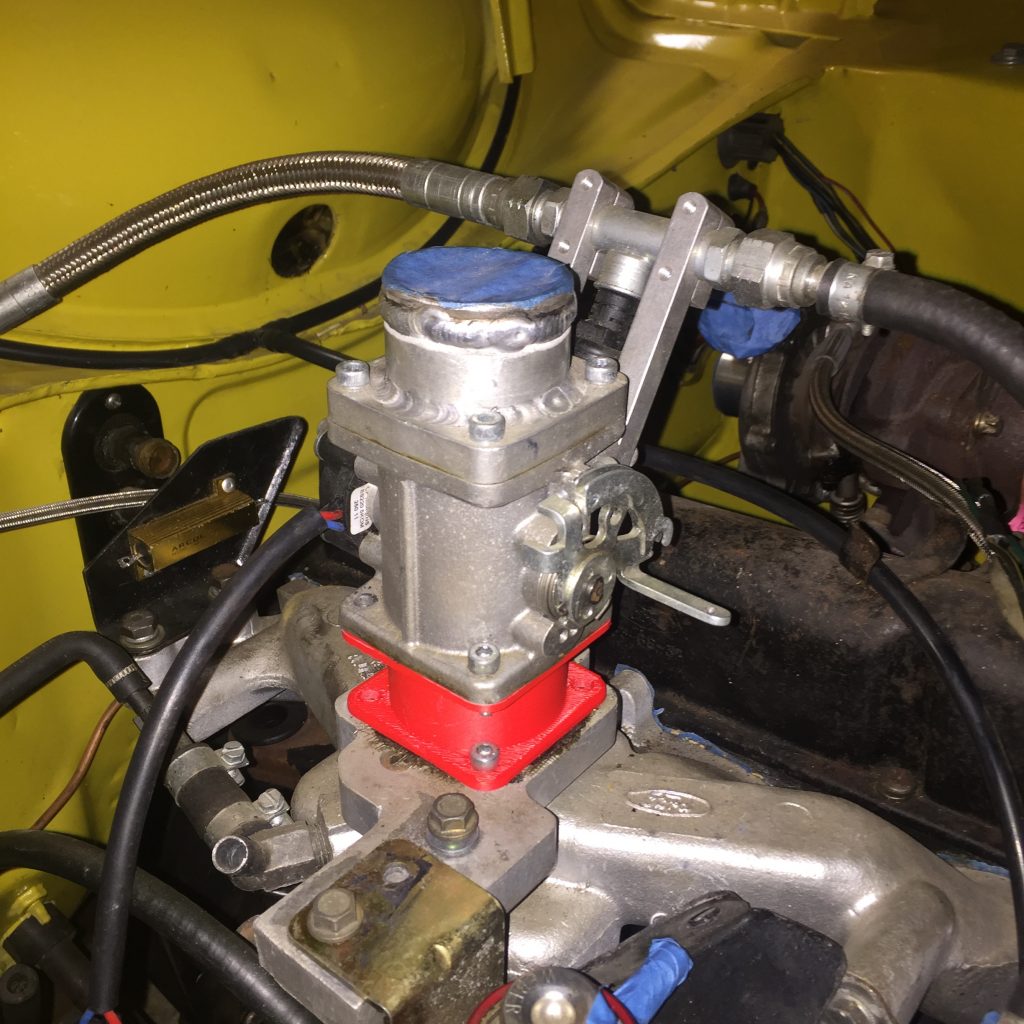
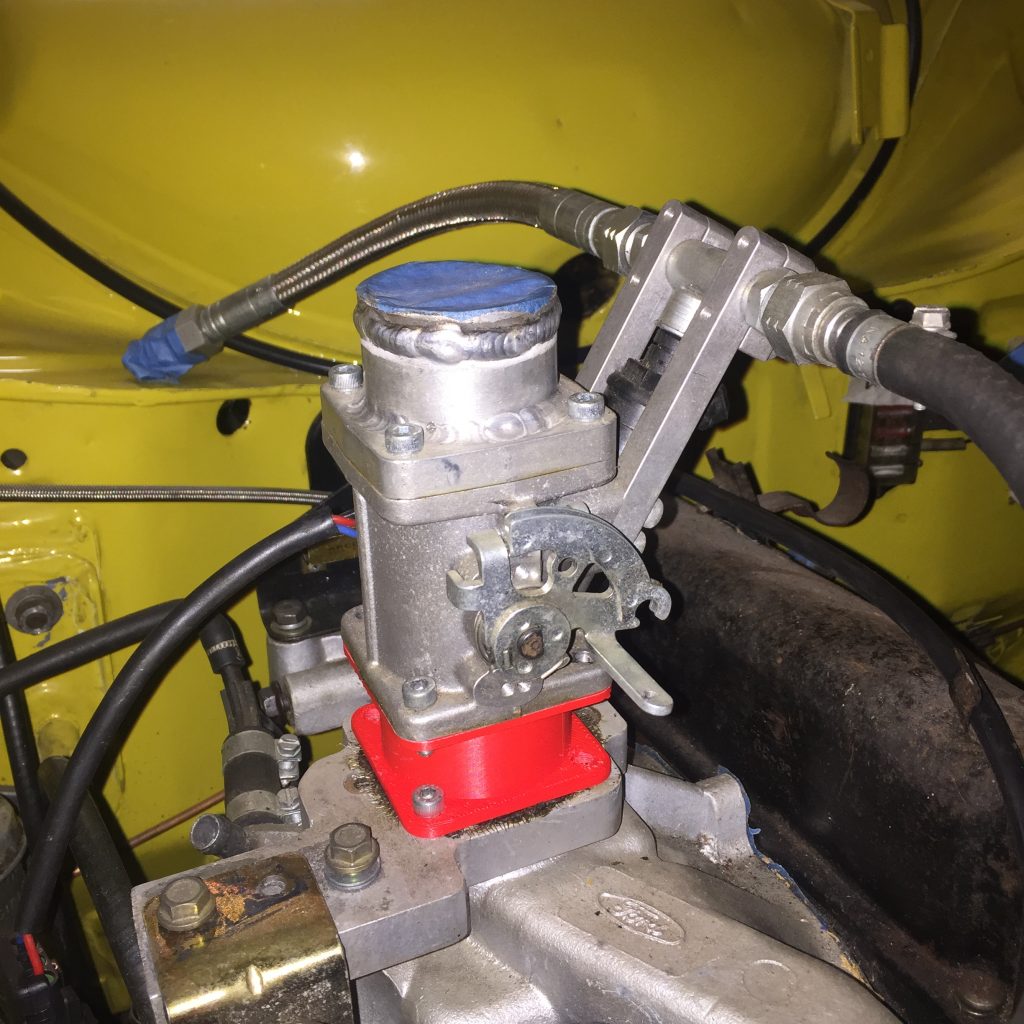
Some photos to illustrate the setup.
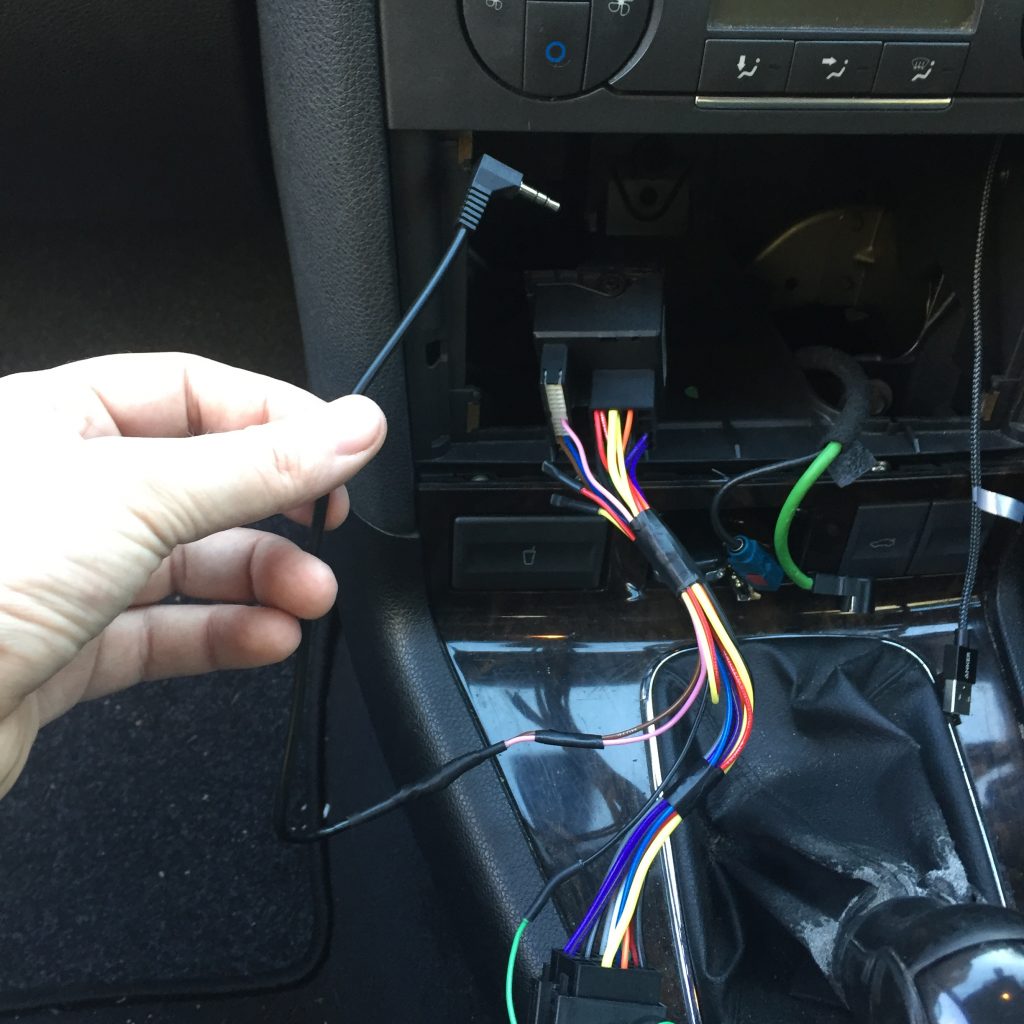
Here you can see the pink and brown steering control wires directly connected to the 3.5mm jack (no microcontroller or anything else in between)>
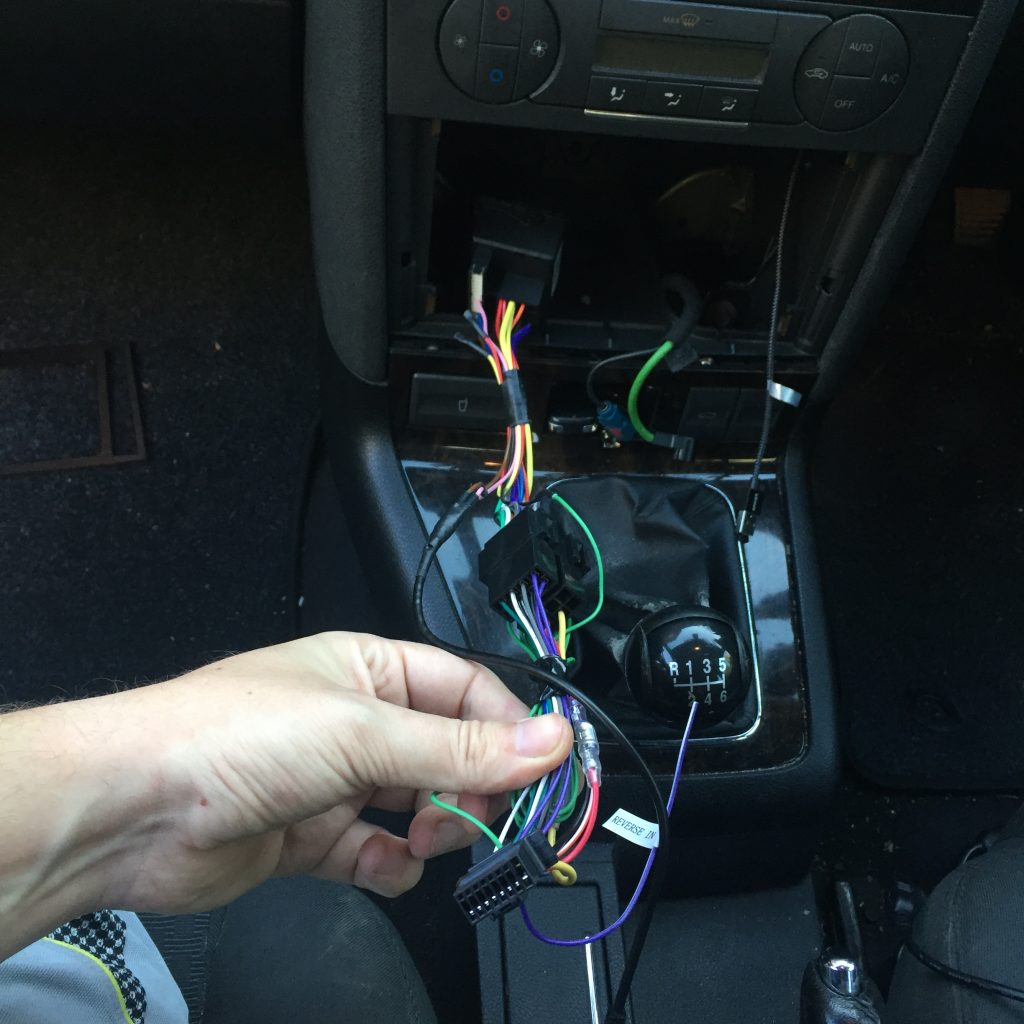
I cut off the two connectors for the microcontroller and removed any unnecessary dangling wires to simplify the harness.
The spare permanent live and switched IGN wires were kept as handy future spares and the handbrake switch was connected to the spare Gnd (Android Auto requires the handbrake switch to be connected).