Categories
Tech

Gigabyte GA-X58A-UD3R 48GB RAM working install

Corsair Vengeance 16GB RAM kit

A few days ago I spotted an awesome RAM deal on HotUKDeals, Amazon UK were selling 16GB of Corsair Vengeance low profile (2 x 8GB) DDR3 1866 Mhz for only £83.57 inc VAT + delivery. My order was placed at the right time so it seems, as according to Amazon price checker camelcamelcamel £83.57 is the lowest price recorded.

I already had a set of this RAM lying around, so ordered two more kits for a total of 48GB (6 x 8GB modules). 24GB is the official maximum supported RAM for the X58 chipset, but after reading online about some success stories with 48GB I thought it was worth a shot. Popped the modules in my Gigabyte GA-X58A-UD3R Rev 2.0 and can confirm it runs as sweet as a nut. OS X Yosemite recognises the full 48GB and all 6 modules correctly, with no issues reported so far.

A nice quick win, a rarity so it seams for Hackintosh builds 😛

Categories
Tech

OS X 10.10 Yosemite GA-X58A-UD3R Clover install

Clover project logo

Clover > Chameleon

After many years of running the Chameleon boot loader, the time has come to climb Hackintosh ‘Everest’ and make the transition from Chameleon to using the Clover project boot loader. Like Chameleon Clover is a boot loader that allows Mac OS X to run on non-Apple hardware, however it is meant to bring numerous benefits and fixes over the former solution.

From reading forums online and after several previously failed attempts I don’t expect this to be an easy task, but this time I am determined to get it working.

Motivations

Clover is labeled as real EFI and Vanilla than Chameleon. Apple for one reason or enough has recently spruced up their security and services that used to run fine; like iMessage, no longer work. More commonly sleep has historical always been a sore spot for Hackintosh’s. Clover claims to alleviate most of these issues, only time and effort will tell.

Prerequisites

  • Disable USB 3.0 controller in BIOS
    • The installation kept freezing upon launch in Clover, after some reading I realised it was linked to the USB 3.0 controller. After disabling the USB 3.0 controller installation proceeded without issue. I will re-enable support at a later date and see if the controller still causes problems.

Installation

After a lot of reading online and testing different configurations I managed to get a working system booted, but my experience wasn’t as straight forward compared to other peoples from what I can tell.

I followed steps 1 to 3 from TonyMac’s guide clover guide. I then created a UniBeast USB in order to boot the freshly installed system, as for the life of me I could not get the system to boot using a USB installed with Clover. Once booted into the system I downloaded the latest version of Clover and began the installation process, which is similar to step 4 from TonyMac’s guide.

Clover USB installer checked configuration settings:

  • Install clover in the ESP
  • Bootloader > Install boot0af in MBR
  • CloverEFI > CloverEFI 64-bits SATA

Once installed I rebooted the system, removed the USB and was gladly presented with the OS X boot screen, Happy day!

Post Install

  • My Nvidia 680 GTX is natively supported, therefore I did not enable the Nvidia inject option.
  • Audio I got working using the usual method of Multibeast, I haven’t had any luck with getting it working using any of the alternative Clover methods yet.
  • Network also I got working using Multibeast
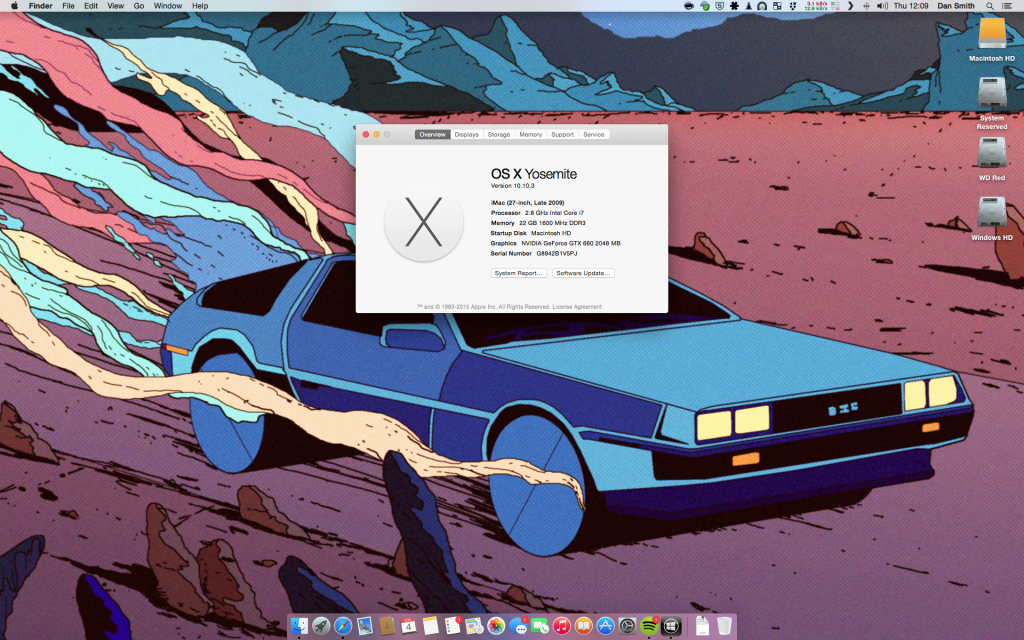
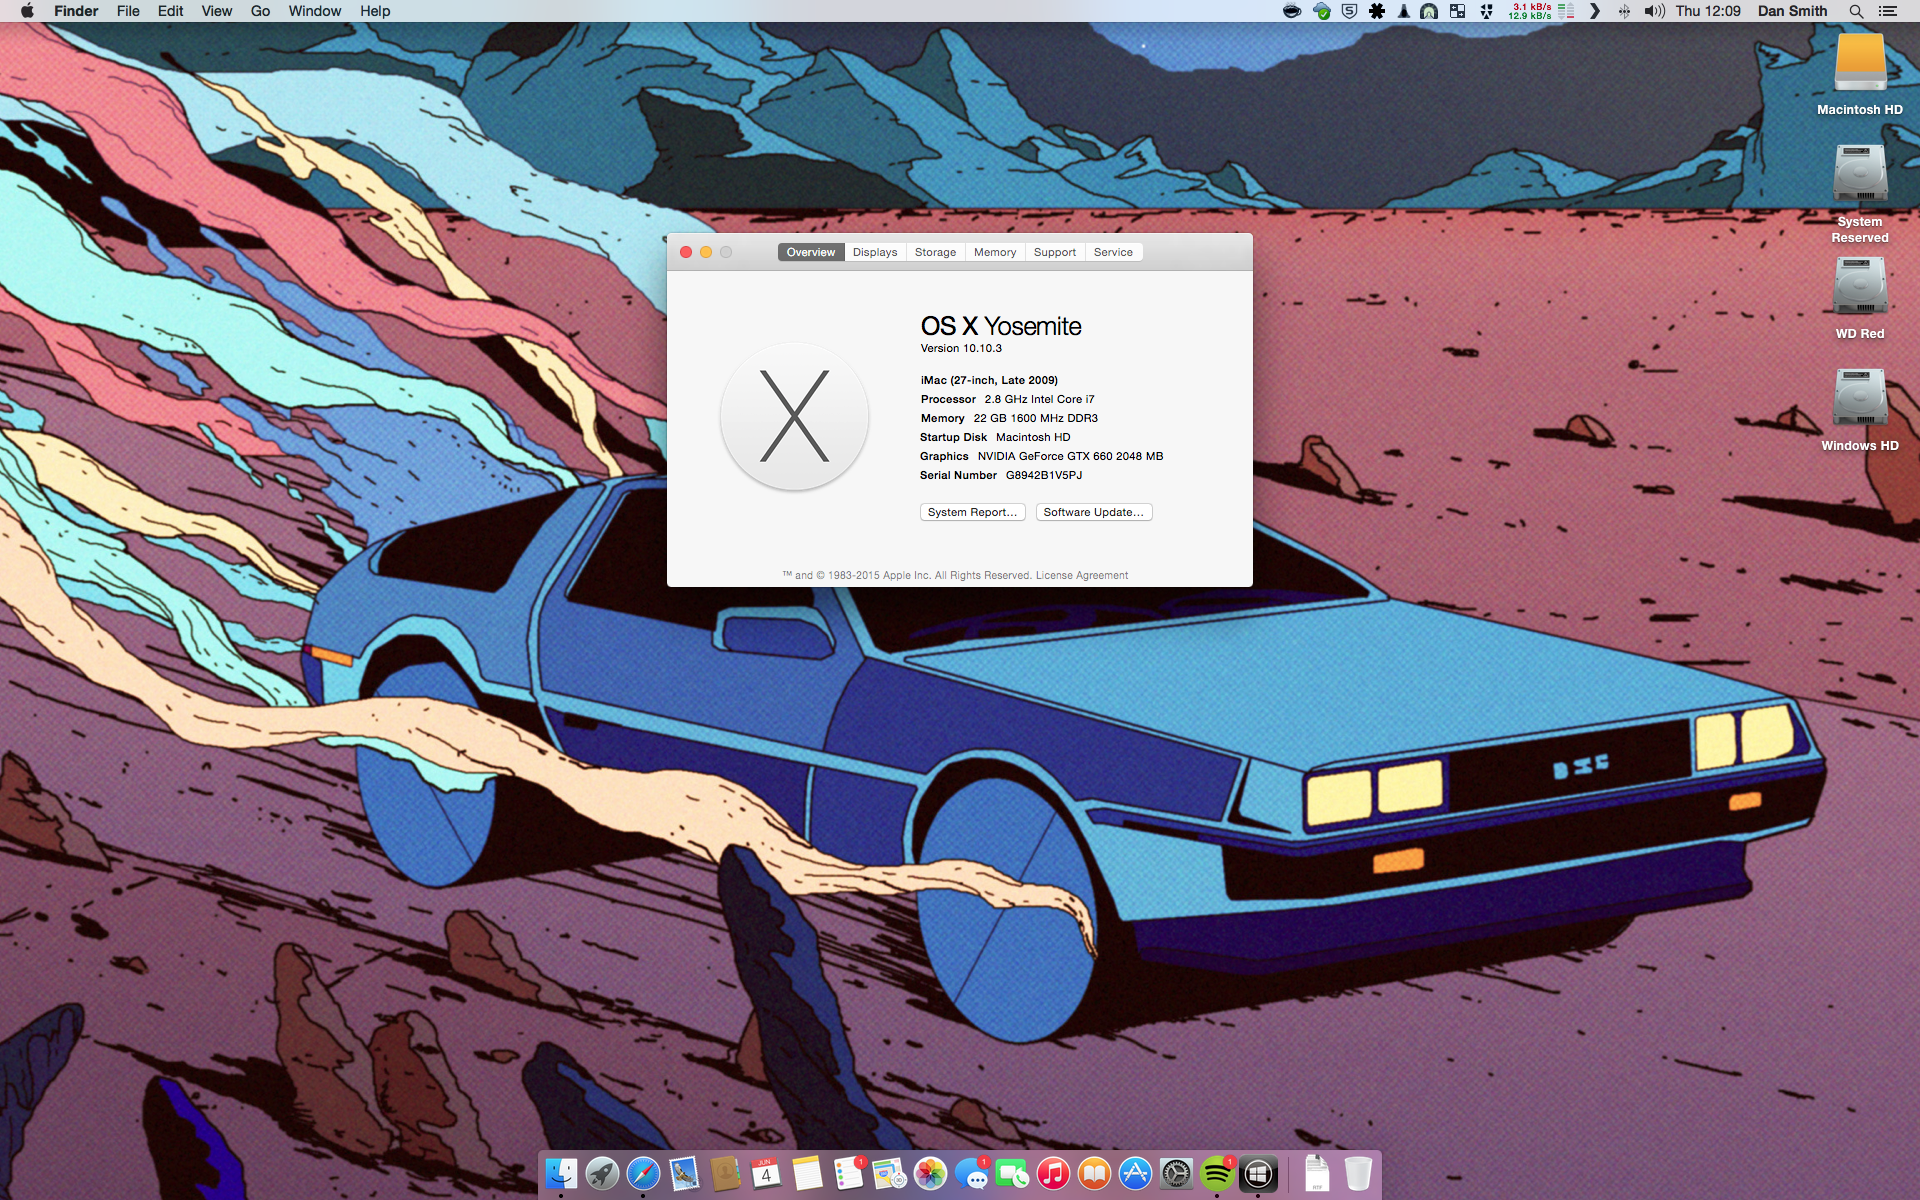
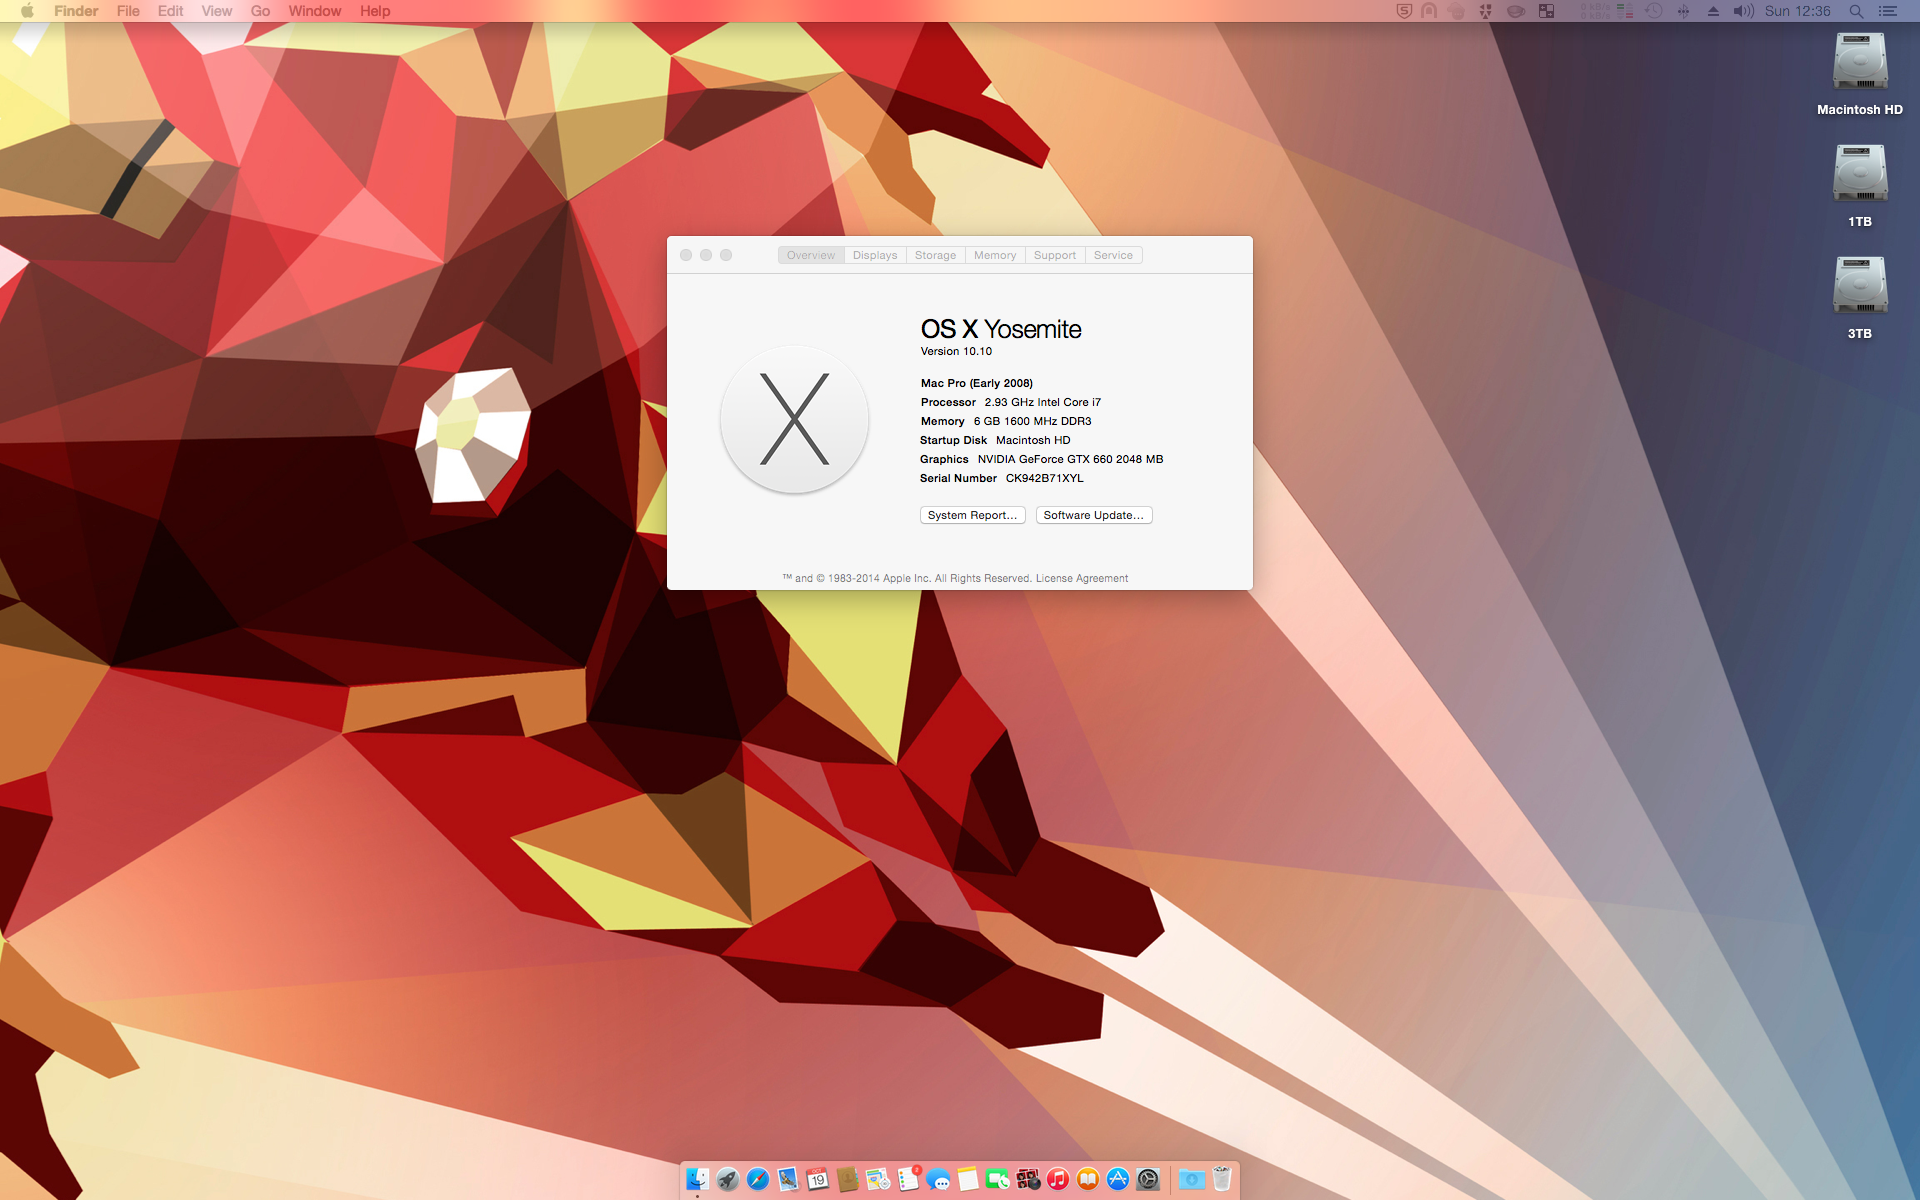
  • My 26GB RAM setup stopped working, but I have a feeling this might be linked to some of the SMBIOS settings as the Mac is now reporting as an iMac11,2 instead of my previous setup as a MacPro3,1

Either way I’m glad it is finally working.

About this Mac

Categories
Tech

Install system-config-firewall-tui on CentOS 6.6

To use the Firewall CLI package ‘system-config-firewall-tui’ a few extra dependencies need to be installed that by default are not resolved.

Install dependencies and start required service, then the firewall utility should start without error.

yum install system-config-firewall-tui dbus dbus-python
service messagebus start
system-config-firewall-tui
Categories
Tech

Hack Pro (Late 2013) // Build update – October

20141028-Hackintosh-094

The other day it clicked that I hadn’t posted any updates regarding my Hack Pro (Late 2013) Hackintosh build since my last post way back in January.

2014 has been a crazy busy year for me so I’ve struggled to find the time to work on ‘The Bin’ as I like to call it. It hasn’t helped that roughly for the past 6 months the bin has left in the workshop back at my family home, with me stuck in London with no workshop. So work towards the project has been very hit and miss, with me only able to work on it when I found myself back home for an unexpected weekend visit.

That said, I would like to share with you my progress so far on the build. With project being away from me for most of the time, I have had a lot of time to think the design over. Initially my time was

This post is one big post that should of been many smaller posts, so be prepared for one long post with lots of build photos. I’ll do my best to post the build details in chronological order, solely relying on the photos date metadata to guide me.

The build so far

It’s been a challenge to find components that will deliver good overall computing performance, that are reasonably priced within the chosen budget, and most importantly will conform to the space restrictions of fitting comfortably in the small bin.

Categories
Tech

OS X 10.10 Yosemite GA-X58A-UD3R Hackintosh install

OS X 10.10 Yosemite

Over the weekend I was battling with installing the latest release of OS X on my Hackintosh. I’m happy to report that I now have a stable install of OS X 10.10 Yosemite running smoothly on my GA-X58A-UD3R, with everything working (network, audio, bluetooth, GPU) except sleep.
I’m still using UniBeast and MultiBeast provided by tonymacx86 for now, but I intend on migrating to the much superior Clover EFI bootloader when I find time. The Clover project has excellent documentation highlighting the differences between OS X bootloaders for Hackintosh’s on their wiki.

OS X Yosemite Hackintosh
Another Hackintosh with Yosemite installed and working

I wouldn’t listen to upgrade Hackintosh 10.9 to 10.10 post too much when it states that the upgrade is an easy one. Still the post does list some useful steps.
On my upgrade attempt, I ran into a seemingly endless supply of problems as detailed below, thankfully I was able to tackle and fix them all. Listed chronologically in order, same order as I faced them.

  • First ran into an error message that kept popping up during the Yosemite install, ‘This copy of the Install OS X Yosemite application can’t be verified’. After some reading, seems as though a few others were running into a similar issue also. After downloading a new copy of the Yosemite app bundle and creating a new UniBeast USB installer, the installation began.
  • Issue found when using UniBeast (5.0.0). Kept receiving error messages from the bootloader about the kernel couldn’t be found when booting. UniBeast 5.0.1 was released which seemed to fix the issue. Thread detailing the issue here.
  • Installed Yosemite successfully, but couldn’t get the system to boot without booting from the UniBeast USB. It repeatedly would crash at the ‘mbinit’ step during the boot process. Managed to fix the issue by booting into the system using UniBeast and installed the 10.9.5 AppleACPIPlatform Rollback which fixed the issue. Thread detailing the issue here.
  • Ran into an issue where the system wouldn’t boot with kernel caches enabled. Not sure if this was linked to the “Kernel compression is bad” error I was getting at boot, post detailing the error here. I believe this was linked to a change in kernel compression new to Yosemite.
    		# Edit file /usr/standalone/bootCaches.plist and for key 'Preferred Compression', change the value 'lzvn' to lzss'.
    		vi /usr/standalone/bootCaches.plist
    		# Regenerate kernel cache with the following commands
    		sudo kextcache -system-prelinked-kernel
    		sudo kextcache -v 1 -a i386 -a x86_64 -m /System/Library/Caches/com.apple.kext.caches/Startup/Extensions.mkext -z /System/Library/Extensions/

    Thread detailing the issue here.

  • Finally got the system working, but got strange error at boot about not being able to parse plist, ‘Error parsing plist file, Errors encountered while starting up the computer. Pausing 5 seconds’. For some reason the com.apple.Boot.plist at /Library/Preferences/SystemConfiguration was corrupted with kext-dev-mode=1. This conflicted with the MultiBeast plist in /Extra/org.chameleon.Boot.plist, which also contained a kext-dev-mode=1 entry. Deleting the com.apple.Boot.plist plist fixed the issue. Thread detailing the issue here.
  • TRIM enabler app appeared to be stuck in loop upon system boot. I enabled TRIM support by removing the utility and enabling TRIM through MultiBeast.
  • To get audio working I had to install Realtek ALC889 audio driver, easy fix.
  • Useful MultiBeast configure for X58A-UD3R here.

Happy Hackintosh’in,
-Dan

Update Jan 2015

tonymacx86 have released an updated guide for the UD3R, it may help selecting the correct MultiBeast options.