Categories
Tech

ASUS USB-N13 working with OS X 10.9 Mavericks

ASUS USB-N13

A recent move of my Hackintosh resulting in no easy access to jack in an ethernet cable so I had to find a suitable wireless adapter that plays nicely with Mavericks.

I settled on the cheap and cheerful yet surprisingly decent ASUS-N13. It supports wireless B/G/N (< =300Mbps) and includes a 3-year warranty. Note that there are two hardware revisions for the USB-N13 (A1 and B1), this post will only work with the B1 revision due to ASUS switching chipsets between revisions, from Ralink (A1) to Realtek (B1).

  1. The USB-N13 drivers found on ASUS’s site for OS X only support up to 10.7 and prove to be too outdated for 10.9. However, the USB-N13 (B1) uses the Realtek RTL8192CU chipset and so luckily you can grab a more recent driver package from Realtek here
  2. Scroll to the RTL8192CU section and download the version for OS X 10.8 (they will work with 10.9)
  3. Install the downloaded drivers and reboot
  4. Plug in the USB-N13 and open the newly installed ‘Wireless Network Utility’ in order to configure your wireless settings.
  5. Fingers crossed it should work! 🙂

    Update 02.02.15

    In order to stop the wireless application from launching upon boot, just delete the corresponding LaunchAgent file.

    sudo rm /Library/LaunchAgents/Wlan.Software
Categories
Automotive

Classic Ford Magazine Feature

When I find the time I intend to publish a blog series covering the conversion of my crossflow to run EFI and a turbo.

Also my car is featured on the front cover of this months Classic Ford magazine. Here’s a sneak peak of this months issue!

10377008_10204582272179482_9151895304294970676_n

Categories
Tech

FreeNAS disk error nightmare..

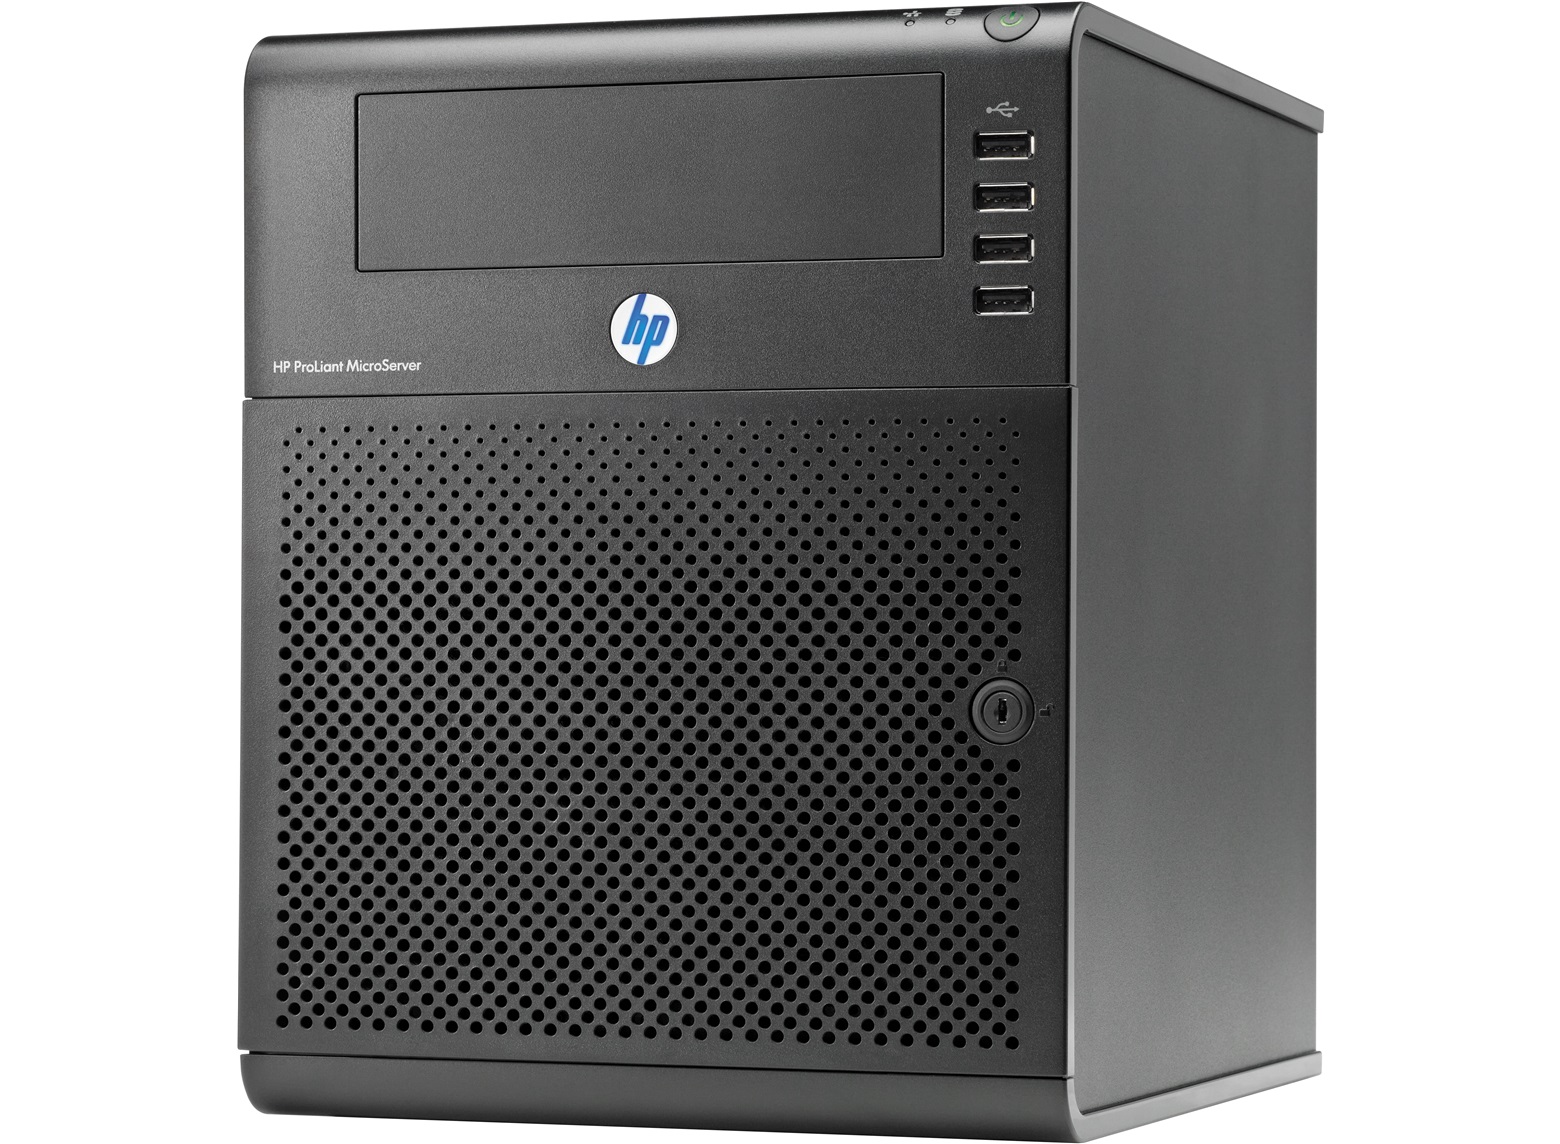
When I first started tinkering with FreeNAS I installed it on a spare MicroServer just to try it out. The system only had 4GB of RAM installed, so I opted to create a UFS volume over a ZFS volume, as the latter requires at least 8GB of RAM according to the system requirements.

After some success with getting the UFS volume to play nicely with Time Machine on OS X, I took the plunge and ordered a set of Kingston 16GB (2x8GB) DDR3 1333Mhz with ECC support for £119.56 at the time of writing, the link for Amazon UK can be found here.

After the RAM arrived, I installed into the system and destroyed the old UFS volume. Suddenly I was hit with an issue, any subsequent attempts of attempting to create a fresh ZFS volume would result in failure. Several disk wipes, reboots and volume creation attempts later I was left scratching my head. My gut feeling was telling me that FreeNAS was struggling to wipe the disks (Also checking the logs helped). After googling I was able to wipe the disks after entering sysctl kern.geom.debugflags=0x10.. Little did I know this would be the command that would cause my future problems. After the command executed I was able to wipe the disks and create my new ZFS volume.

This ran for about 4 weeks perfectly, until I upgraded the system from 9.2.1.5 to 9.2.1.6. After the upgrade the system rebooted and I was suddenly presented with a amber alert status. Also my ZFS volume had disappeared, and dsmeg was spitting out errors about my mirror being corrupt (see below).

freenas kernel: GEOM: ada1: the secondary GPT table is corrupt or invalid.
freenas kernel: GEOM: ada1: using the primary only — recovery suggested.
freenas kernel: GEOM: ada2: the secondary GPT table is corrupt or invalid.
freenas kernel: GEOM: ada2: using the primary only — recovery suggested.
freenas kernel: GEOM_MIRROR: Device mirror/system launched (2/2).
freenas kernel: GEOM: mirror/system: corrupt or invalid GPT detected.
freenas kernel: GEOM: mirror/system: GPT rejected — may not be recoverable.

After a few hours goggling I determined it wasn’t anything with the disks that had failed, whilst numerous forum posts pointed to that. Instead it was linked to how I overcame the issue of wiping the disks whilst attempting to delete my old UFS volume. Turns out I hadn’t rebooted the FreeNAS system upon creating the ZFS volume, hence the firmware upgrade had nothing to do with my problems. Instead it was a disk mounting issue that was persistent since the very beginning, I just wasn’t aware of it until that moment.

I deleted the ZFS volume using the FreeNAS GUI and attempted to create a new one in its place, which repeatedly kept failing with no success. In desperation I also attempted to create UFS volumes, but that also resulted in similar errors and failure.

This post significantly helped me with figuring out what was going on. After running gmirror forget, clear and remove I was able to fix my disk creation issue.

To ensure I didn’t run into the original issue I followed information from this post to ensure my disks were wiped correctly.

Finally I was successfully able to create a fresh ZFS volume and start afresh. This time making sure the volume was able to be successfully mounted after a reboot.

Categories
Tech

Cheap server for home lab – HP ProLiant N54L MicroServer (with cash-back offer)

HP MicroServer G7

This post would of been more relevant a few months ago but earlier this year I was sent a link for HotUKDeals, there was an offer going to buy a HP ProLiant G7 N54L MicroServer for £97.94 (£263.94 with £166 cash back). The deal is now expired but can be found here anyway.

This is a nifty little server for the price; 2.2GHz AMD Turionâ„¢ II Neo N54L dual-core CPU, 2GB DDR3 ECC RAM, 250GB HD and 150w PSU. The great thing is the CPU includes support for virtualisation through AMD-V, allowing you to run fully-virtualised guests within bare-metal hypervisors like Xen.

The N54L states 8GB is the maximum amount of RAM supported, however after a bit of researching I came across a few articles claiming that 16GB is possible. I can confirm that my MicroServer is running 16GB. Amazon sell Kingston 16GB (2x8GB) DDR3 1333Mhz with ECC support for £119.56 at the time of writing, the link for Amazon UK can be found here

Categories
Misc

100 days for #100cups of Coffee in London

Whilst walking through Piccadilly over the weekend I briefly overheard a strangers conversation about a friend who tried to drink 100 cups of coffee in a row (definitely not recommended).
After pondering some thought on what I had overheard, this got me thinking.. and I decided to set myself a little challenge.

For the next 100 days to try #100cups of coffee from 100 different coffee venues in and around London. I love my job and so spend a lot of my time in the office based in St. James Square. London is an amazing city and I want to see more of it, finding 100 coffee venues isn’t going to be easy and will force me to take a short walk from the office everyday in search of London’s best cup of Coffee.

Any coffee venue is to be considered, big or small, and I will also be reviewing the bigger coffee chains to compare how they stand up against the smaller stores. A weekly summary will be posted on here detailing coffee happenings, with daily updates will be posted on my twitter account @bytesandbolts. Get in touch by tweeting me your favourite cup of coffee in London, and I might give you a mention in the reviews!

My 100 days starts now. #100cups.