Categories
3D Printing

3D printing automotive connectors – Part 1

Spread out over the past few months I have been gradually reverse engineering the entire wiring diagram for my Mk1 Escort. This is for when I recreate some of loom to update and surpass Ford’s original specification in order to be more accommodating for my MS3 ECU and larger loads placed upon the cars electrics. In addition to having a more reliable and updated car, I personally benefit from the knowledge gained by having a good understanding of the attitude Ford engineers of the 70’s/80’s had with designed cars. My research has also led me to writing more of my own more in documentation which provides much greater detail than some of the existing diagrams and service manuals currently available.

Recently I have found myself modelling a few connectors I will need for upcoming project work on my Mk1. I believe most of the connectors are proprietary and were produced specifically by Ford, resulting in the connectors being decades out of production and cannot be sourced online easily (or cheaply).

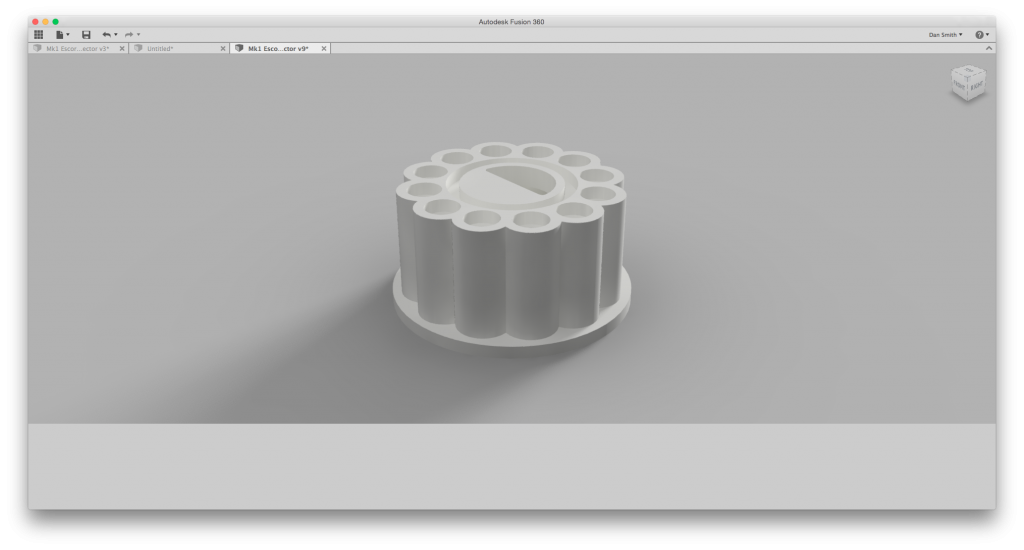
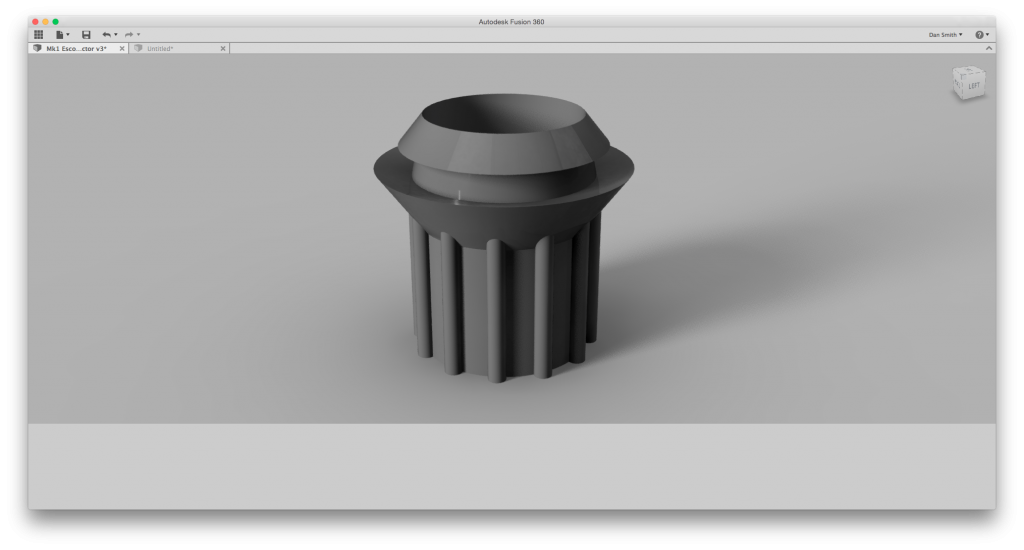
This 12 pin round male connector connects the main 2/6 pod cluster gauges to the main loom inside the dash. Using a set of digital vernier callipers I measured and poked all over the original connectors to document the measurements as best I could. I then fired up Autodesk Fusion 360 for the first time and began modelling after watching a few YouTube videos showing basic parametric modelling techniques.
Being my first ever 3D CAD model and also my first time using Fusion 360, I was very pleased with the final model outcome.
Mk1 Escort connector render

It was 3D printed using white PLA plastic with 100% fill rate on a Ultimaker 2 3D printer. I understand PLA is not ideal material for automotive applications, so I will most likely reprint in ABS plastic when it comes to using the final part.

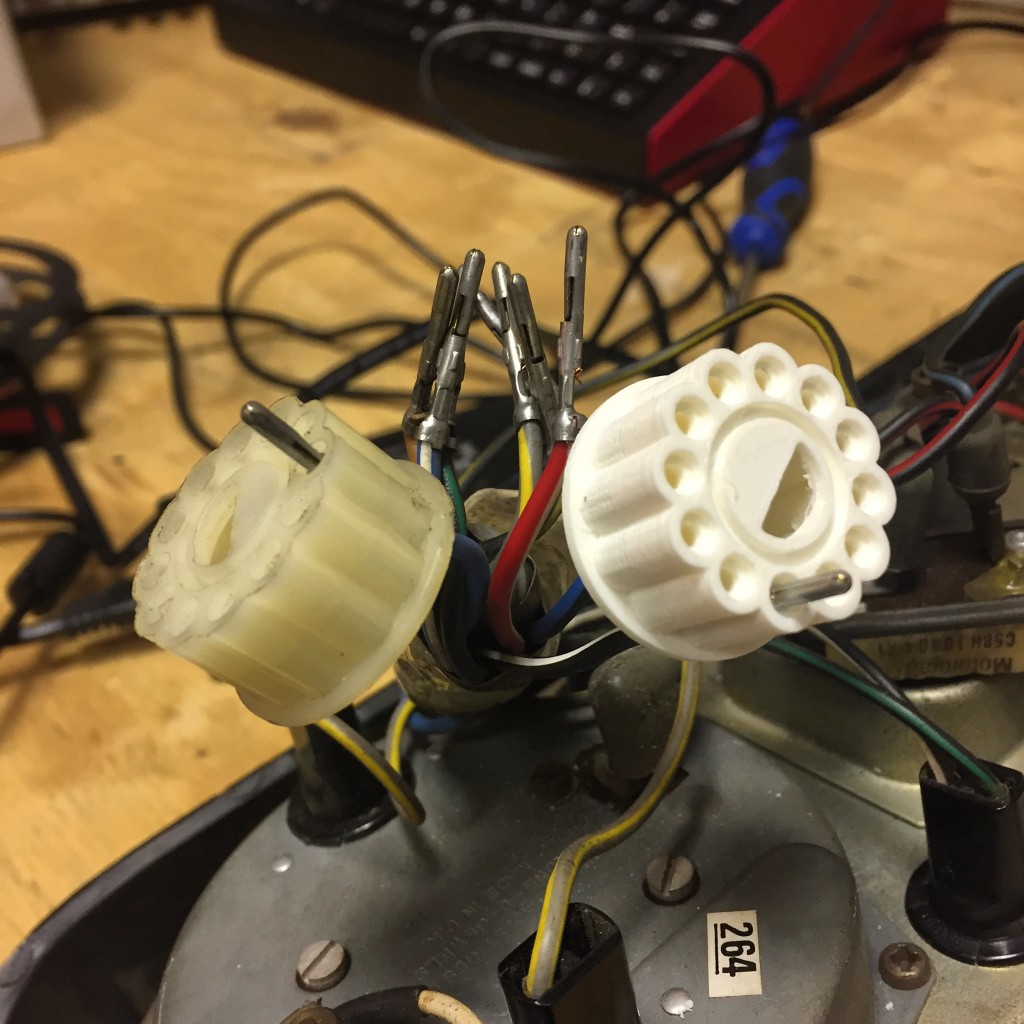
This was also one of my early 3D prints, and was my first time printing something I had directly modelled myself. The white part to the left is my 3D printed copy and the clear part on the right is the original.
Mk1 Escort dash connectors

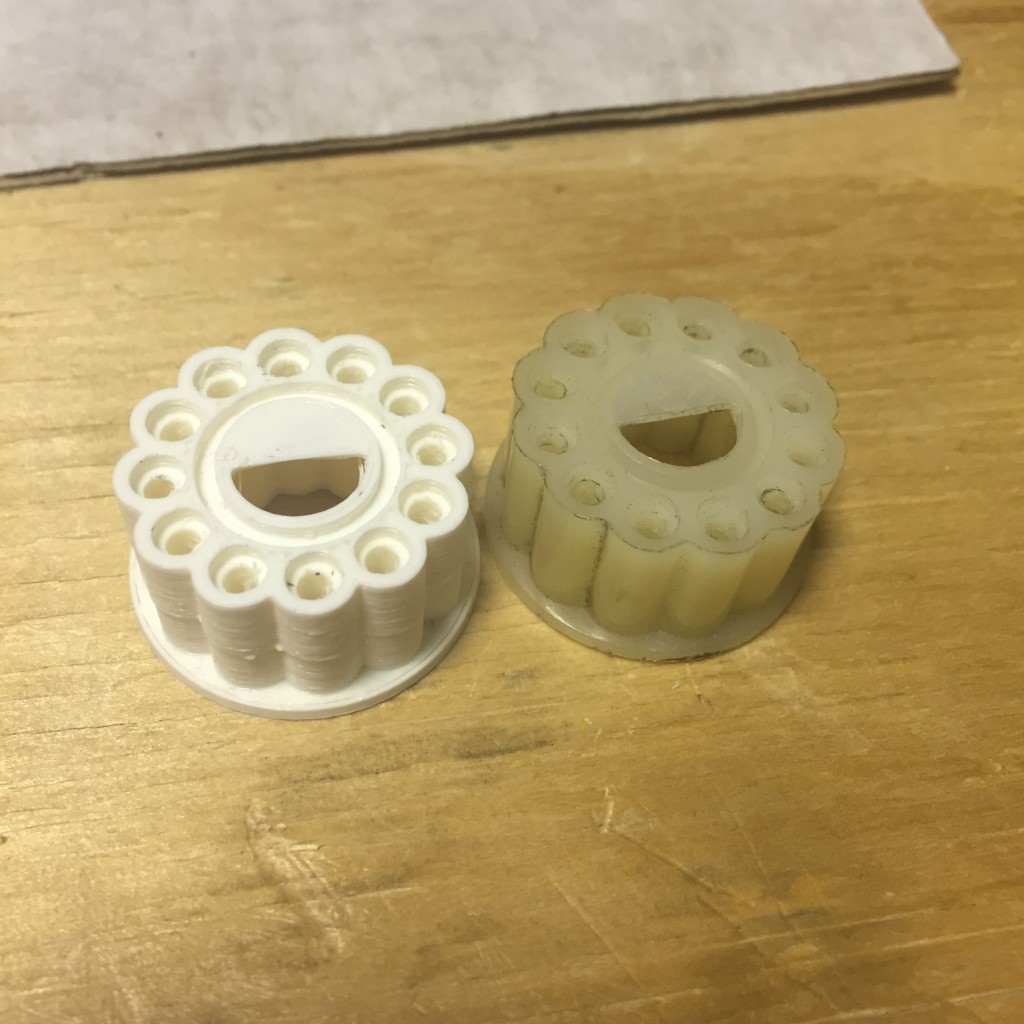
The pins fit nice and snug on the copy as they do on the original piece.
Mk1 Escort dash connectors

My latest model is the 8 pin connector which pokes through the firewall for the main engine loom. I will probably have a go at printing this in flexible PLA filament, however I really do not think the material will be up to scratch coping with the harsh environment exposed in the engine bay (high temp, oil, moisture, extreme vibrations etc). So this model will most likely serve as a mould of some kind in order to allow use of a more suitable material (yet TBD).
Mk1 Escort engine loom connector render

I’ll keep posting updates as I continue to model and print new parts and pieces for my Mk1 Escort.

Categories
Tech

Circus Ponies Notebook is no more

Circus Ponies logo

This afternoon I went on over to Circus Ponies to download a fresh copy of Notebook for a new HackPro of mine, and was presented with this lovely notice.
Thanks for all the fish

Well that was a bit out of the blue, and with no prior notice. No emails, no heads up, no nothing.

Circus Ponies announced today that they are closing up shop, having been acquired by Google. They had been the creators of a fab piece of note taking software called Notebook. It really was a simple bit of kit that did was it was meant to do and nothing more, I used it in conjunction with Owncloud to privately host my project notes which automatically synced between my various computers. Not sure why Google would want their hands on it yet, perhaps to improve their own suite of Apps capable of note taking.

Now begins the joyous task of finding something else that will fit the bill. I had been considering for a while about hosting my own internal wiki to accomplish the same role as Notebook, the only niggle with that idea is I often find myself without a reliable Internet connection (trains) and don’t want to be sat stranded not being able to do work simply because I don’t have the relevant project notes handy.

Anyways It’s not as if the app is crippled without online functionality as it doesn’t really have any. So in the meantime I will continue to use until I can find a suitable replacement or Apple releases an update with breaks compatibility.
That really will be the last nail in the coffin for Notebook.

Categories
Automotive

Mk1 Escort Turbo – Quick spin around the block

Categories
Tech

FreeNAS Mirror Boot Device Error: device is too small

SanDisk Cruzer Fit 32GB USB 2.0

Now that my FreeNAS install has been running for some time in ‘Production’ with no problems, I decided to do a little housekeeping to help offset potential downtime by creating a mirror for the USB boot drive incase it fails one day.

The option to create a mirrored boot drive is presented during the initial FreeNAS install, however I didn’t have another USB of the same make/model handy at the time. Fast forward to the present, having now found a spare USB that is identical to the one already installed (SanDisk Cruzer Fit USB 2.0 32GB) it was time to finish the job.

REGIUS USB
There’s a spare in there somewhere.

FreeNAS’ excellent documentation quickly goes over the process of retroactively creating the mirrored drive. Which seemed easy enough until I ran into the following error.

MiddlewareError: Failed to attach disk: cannot attach da1p2 to da0p2: device is too small

Cut a long story short after a couple hours of messing around with both USB drives, I discovered the new drive was ever so slightly smaller in capacity than the original even though both are 32GB. According to the documentation the new drive must either the same size or larger than the original, I didn’t realise it was just so picky on exact capacity.

dan@freenas /% gpart show
=>      34  62530557  da0  GPT  (29G)
        34      1024    1  bios-boot  (512k)
      1058         6       - free -  (3.0k)
      1064  62529520    2  freebsd-zfs  (29G)
  62530584         7       - free -  (3.5k)
=>      34  61055997  da1  GPT  (29G)
        34      1024    1  bios-boot  (512k)
      1058         6       - free -  (3.0k)
      1064  61054960    2  freebsd-zfs  (29G)
  61056024         7       - free -  (3.5k)

As you can see in the above snippet da0 has a total of 62530557 blocks compared to da1 which has a total of 61055997 (meaning da0 > da1).

After some more messing around and speaking to some folks on FreeNAS’ IRC I decided to do a reinstall of FreeNAS onto the smaller drive. I backed up my FreeNAS config (System -> General -> Save Config), shutdown the server, disconnected all my WD Red’s so they couldn’t interfere with the installation and began the fresh install.

Once complete, I restored the config (System -> General -> Upload config -> Reboot) and reconnected the WD Red’s to double checked the ZFS volume was still okay (precious precious data). With everything back up and running I installed the other USB stick and tried once again the mirroring process (System -> Boot -> Status -> freenas-boot -> Attach), which I’m happy to report completed successfully after a few minutes.

FreeNAS Boot drive mirrors

Hopefully this is one resiliency feature I won’t have to rely on anytime soon, but one can never be too careful and there is no real excuse with USB drives being so cheap nowadays.
FYI 32GB is overkill really for a FreeNAS boot drive, 16GB will suffice just fine.

Categories
Tech

Spacewalk 2.4 installation on CentOS 7

Spacewalk logo

Spacewalk (not the EVA kind) is an open source (GPLv2) Linux systems management solution and is the upstream project for Red Hat Satellite. The main feature I wished to experiment with was the ability to manage multiple systems packages (upgrades) concurrently. The project also has several other main features, including;

  • Inventory your systems (hardware and software information)
  • Install and update software on your systems
  • Collect and distribute your custom software packages into manageable groups
  • Provision (kickstart) your systems
  • Manage and deploy configuration files to your systems
  • Provision and start/stop/configure virtual guests
  • Distribute content across multiple geographical sites in an efficient manner

Prerequisites

Taken directly from the official Spacewalk docs:

  • Open outbound firewall ports 80, 443
  • Inbound open ports 80, 443, 5222 (covered below later on)
  • Storage for database: 250 KiB per client system + 500 KiB per channel + 230 KiB per package in channel (i.e. 1.1GiB for channel with 5000 packages)
  • Storage for packages (default /var/satellite): Red Hat recommend 6GB per channel for their channels, I used 20GB for storage, as 10GB wasn’t enough
  • 2GB RAM minimum, 4GB recommended
  • Fully up-to-date underlying operating system running a vanilla installation (no user customisation performed yet, fresh system install)

Setup Repos

There are 3 main repos to setup.

Spacewalk repo

rpm -Uvh http://yum.spacewalkproject.org/2.4/RHEL/7/x86_64/spacewalk-repo-2.4-3.el7.noarch.rpm

JPackage

cat > /etc/yum.repos.d/jpackage-generic.repo << EOF
[jpackage-generic]
name=JPackage generic
#baseurl=http://mirrors.dotsrc.org/pub/jpackage/5.0/generic/free/
mirrorlist=http://www.jpackage.org/mirrorlist.php?dist=generic&type=free&release=5.0
enabled=1
gpgcheck=1
gpgkey=http://www.jpackage.org/jpackage.asc
EOF

EPEL

Spacewalk requires Java Virtual Machine 1.6.0 or greater which is available in the EPEL repo.

rpm -Uvh https://dl.fedoraproject.org/pub/epel/epel-release-latest-7.noarch.rpm

Installation

Time to get on with the install 🙂

Database backend

Spacewalk uses database server to store its primary data. It supports either PostgreSQL (version 8.4 and higher) or Oracle RDBMS. Lets install PostgreSQL and let Spacewalk configure the database for us.

yum install spacewalk-setup-postgresql

Install Spacewalk

Install the Spacewalk package with support for PostgreSQL.

yum install spacewalk-postgresql 

Configure the firewall

Enable inbound firewall (firewalld) ports 80 (http) and 443 (https).

firewall-cmd --add-service=http
firewall-cmd --add-service=https

Configure Spacewalk

Last step.

spacewalk-setup --disconnected

Afterwards we should be able to visit: https://hostname.yourdomain.com to create the Spacewalk admin account and finish the installation.