The other day it clicked that I hadn’t posted any updates regarding my Hack Pro (Late 2013) Hackintosh build since my last post way back in January.
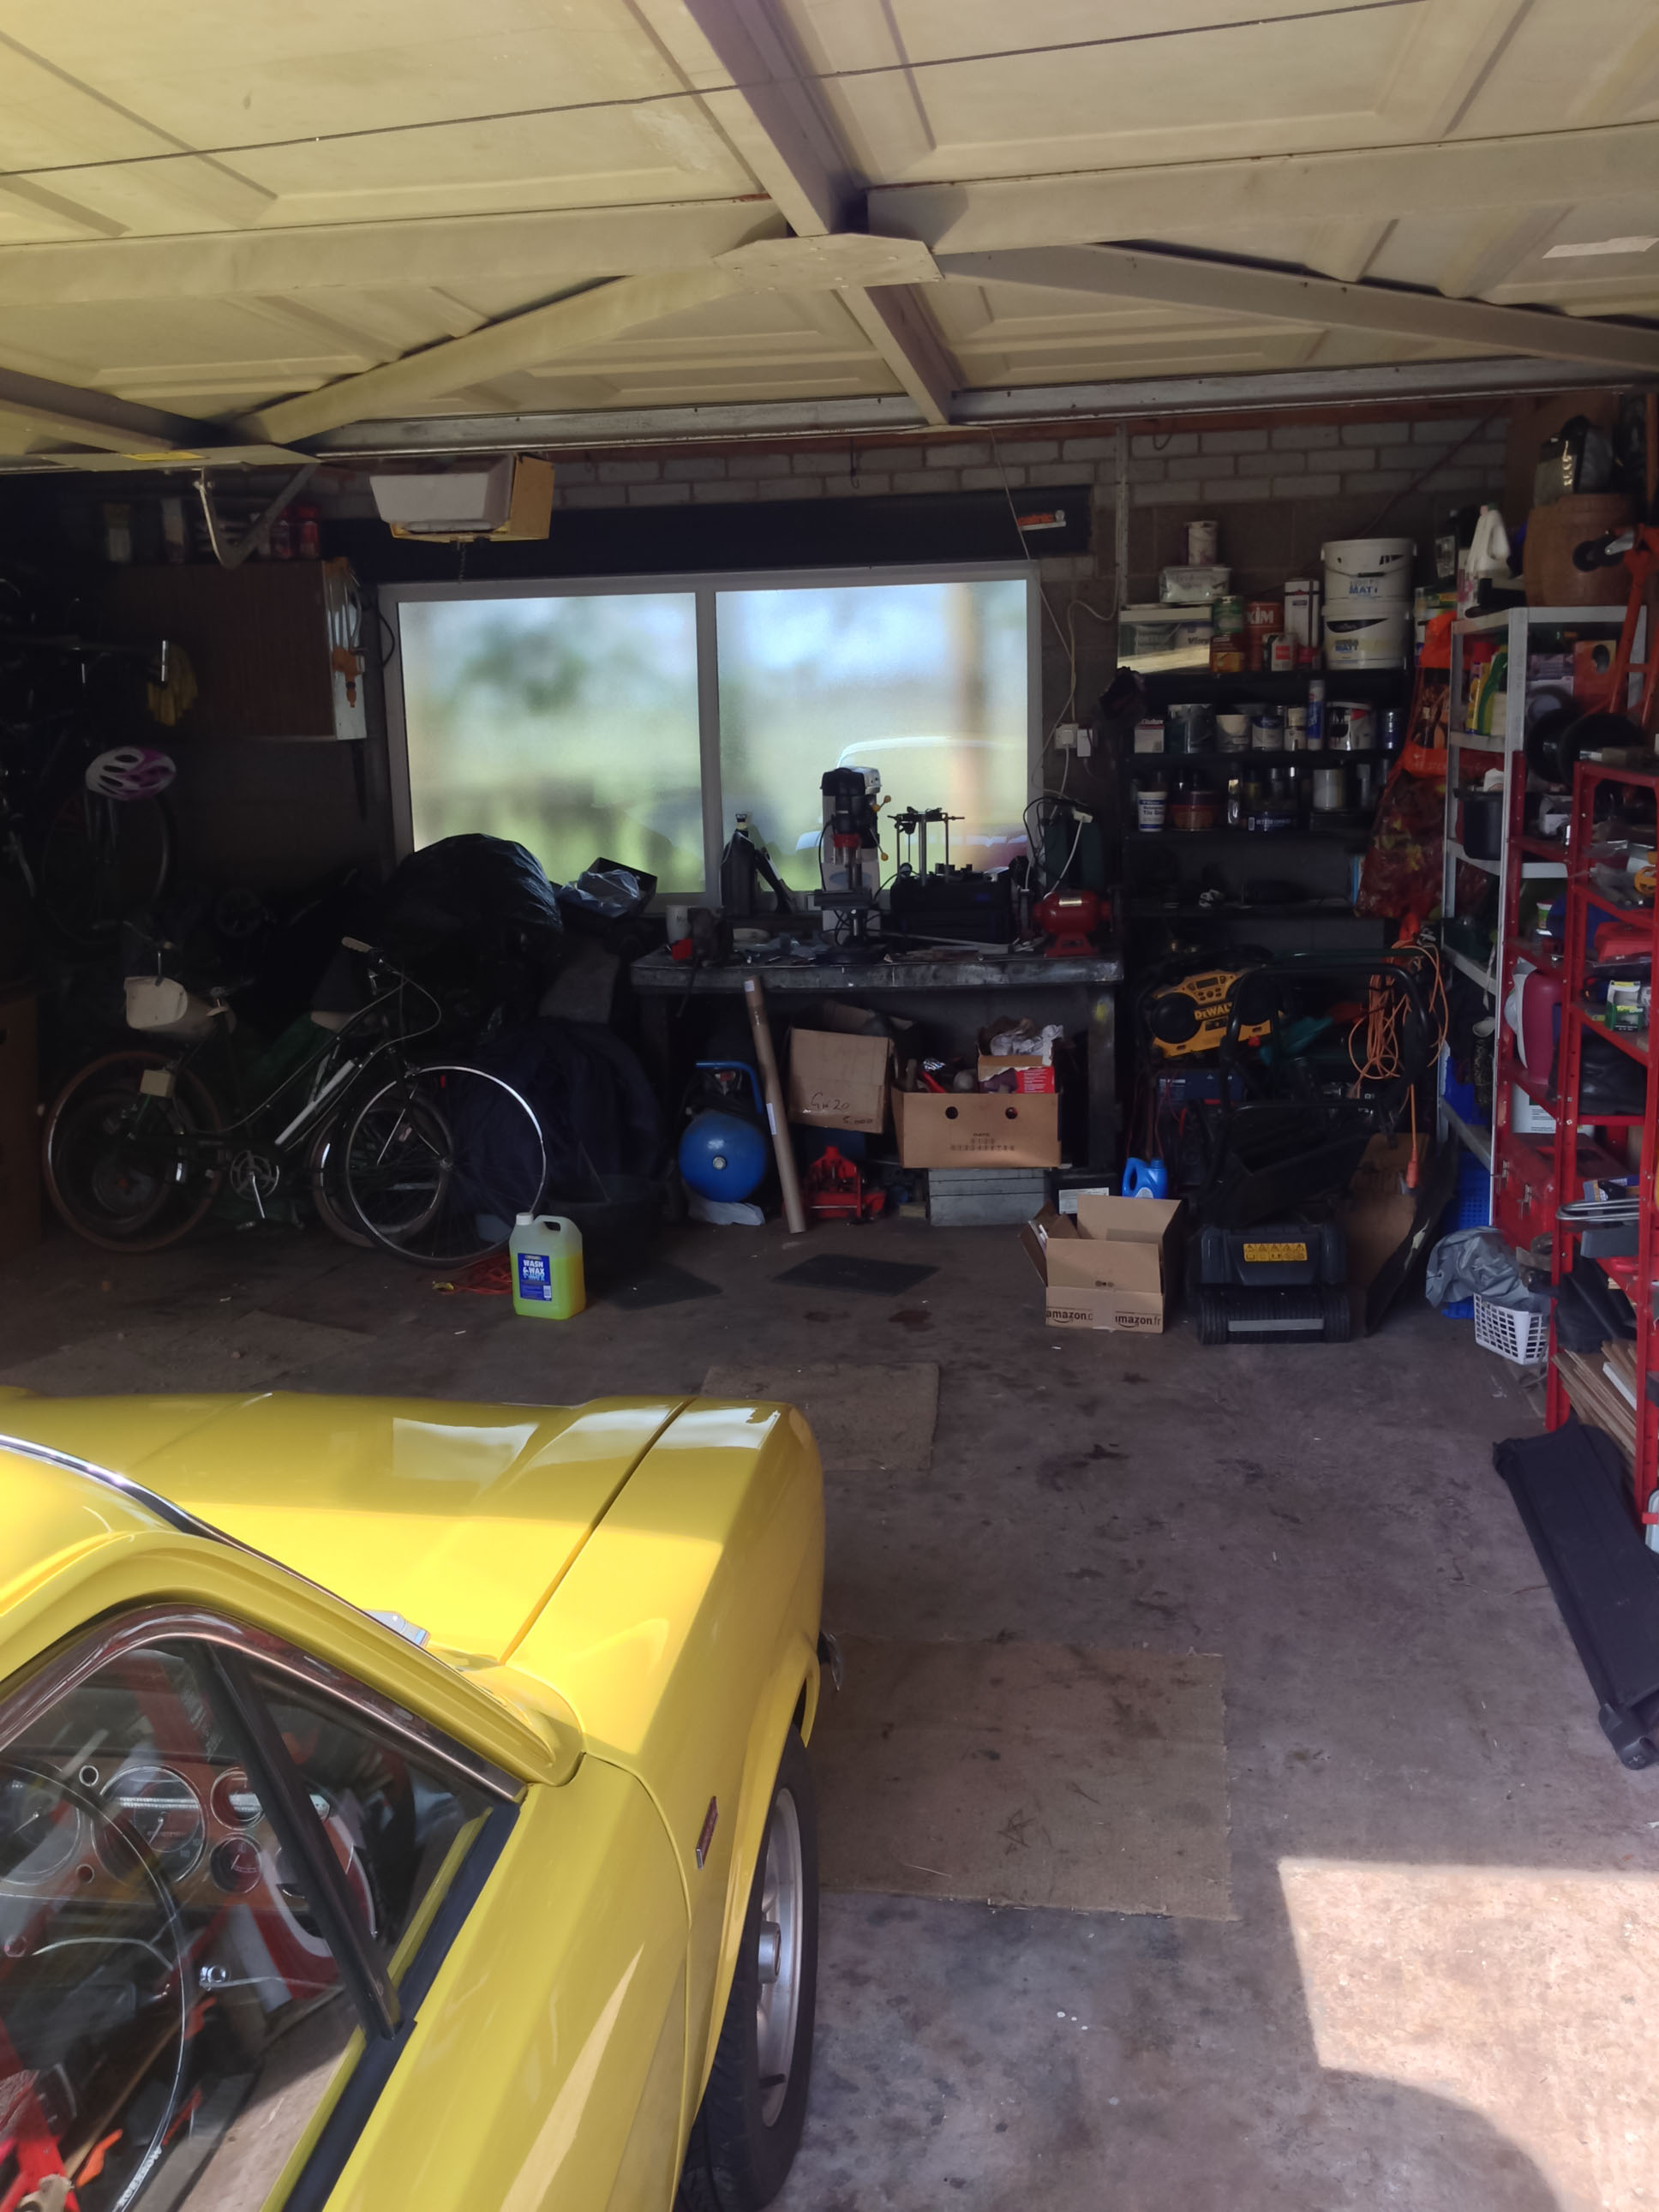
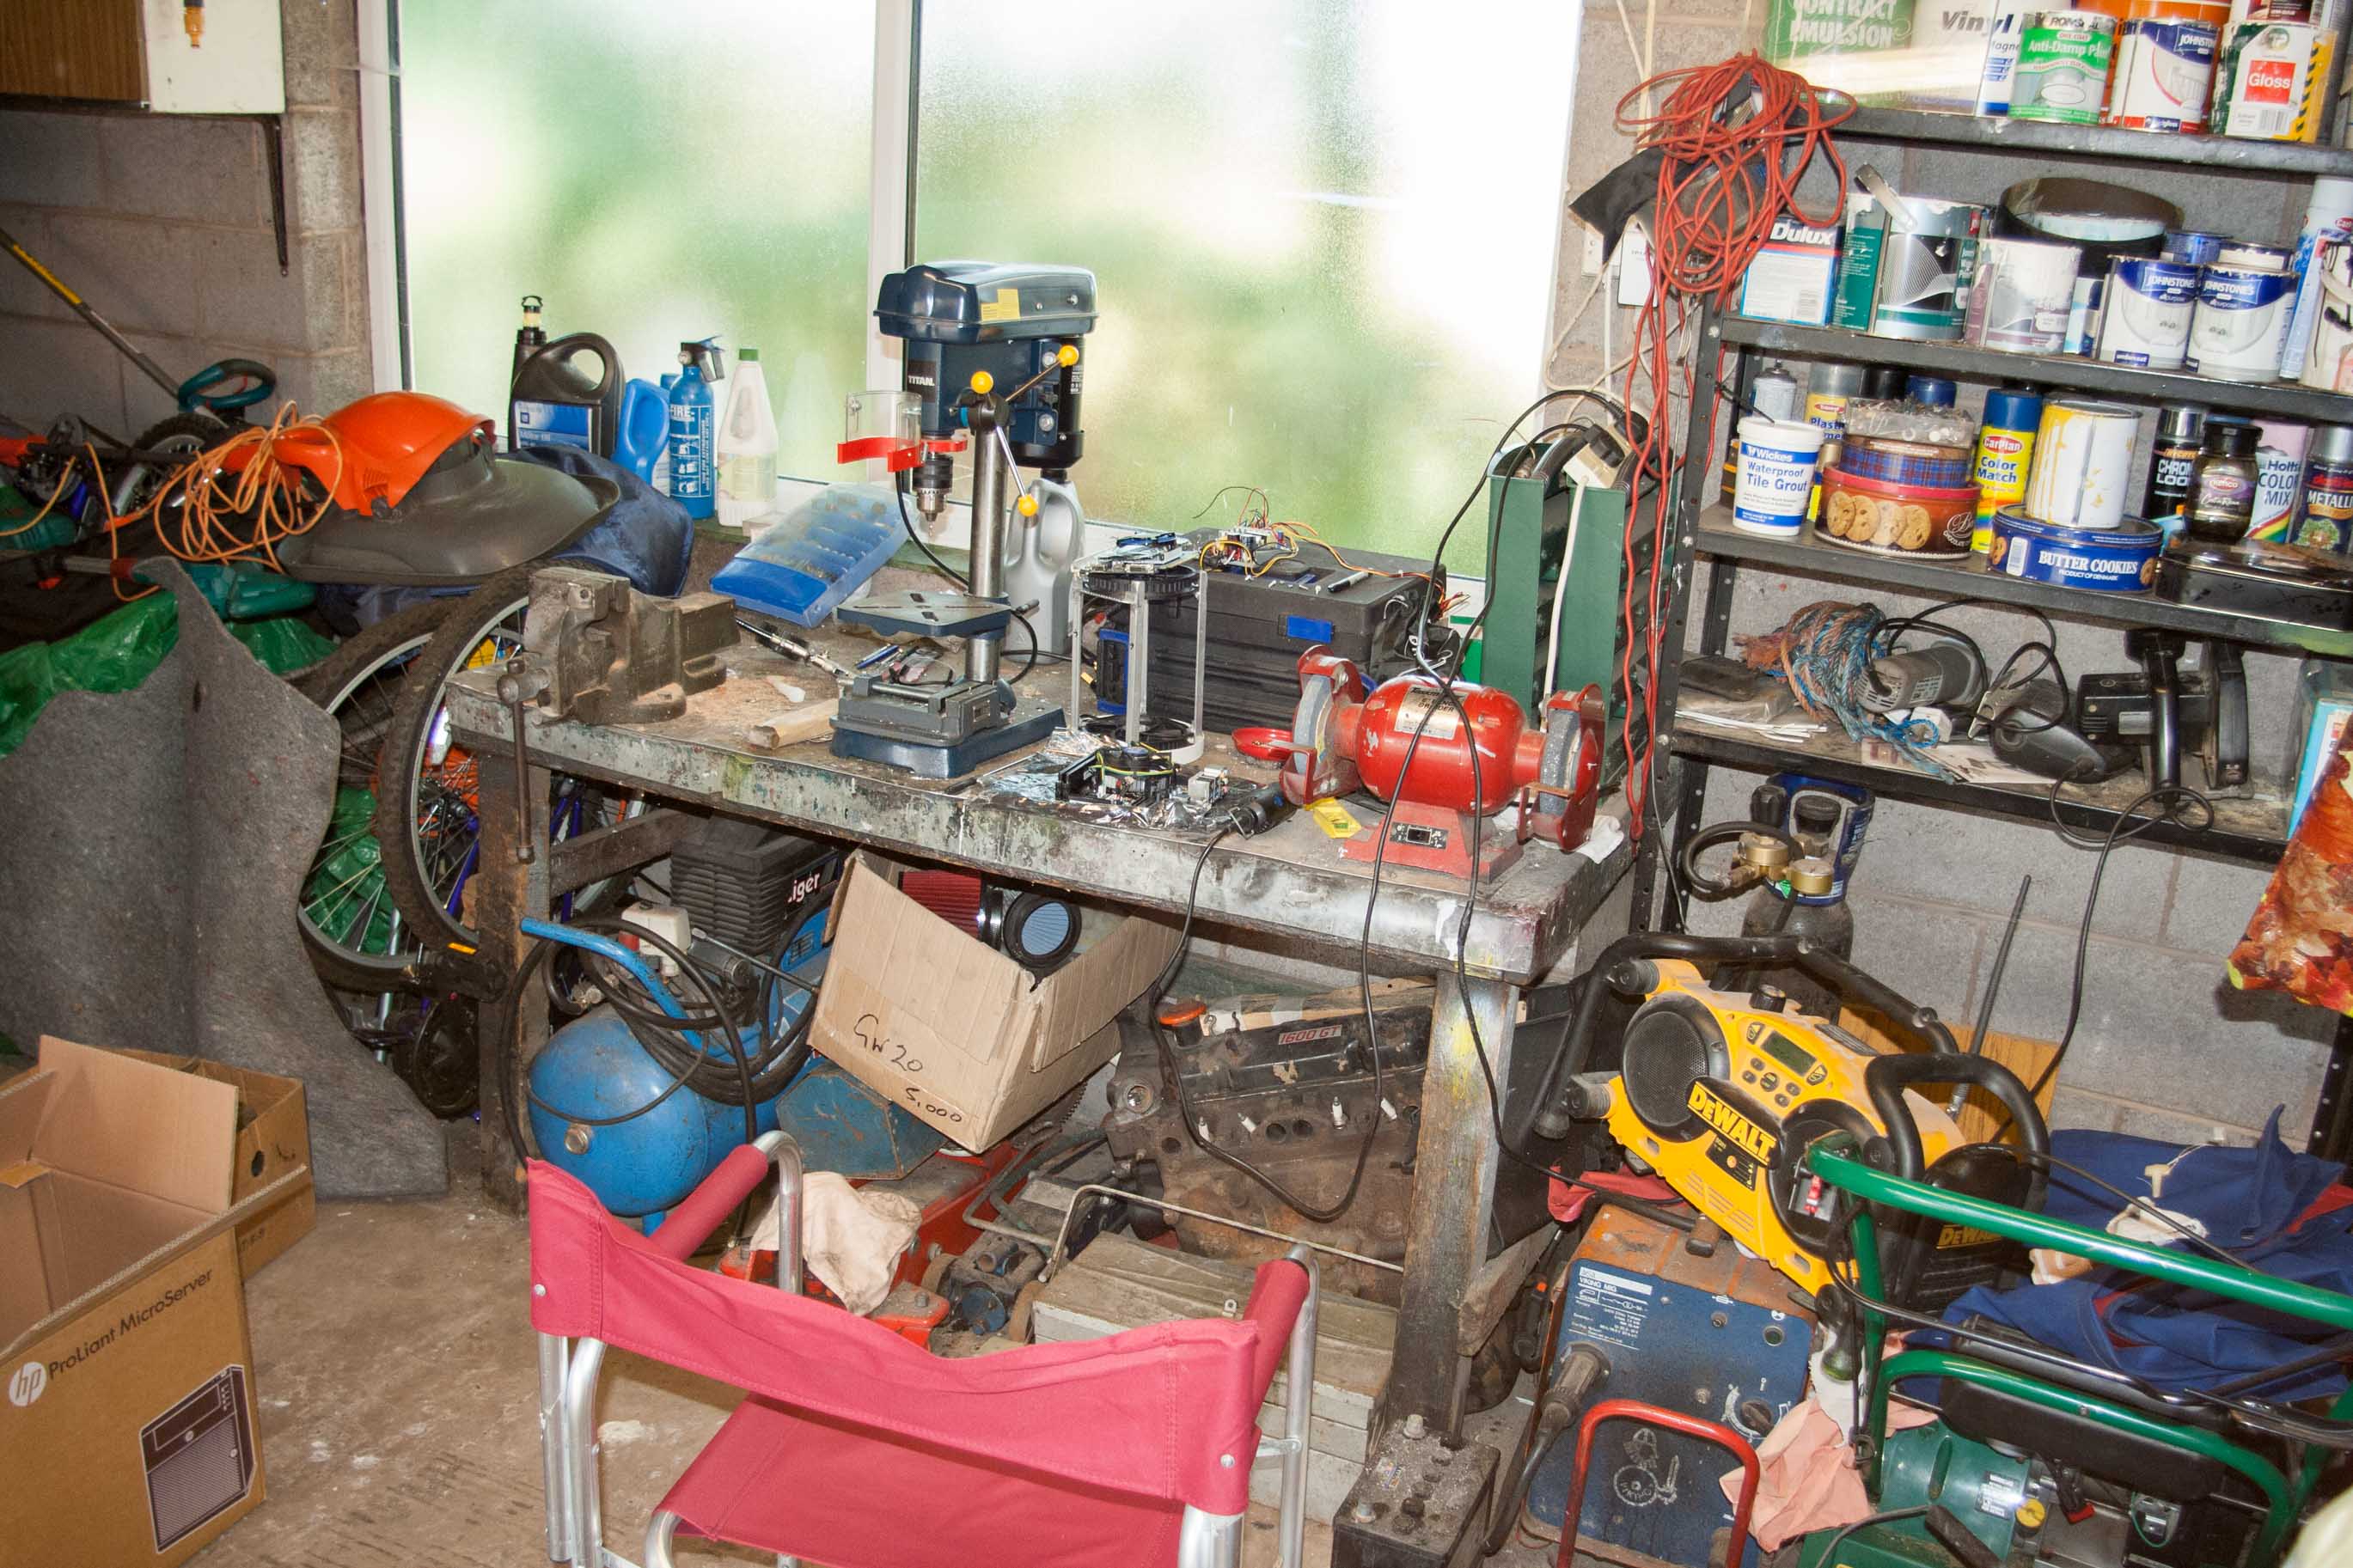
2014 has been a crazy busy year for me so I’ve struggled to find the time to work on ‘The Bin’ as I like to call it. It hasn’t helped that roughly for the past 6 months the bin has left in the workshop back at my family home, with me stuck in London with no workshop. So work towards the project has been very hit and miss, with me only able to work on it when I found myself back home for an unexpected weekend visit.
That said, I would like to share with you my progress so far on the build. With project being away from me for most of the time, I have had a lot of time to think the design over. Initially my time was
This post is one big post that should of been many smaller posts, so be prepared for one long post with lots of build photos. I’ll do my best to post the build details in chronological order, solely relying on the photos date metadata to guide me.
The build so far
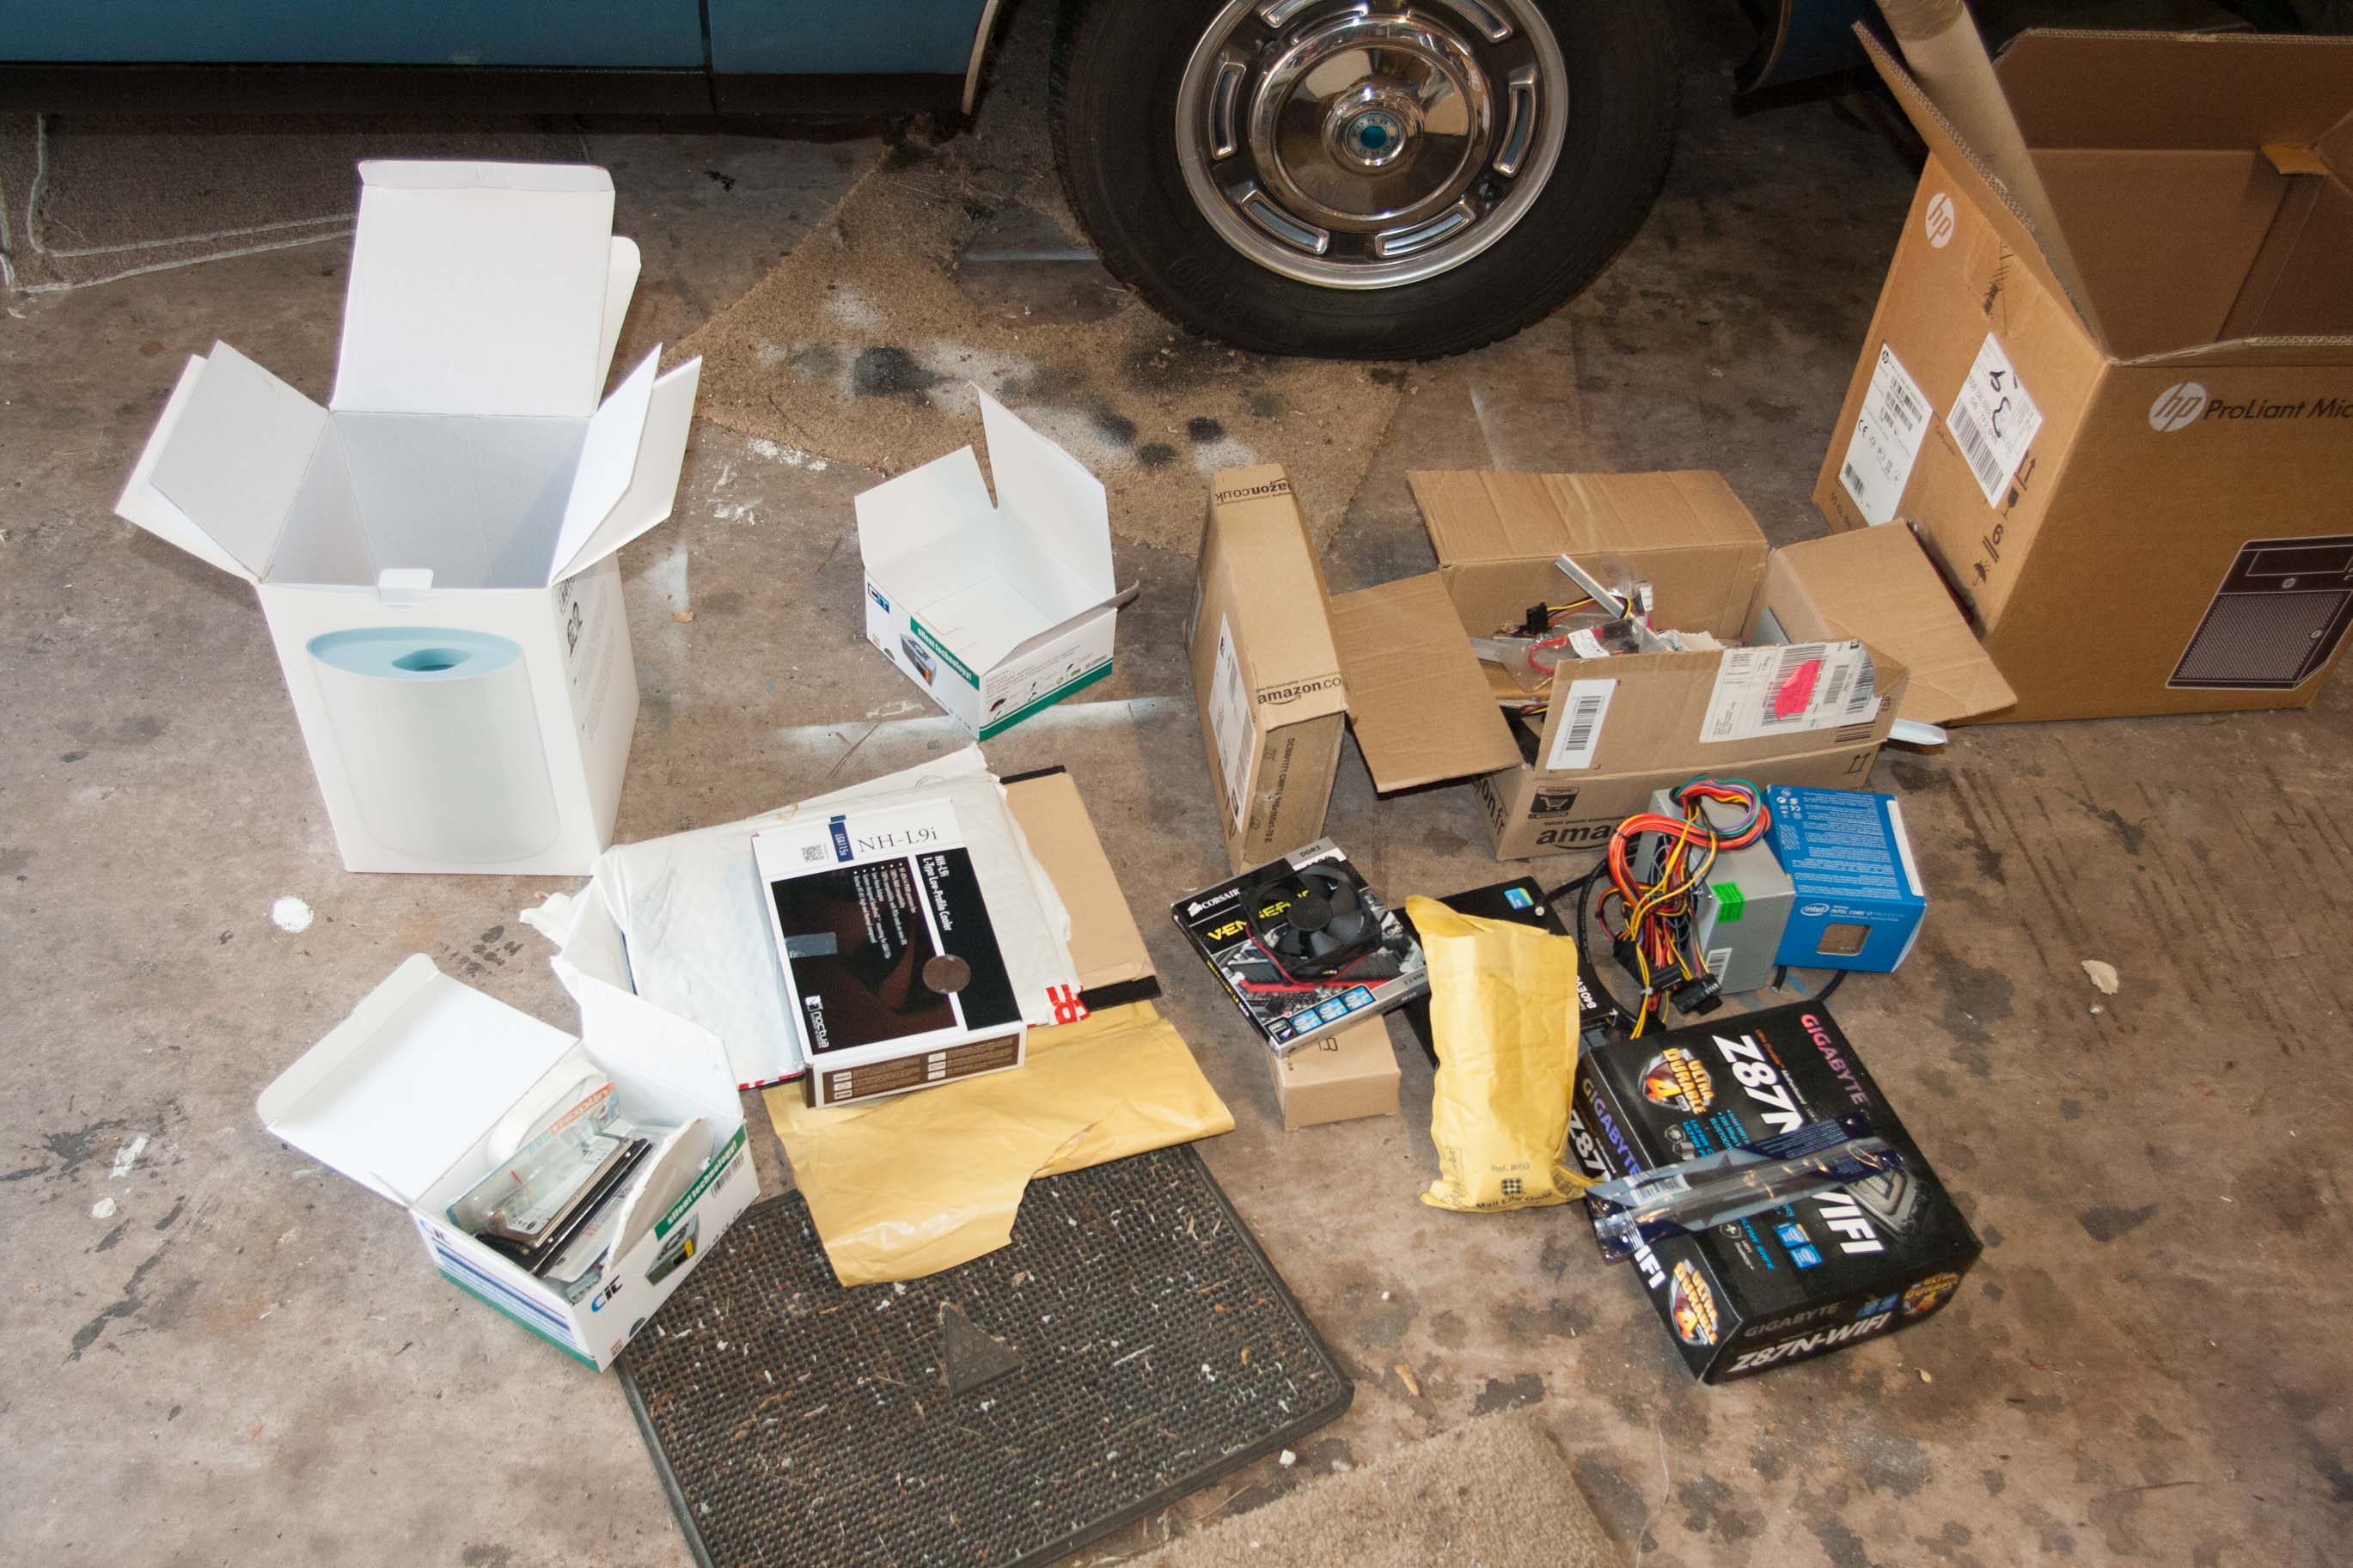
It’s been a challenge to find components that will deliver good overall computing performance, that are reasonably priced within the chosen budget, and most importantly will conform to the space restrictions of fitting comfortably in the small bin.
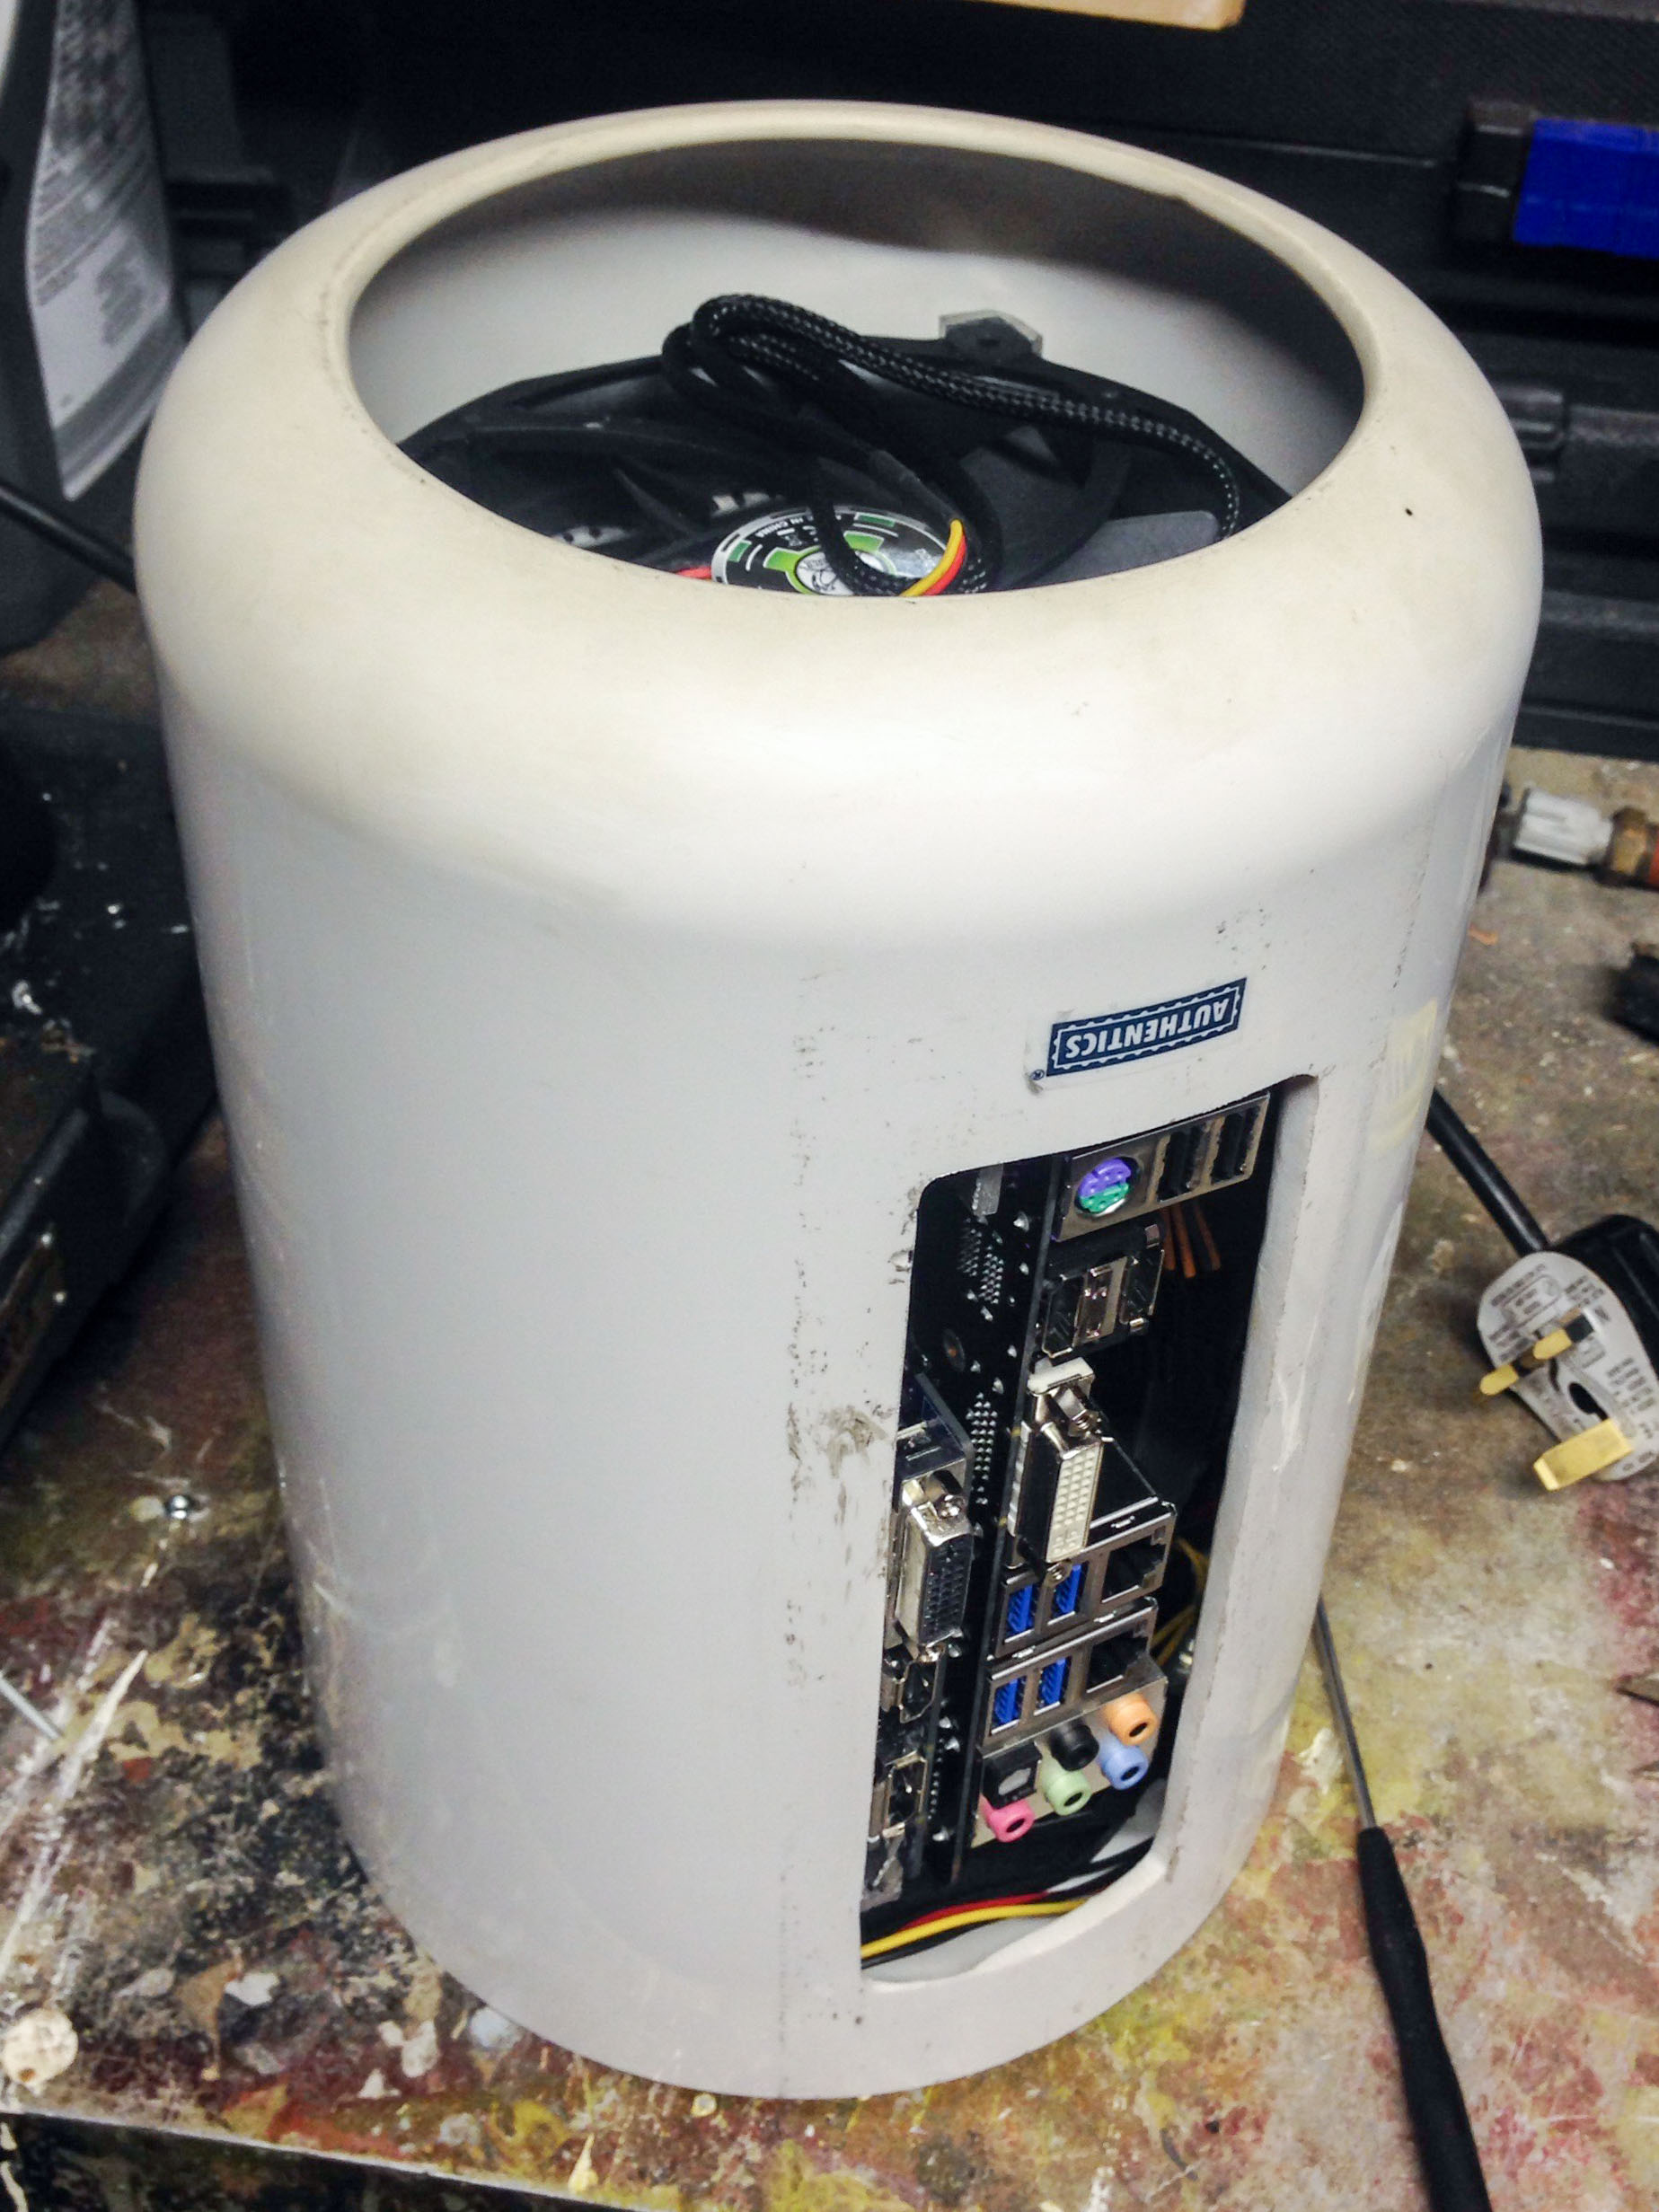
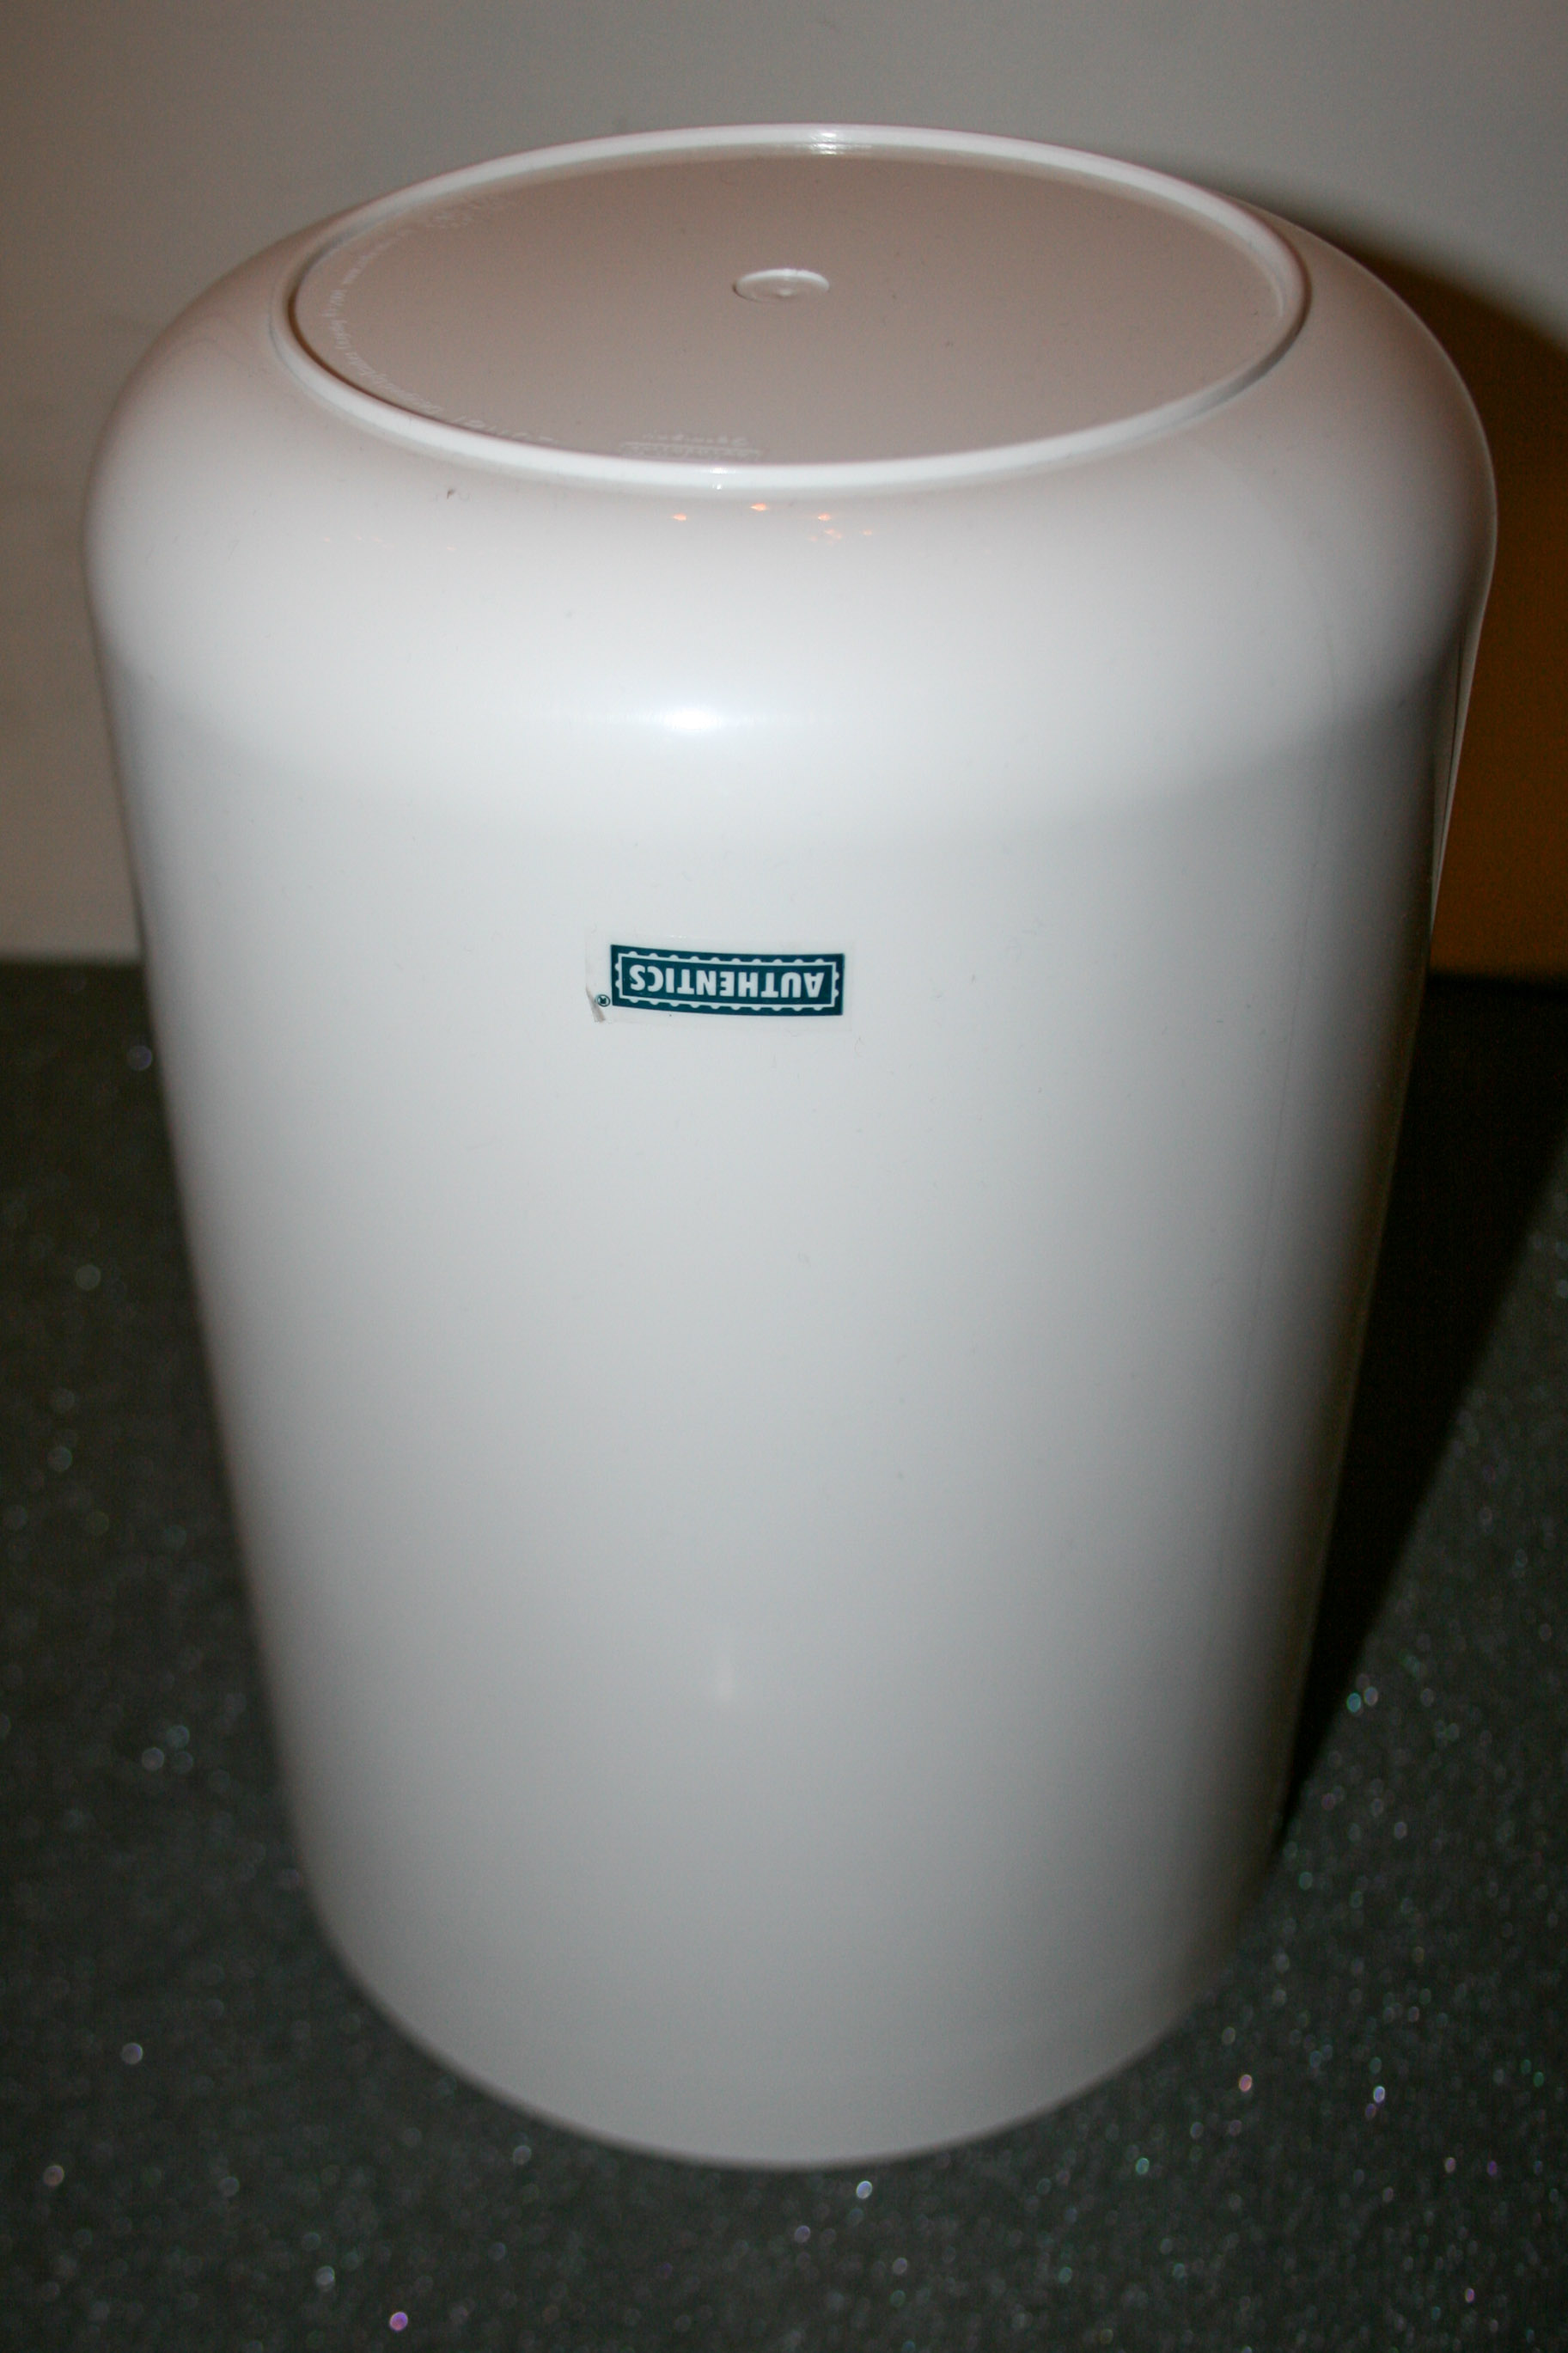
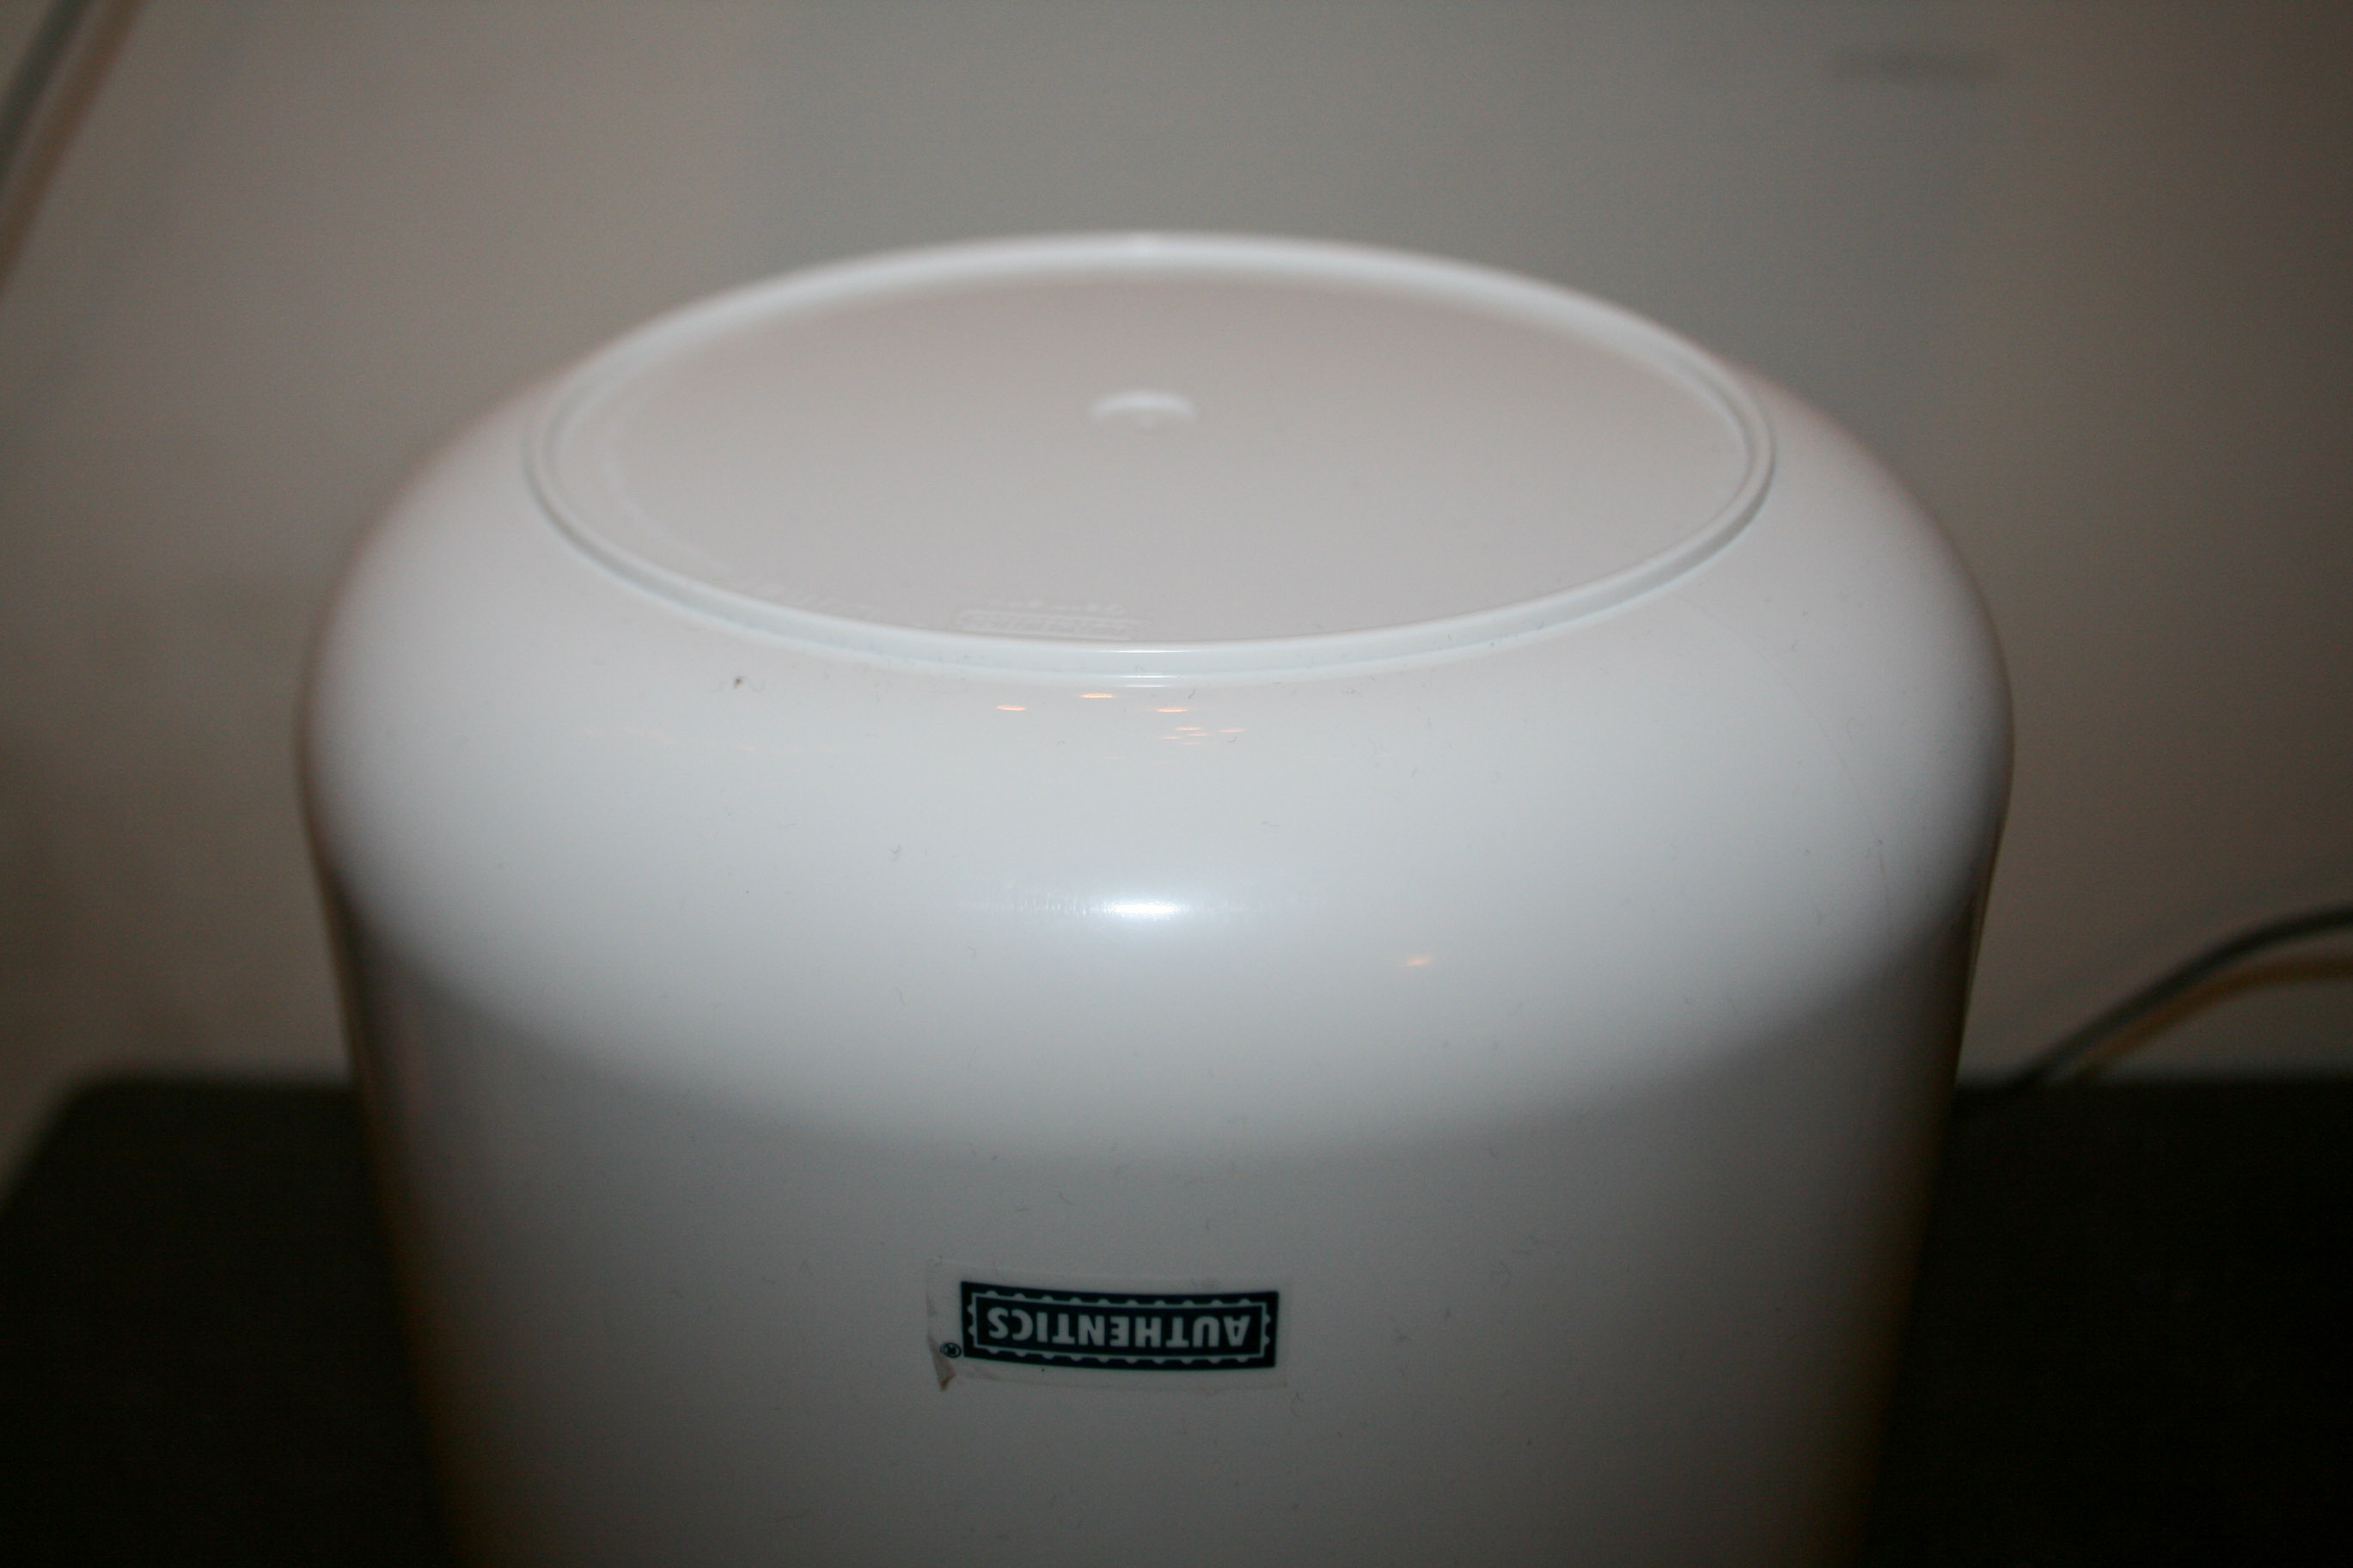
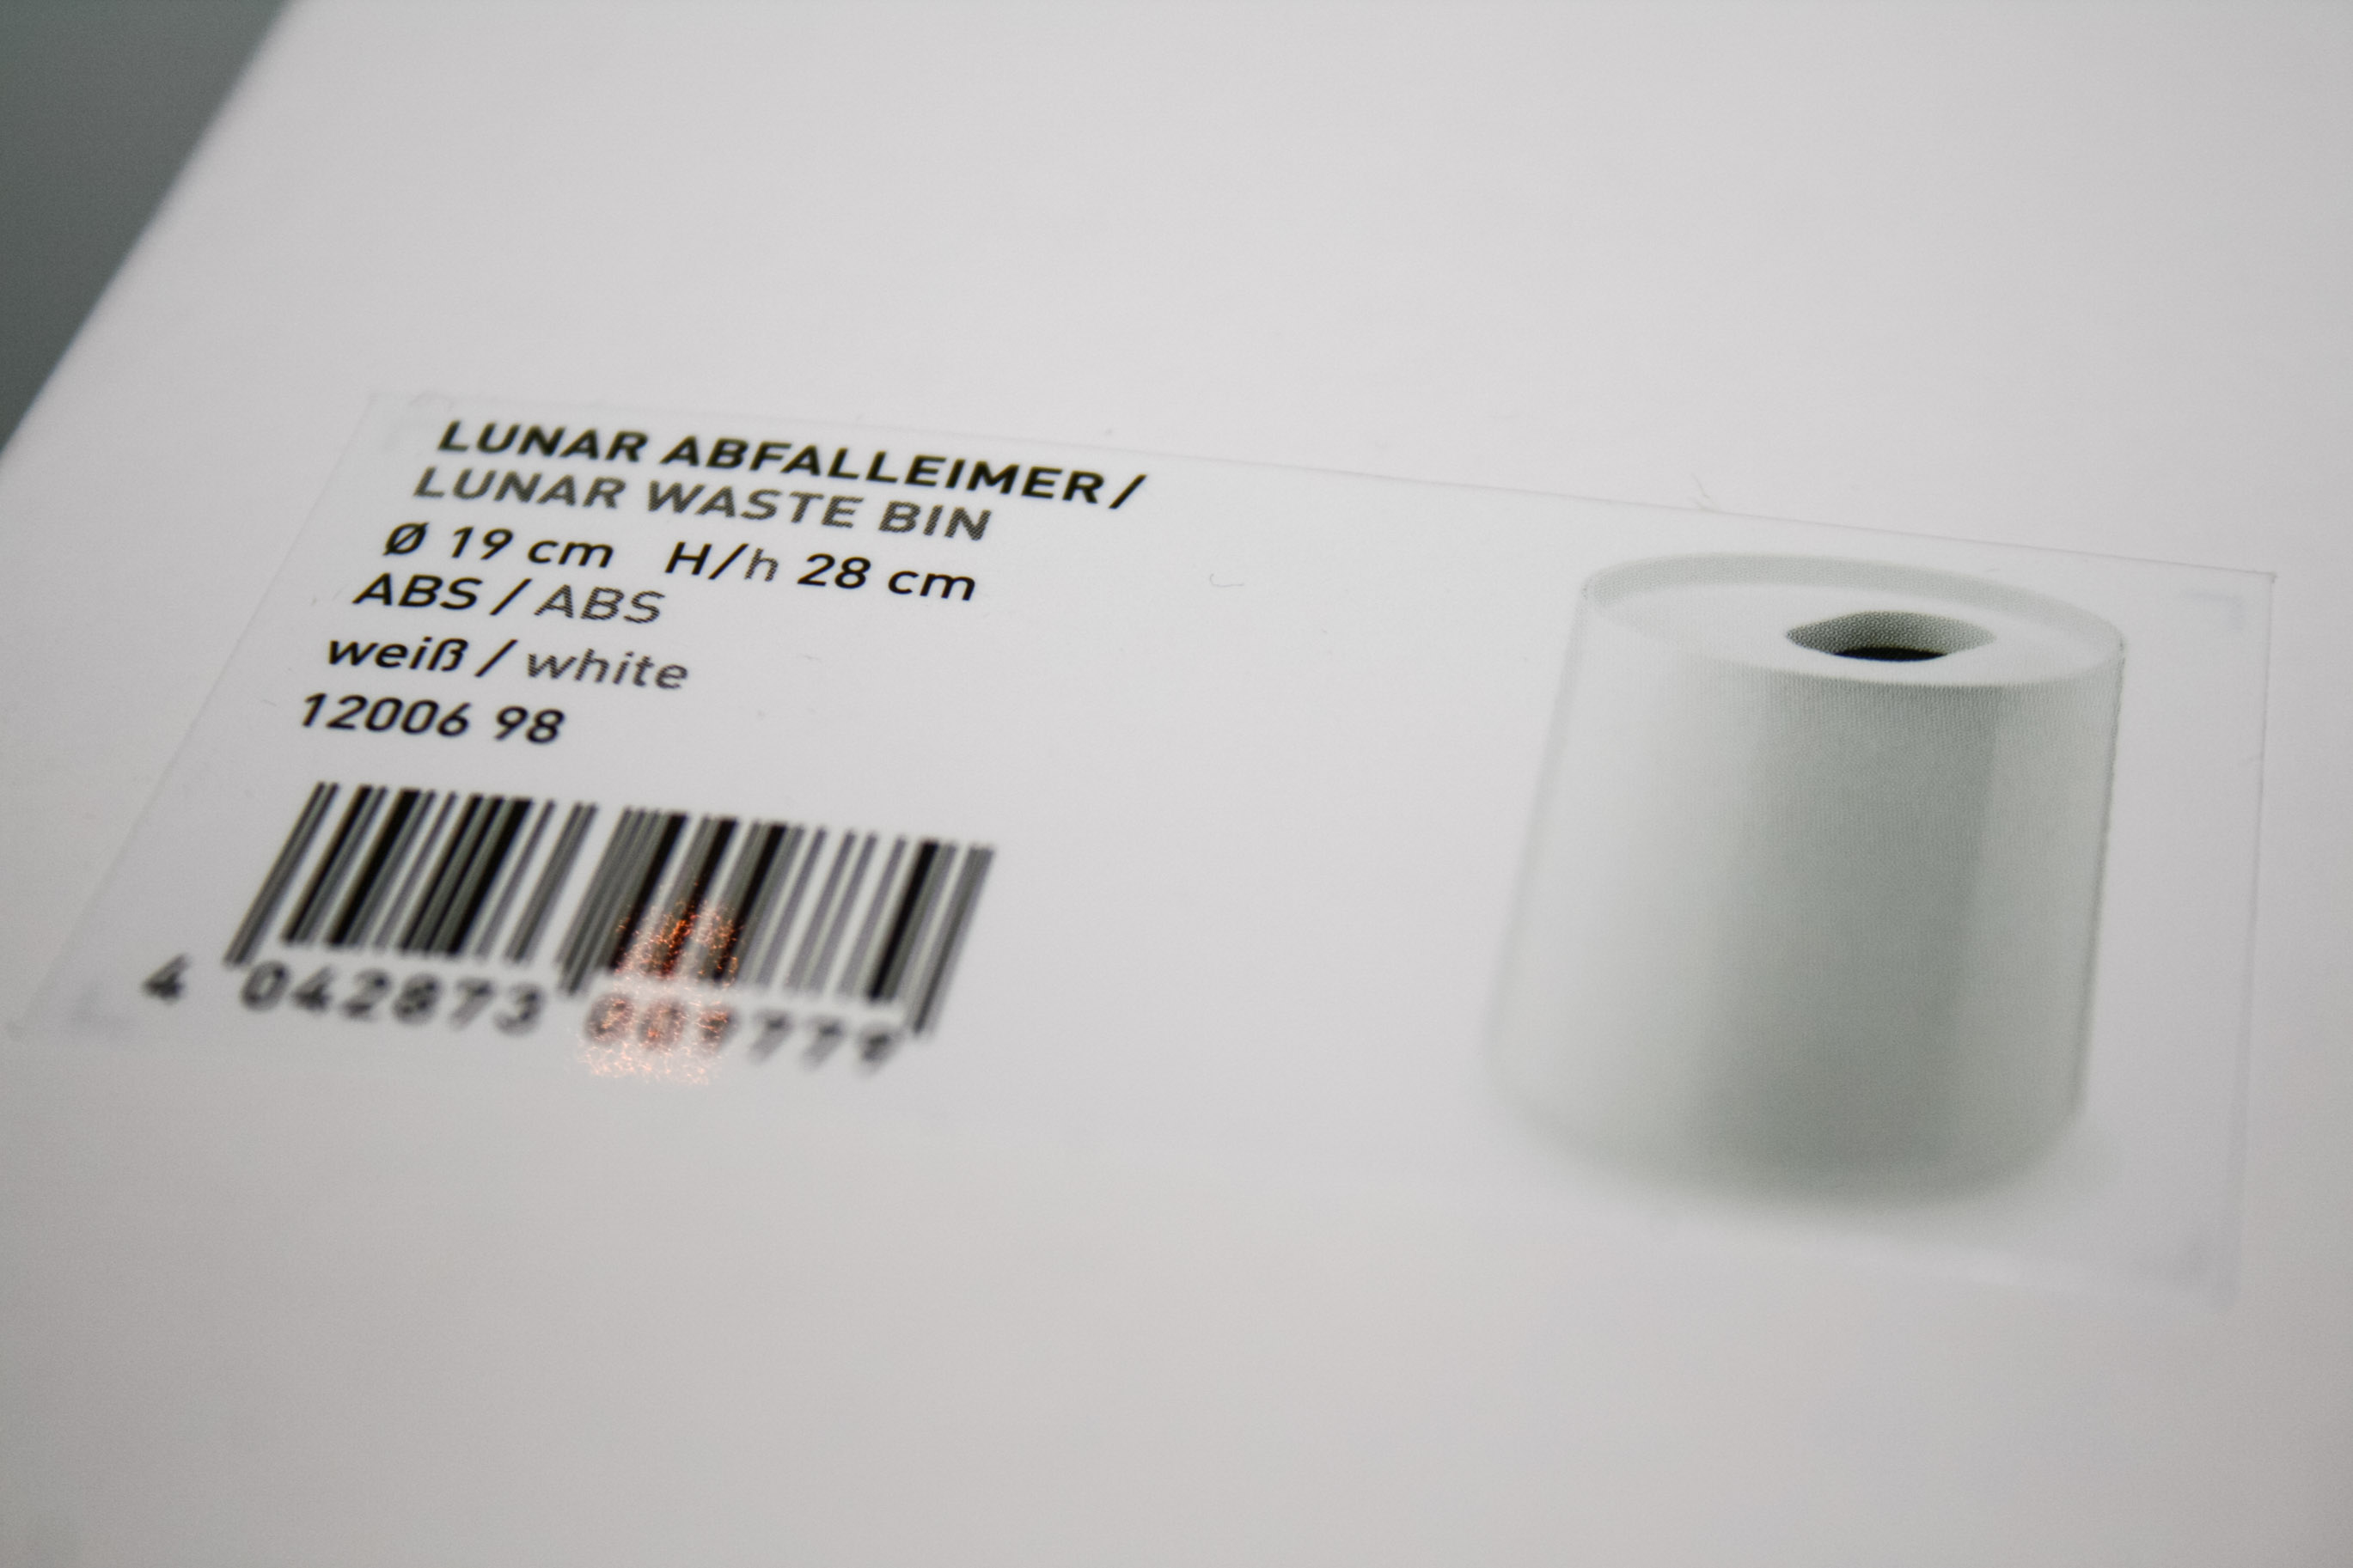
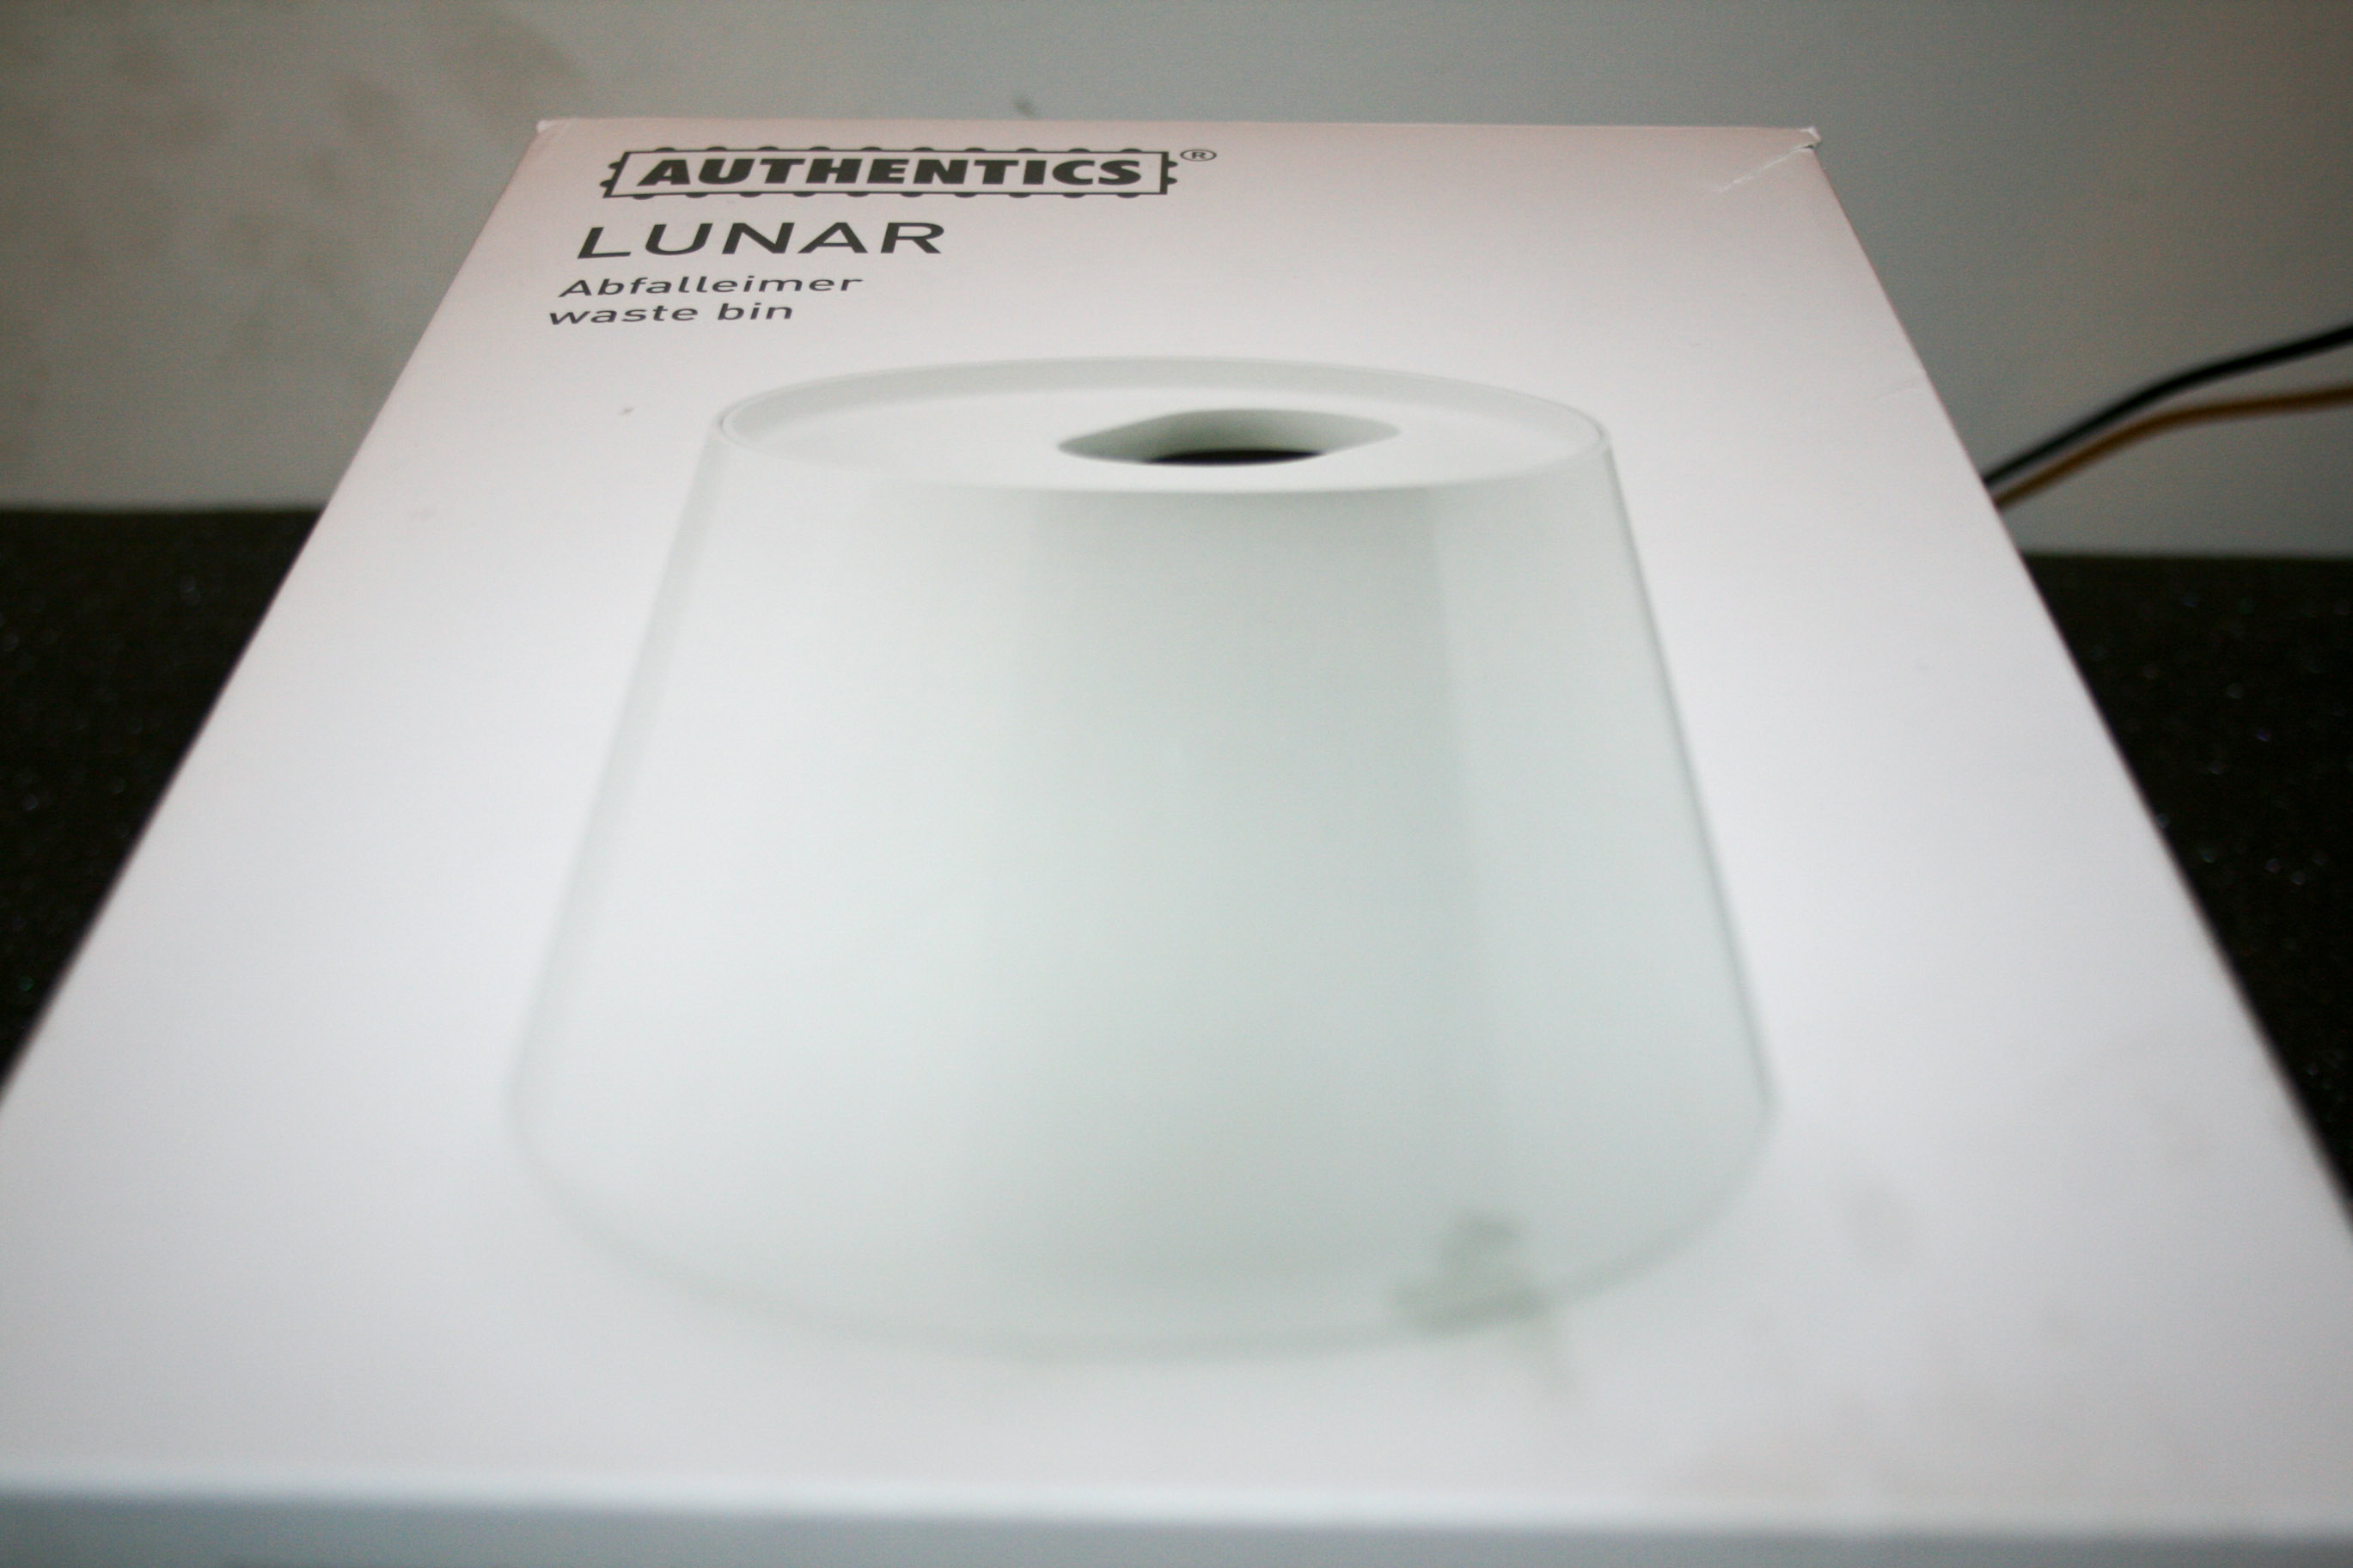
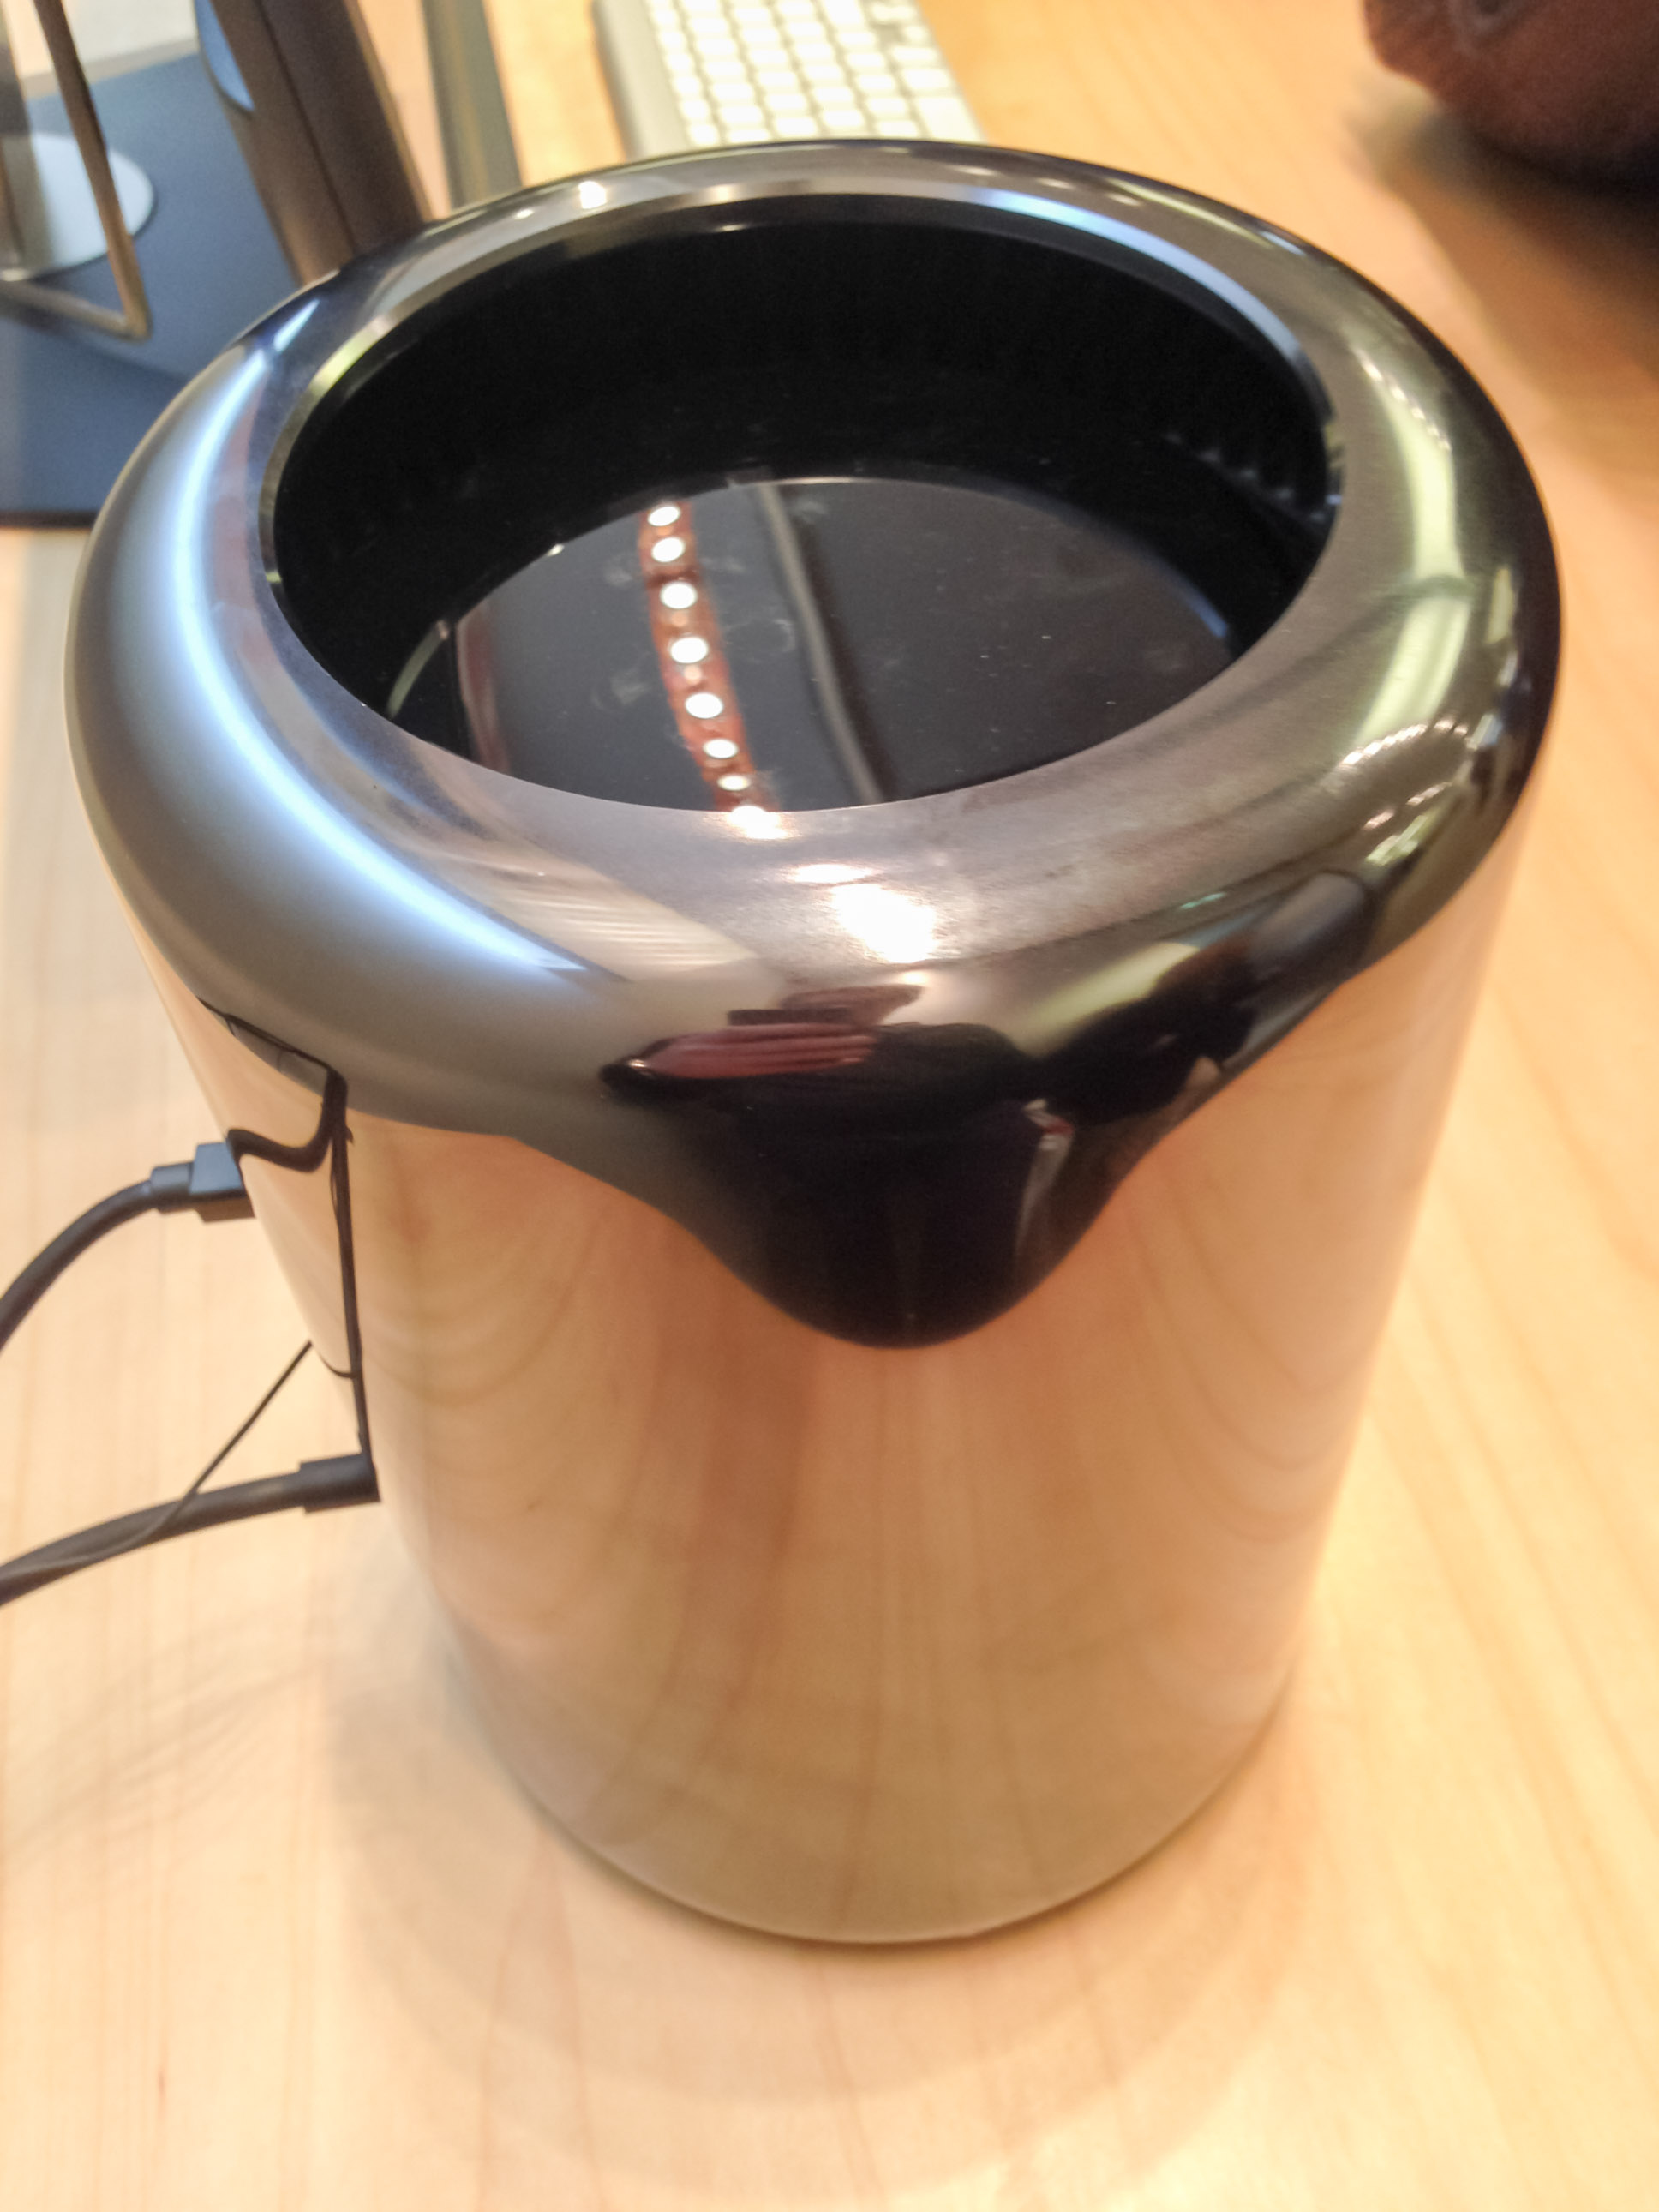
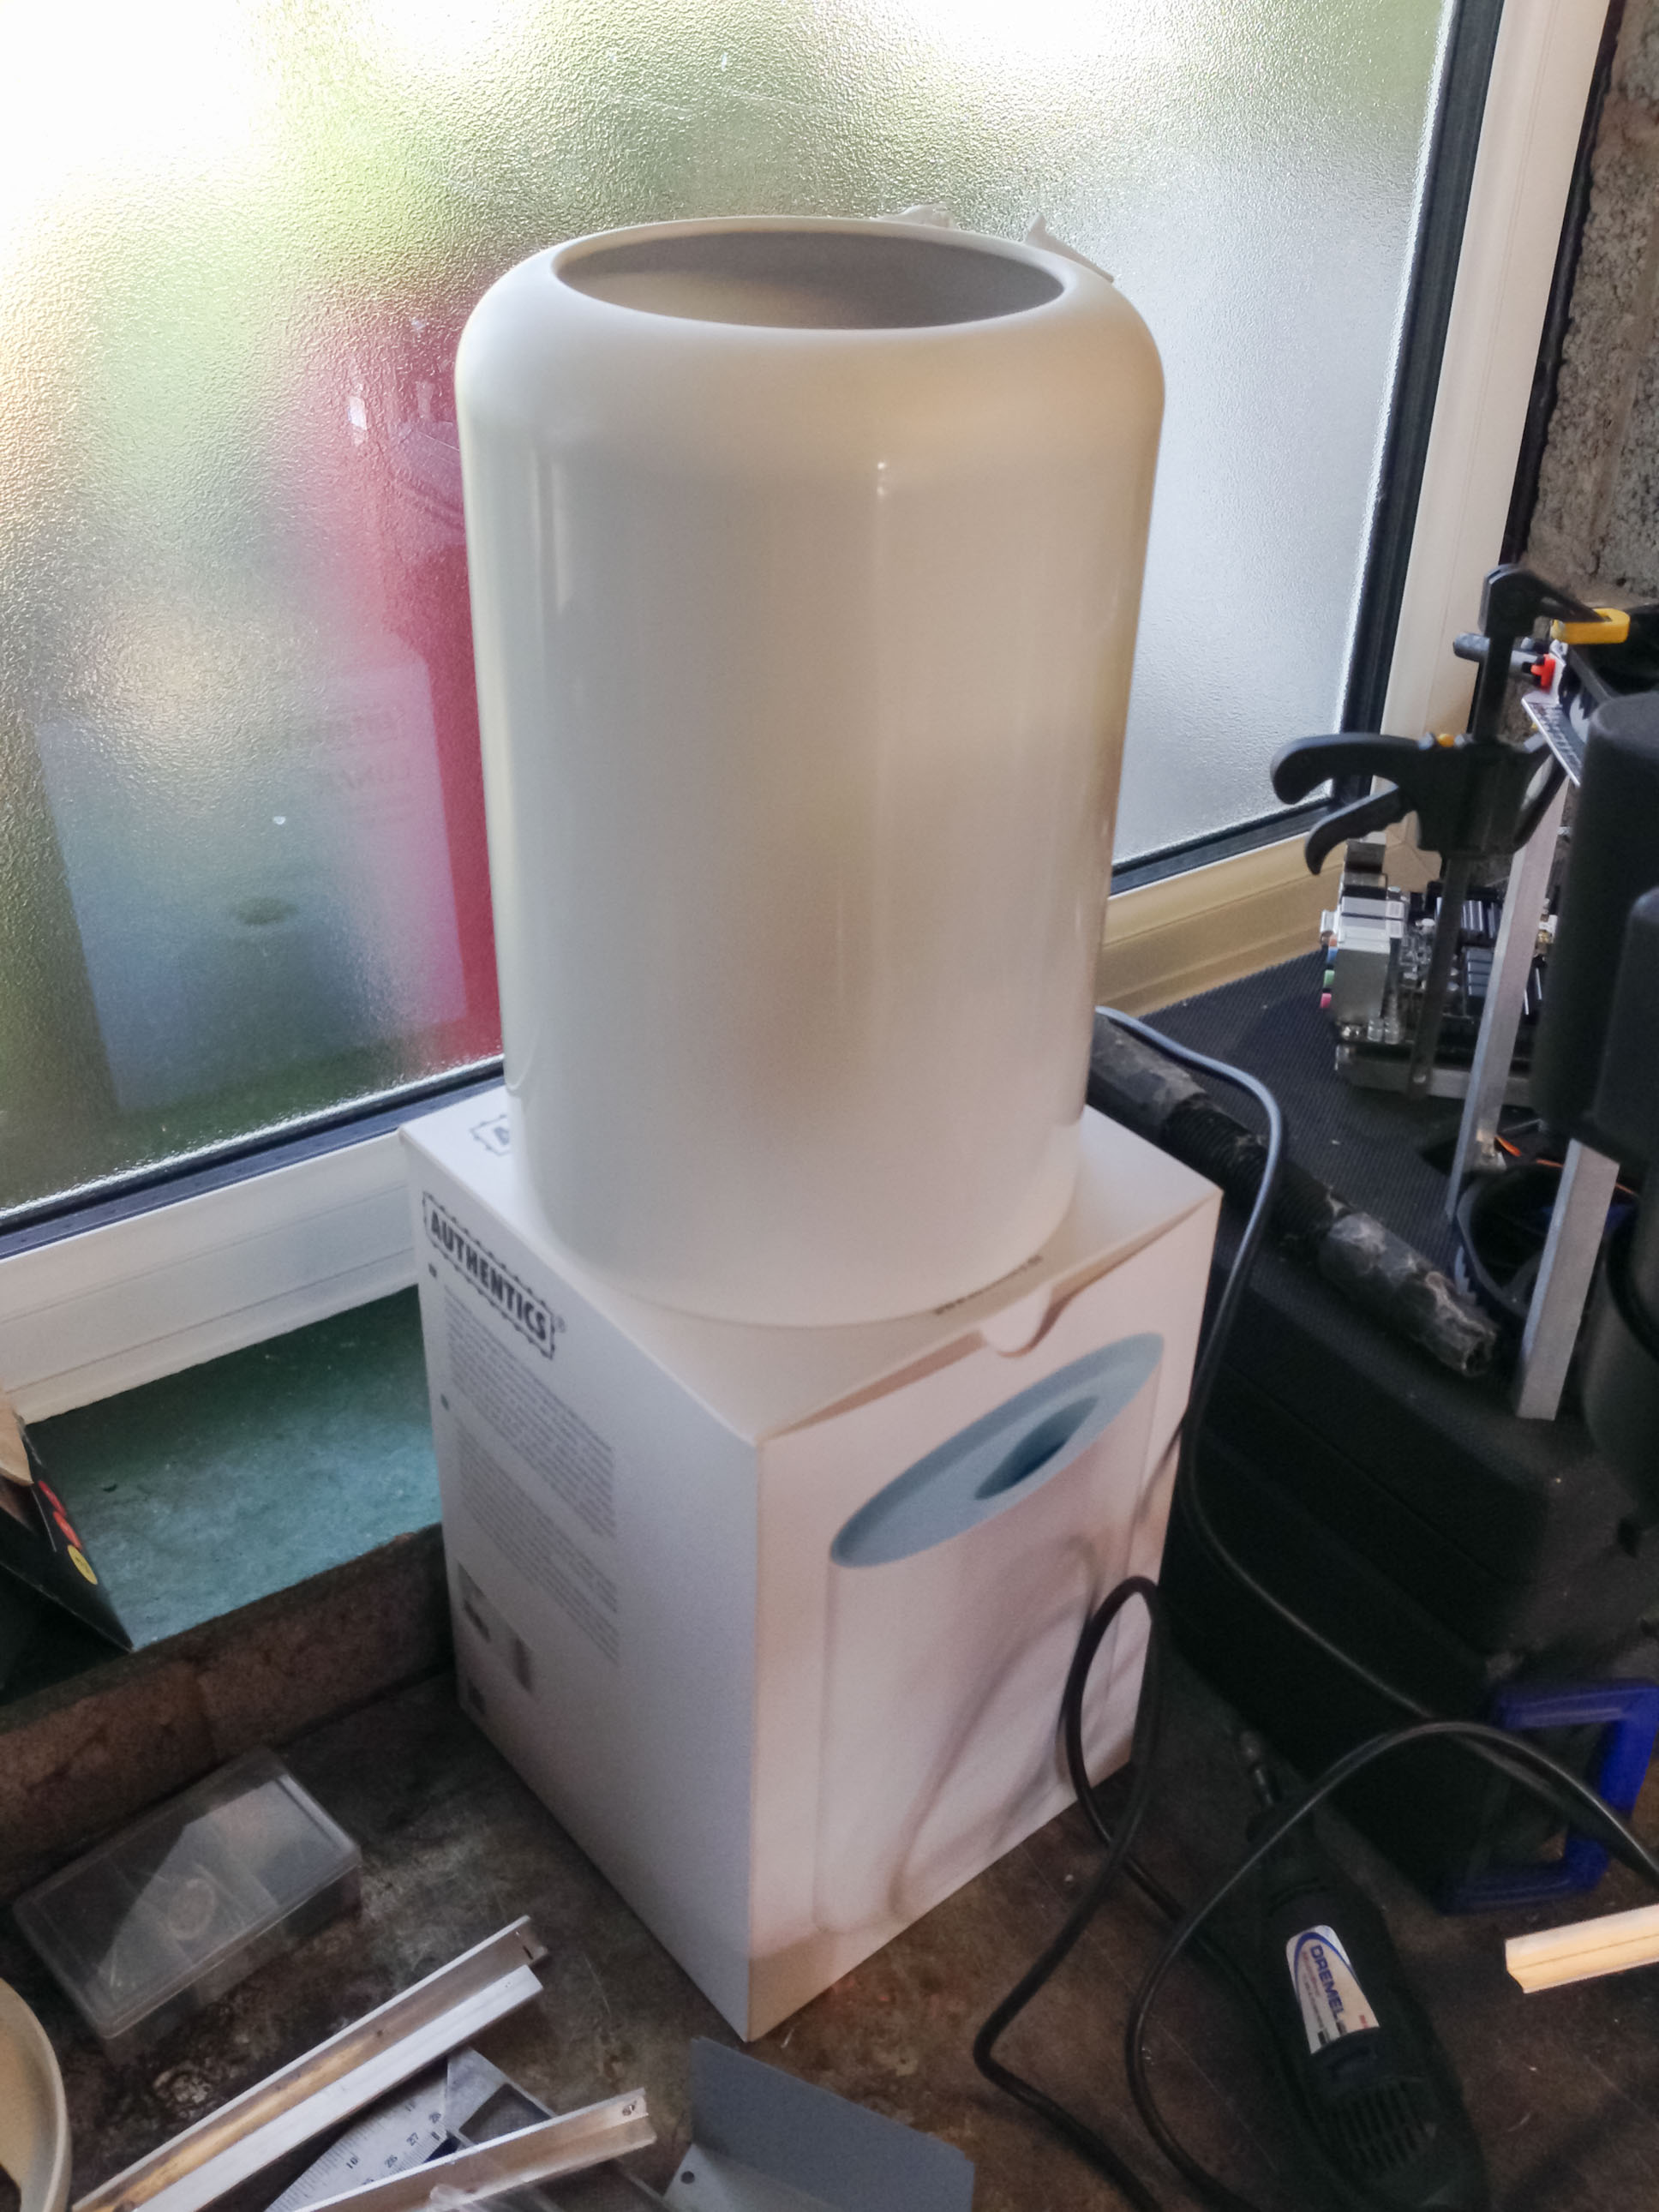
My new case.. a bin.
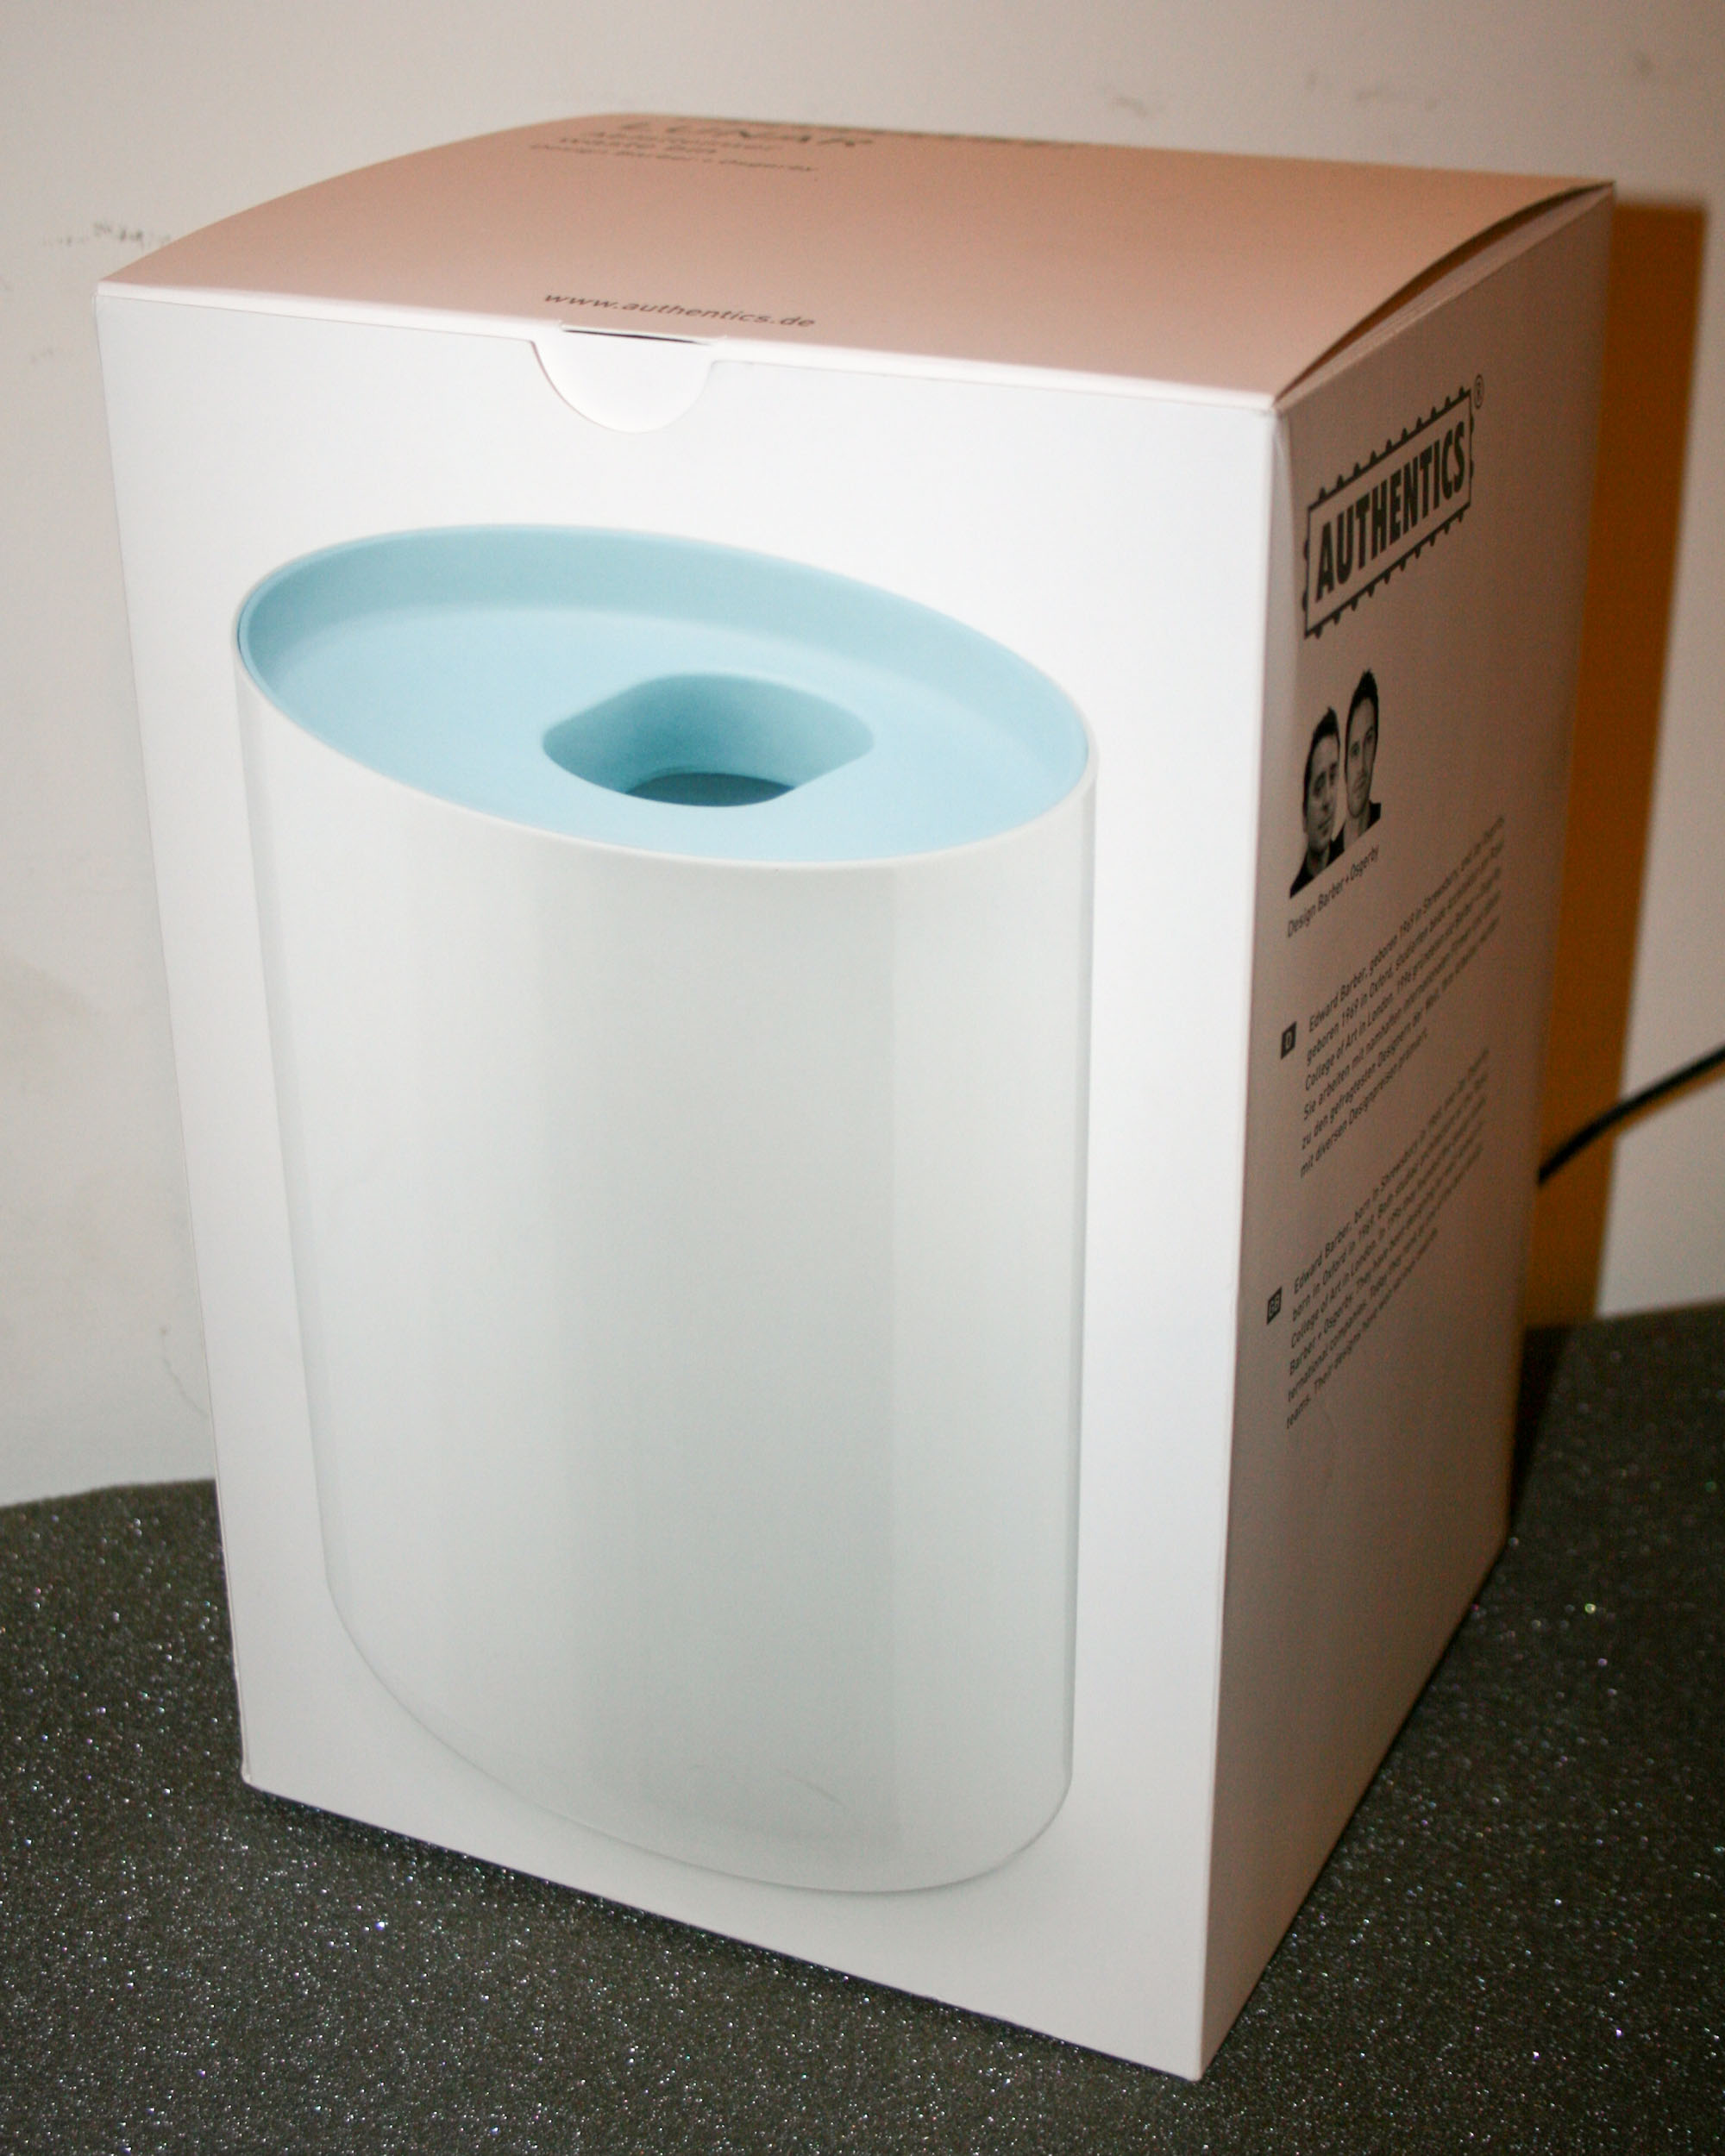
How it should look
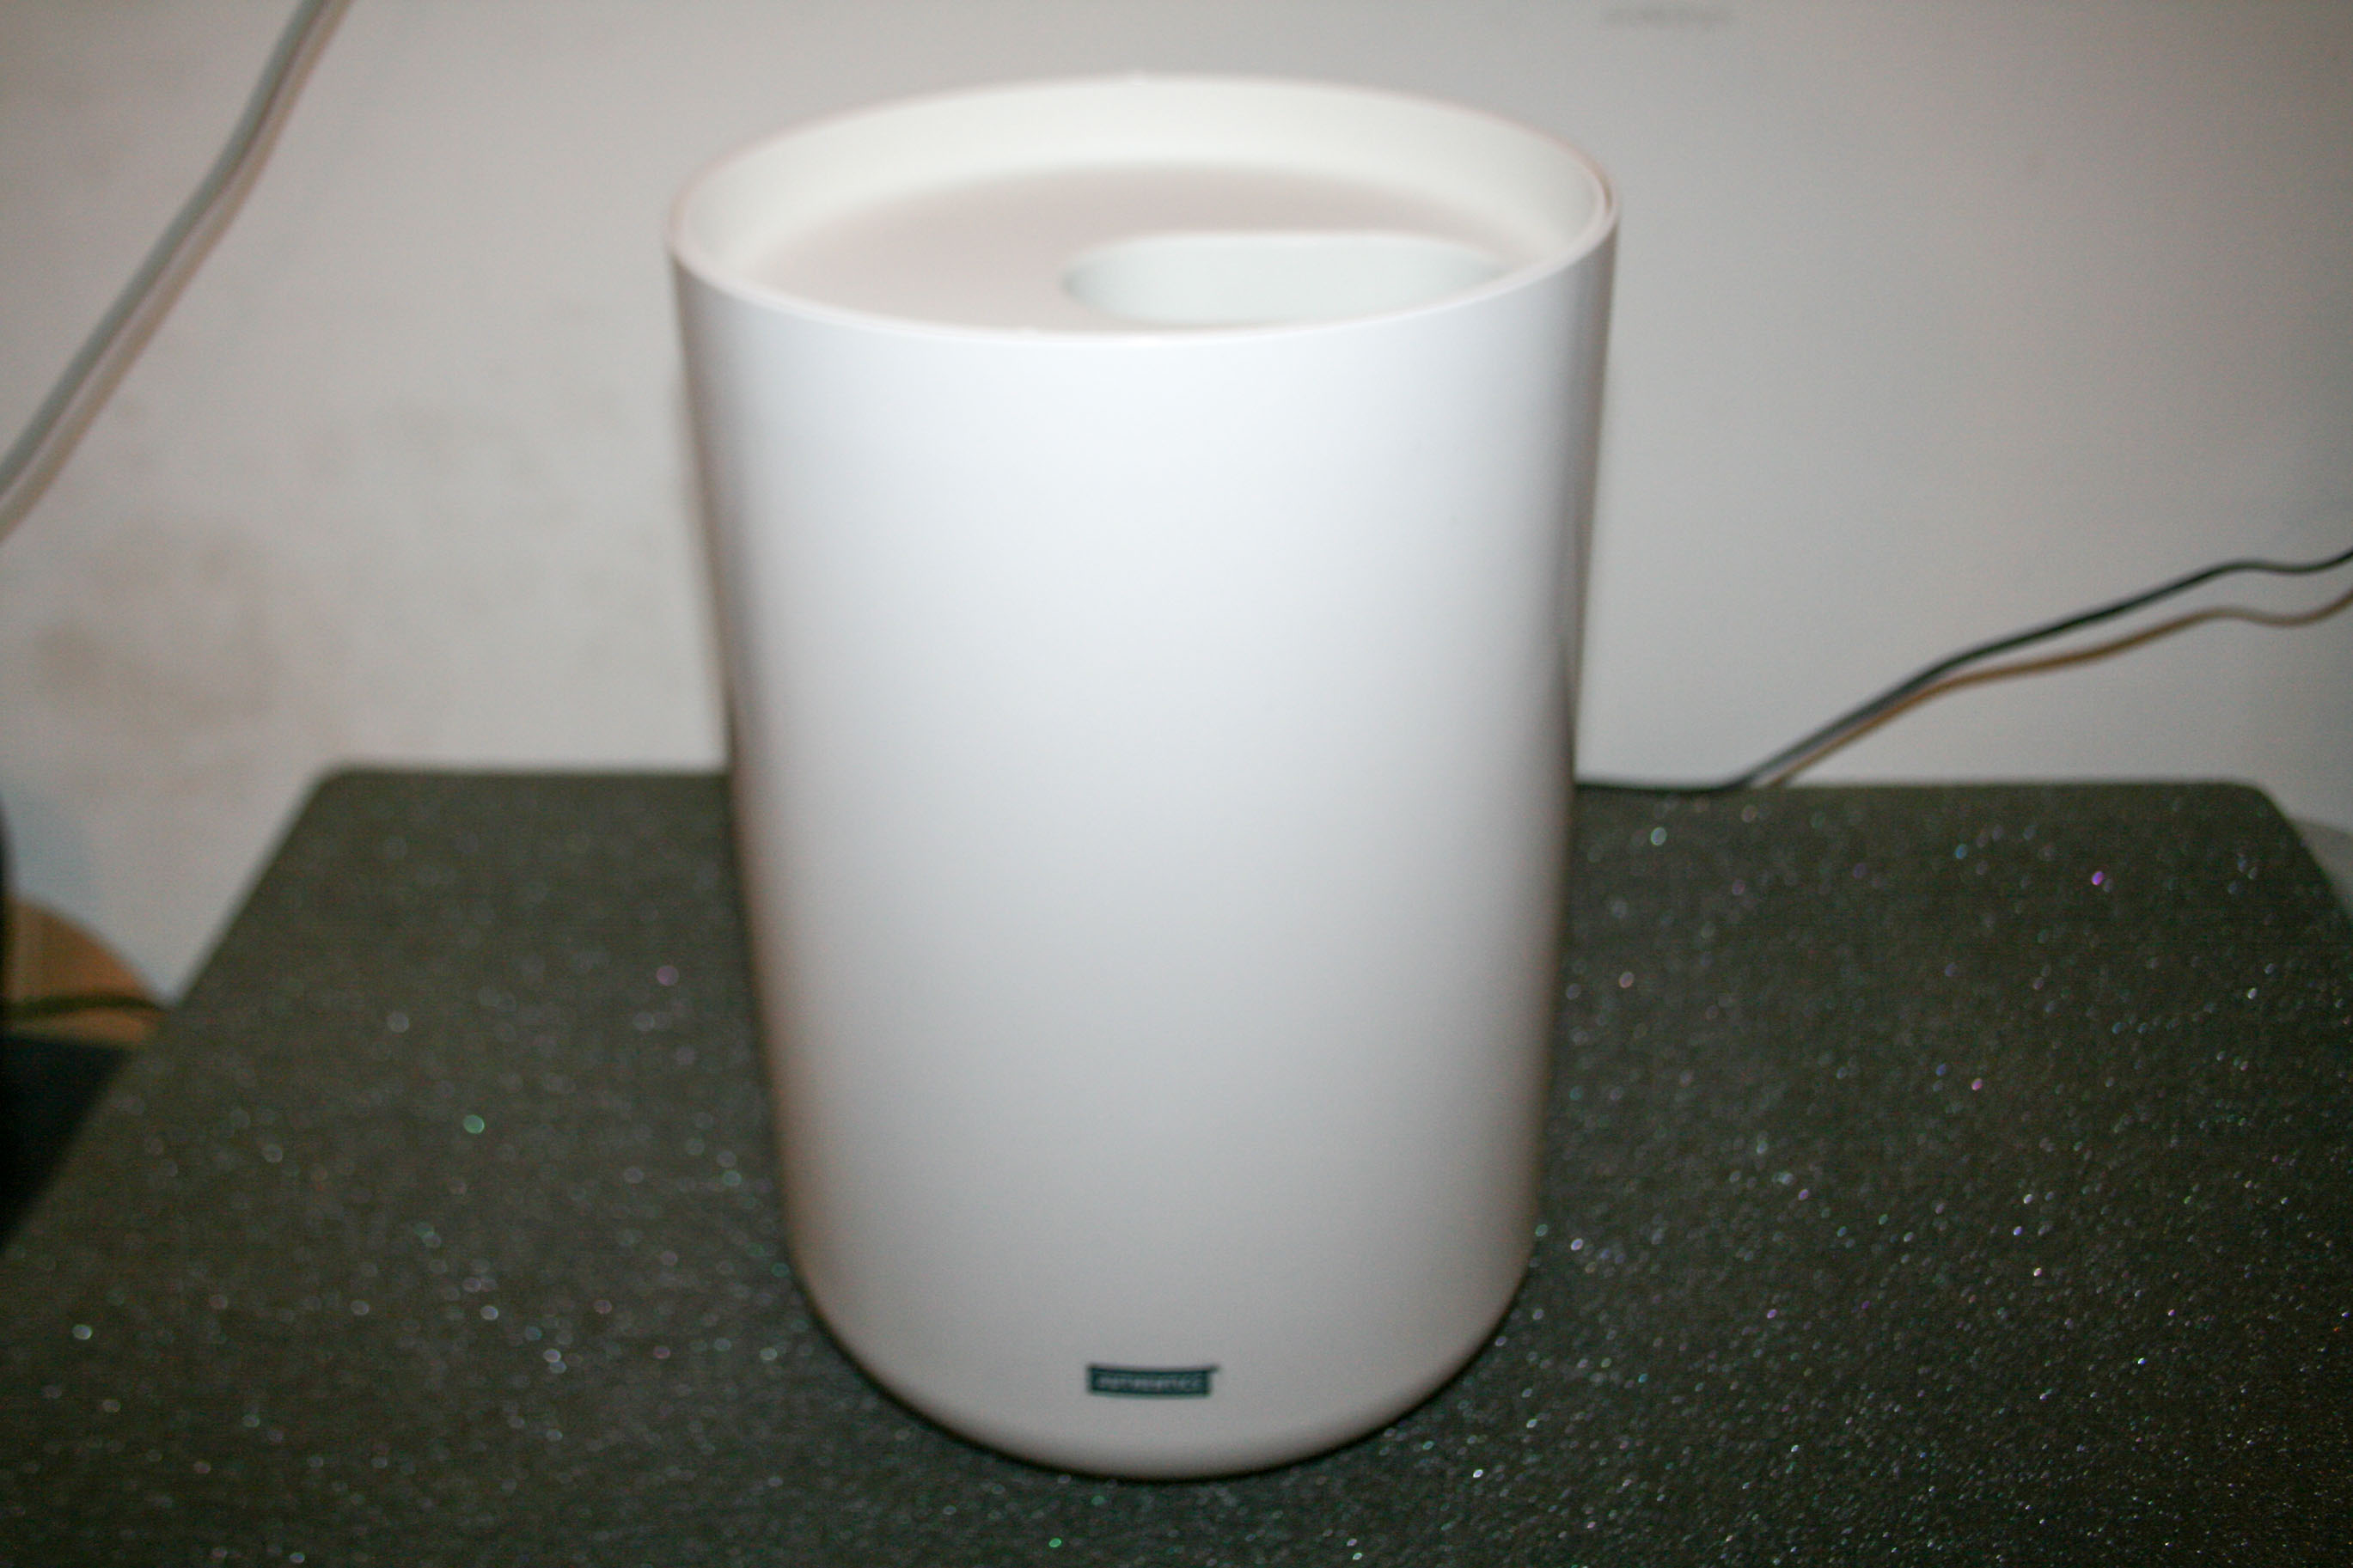
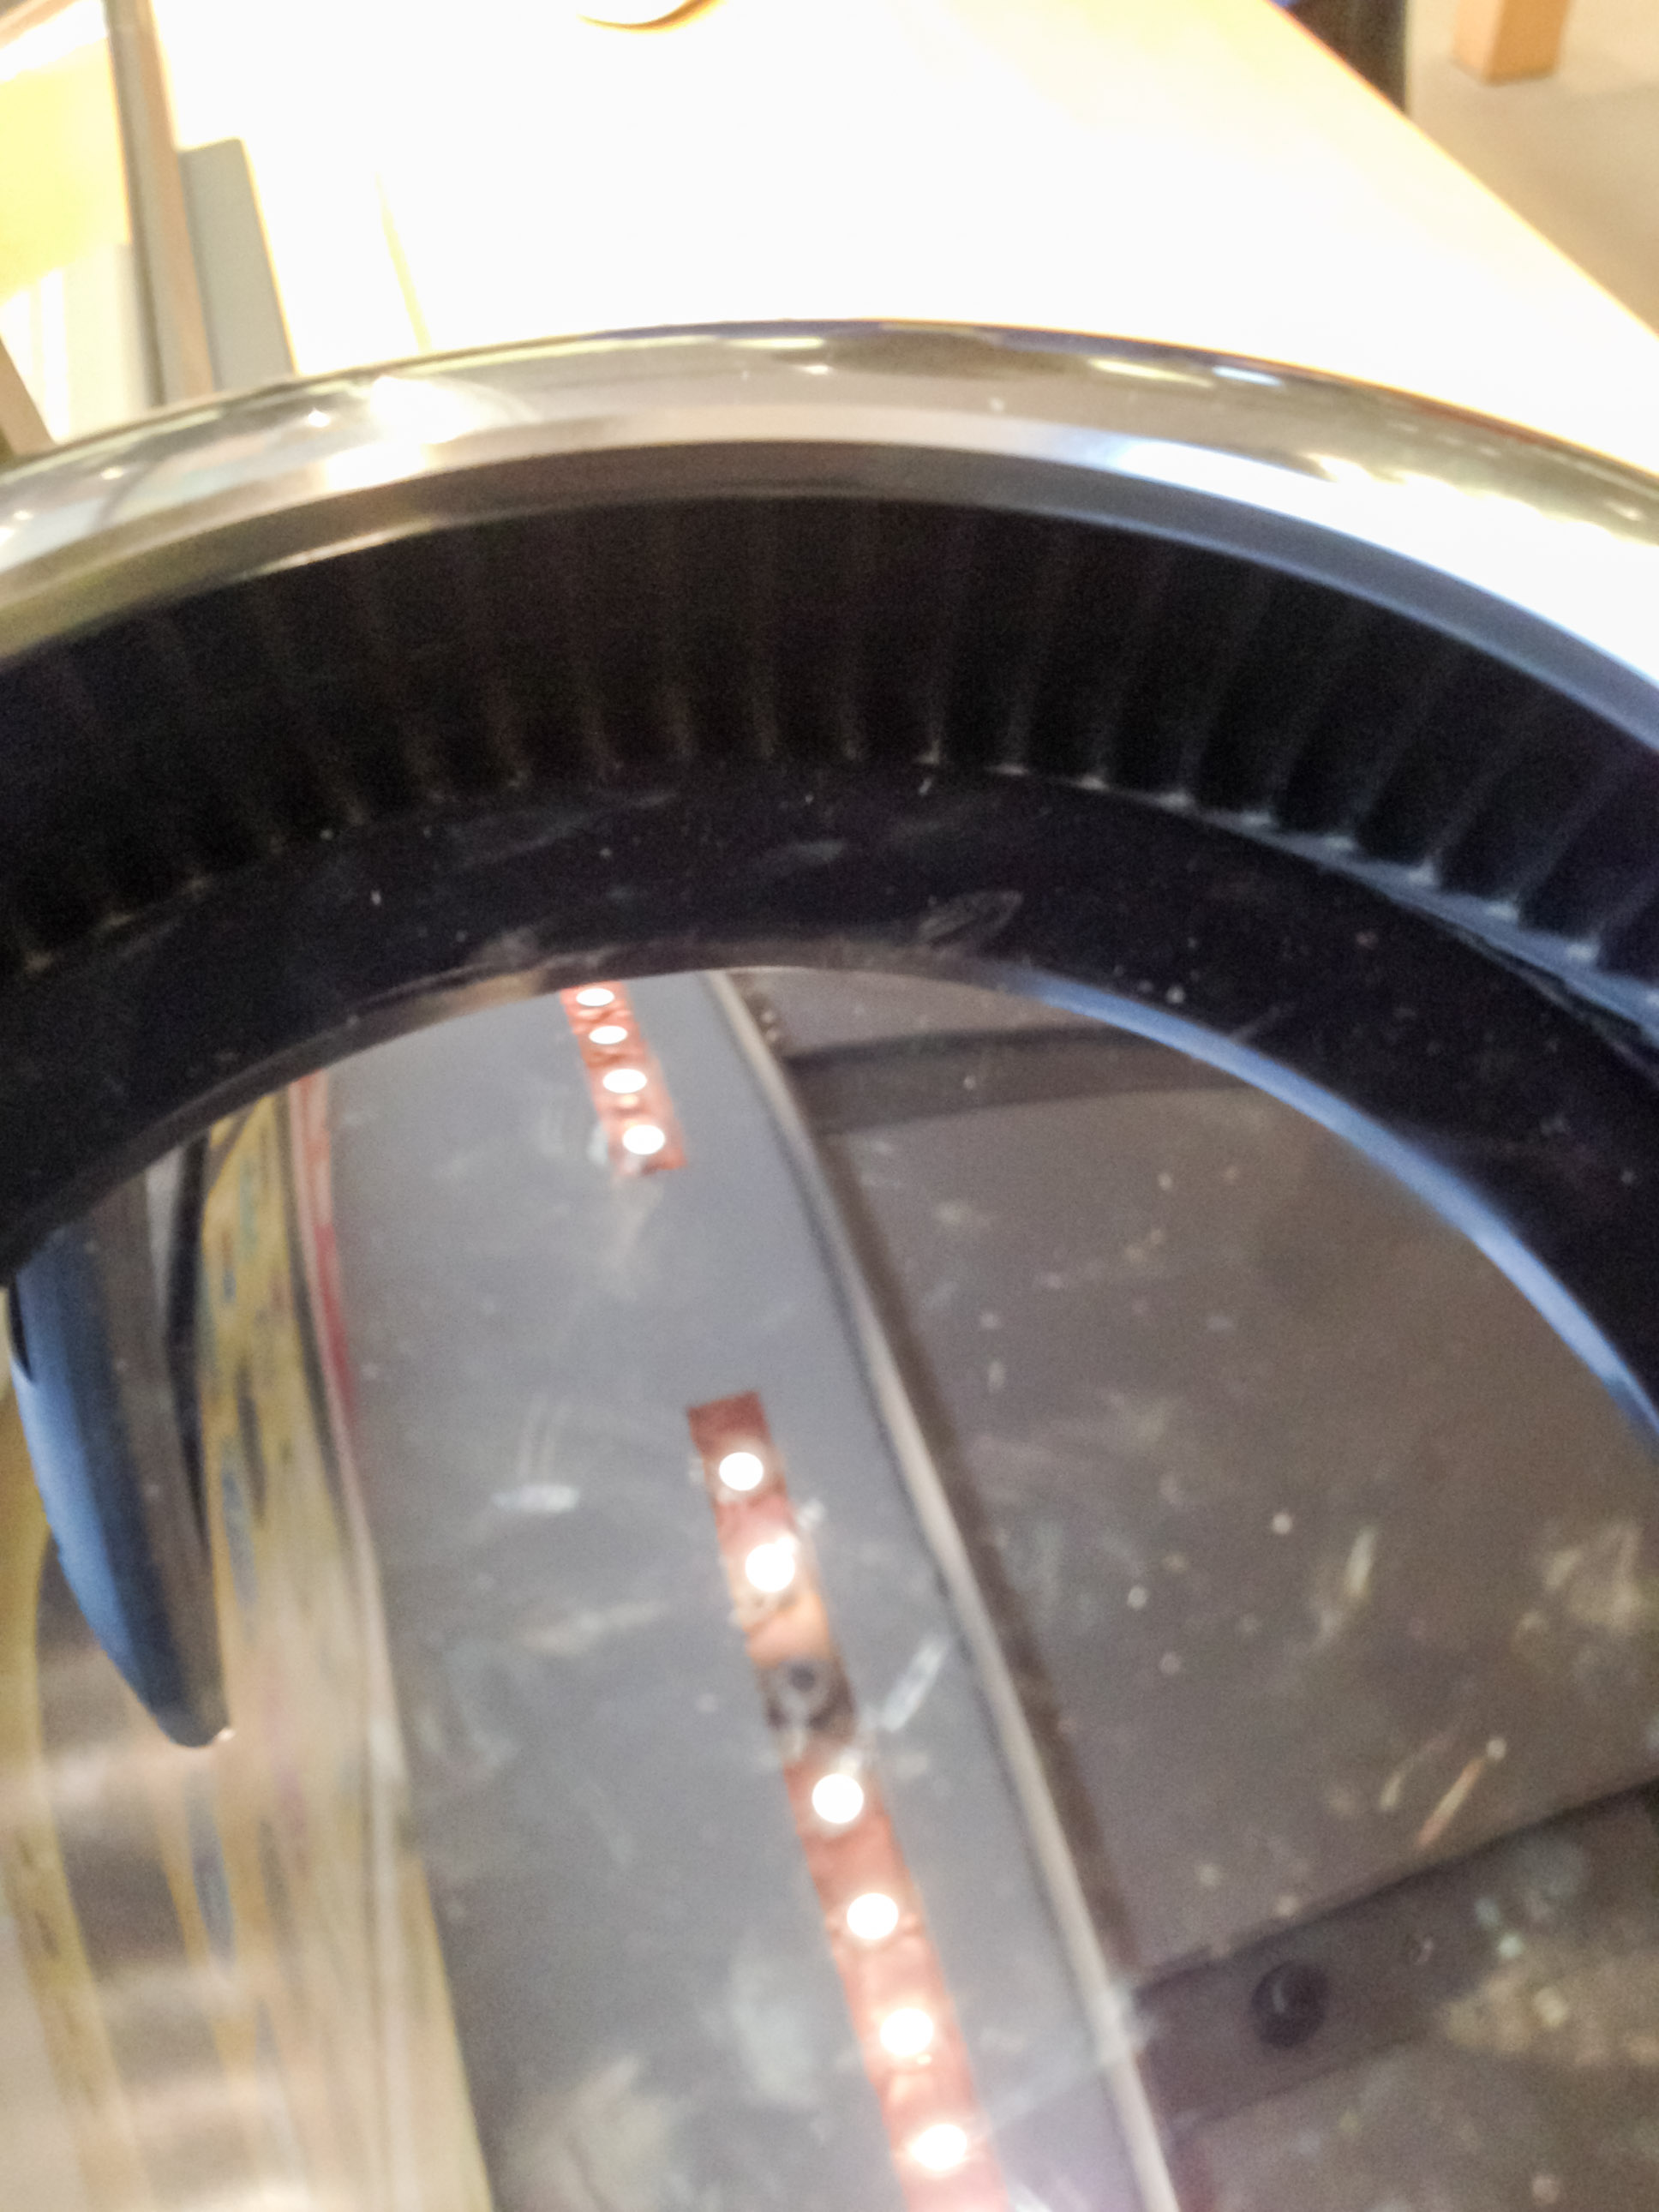
How I intend to positon it
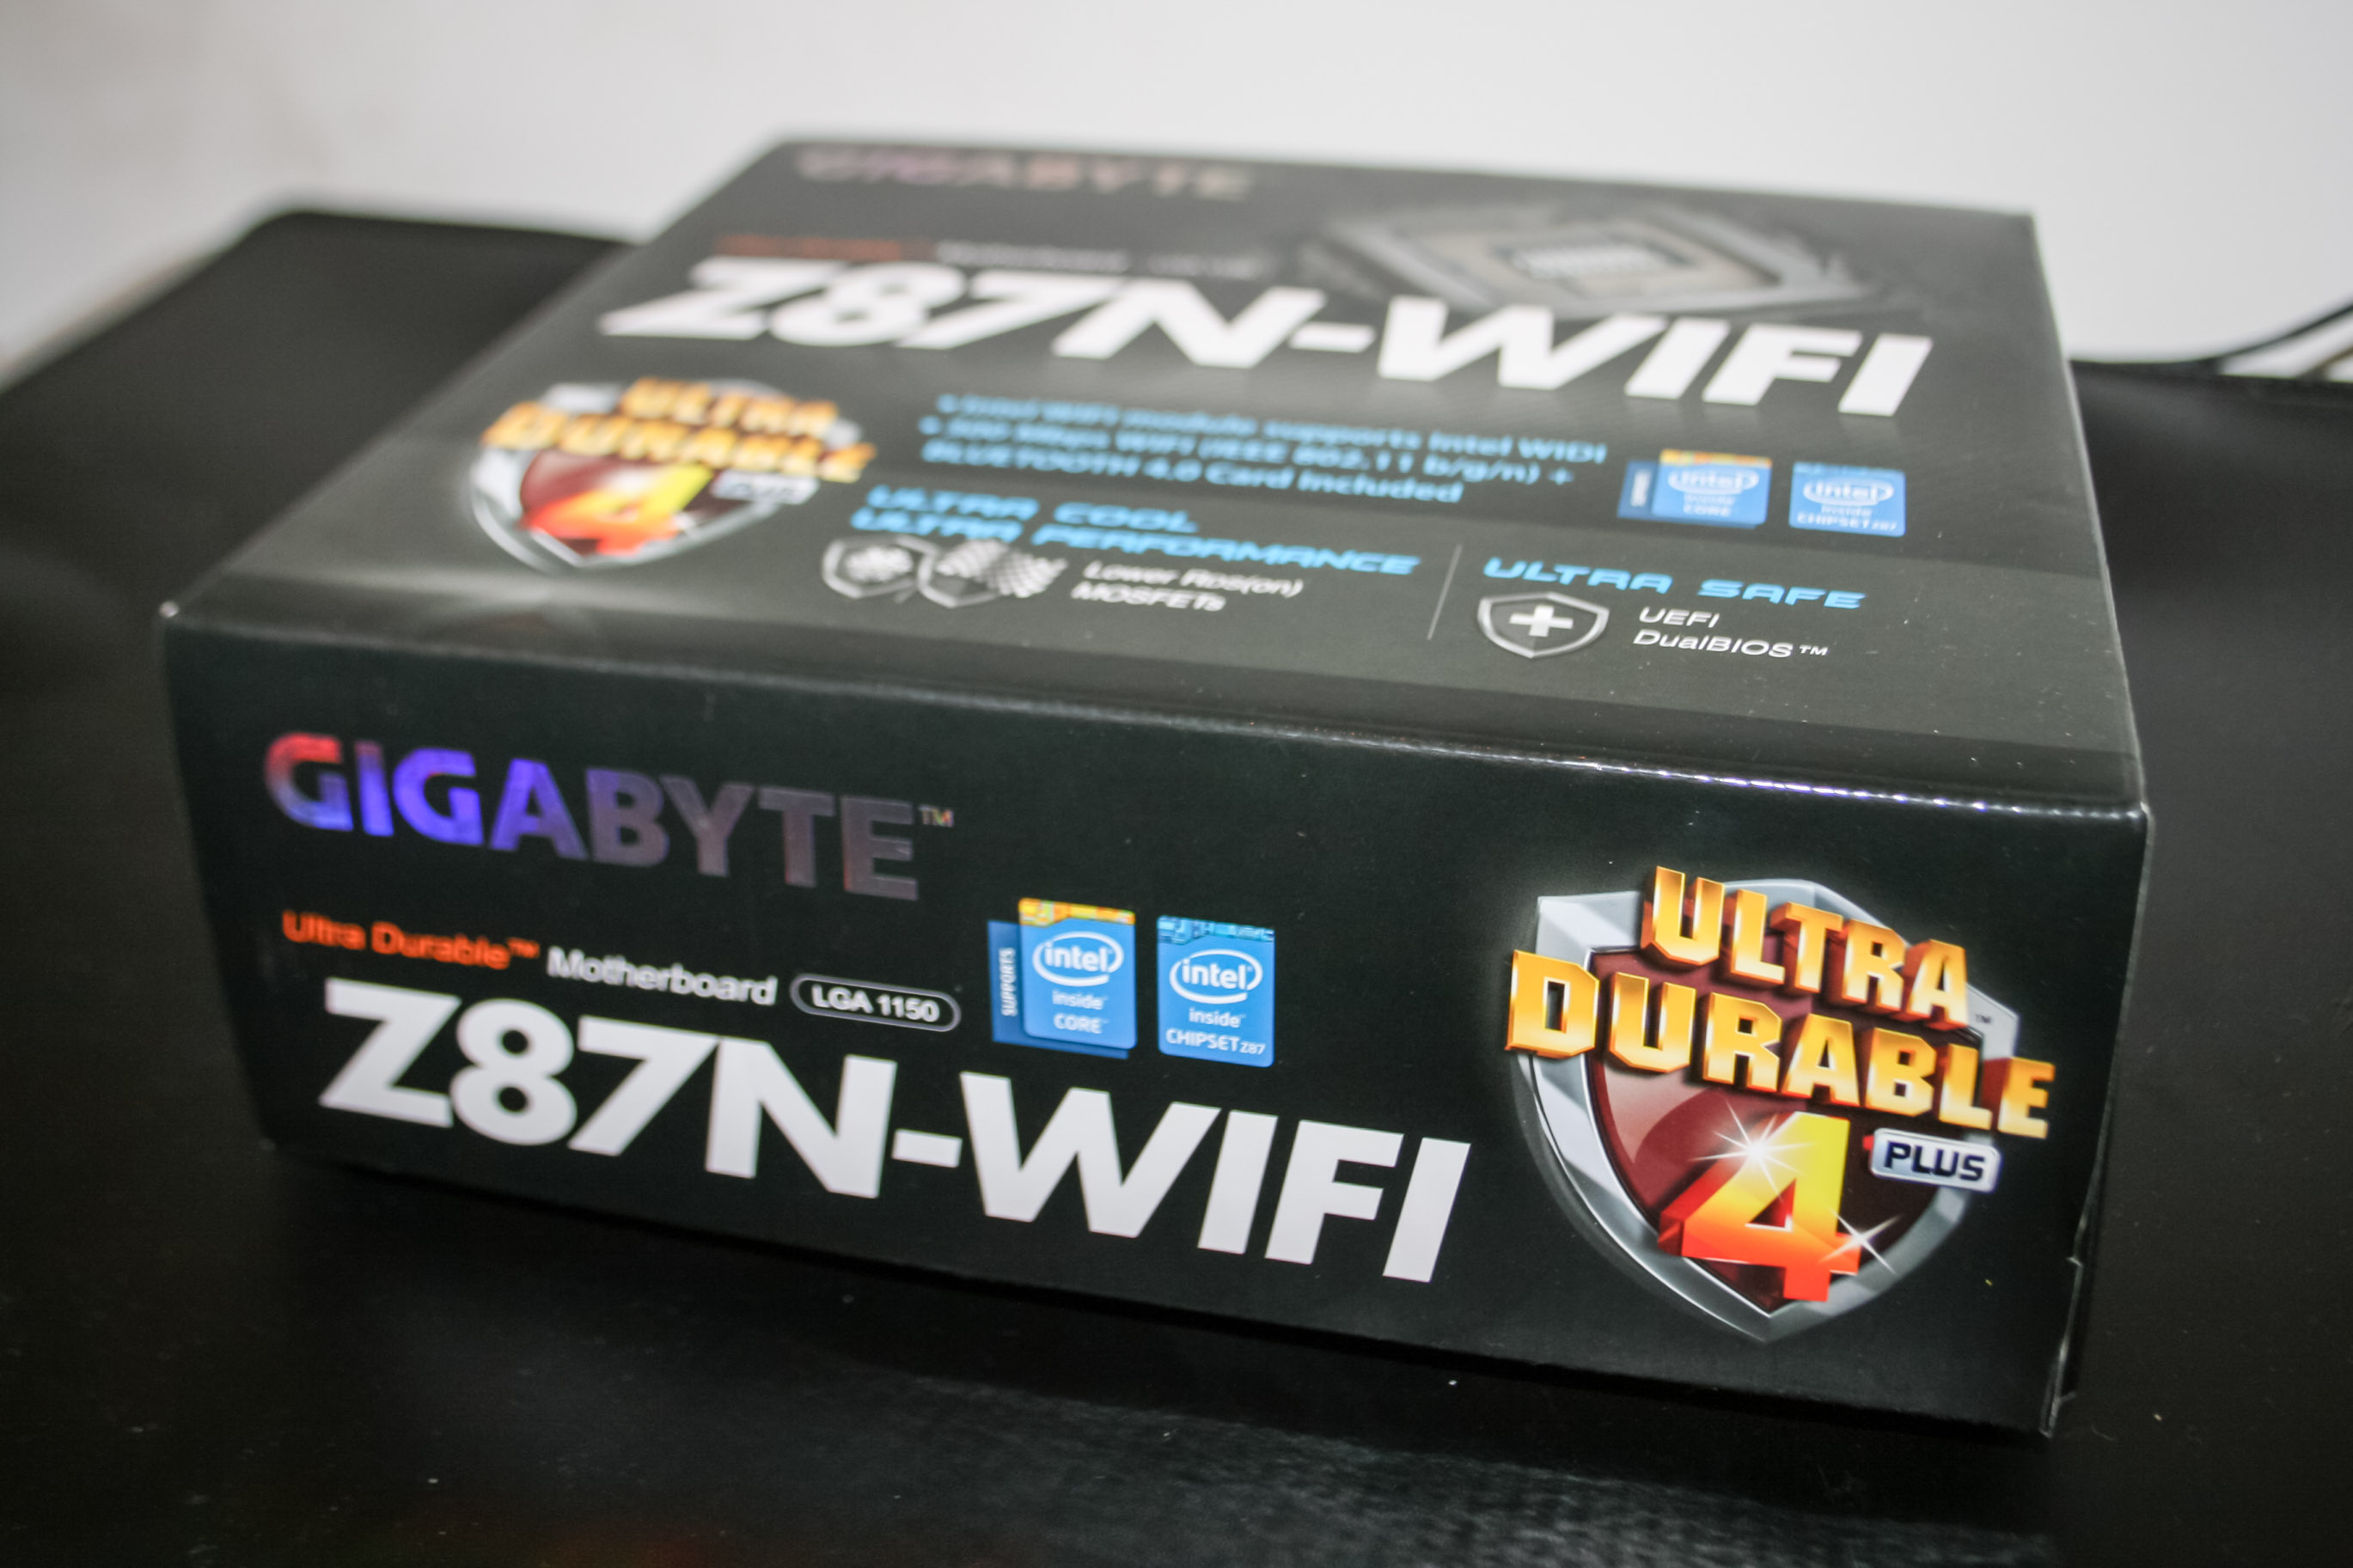
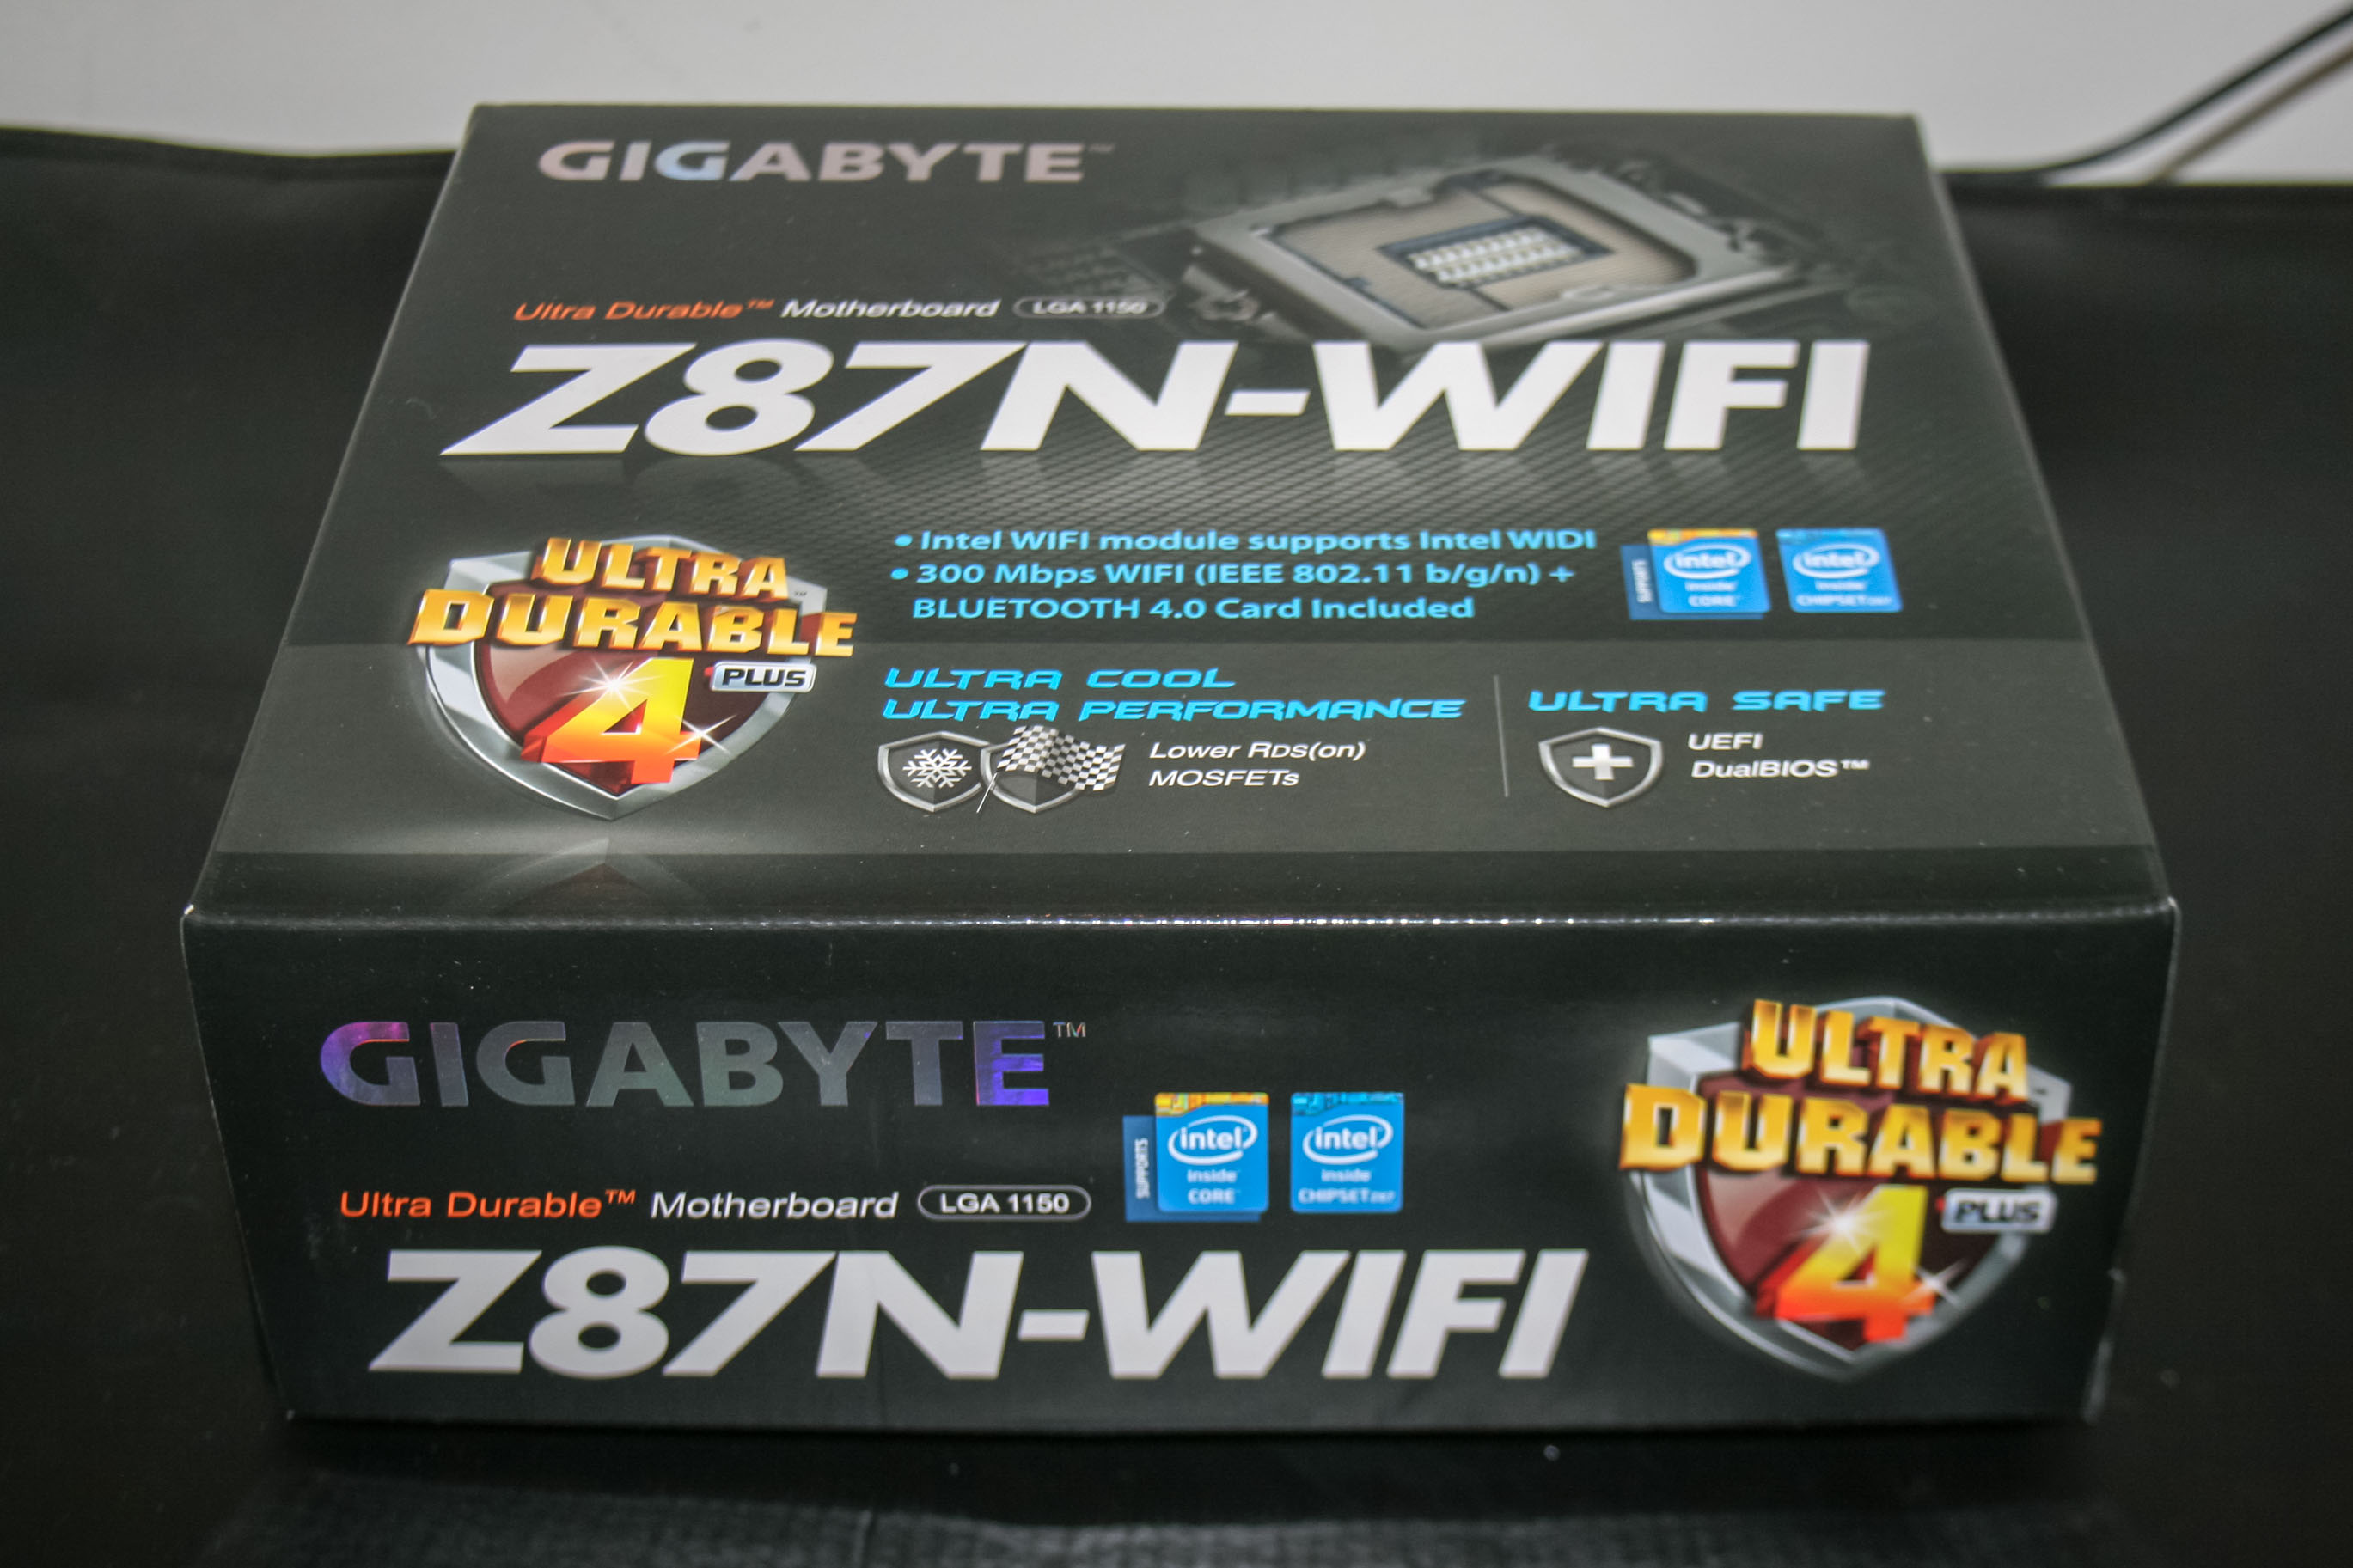
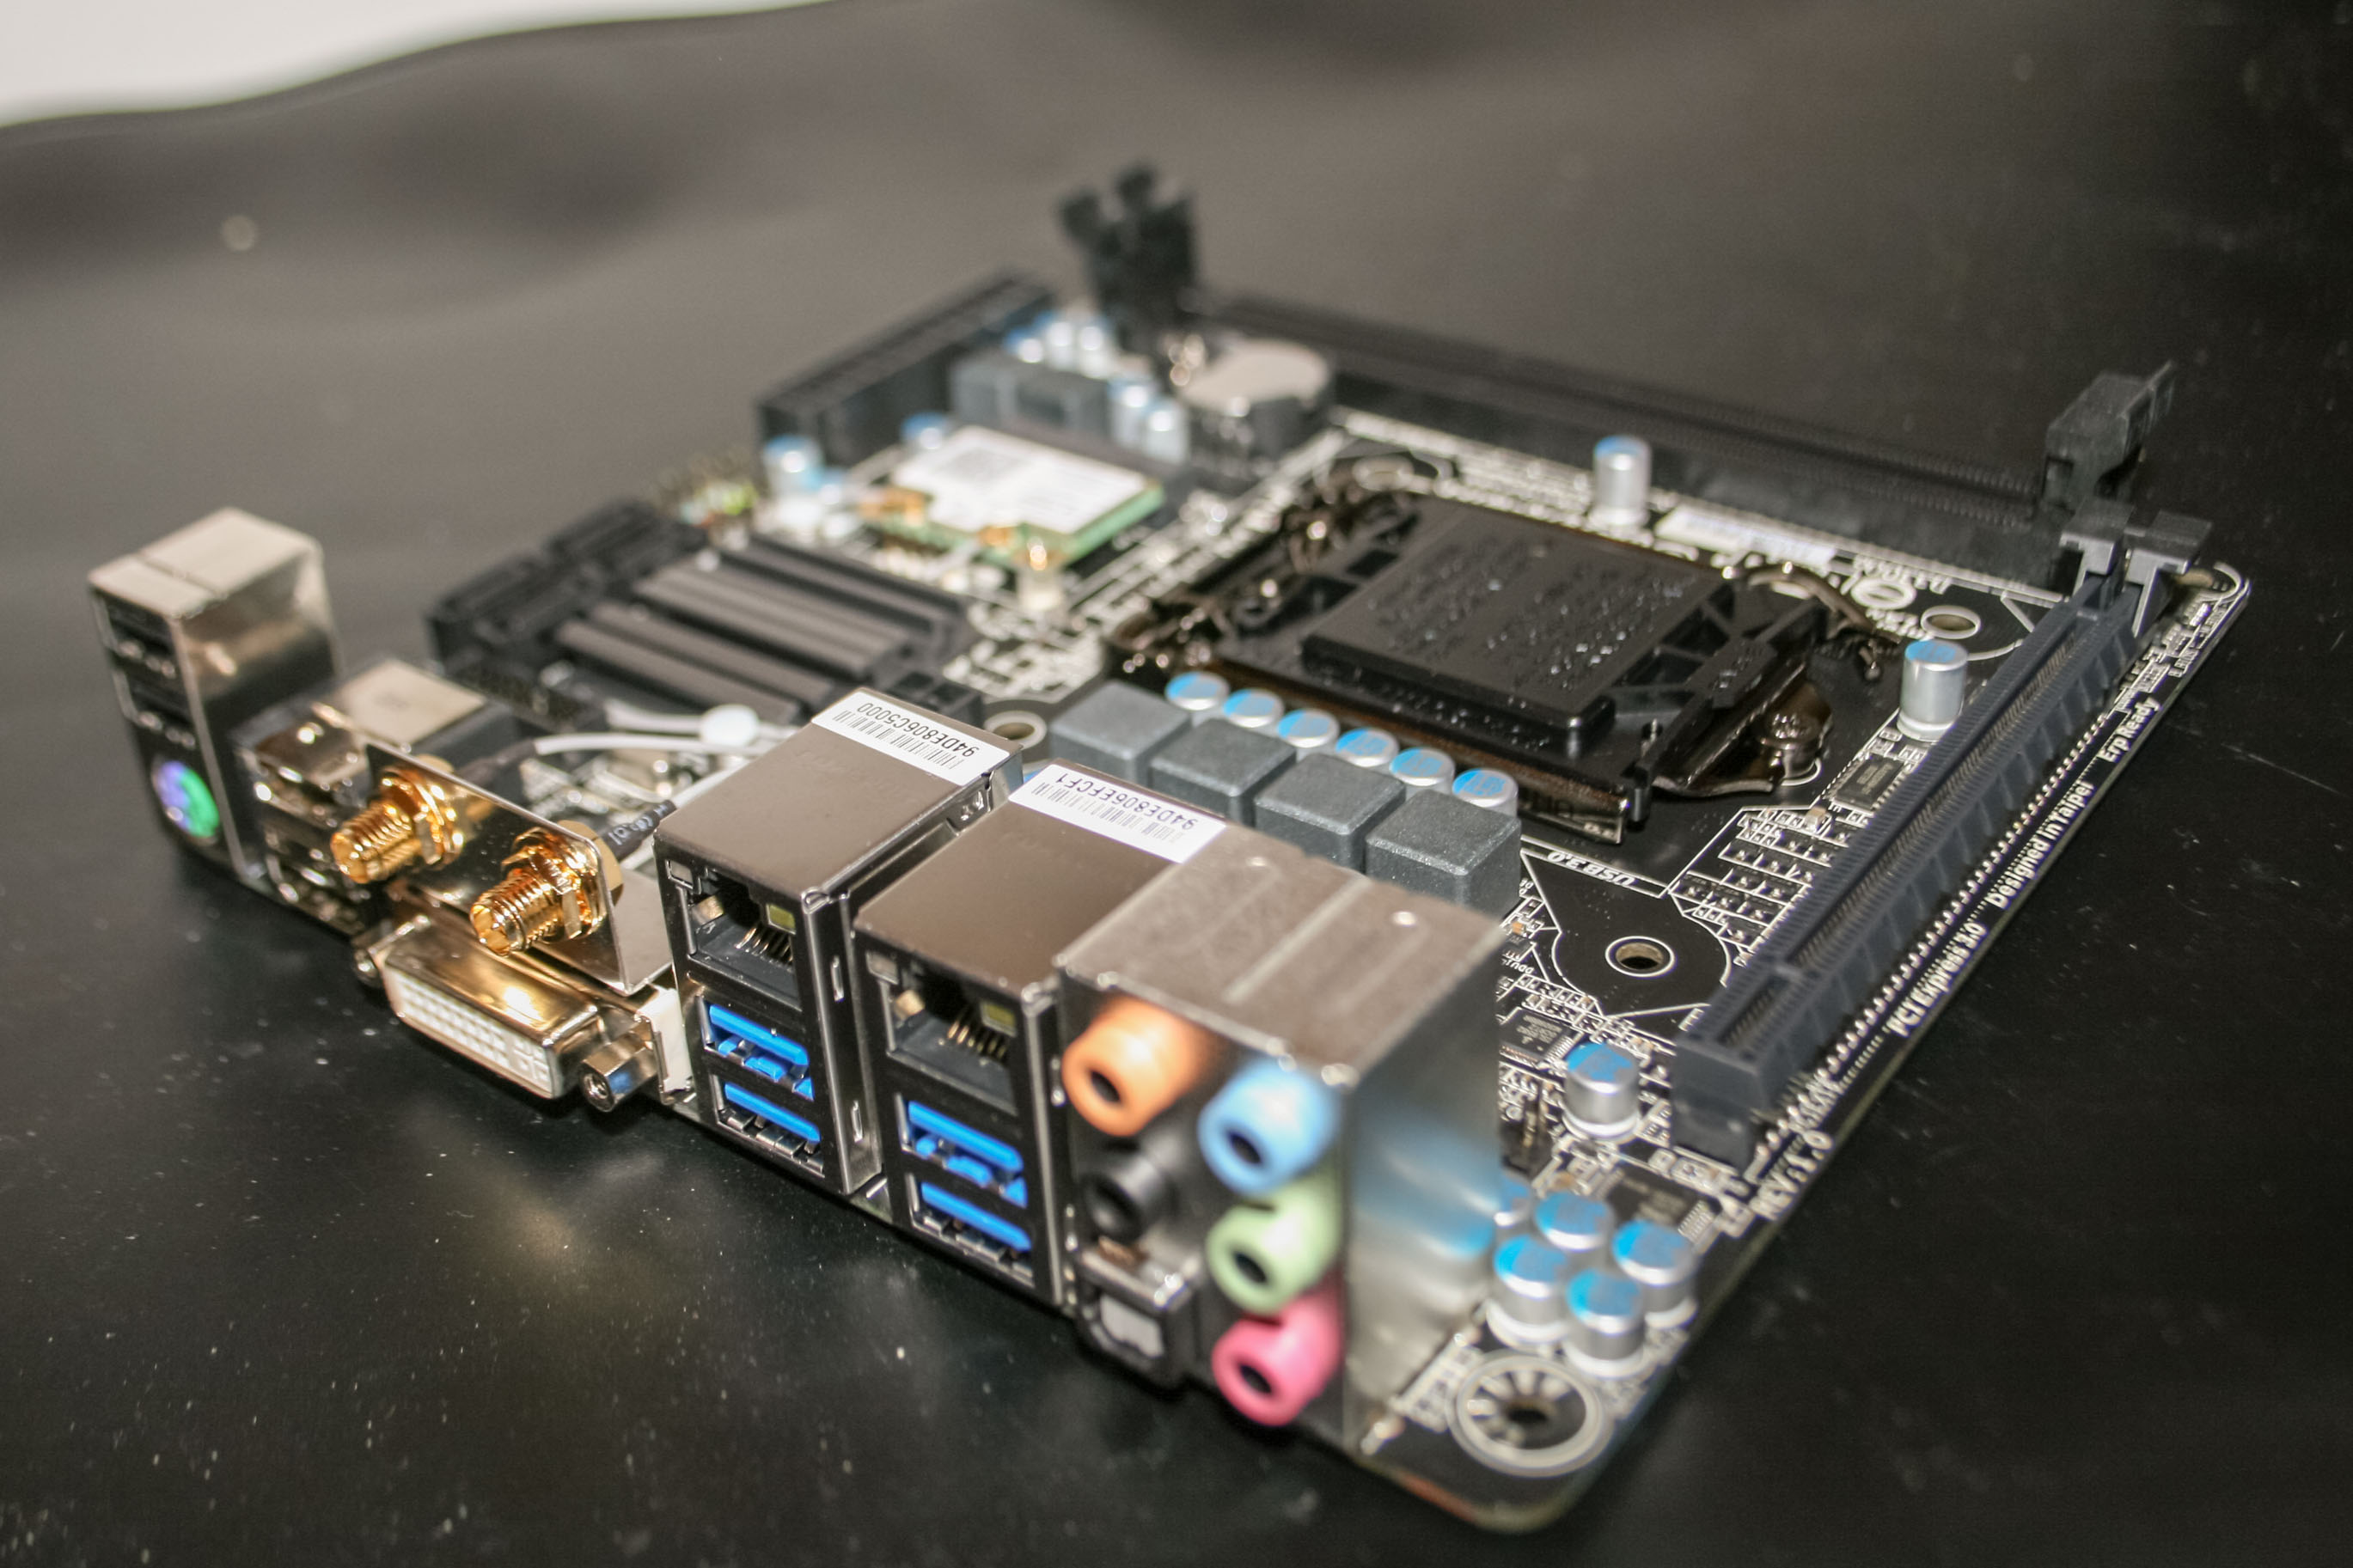
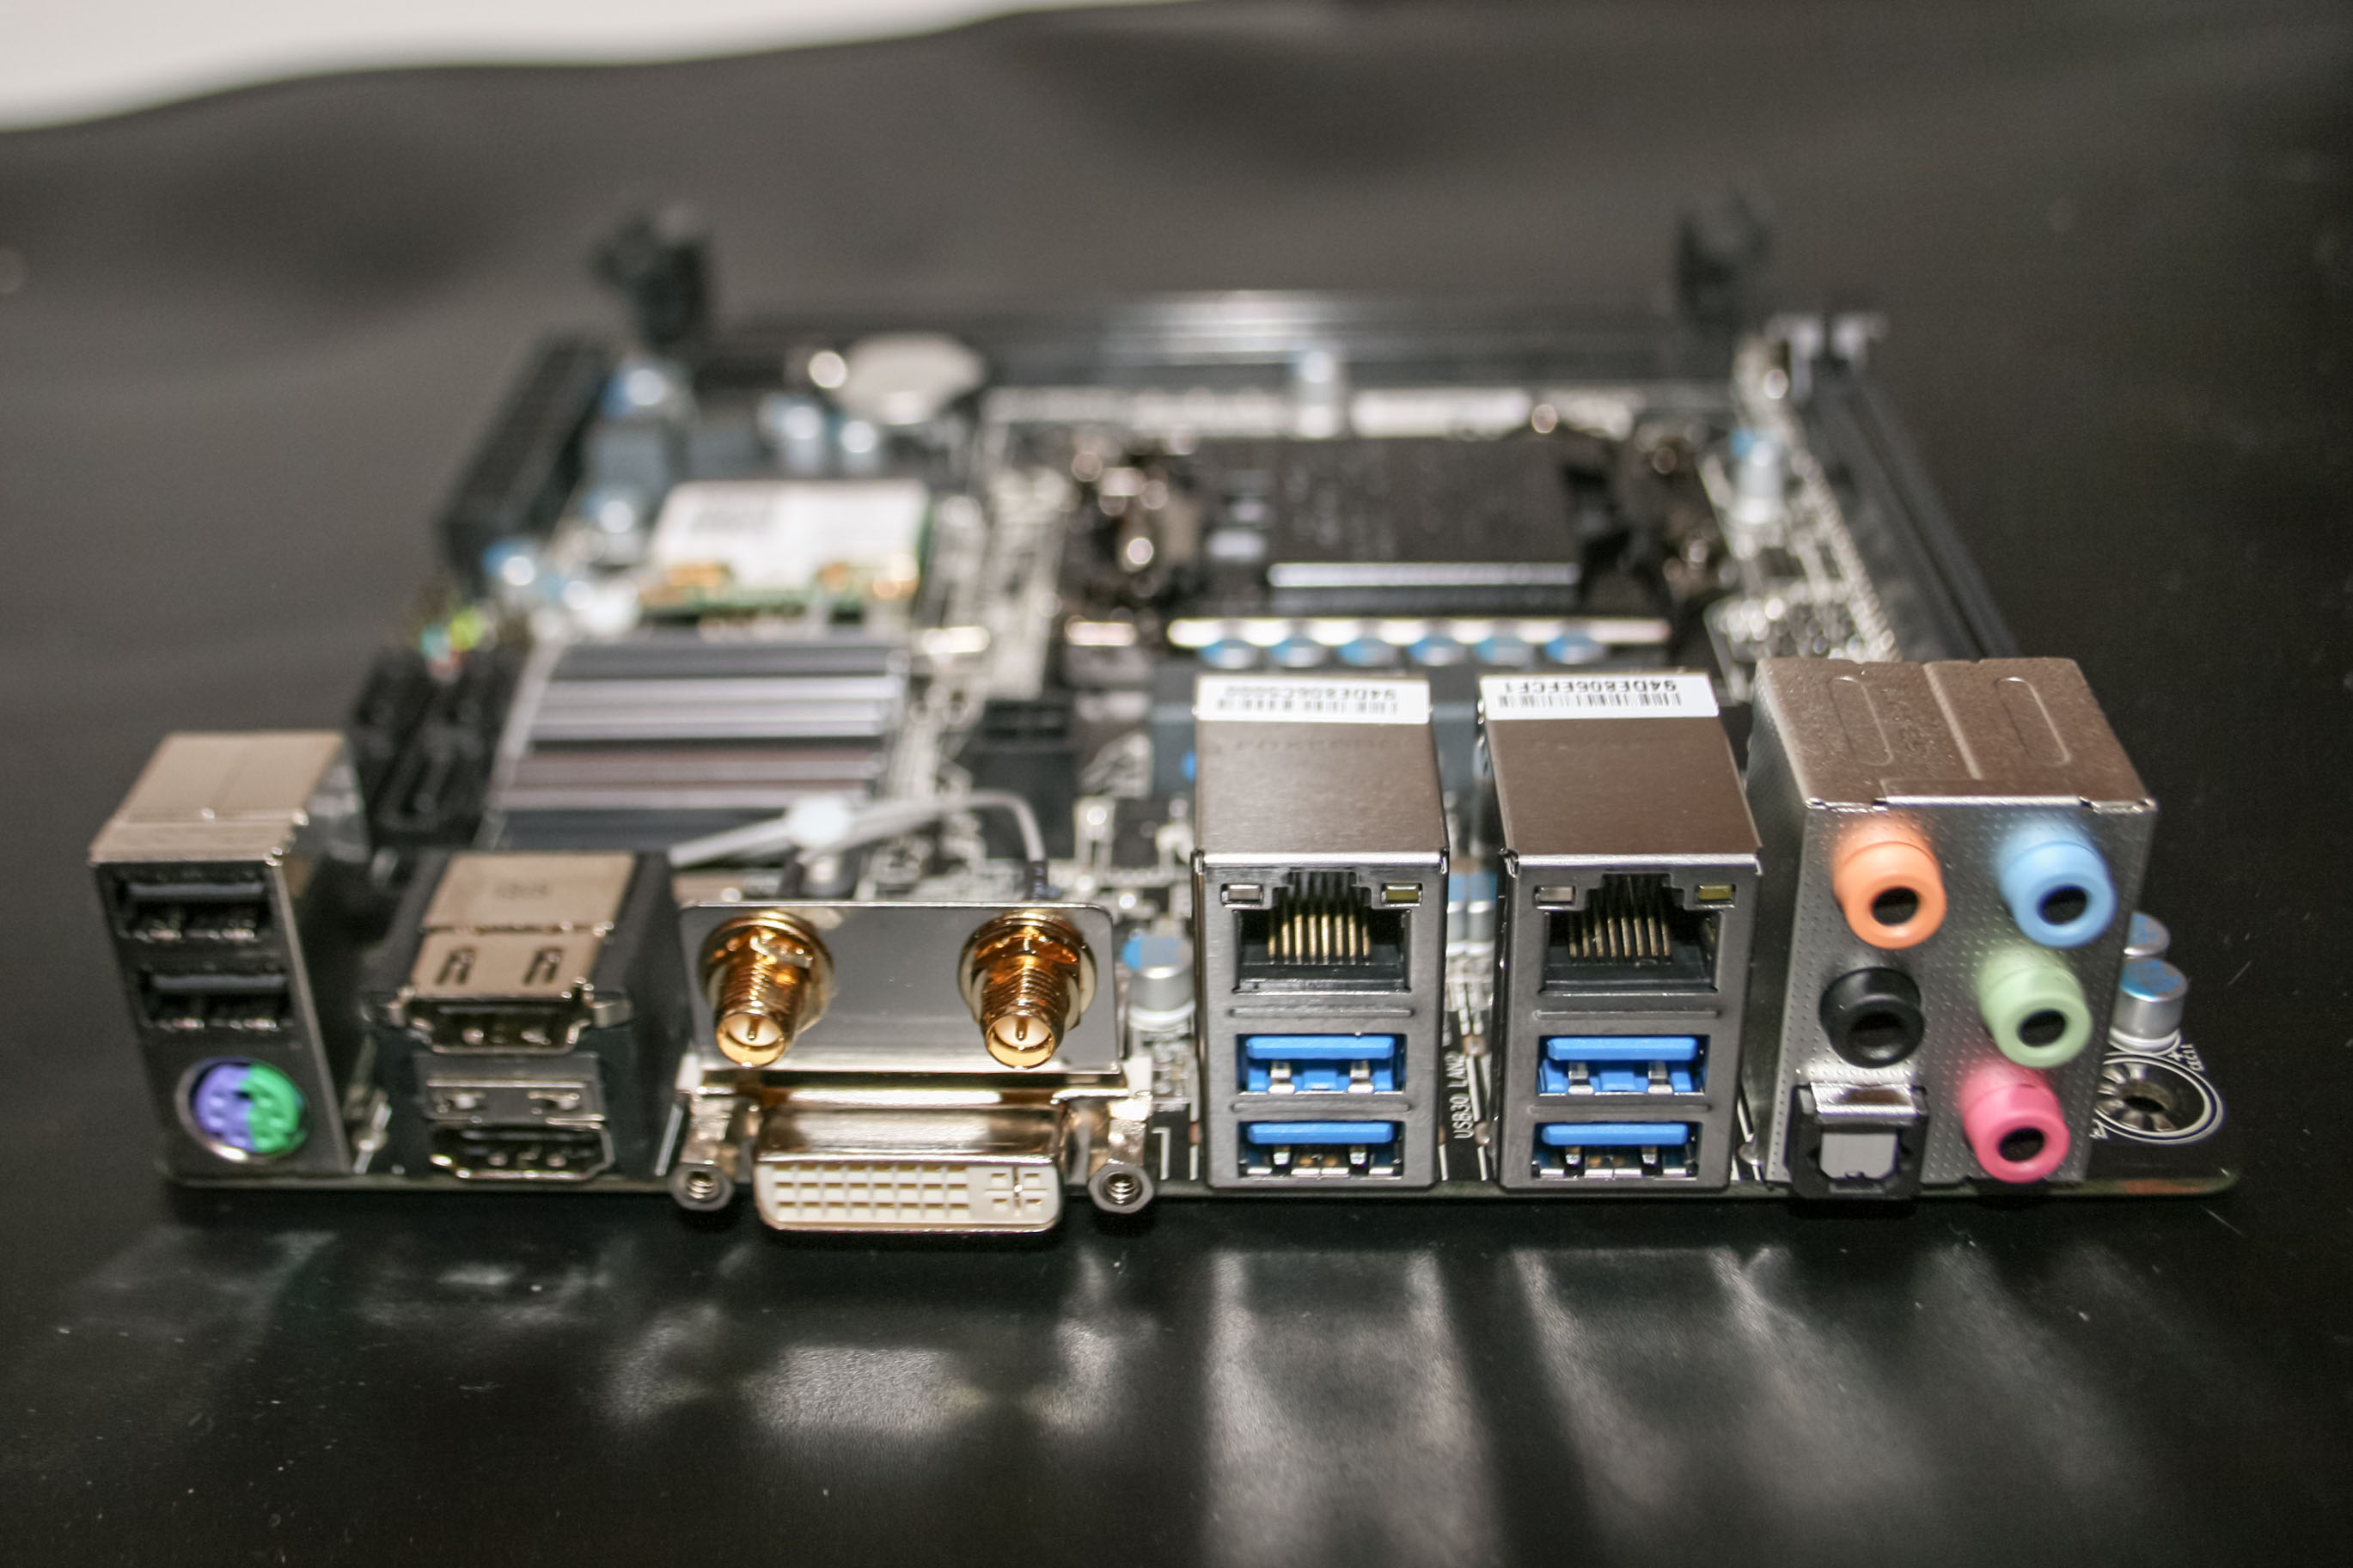
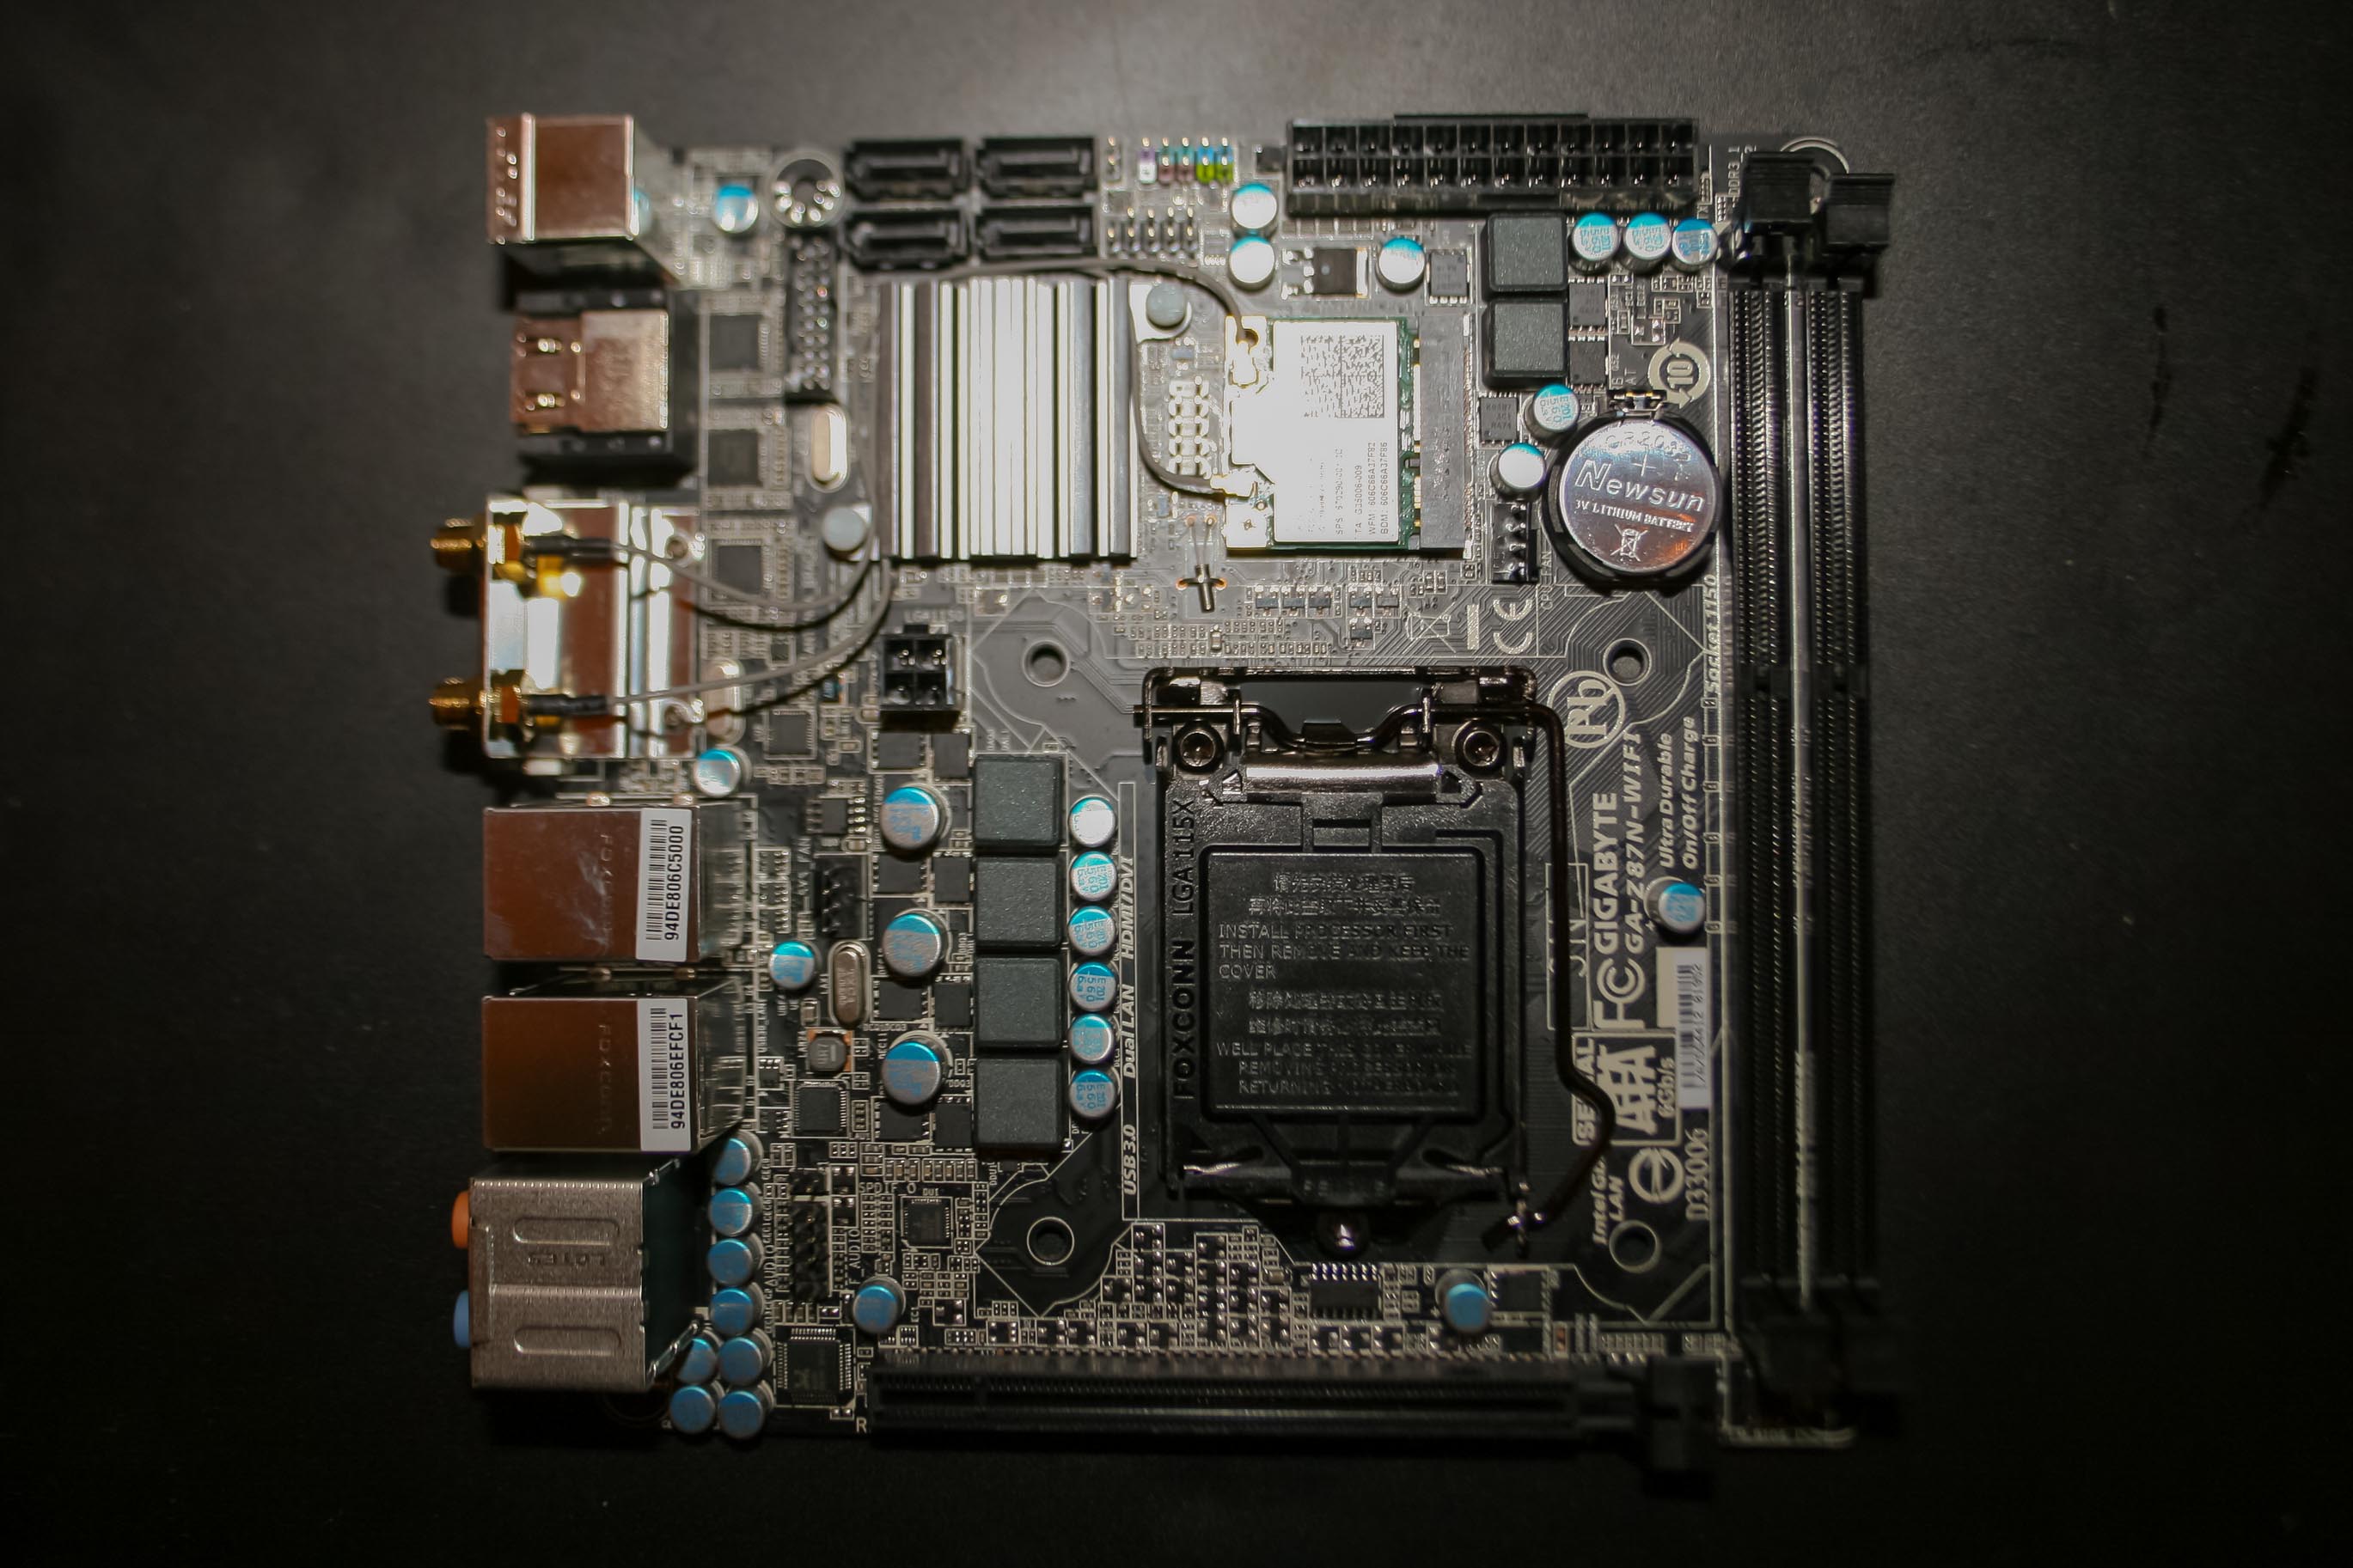
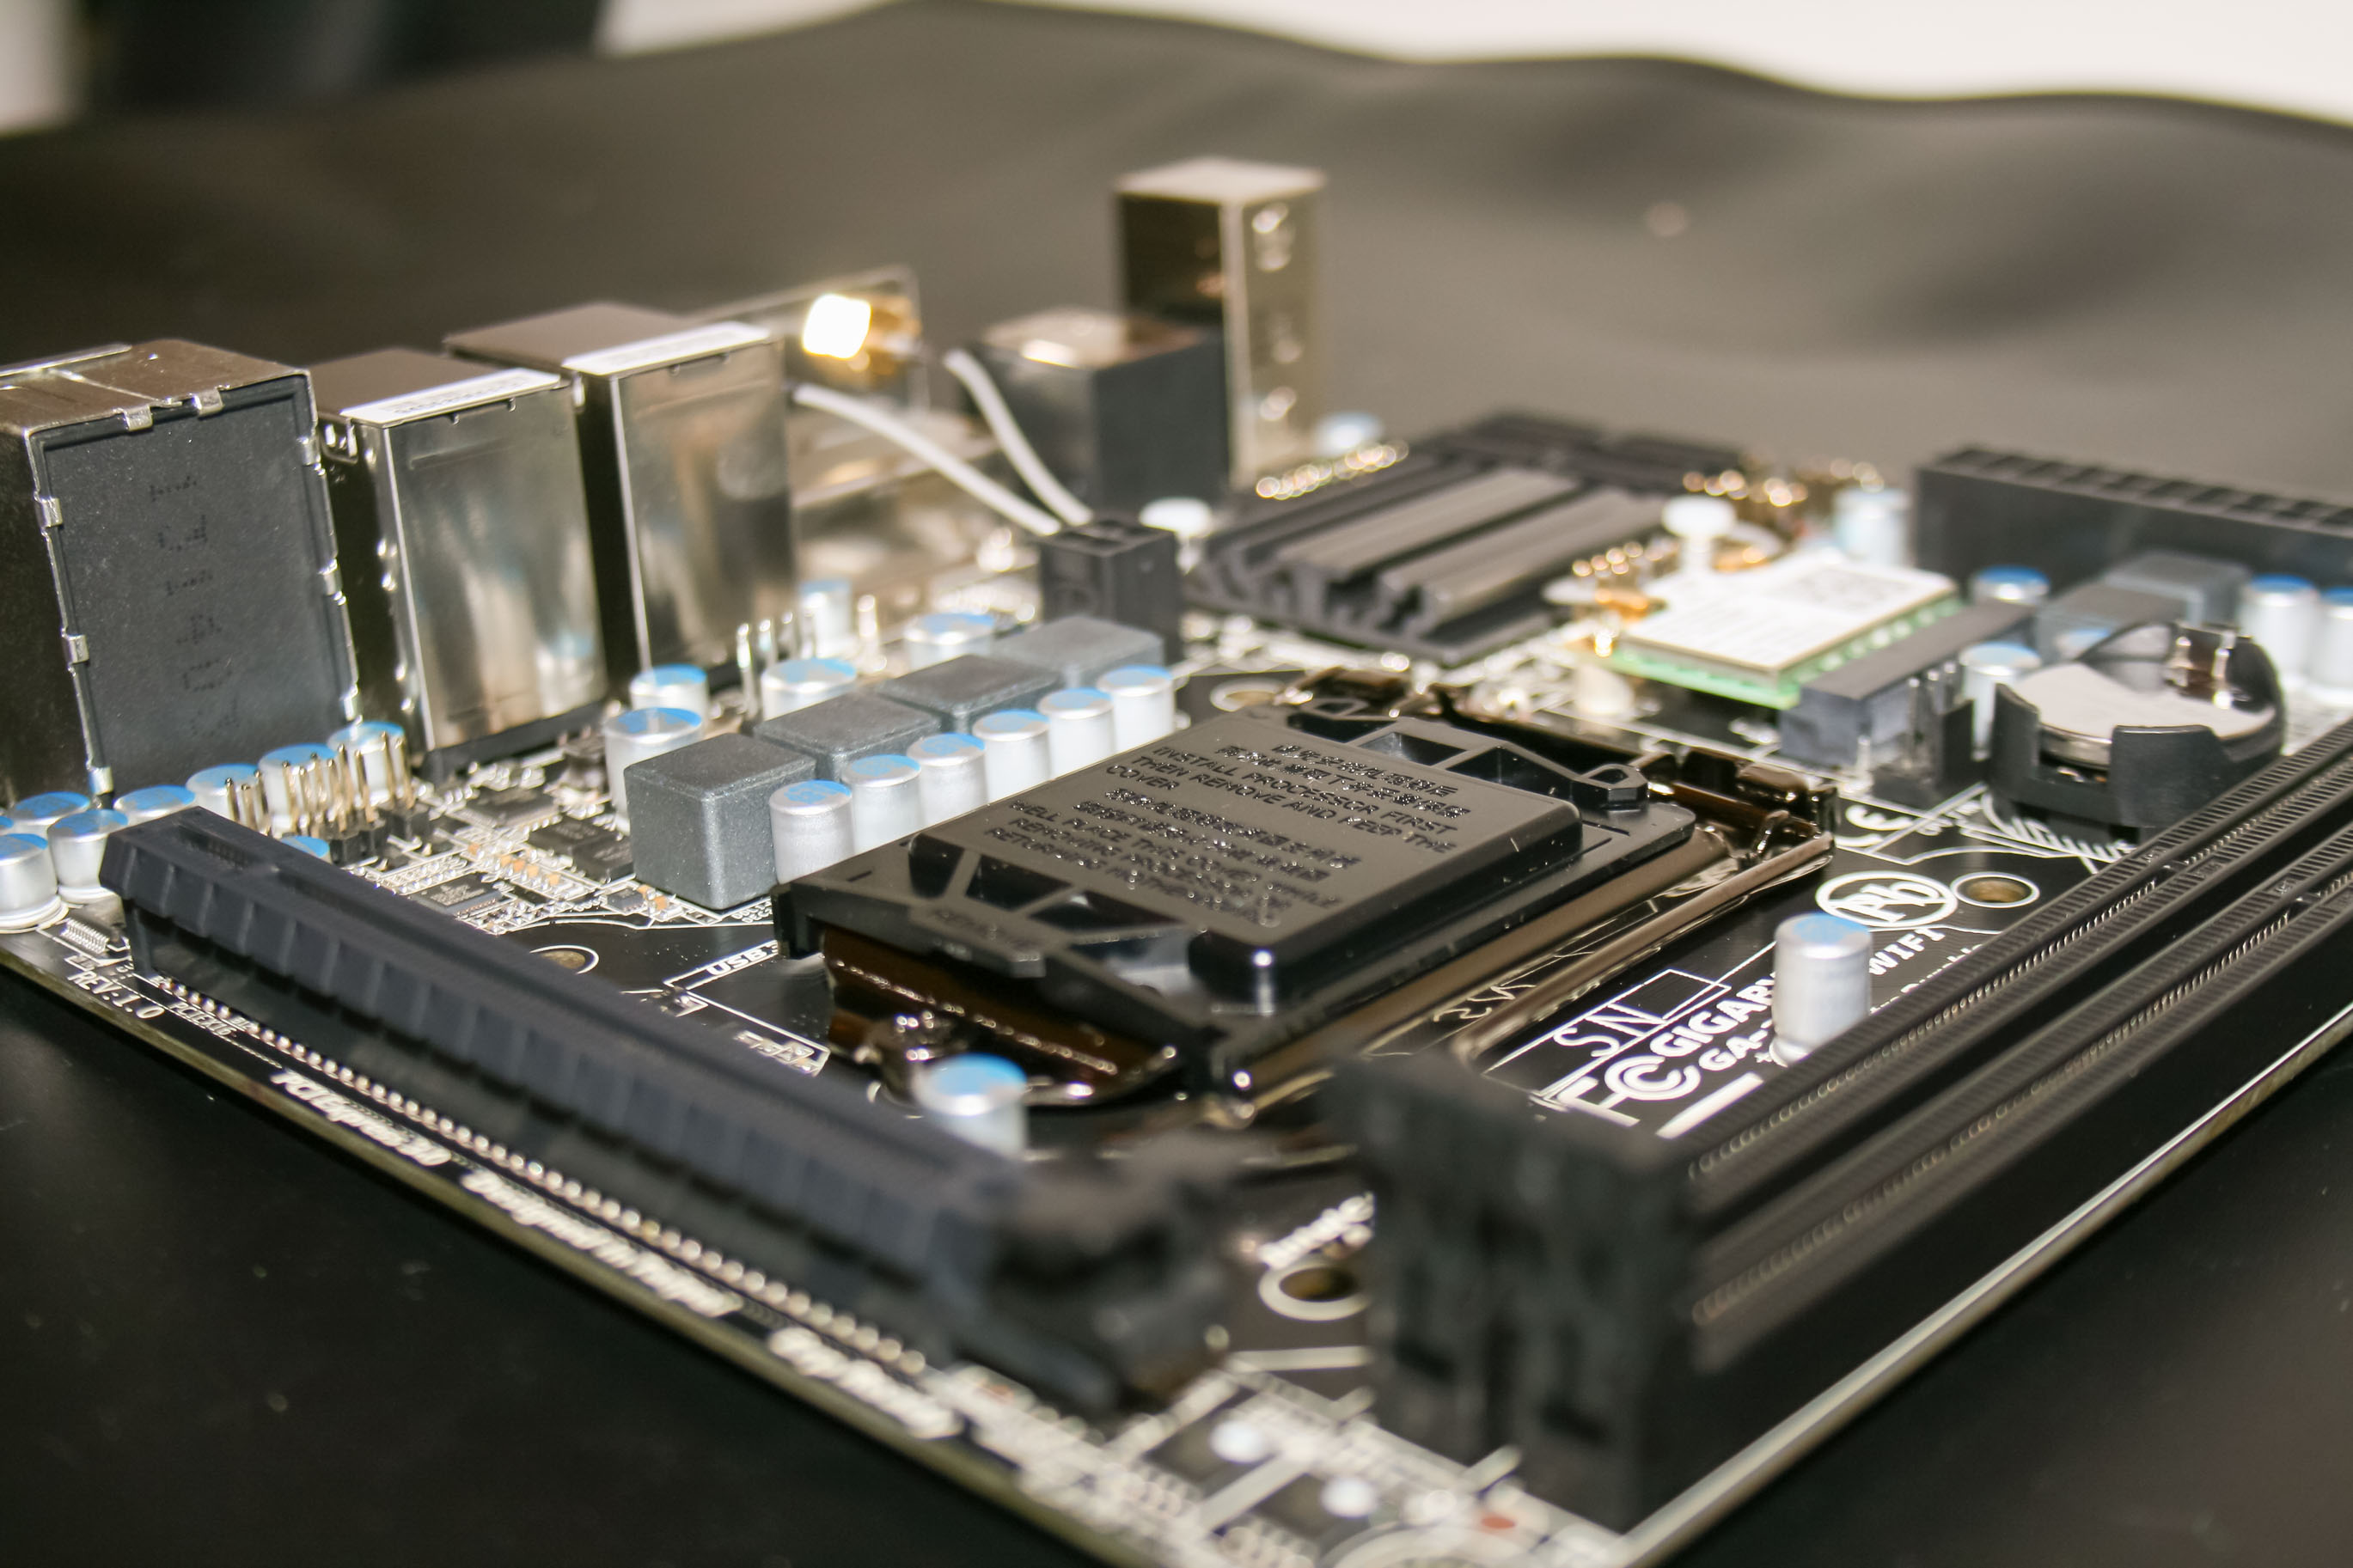
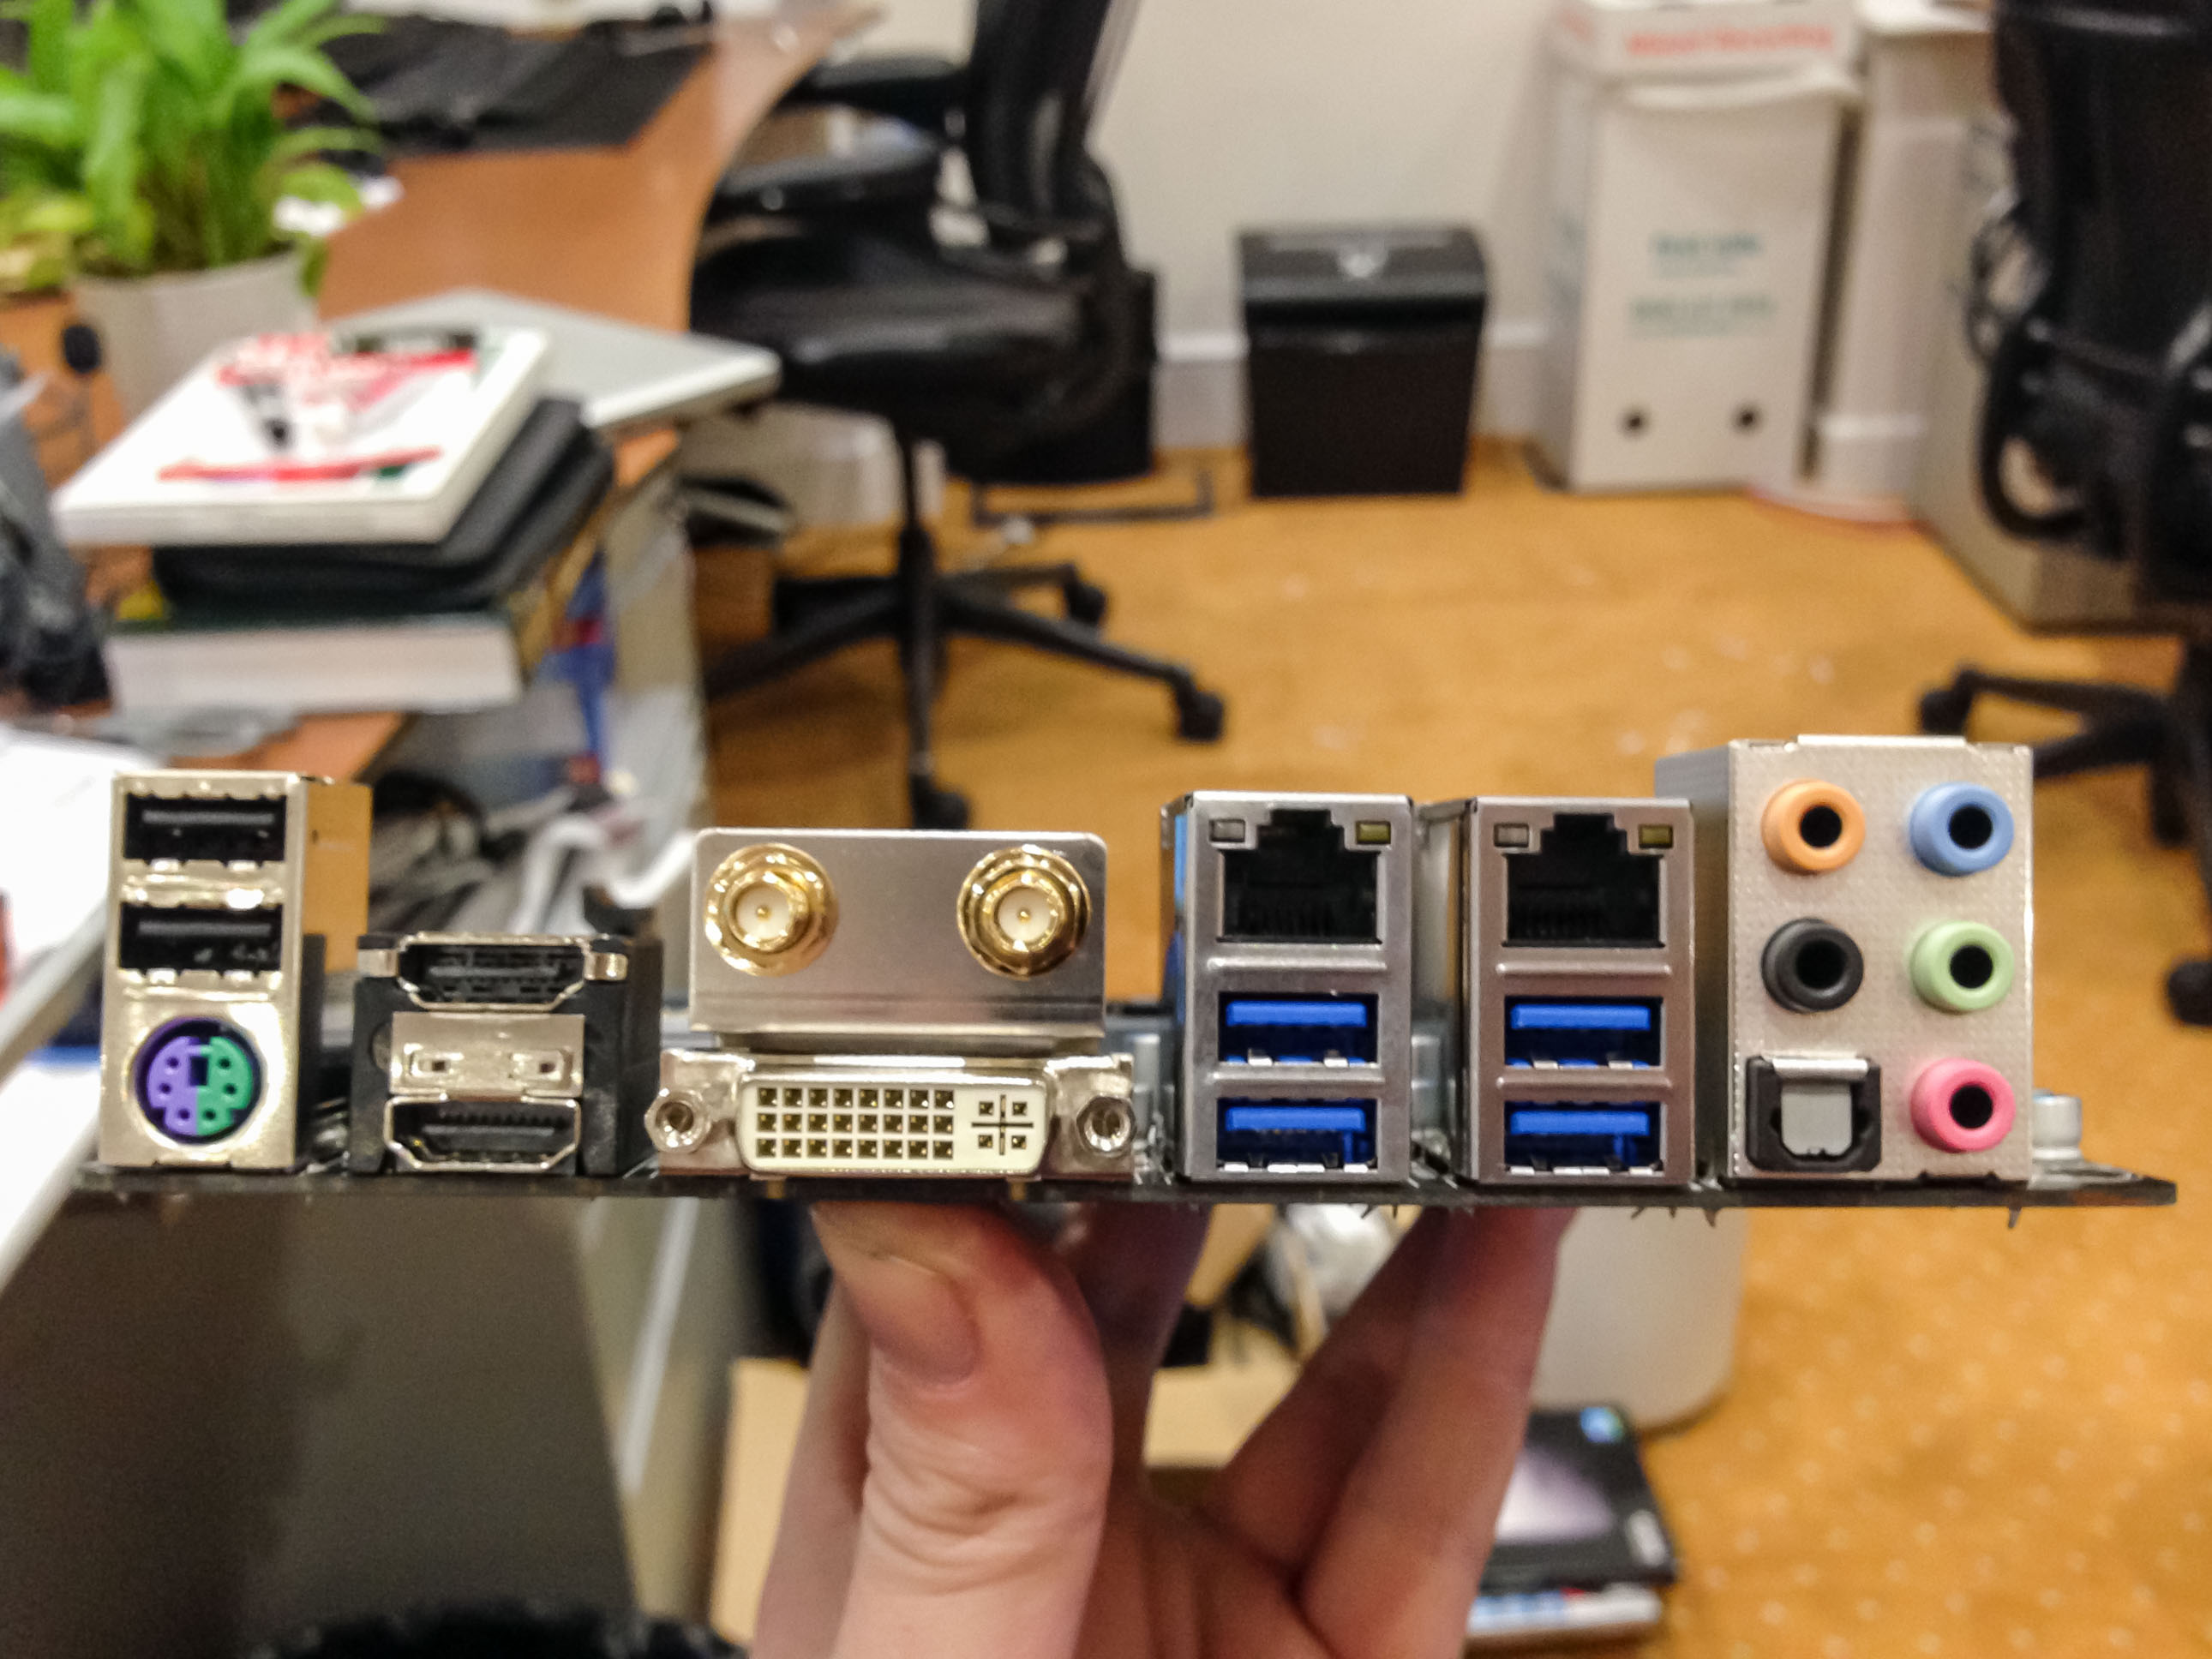
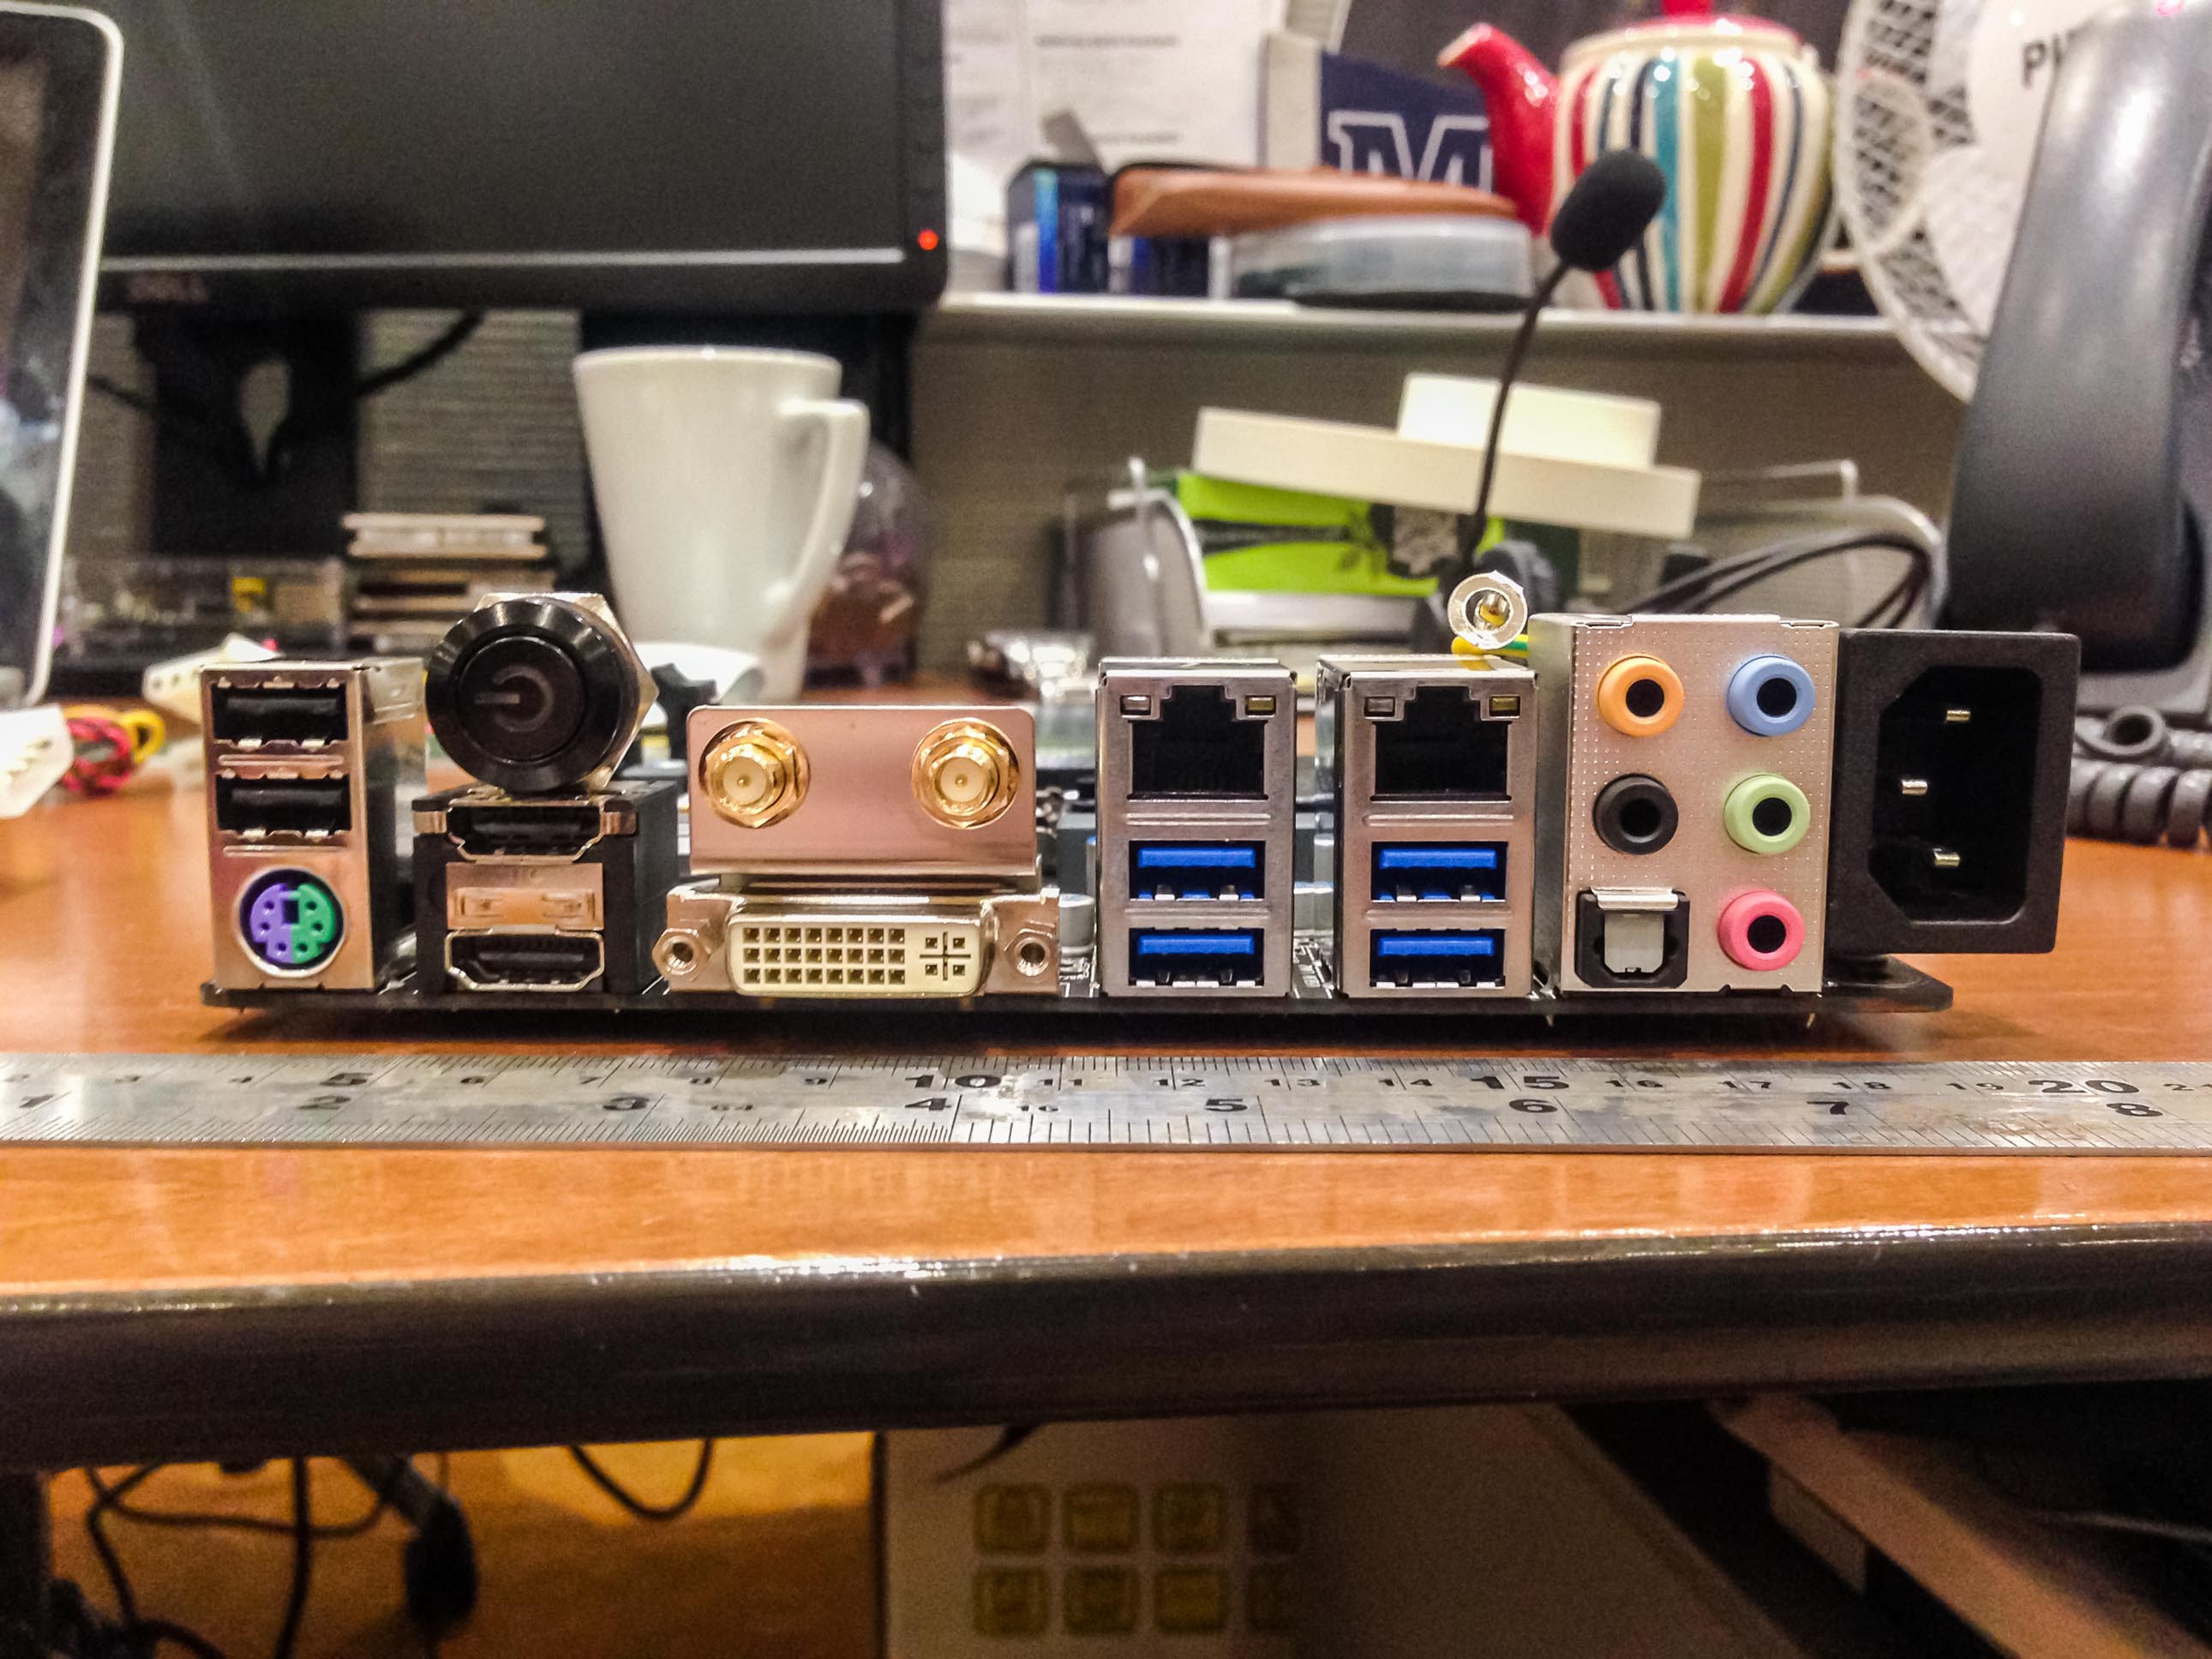
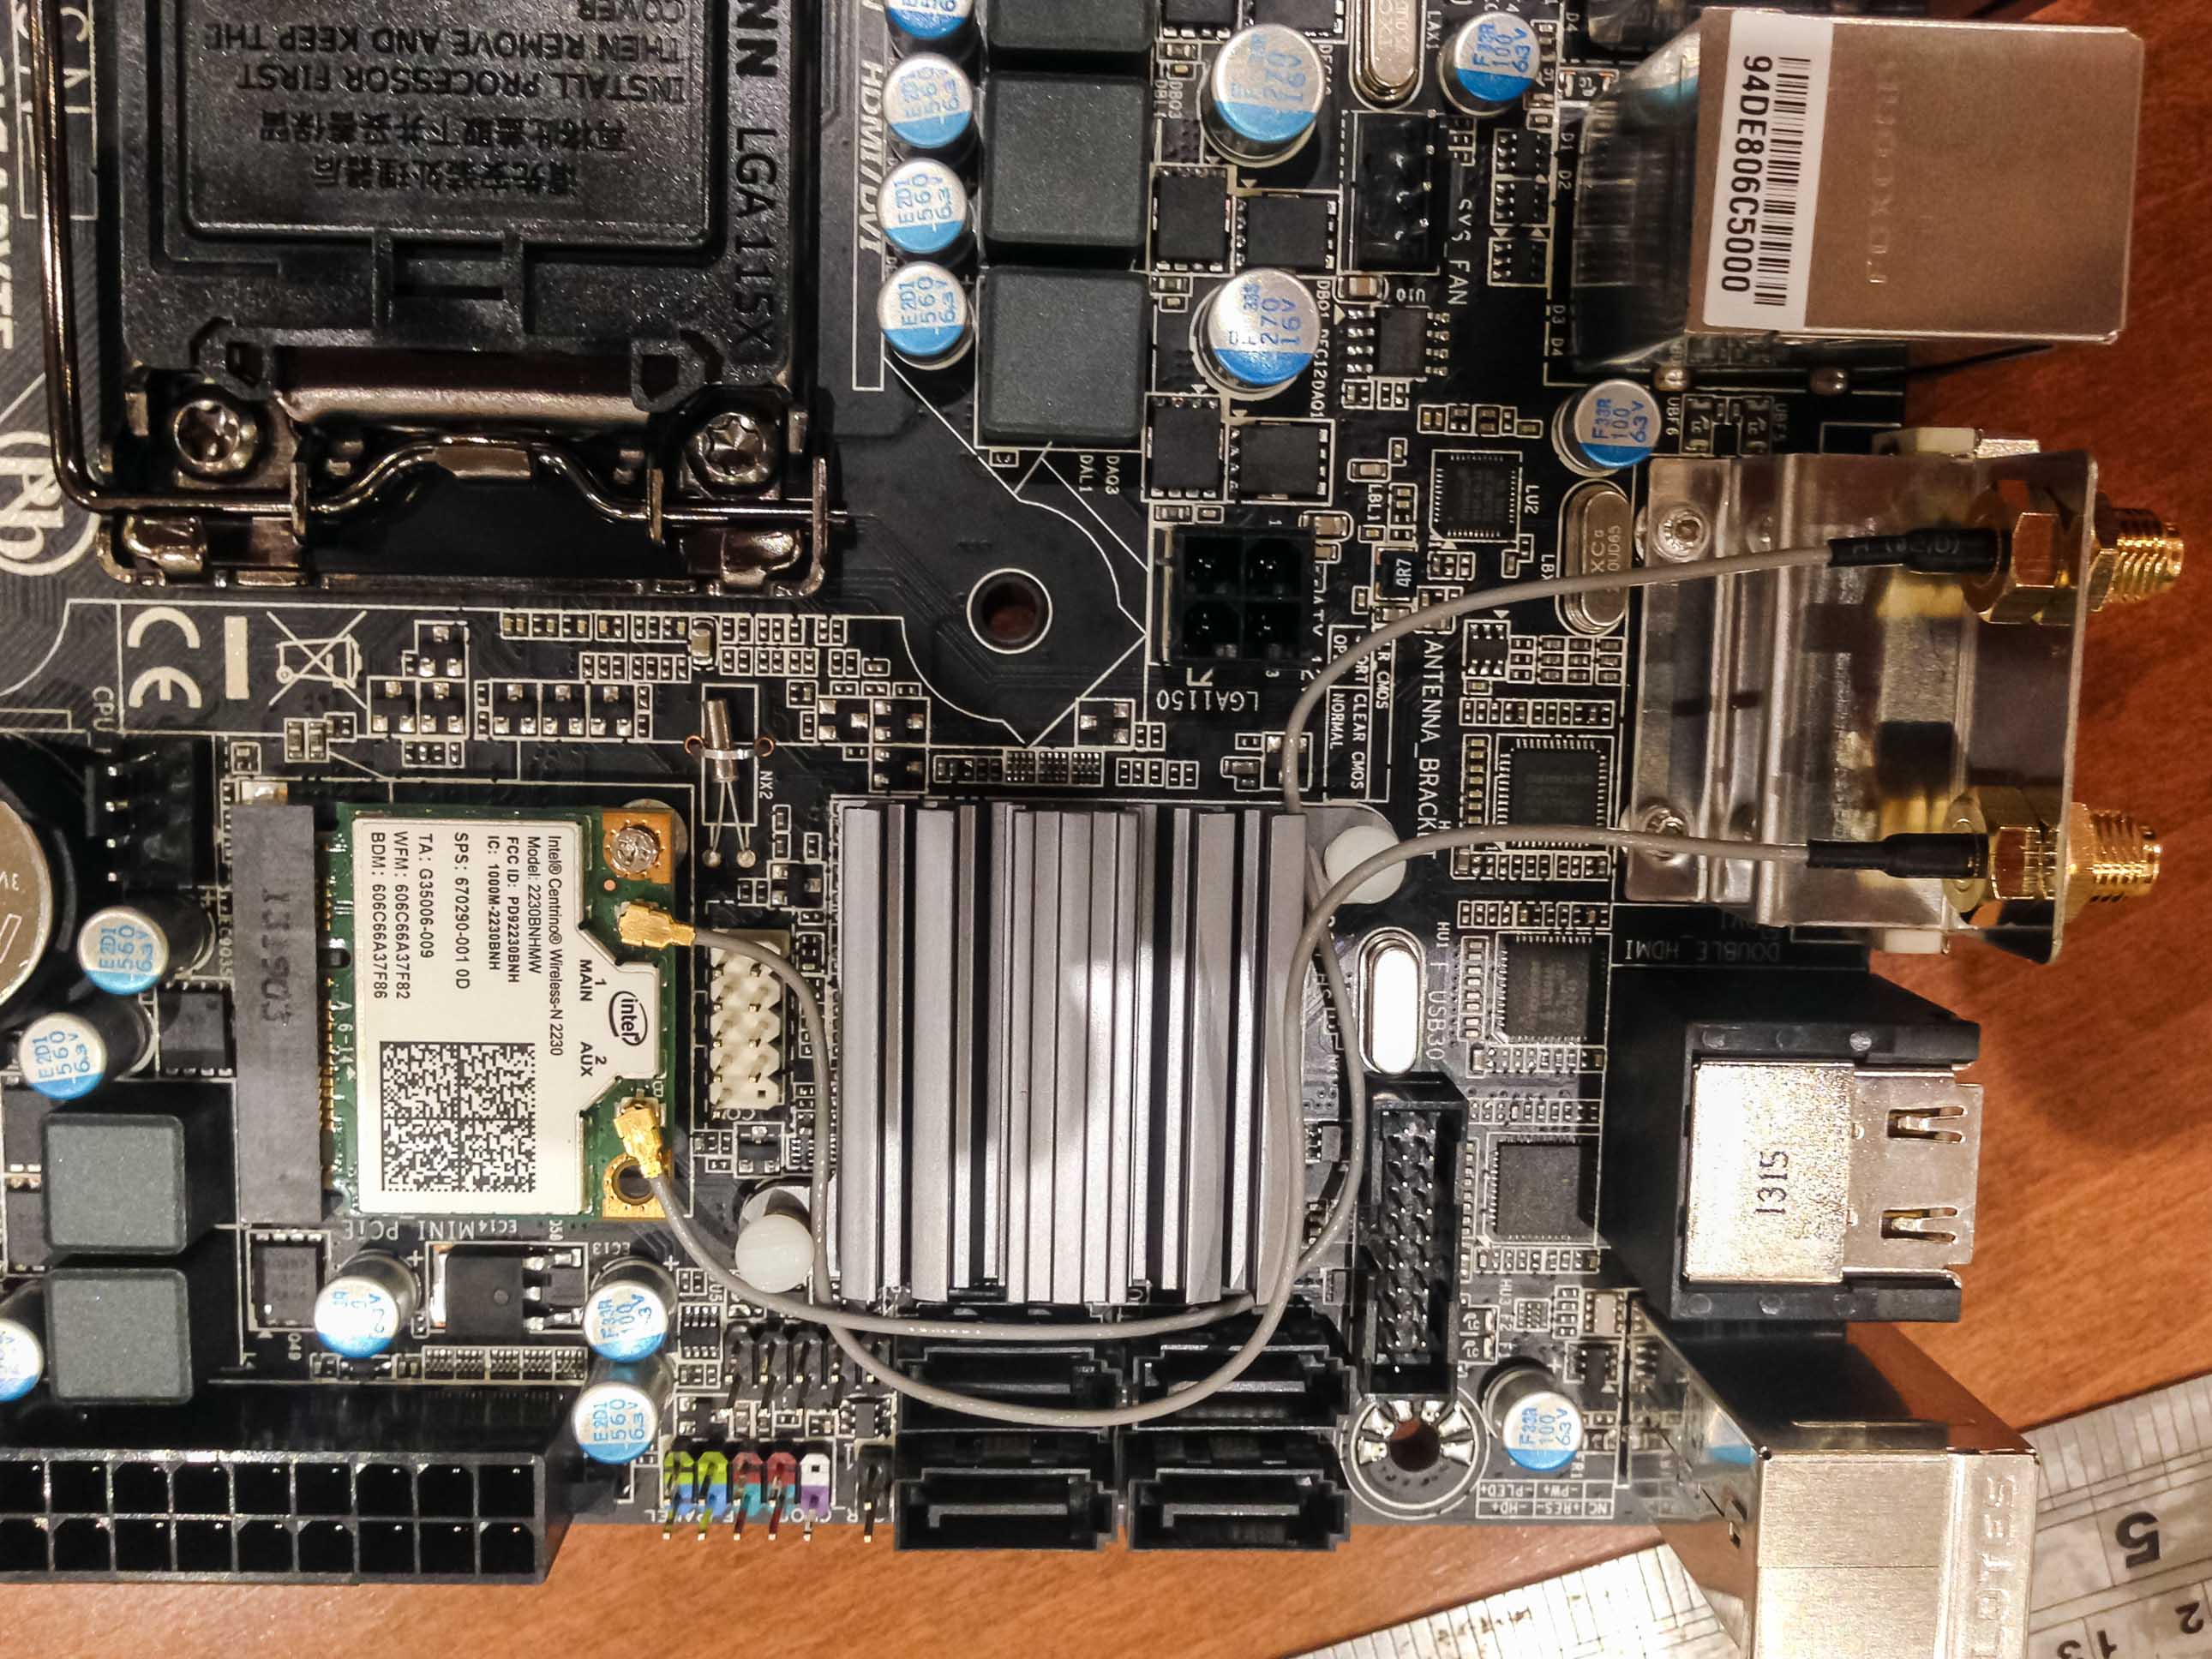
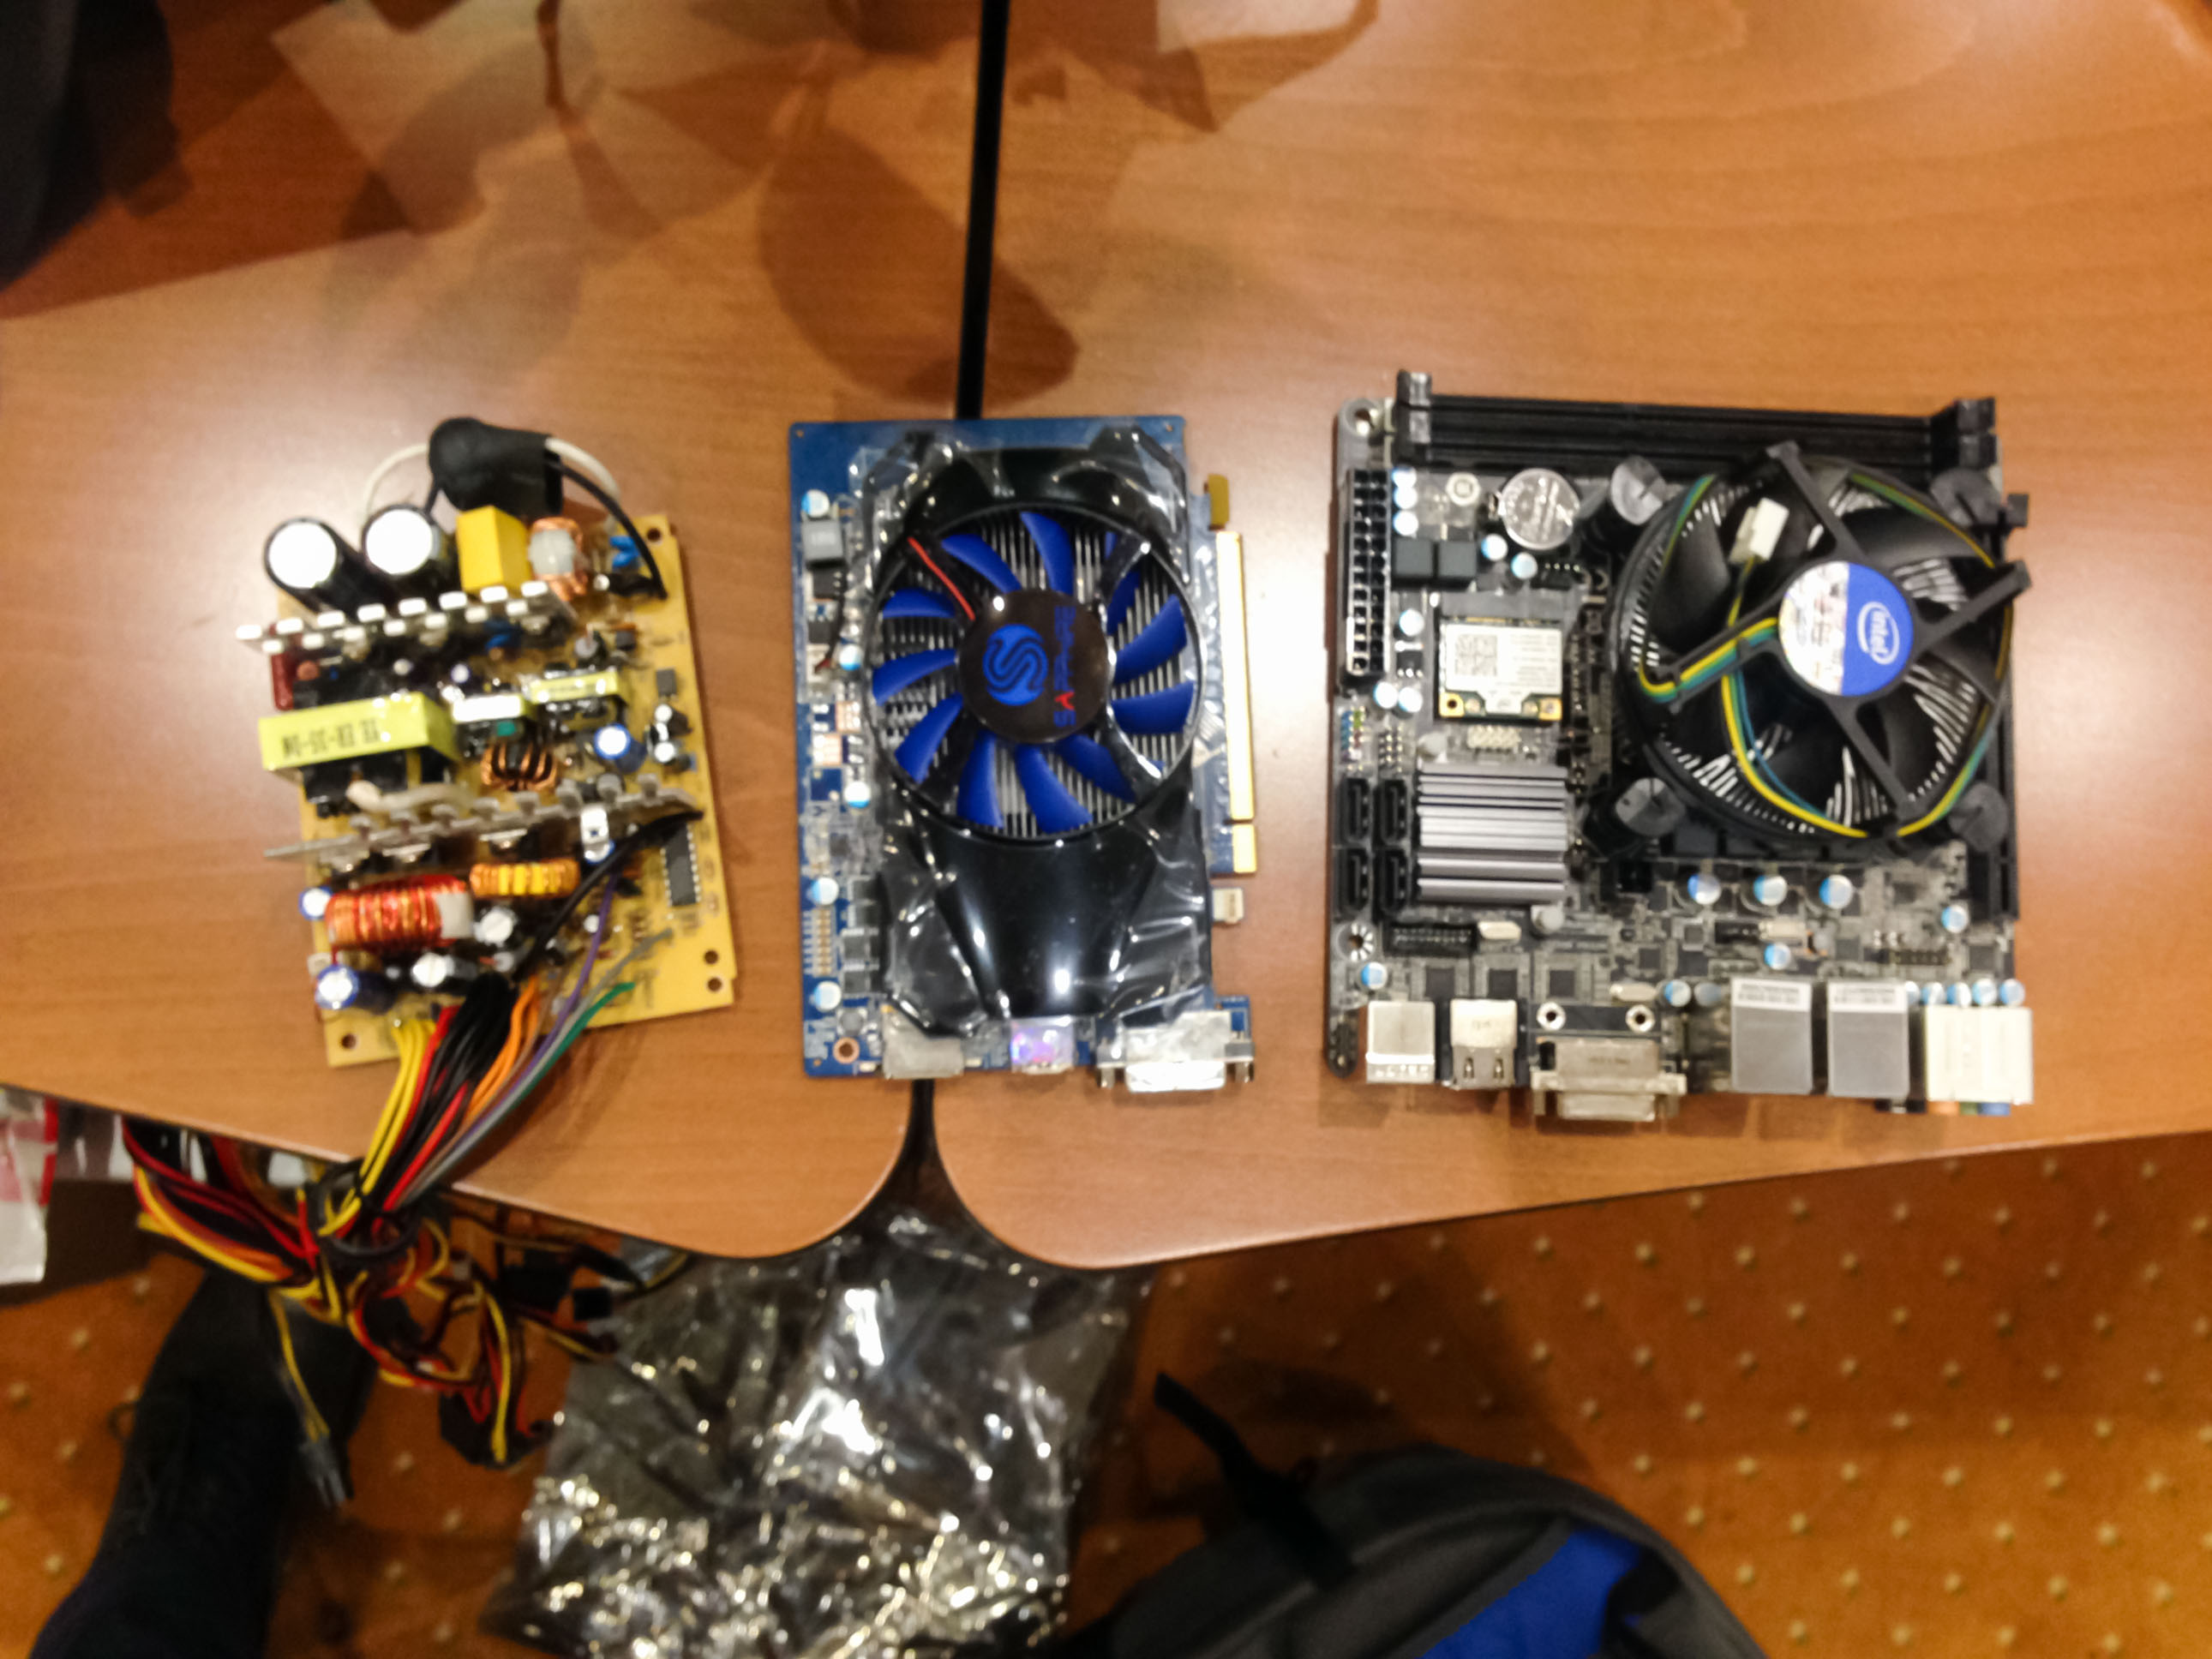
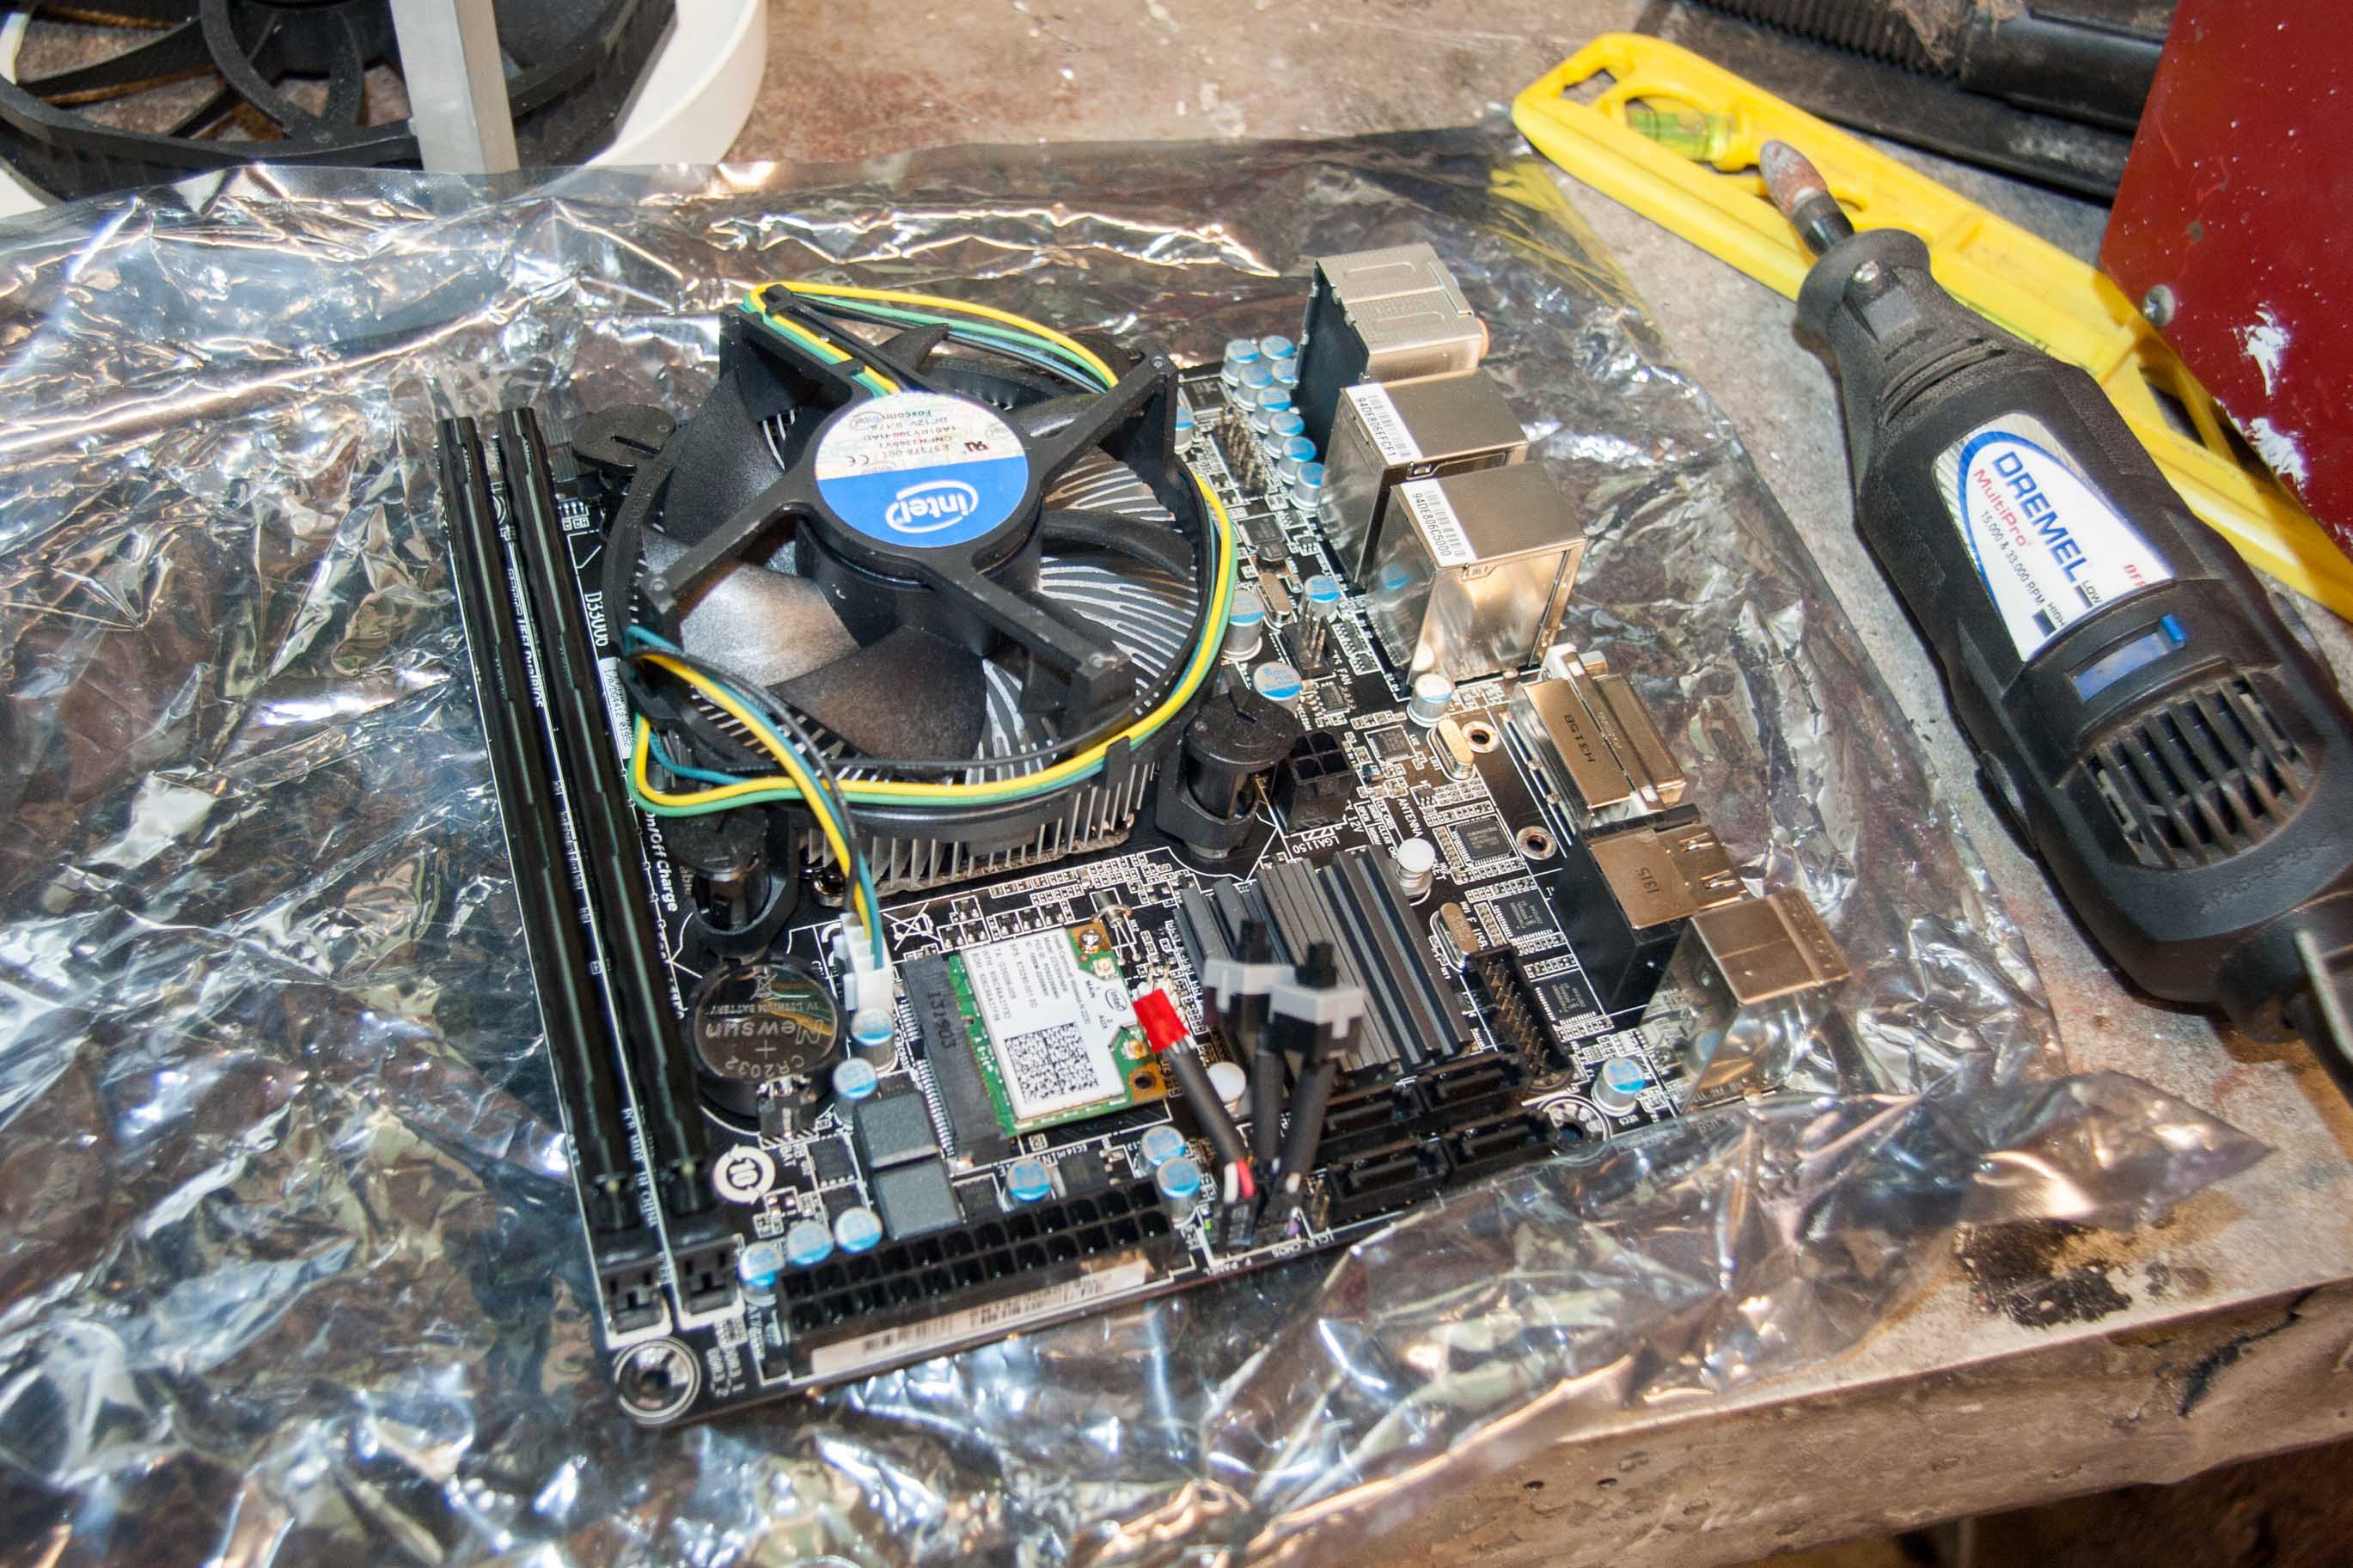
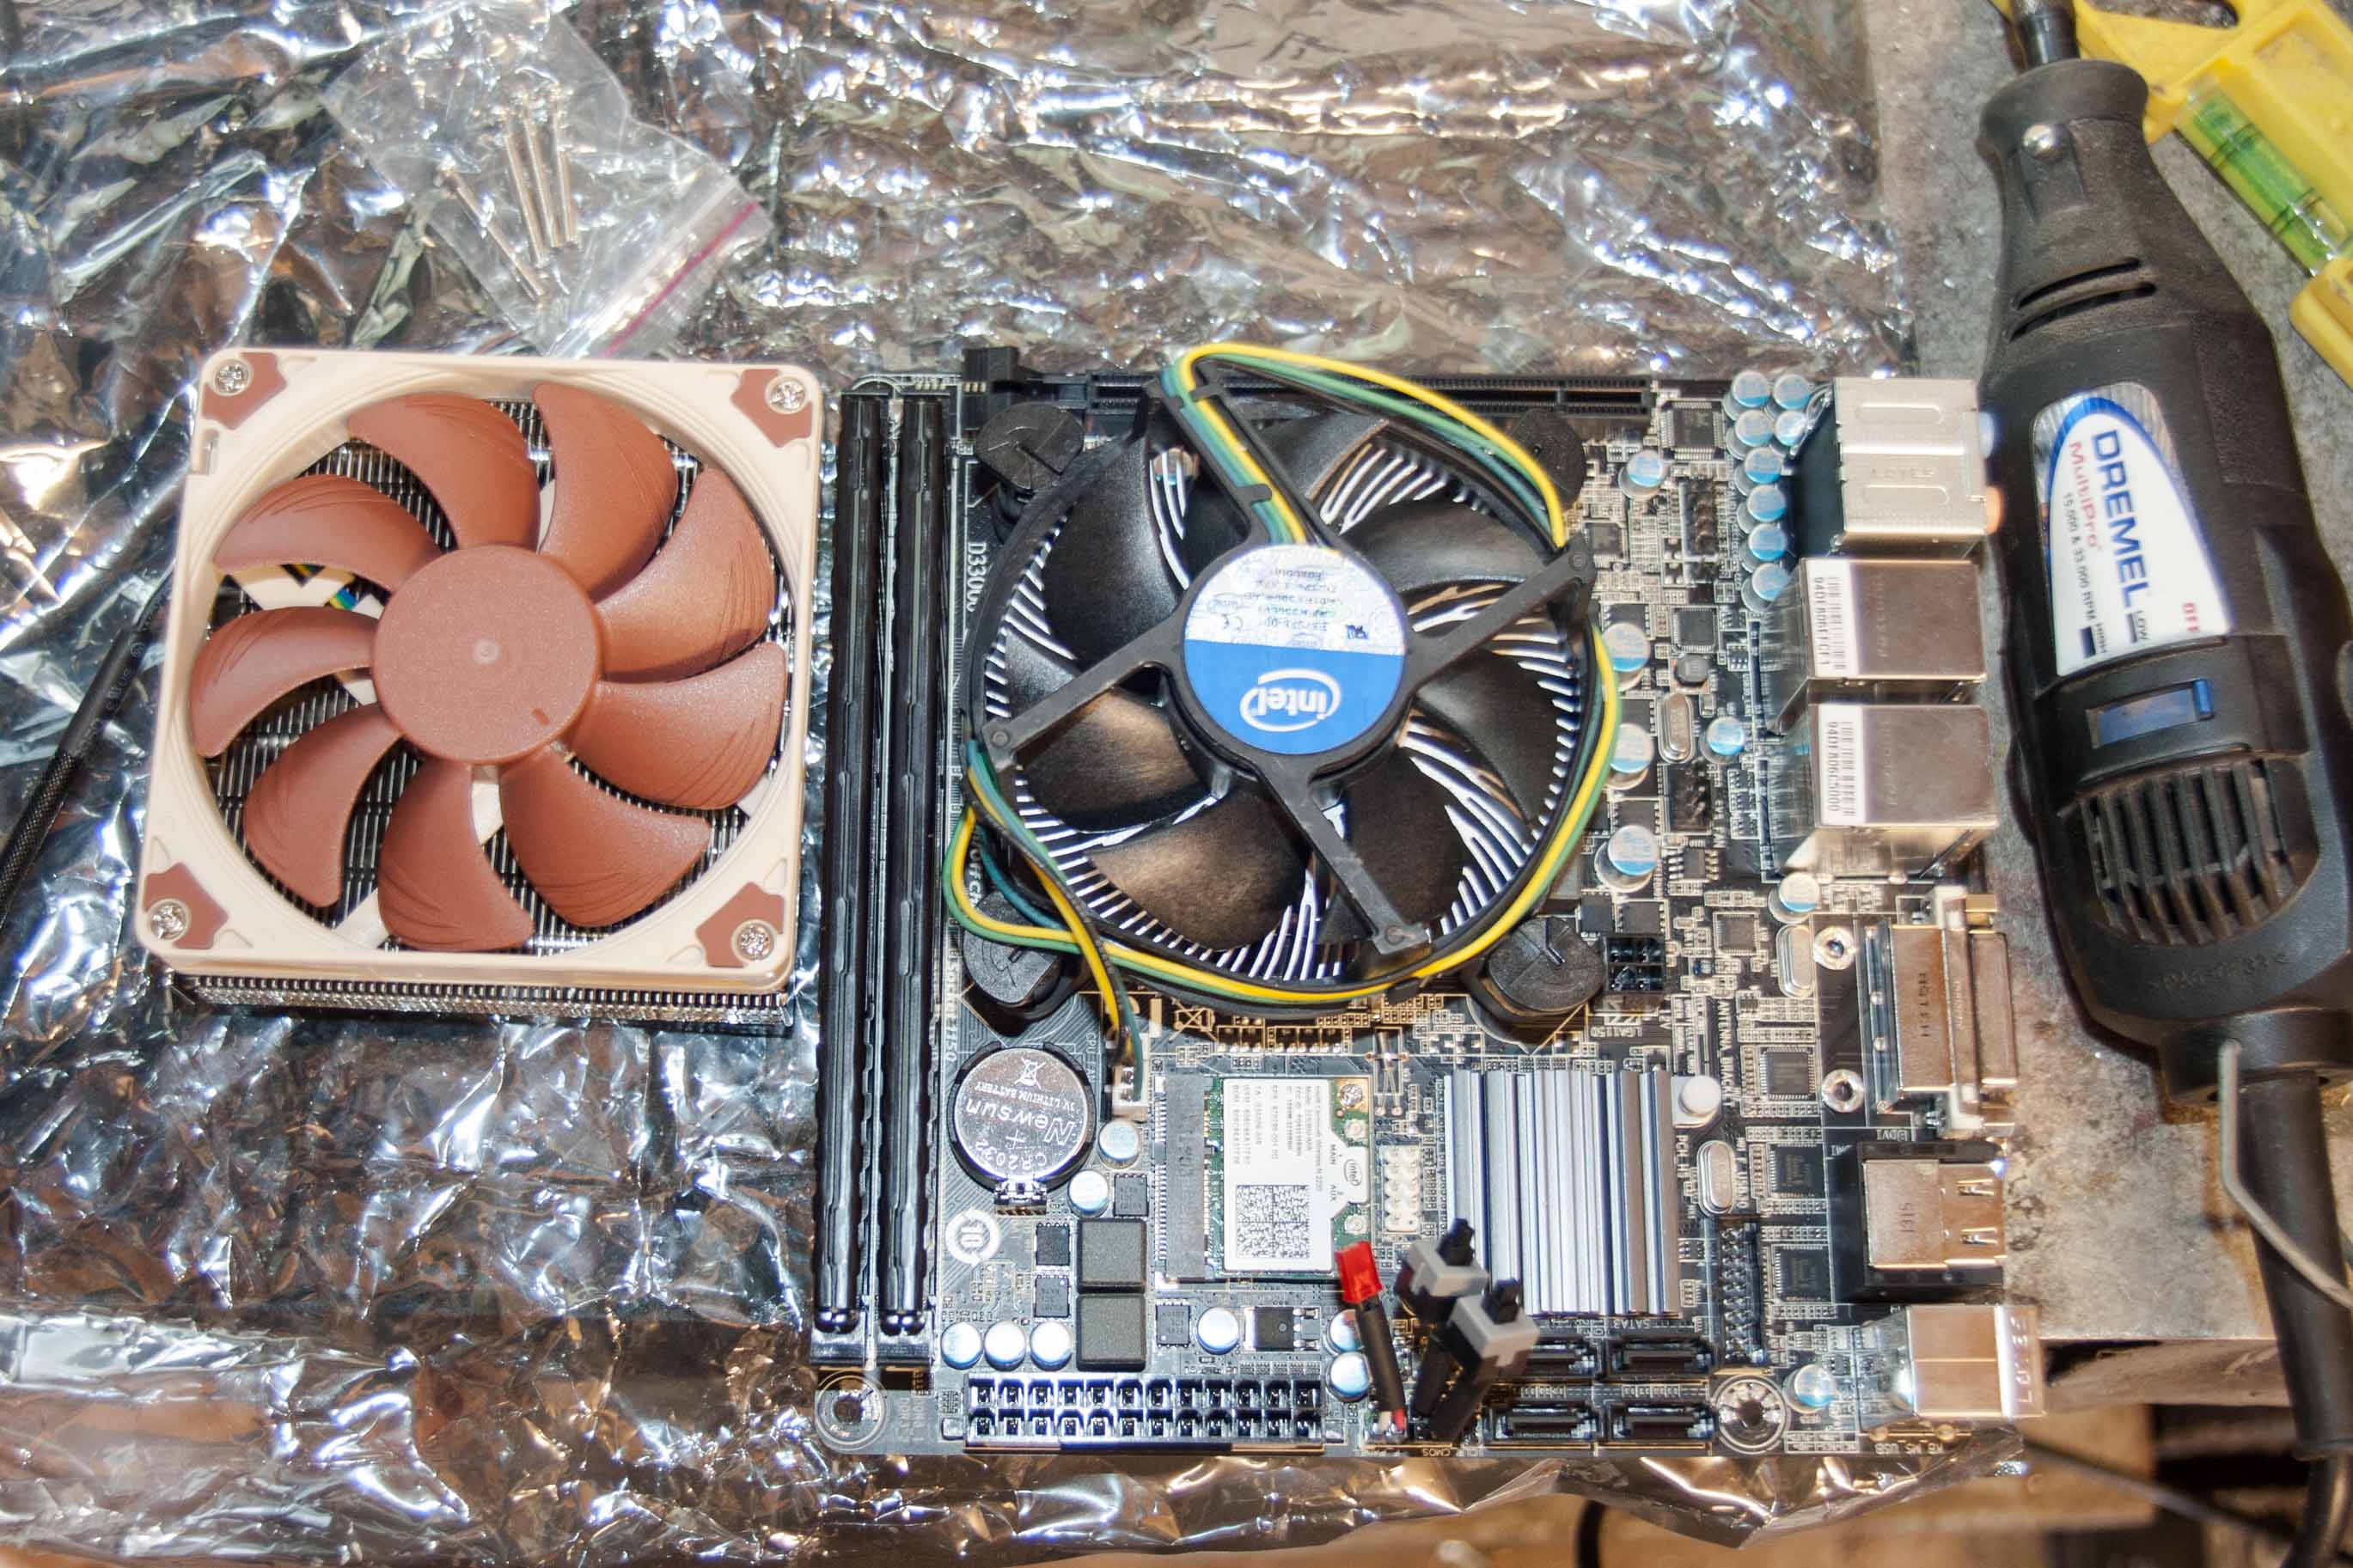
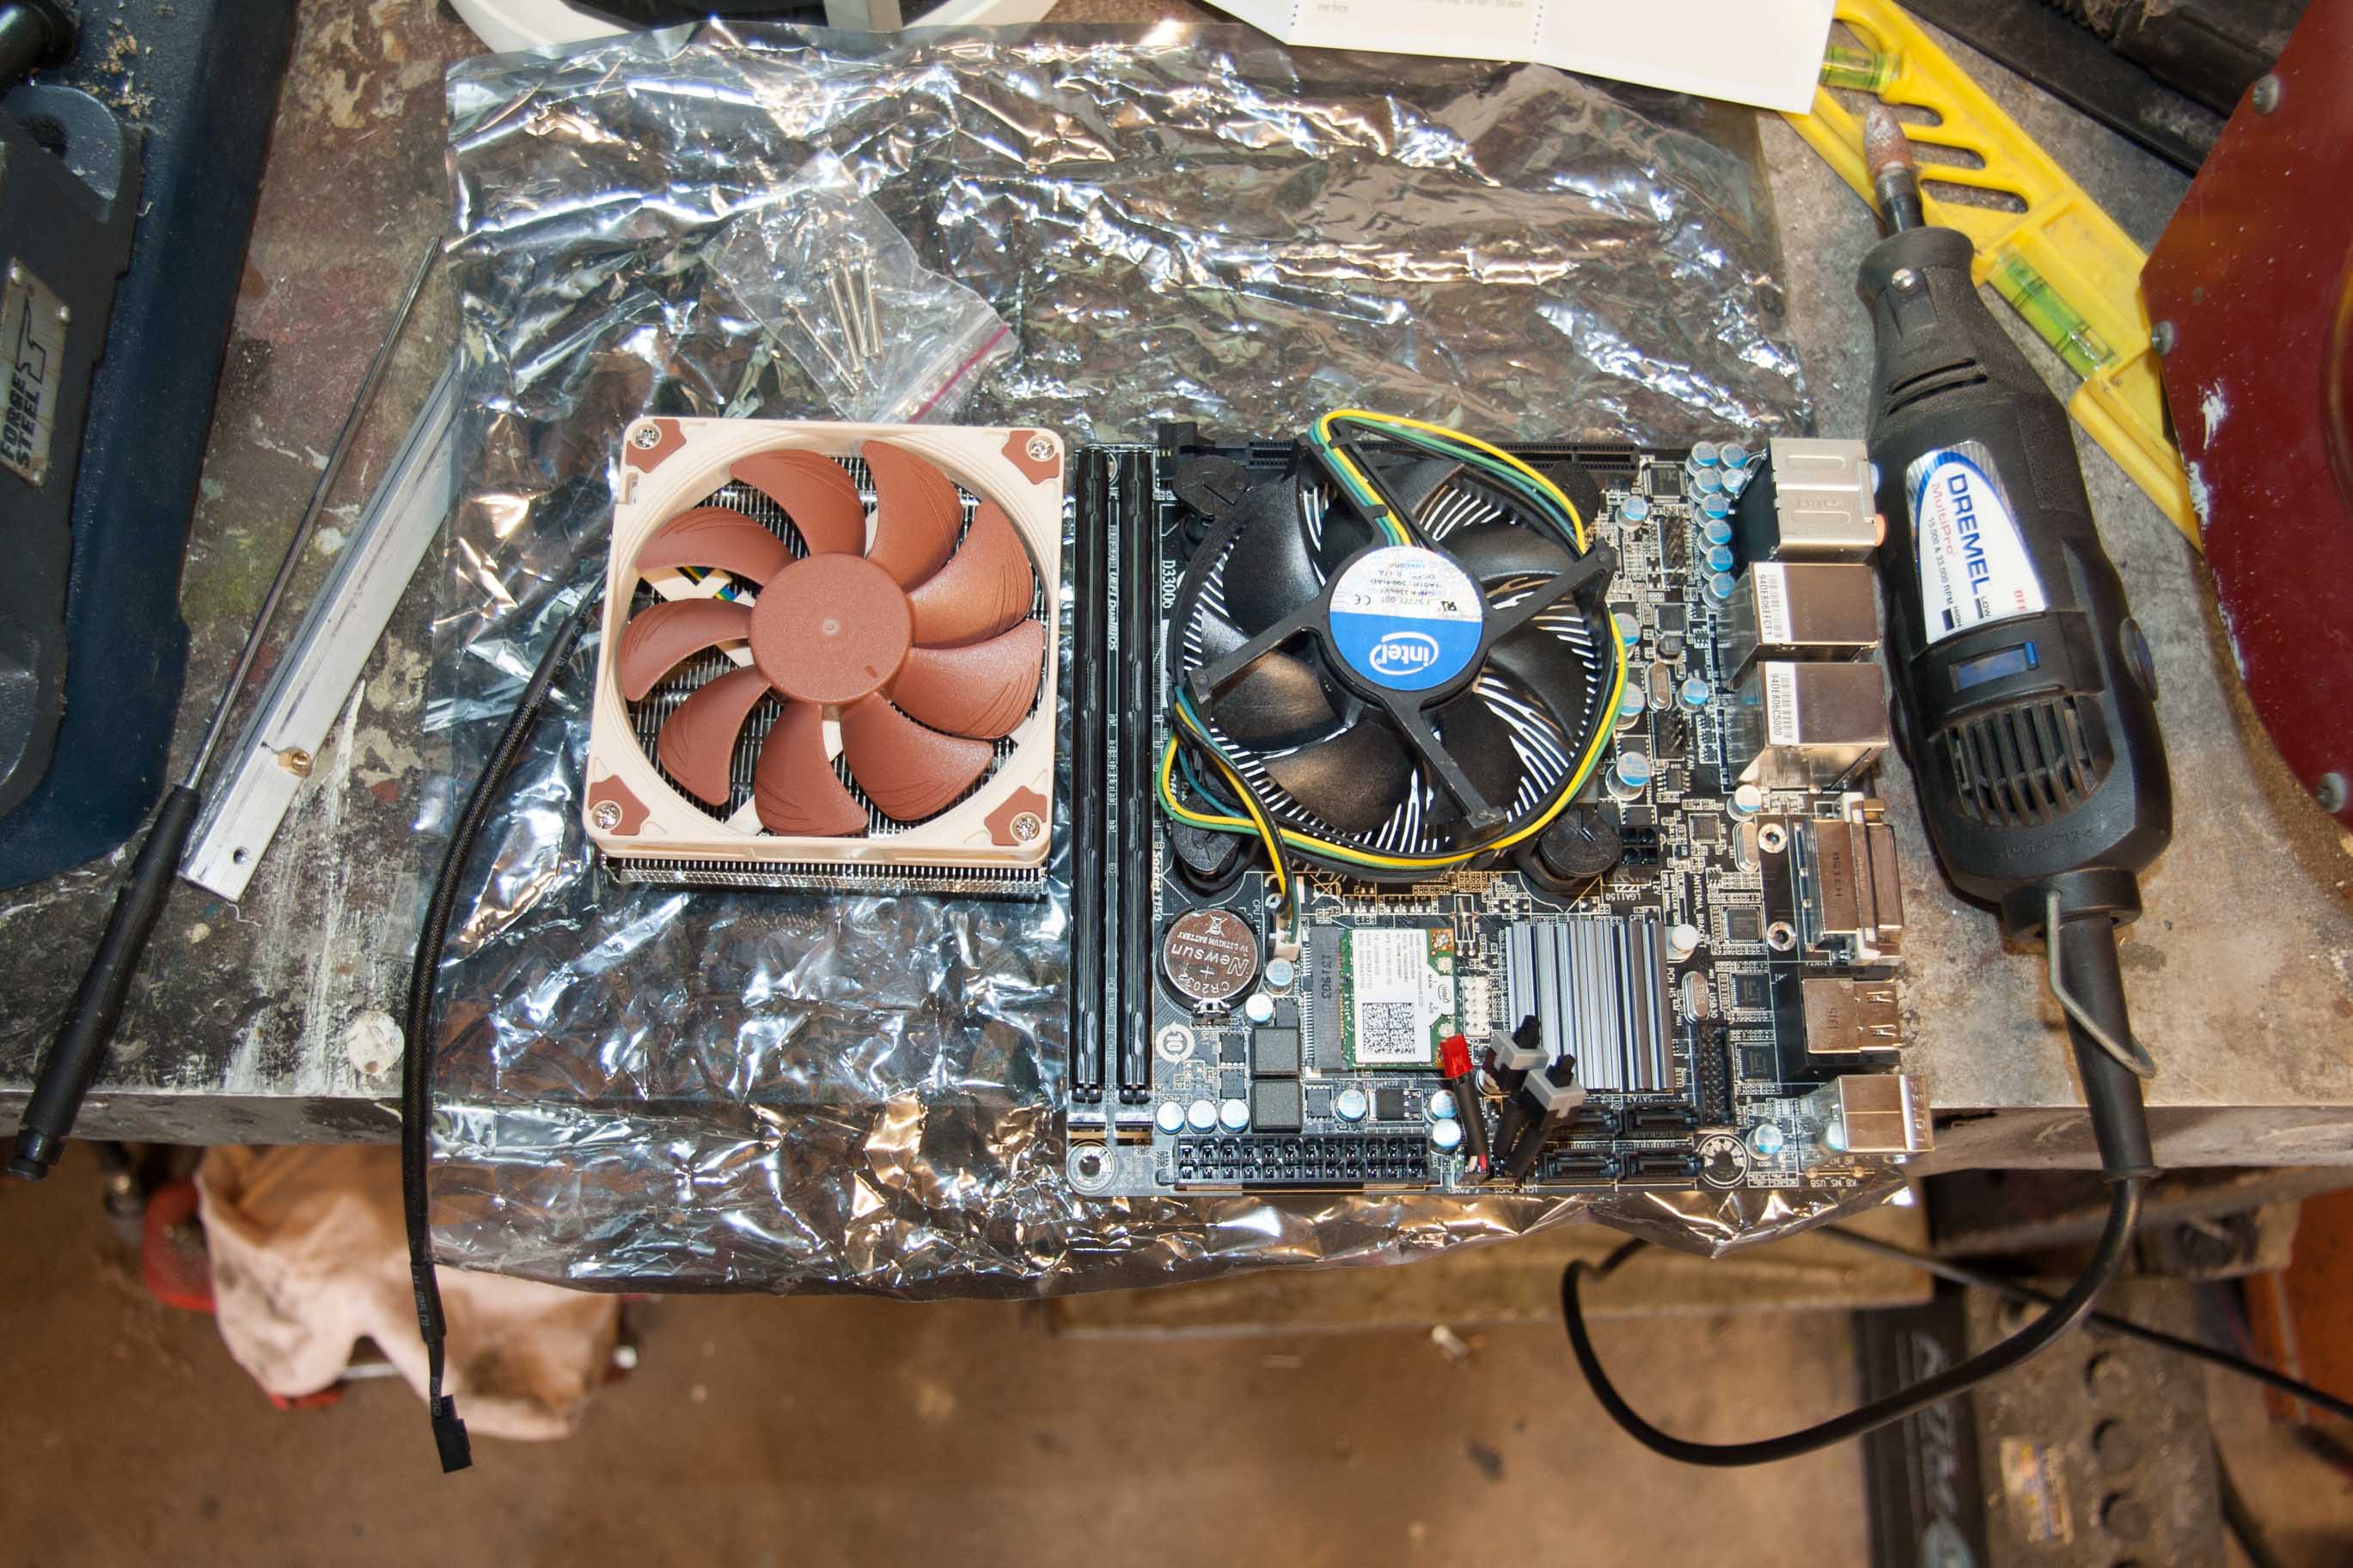
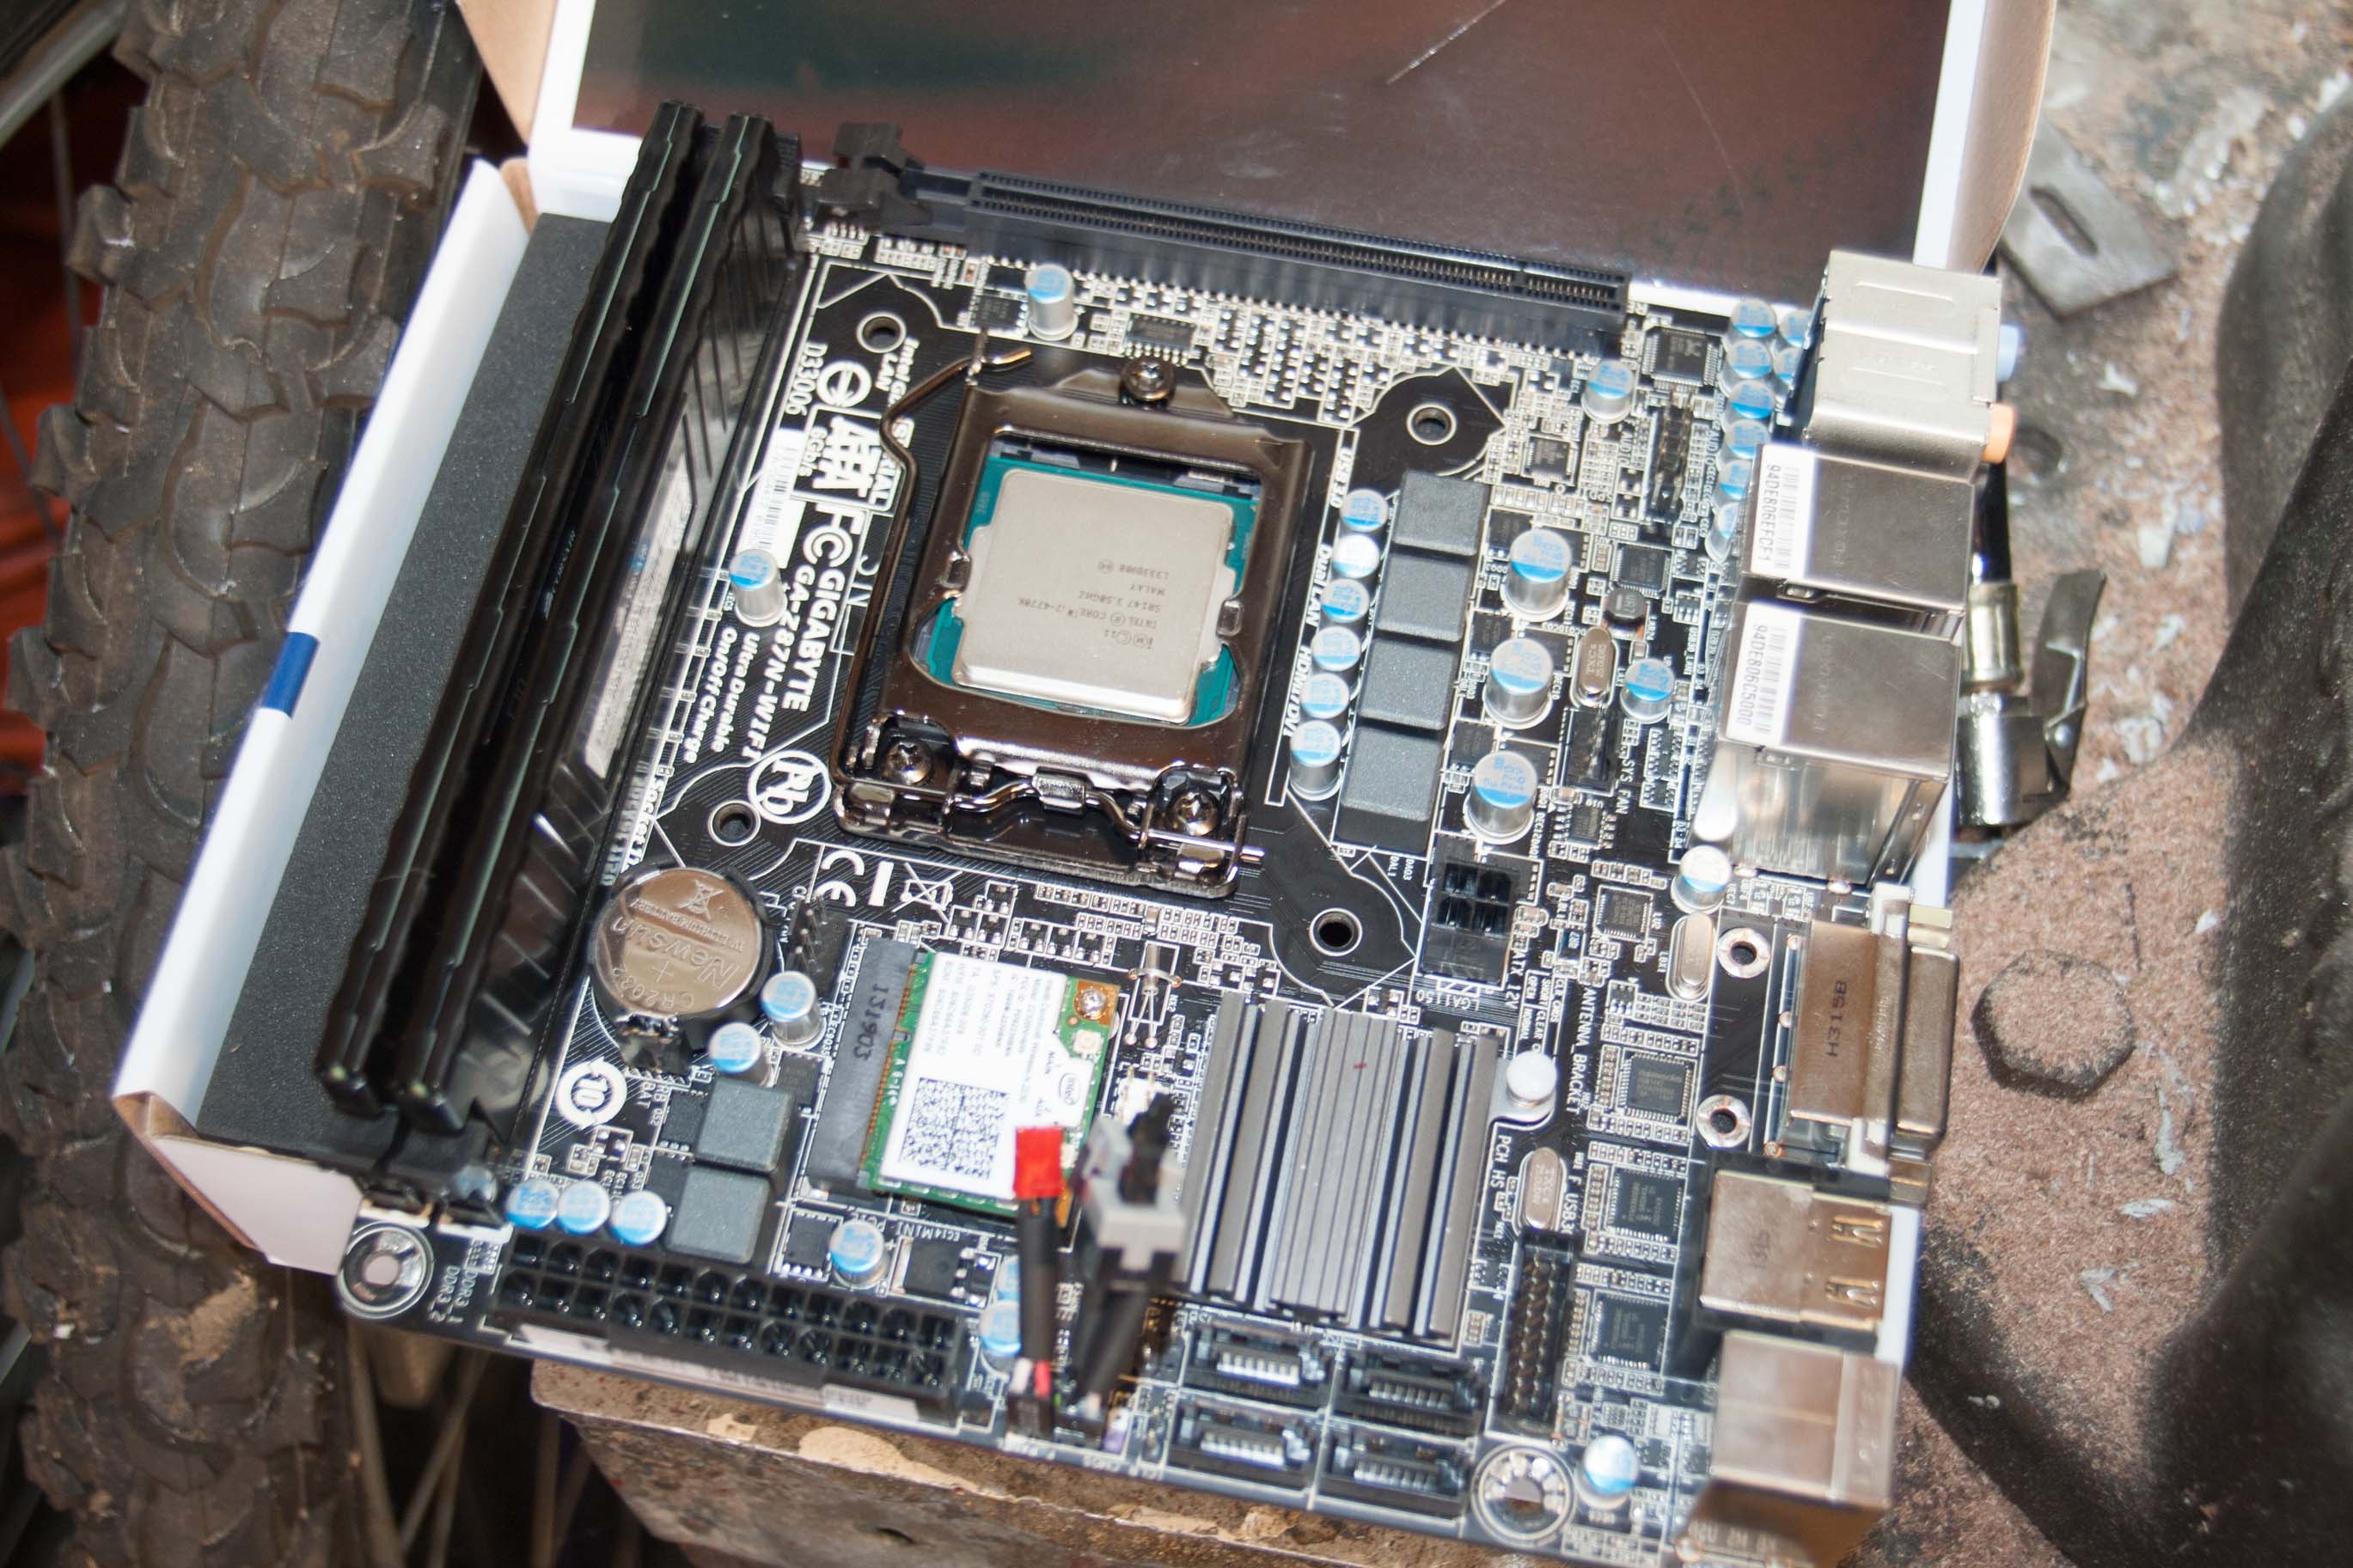
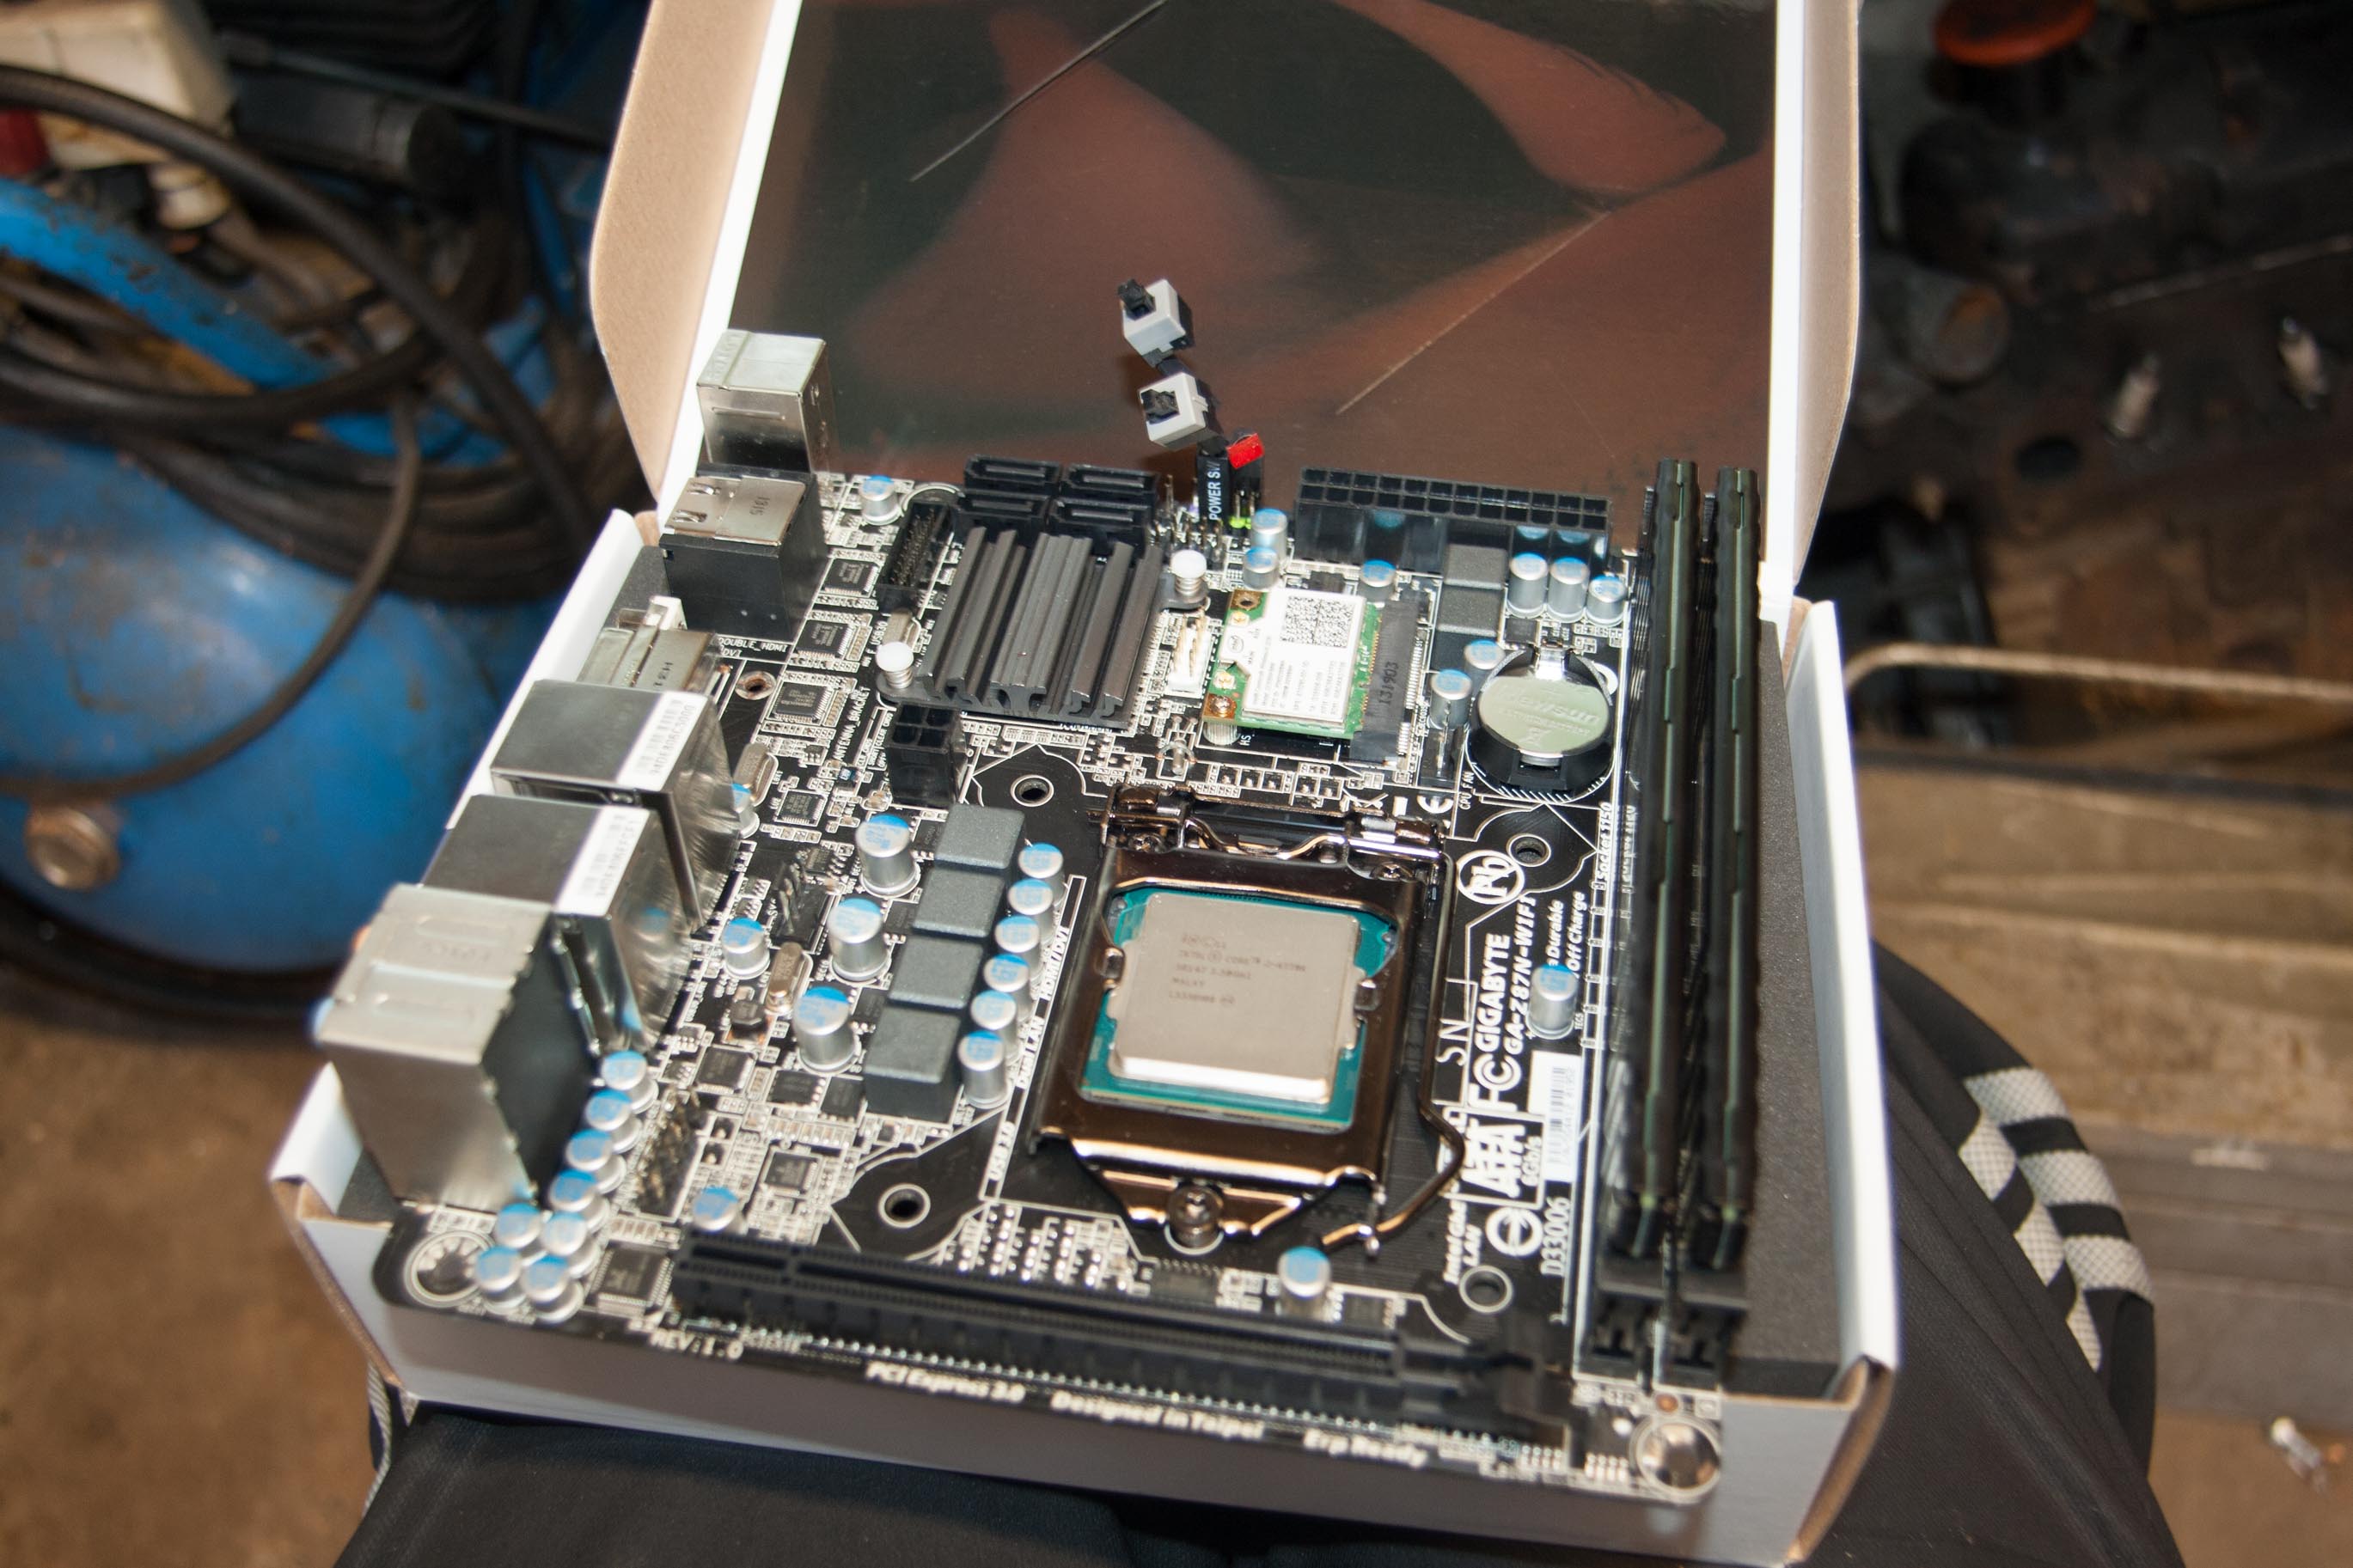
With 17x17cm dimensions, this board is tiny!
Best motherboard I could find at the time that would fit.
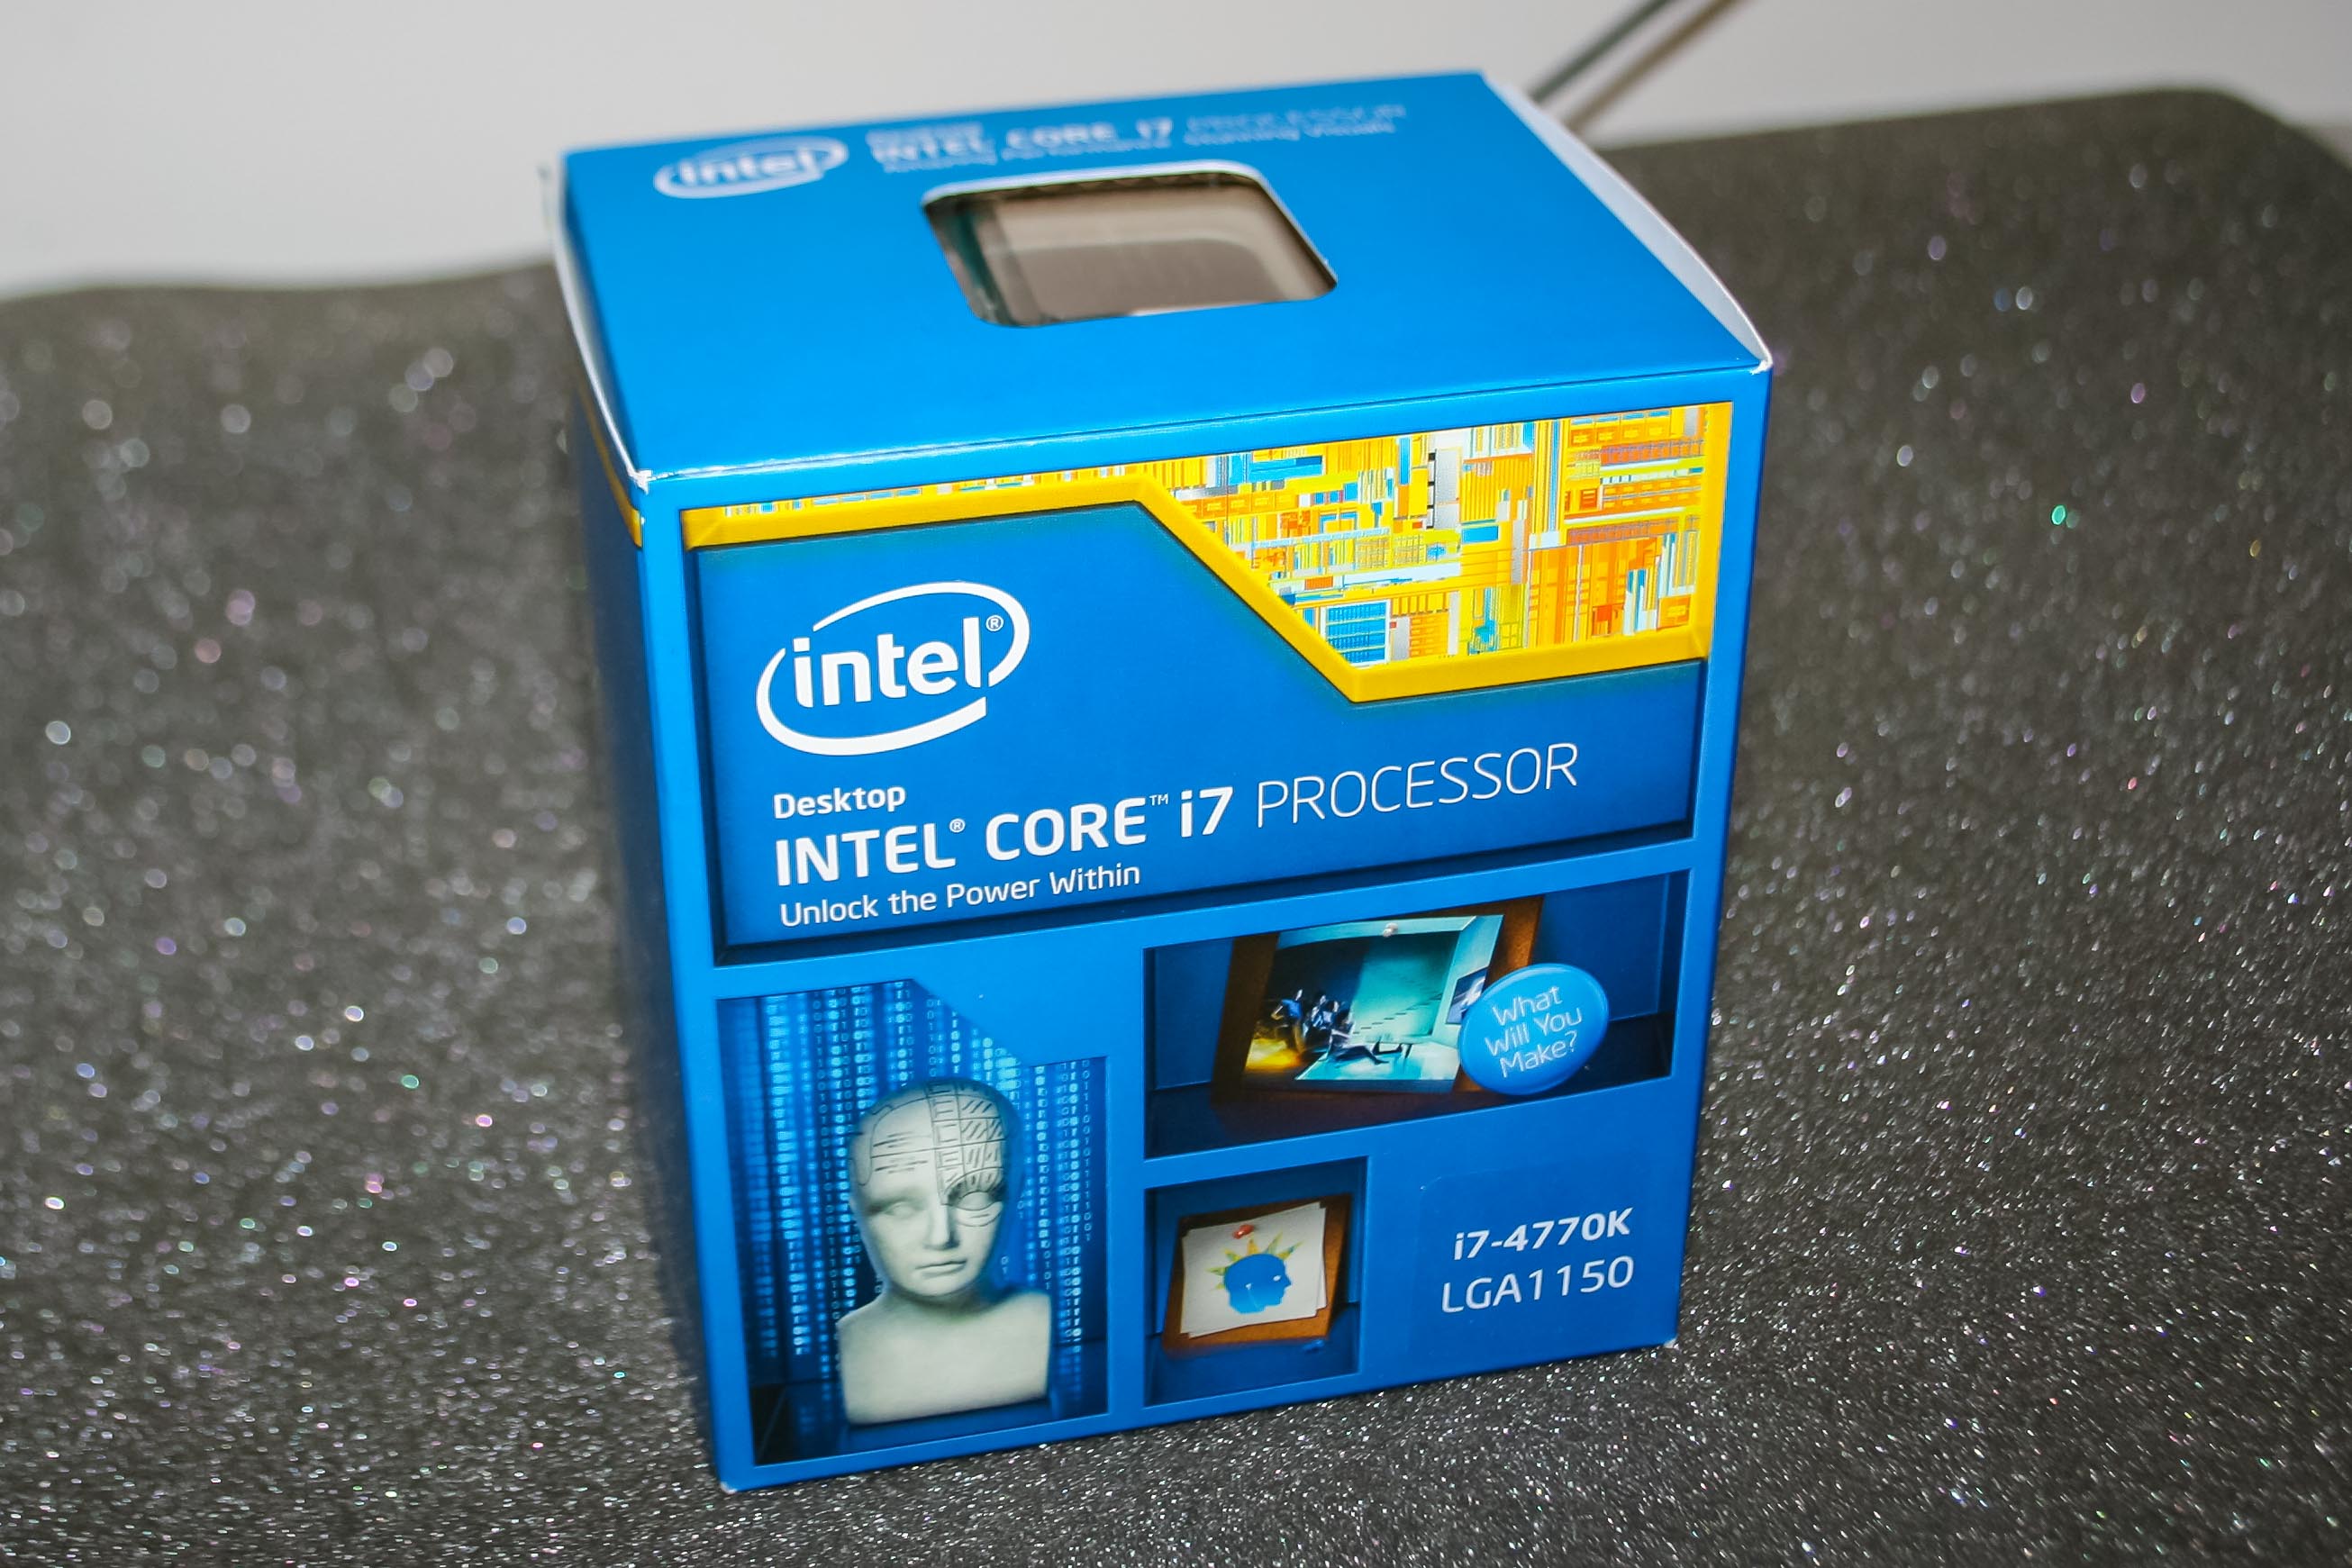
Intel i7 4770k should pack a punch
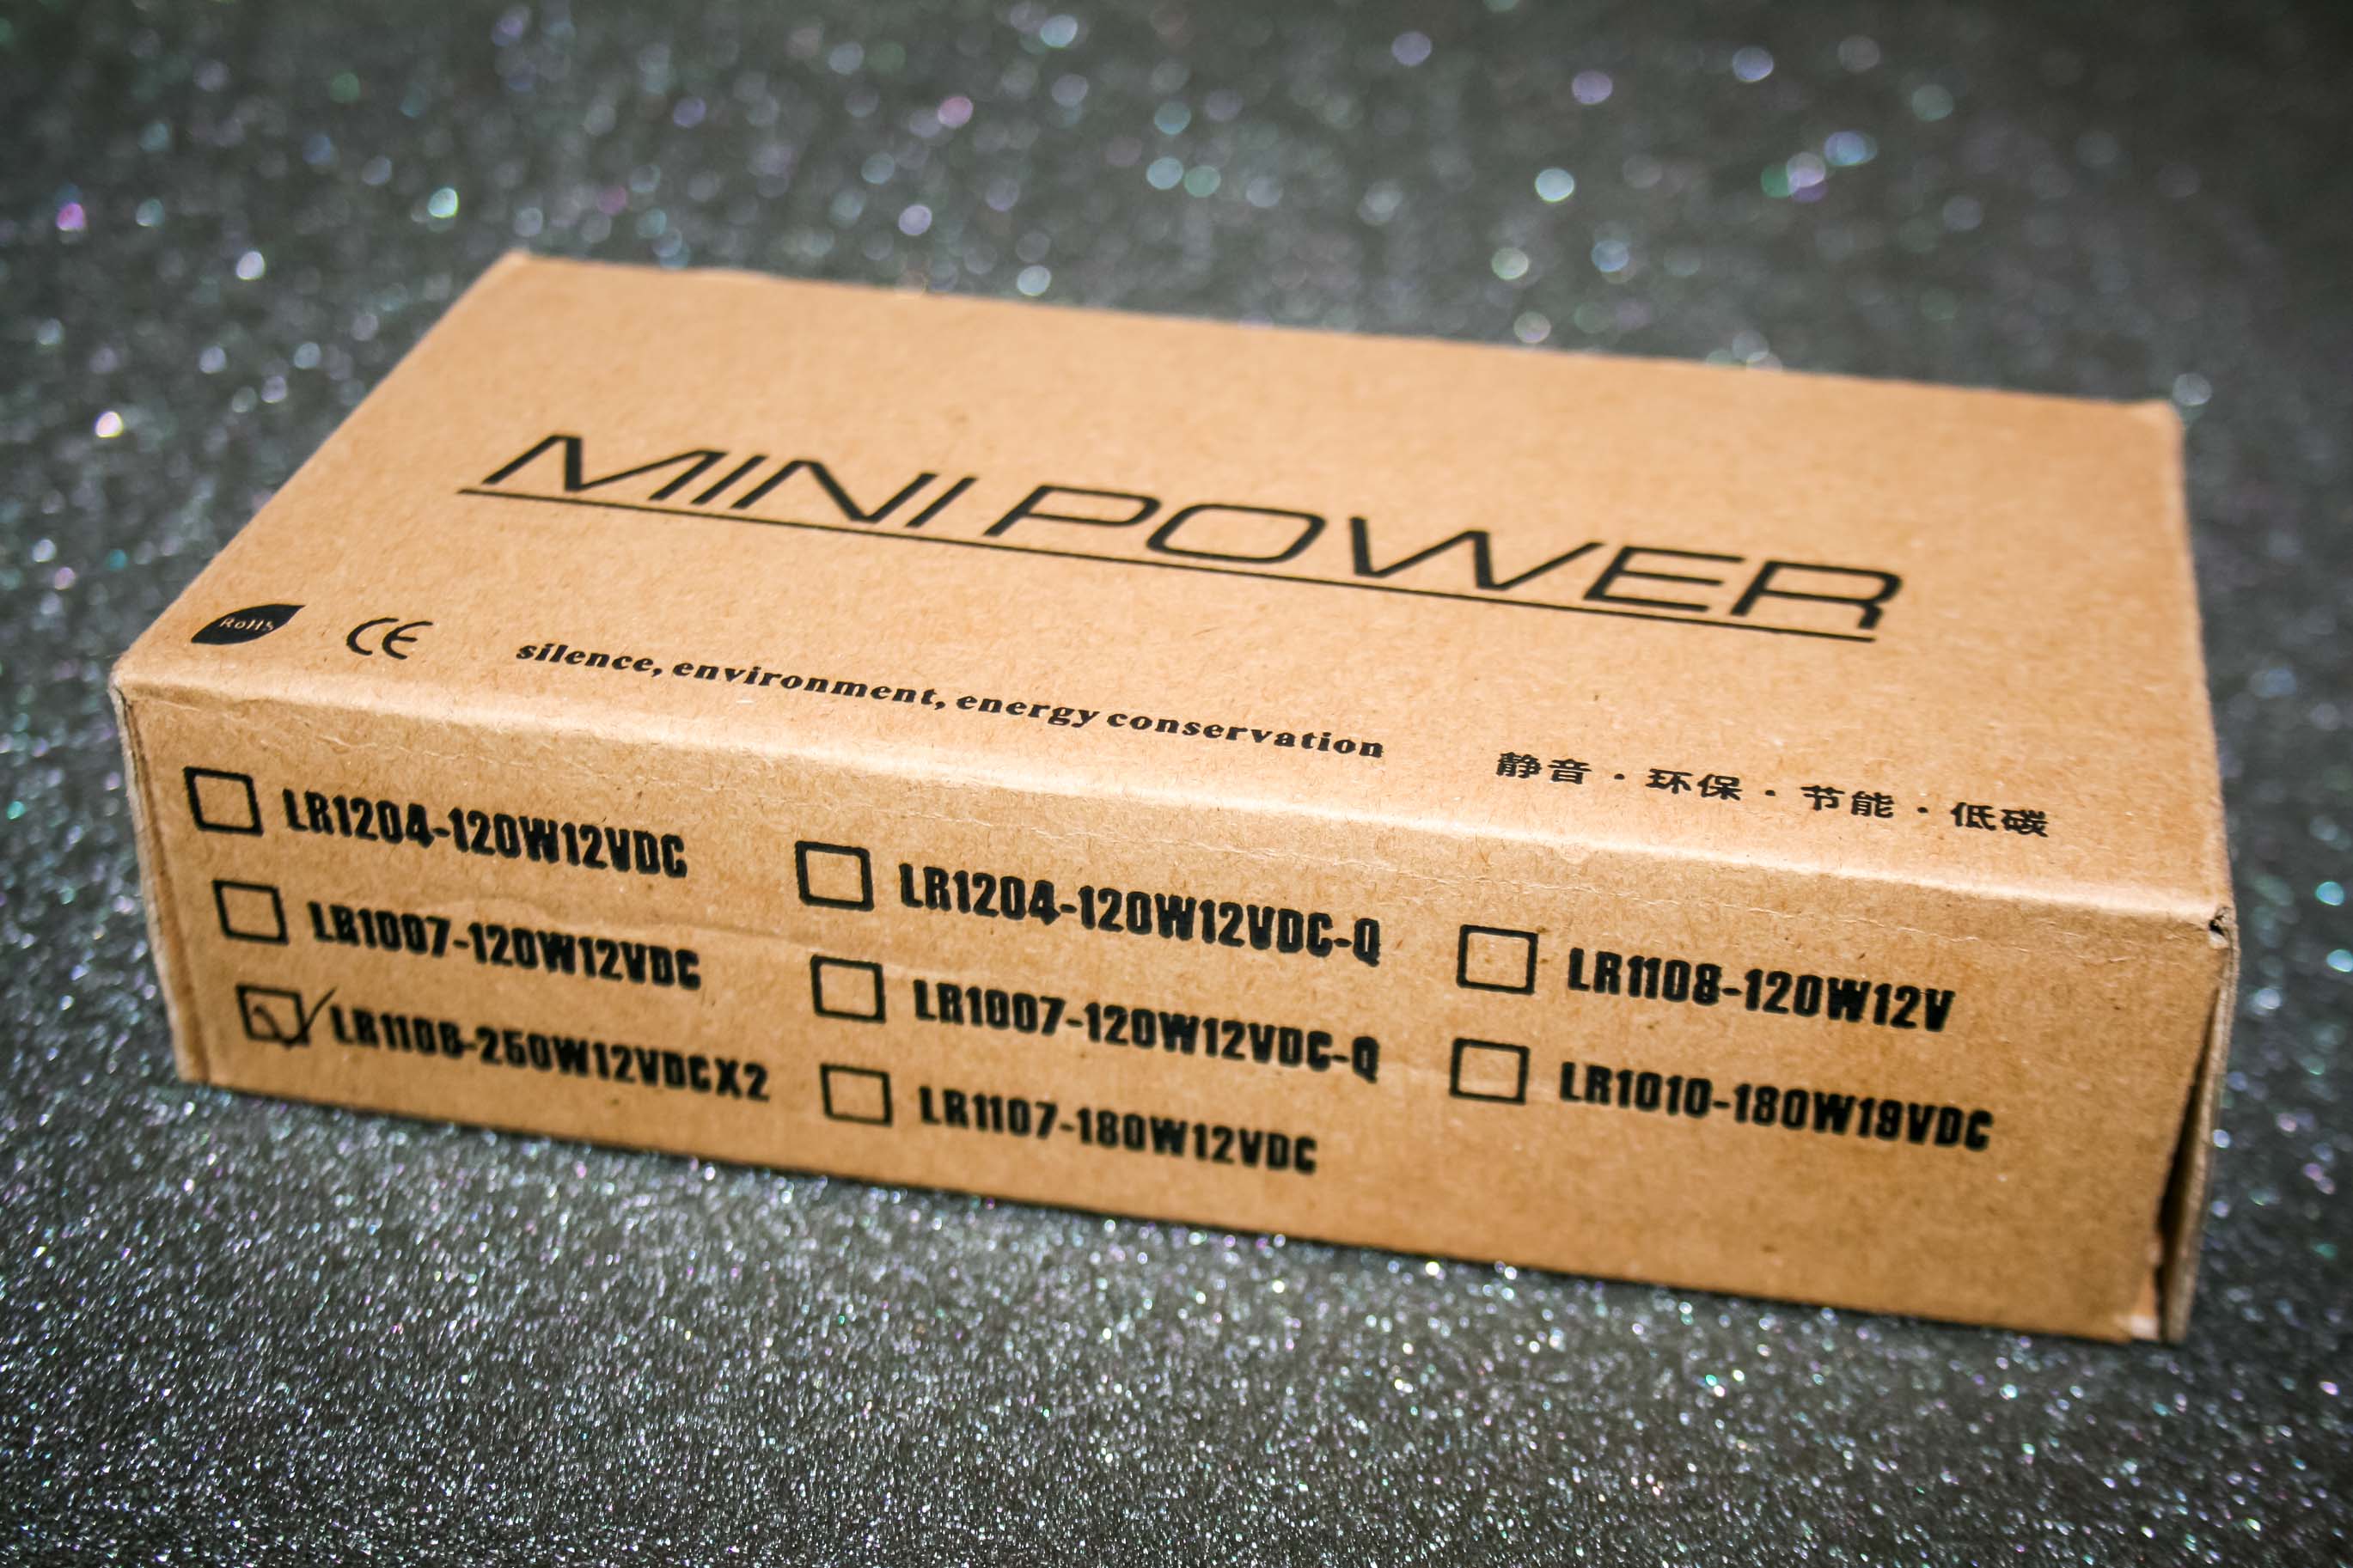
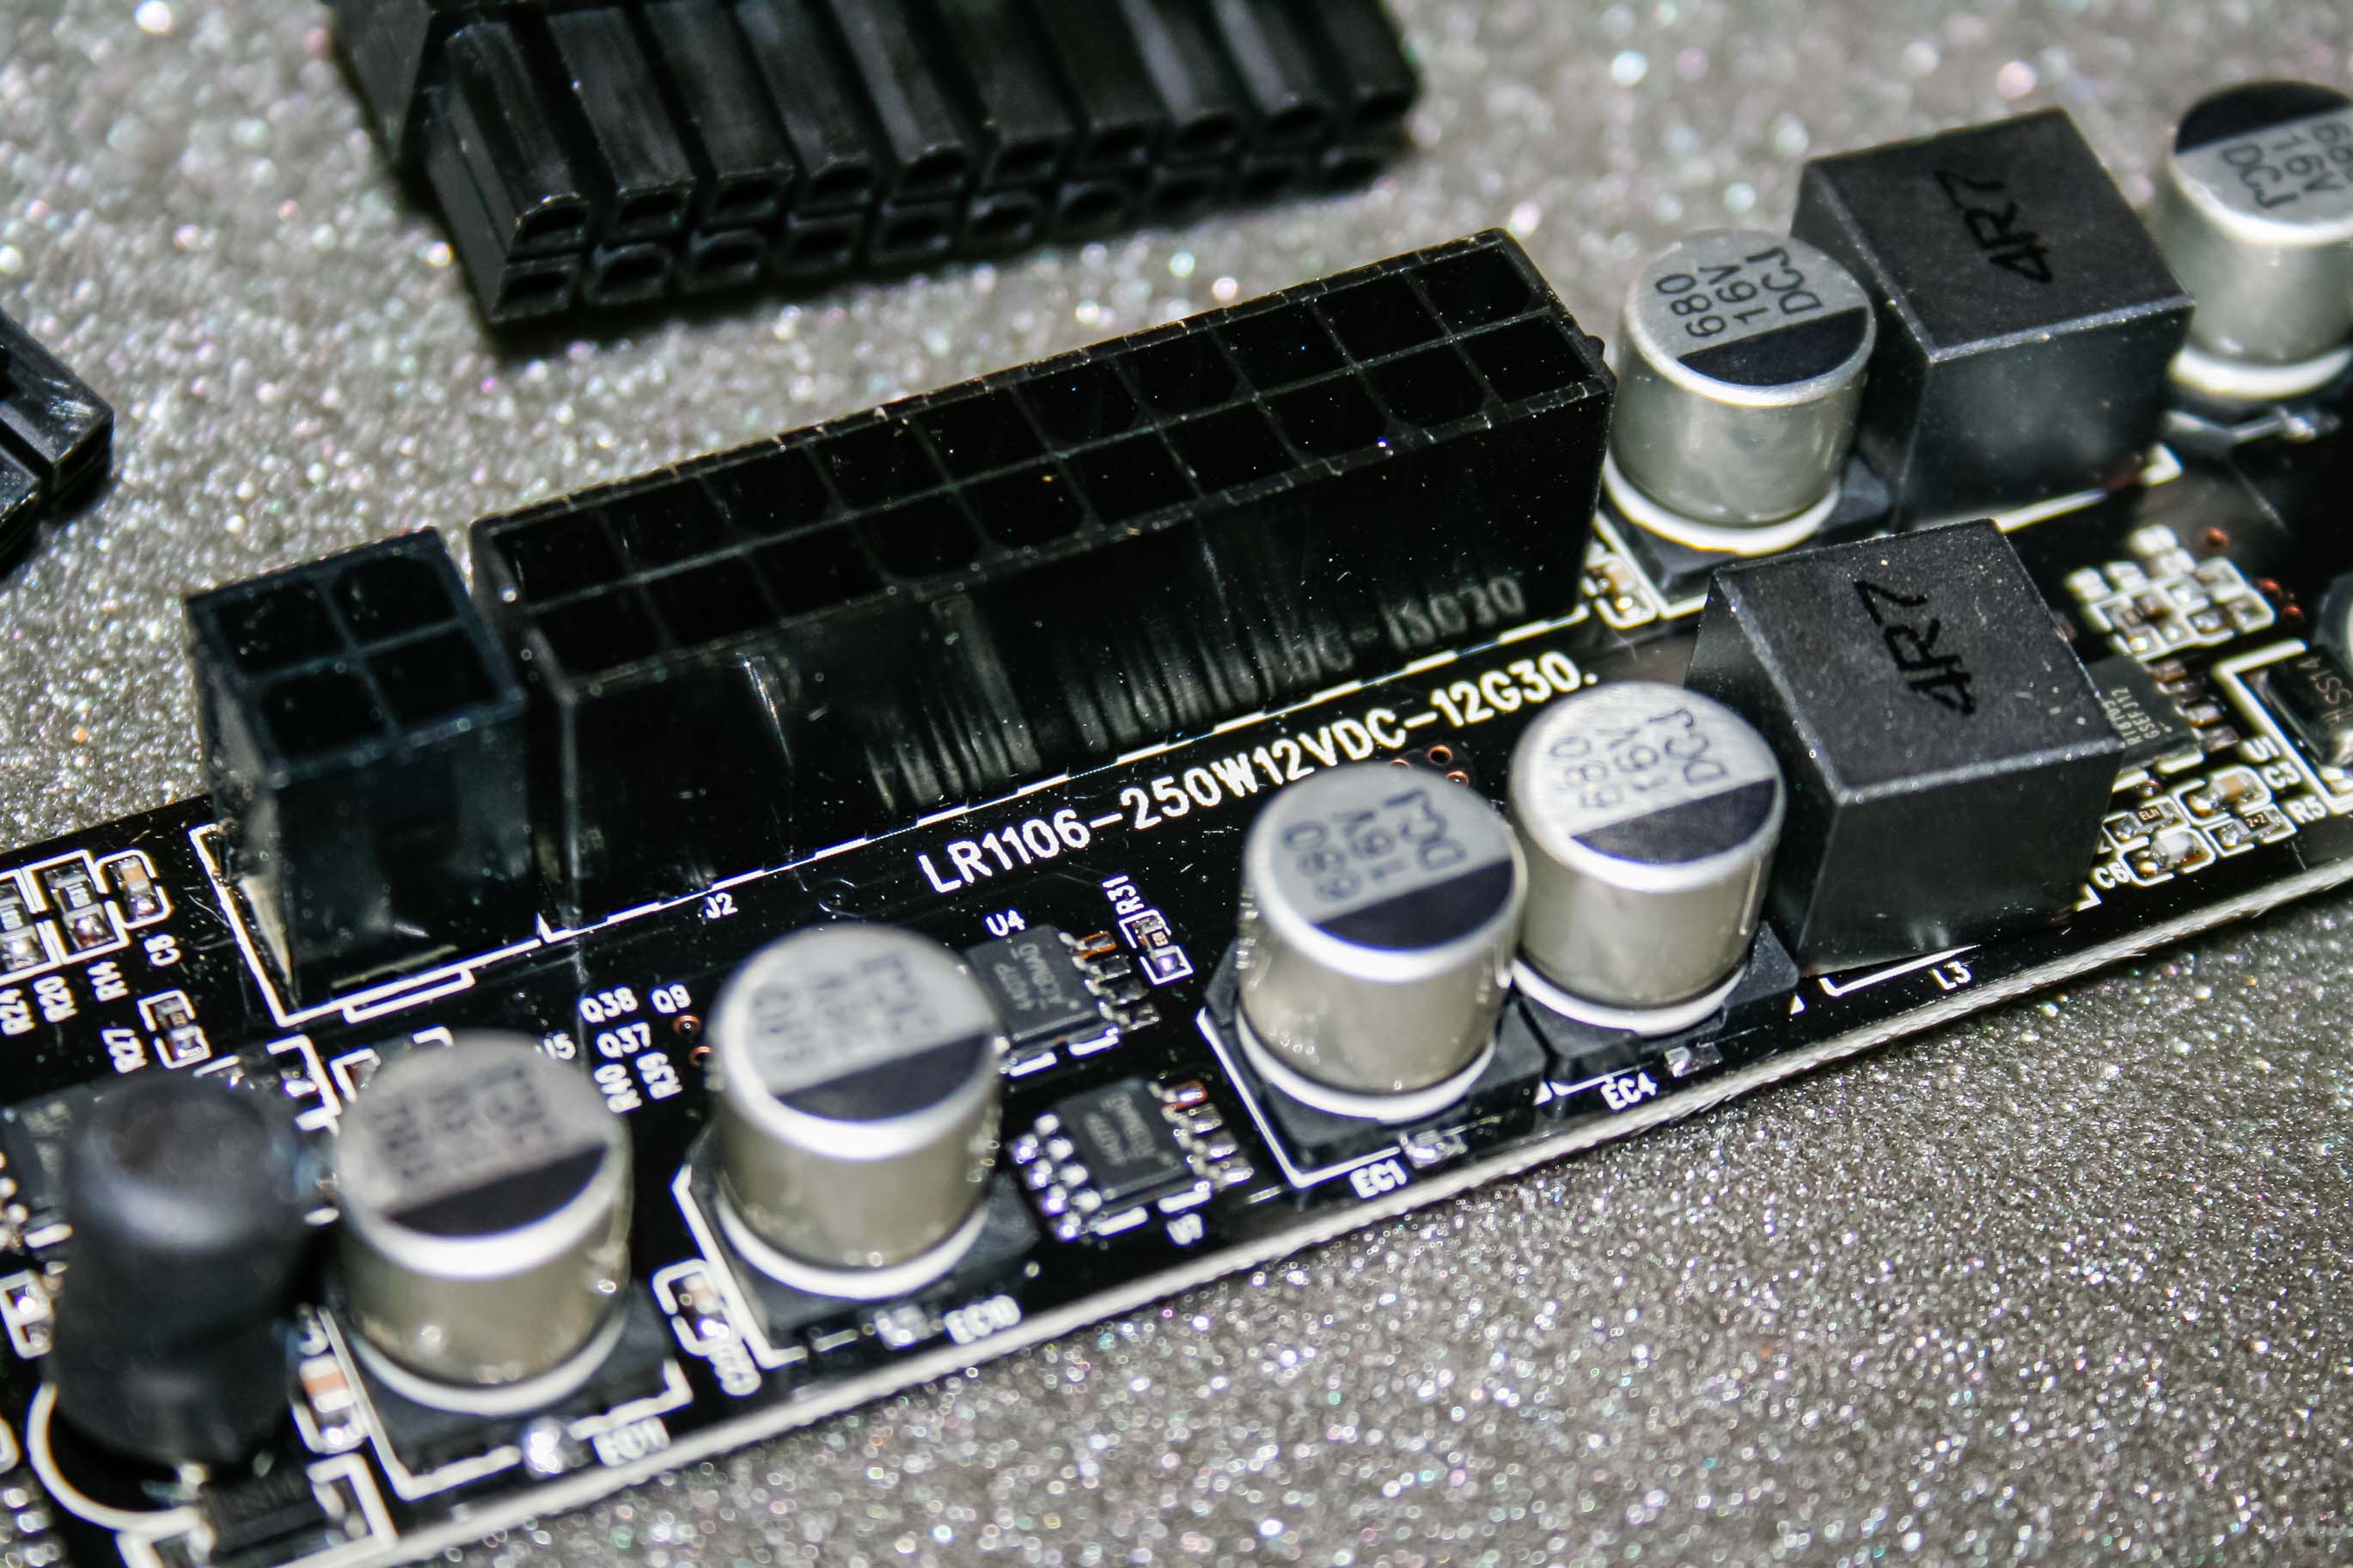
The original power supply I intended to use
This thing is absolutely tiny and supports up to 250w
Needed an external AC>DC transformer so decided against using it in the end
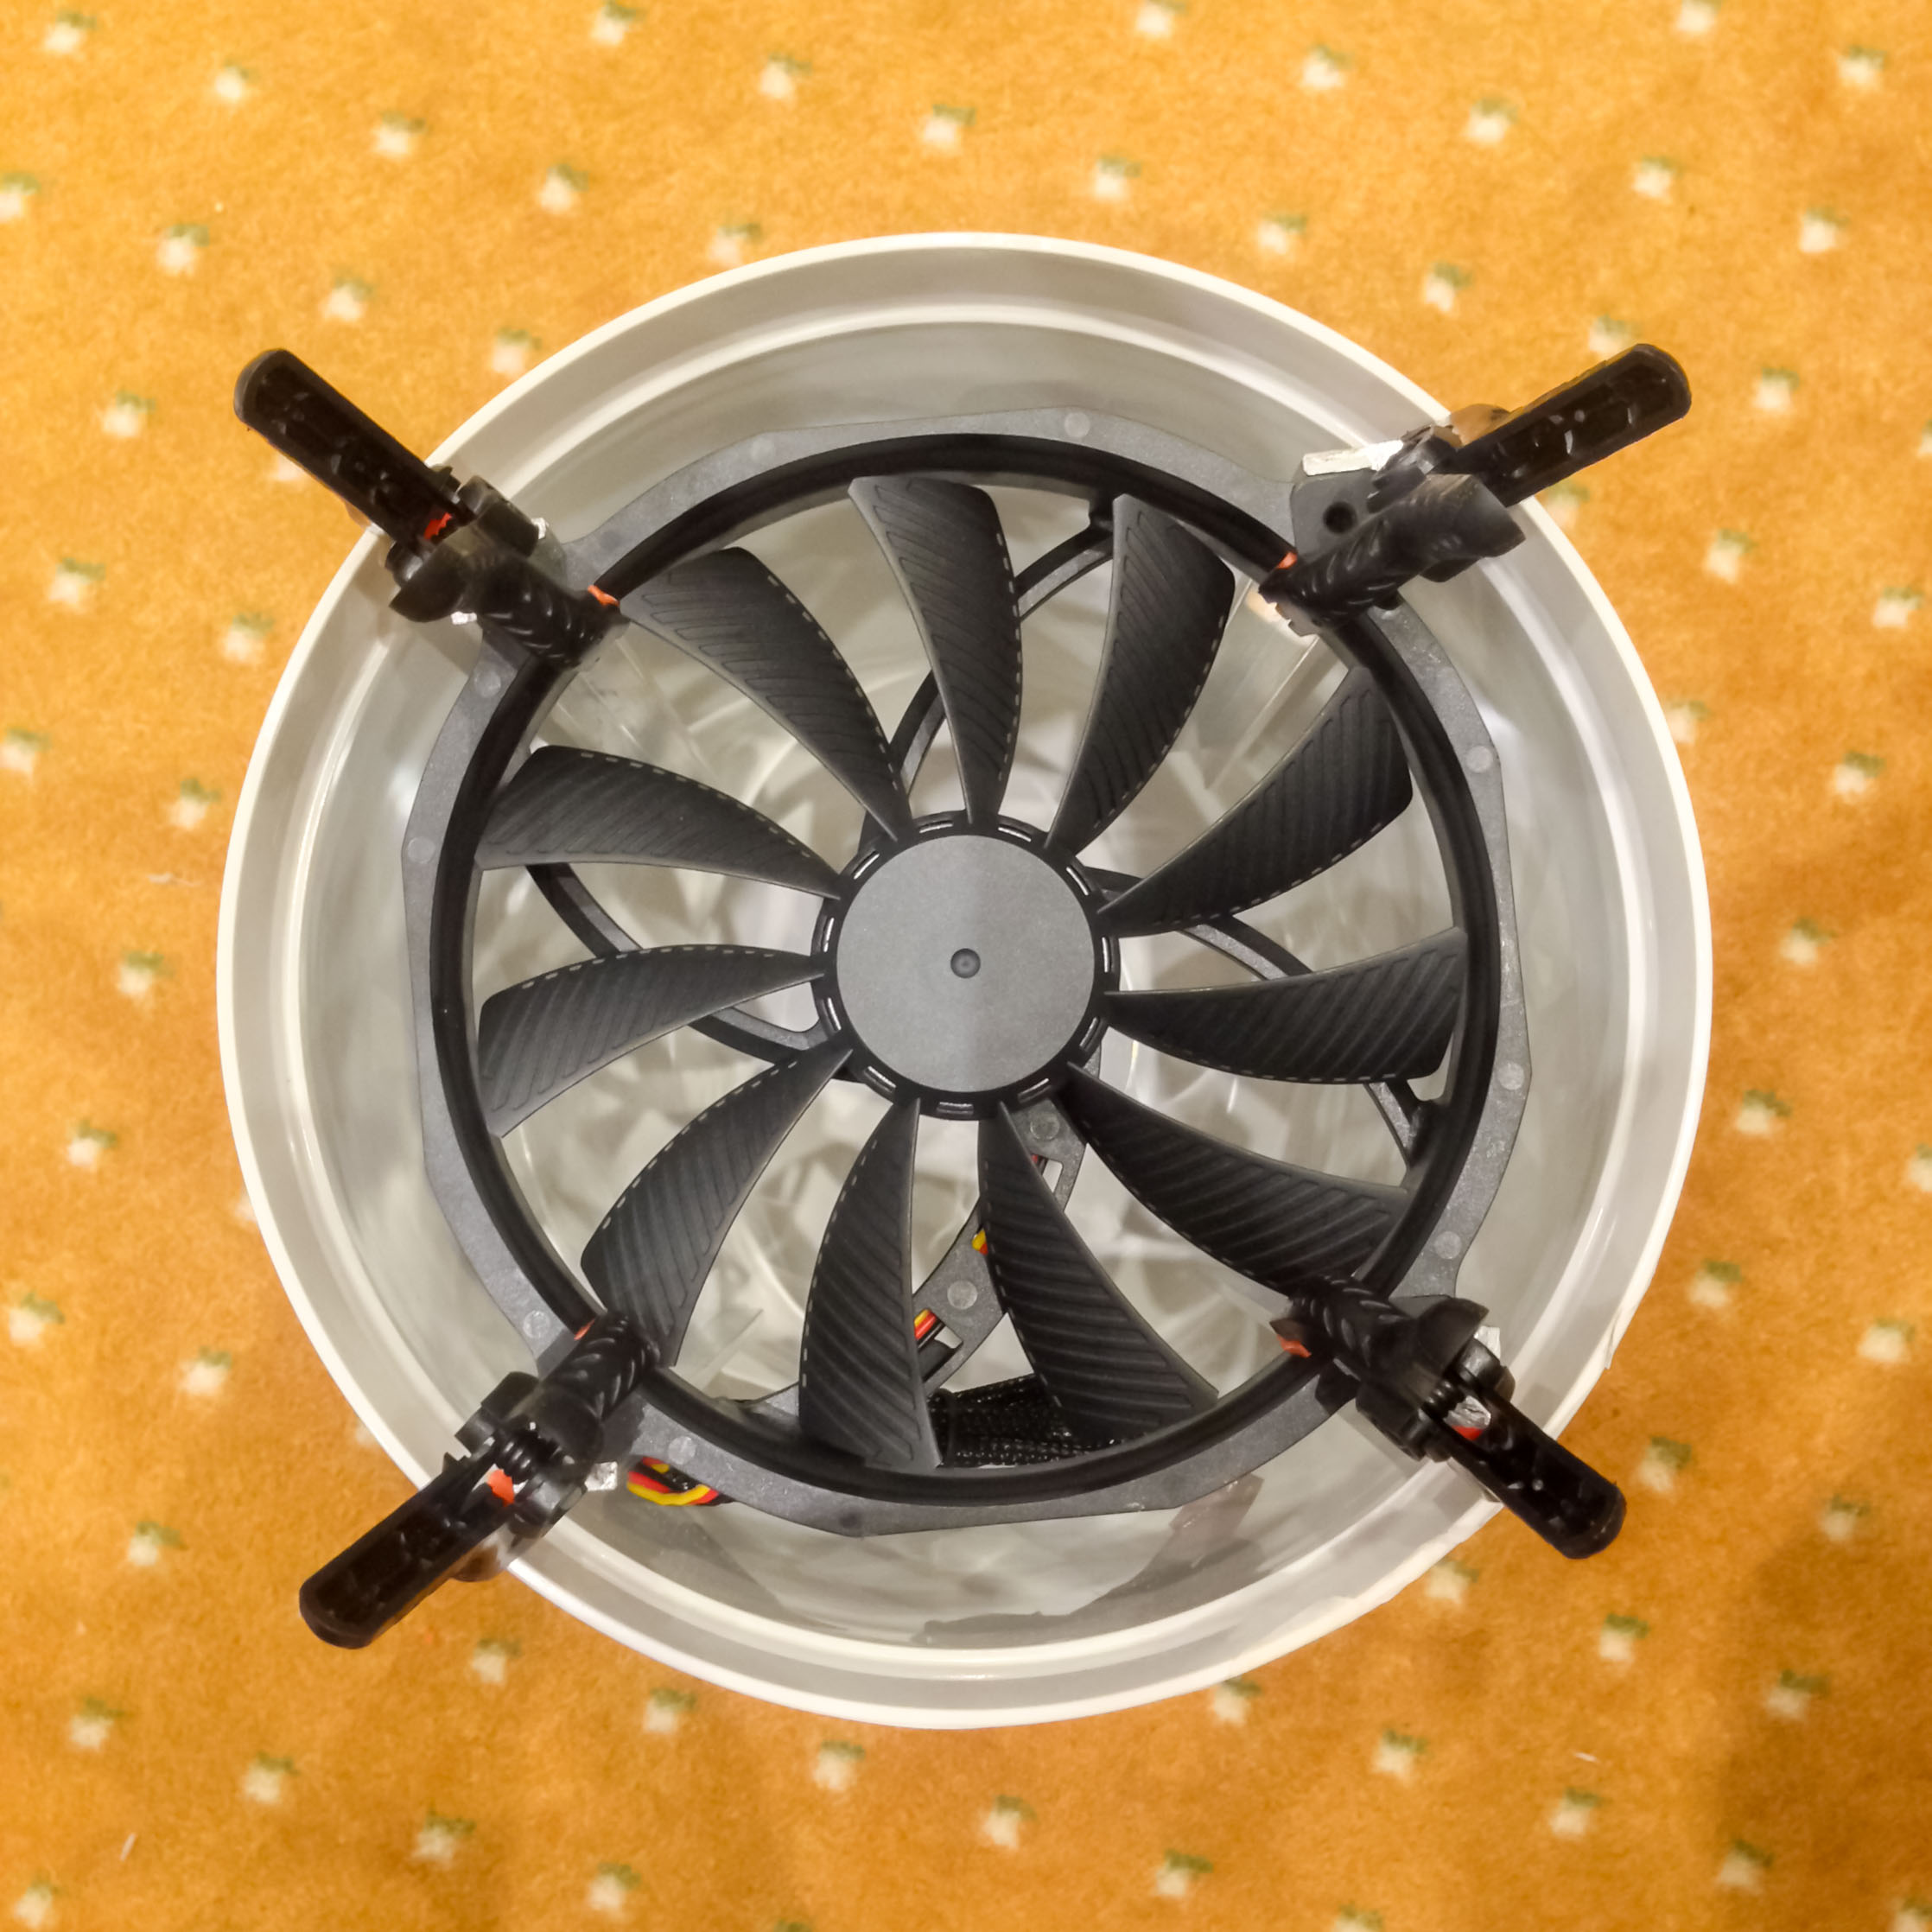
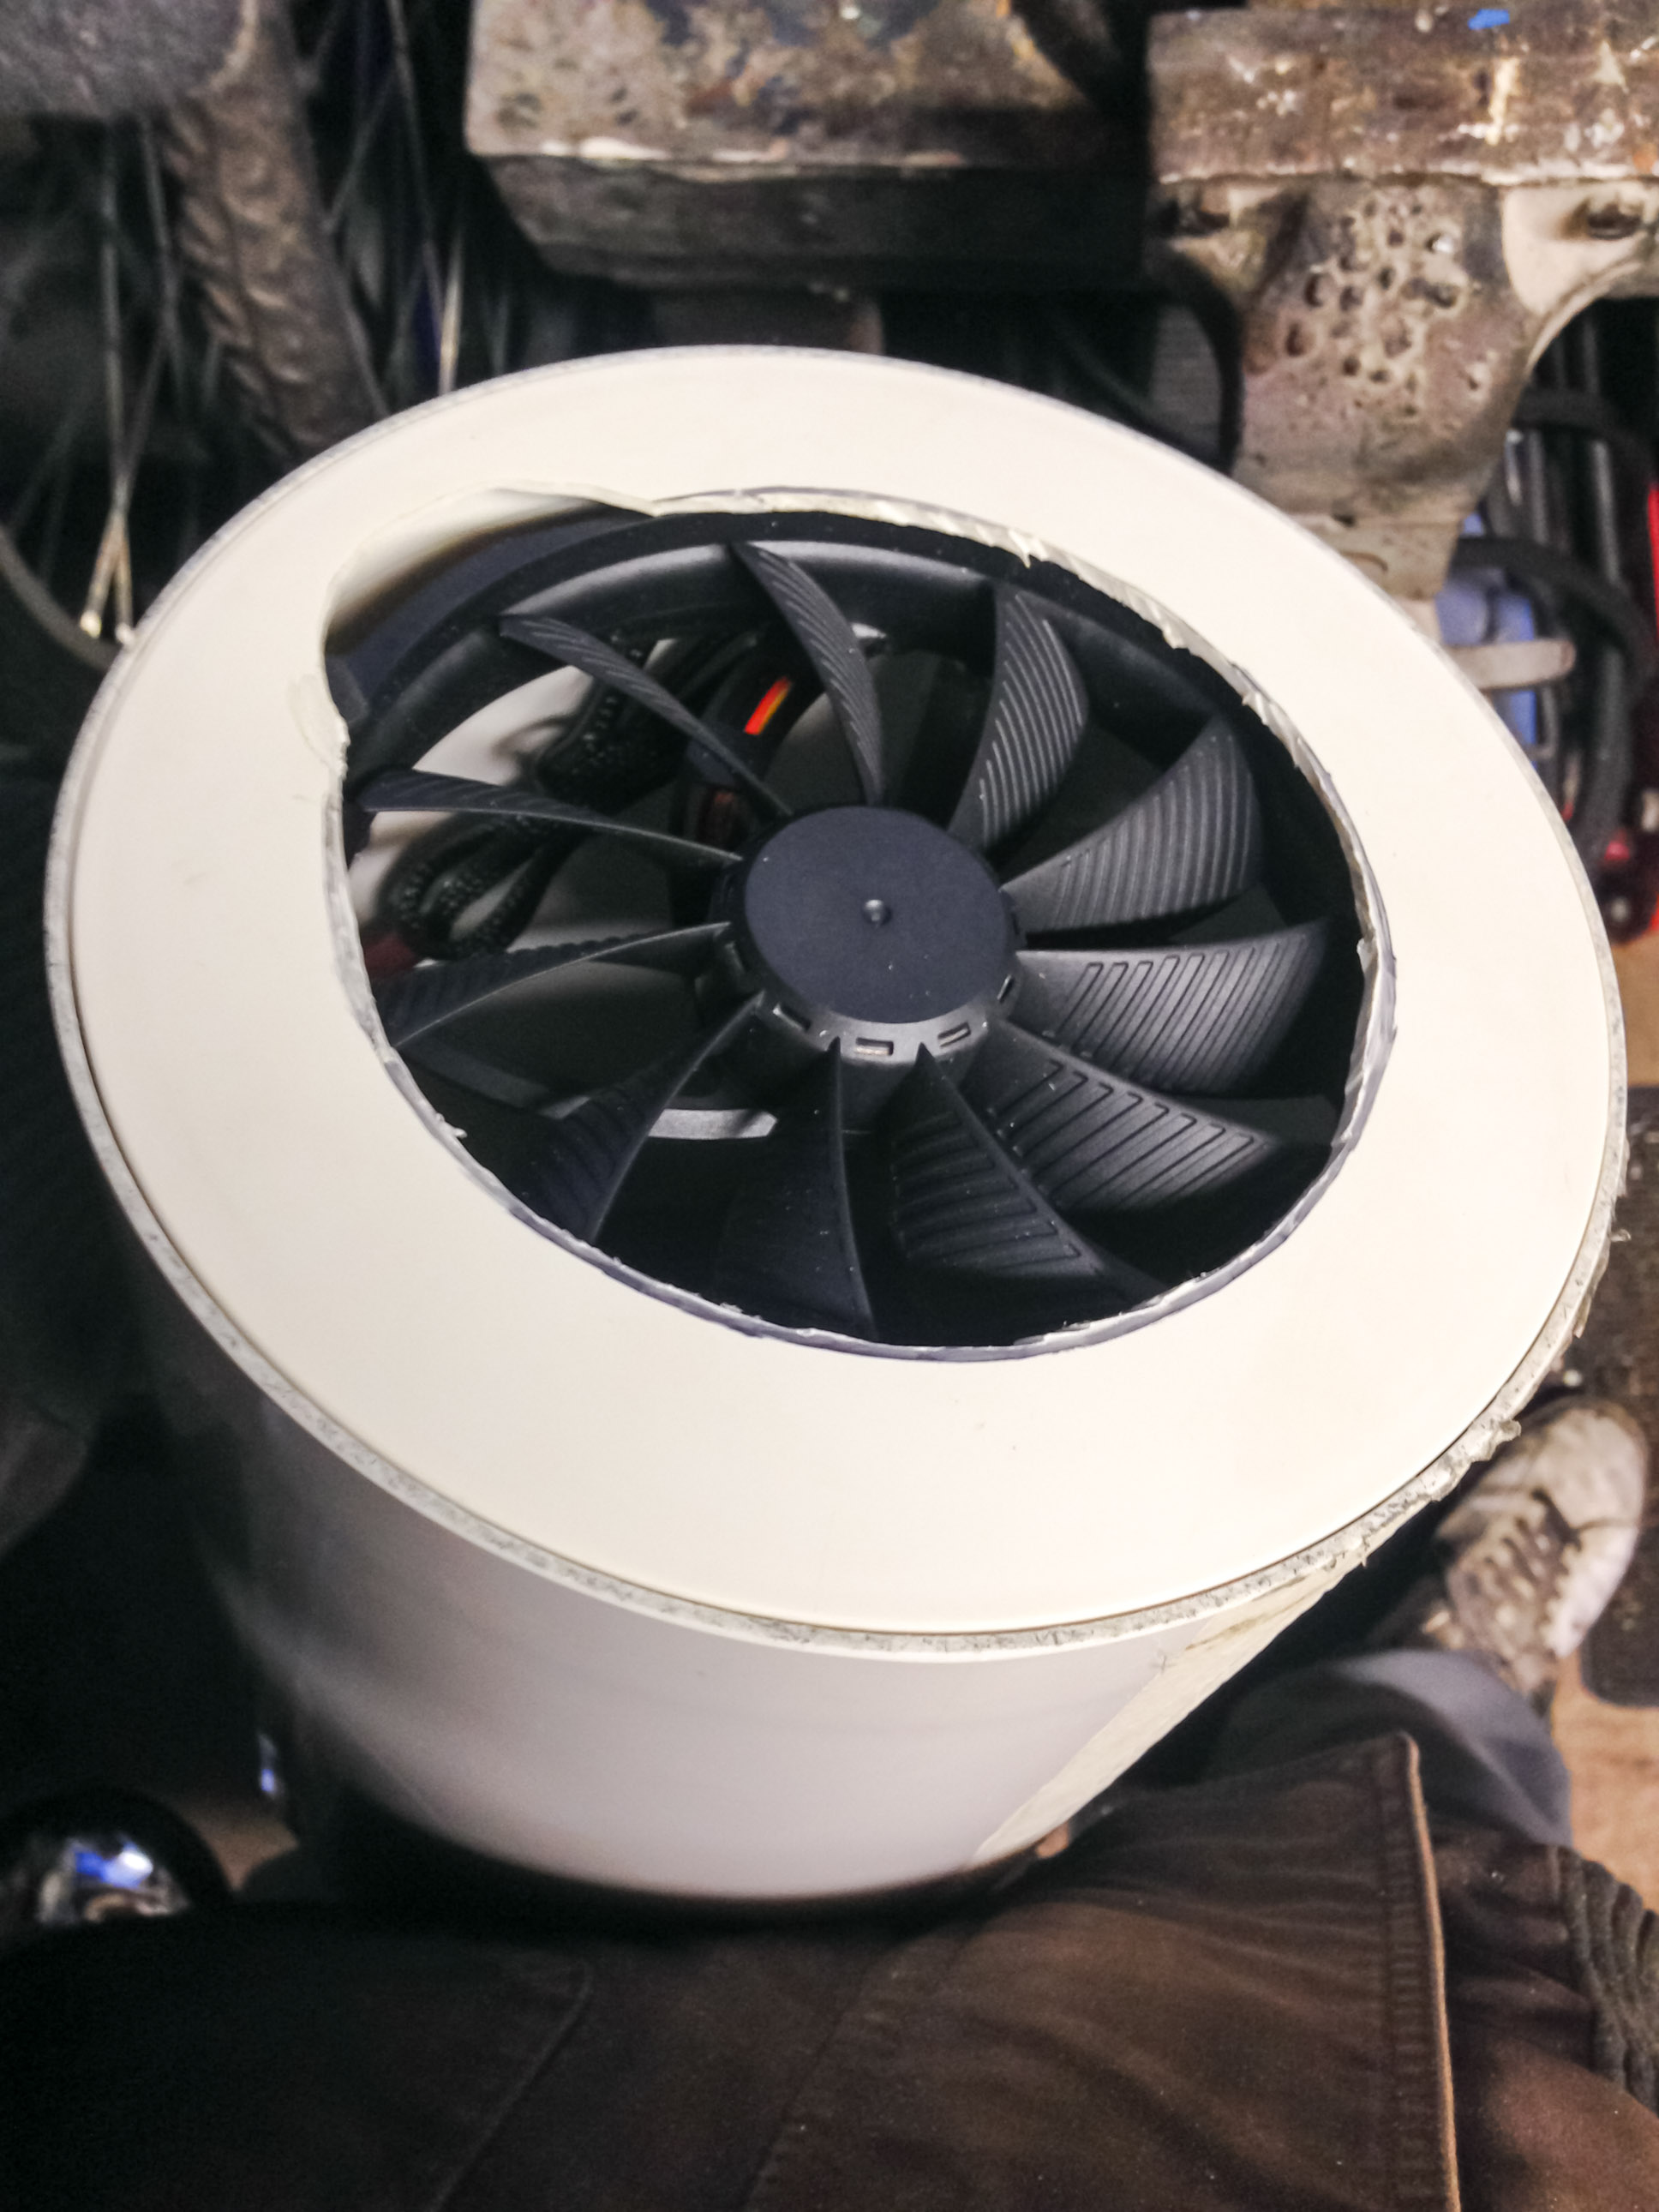
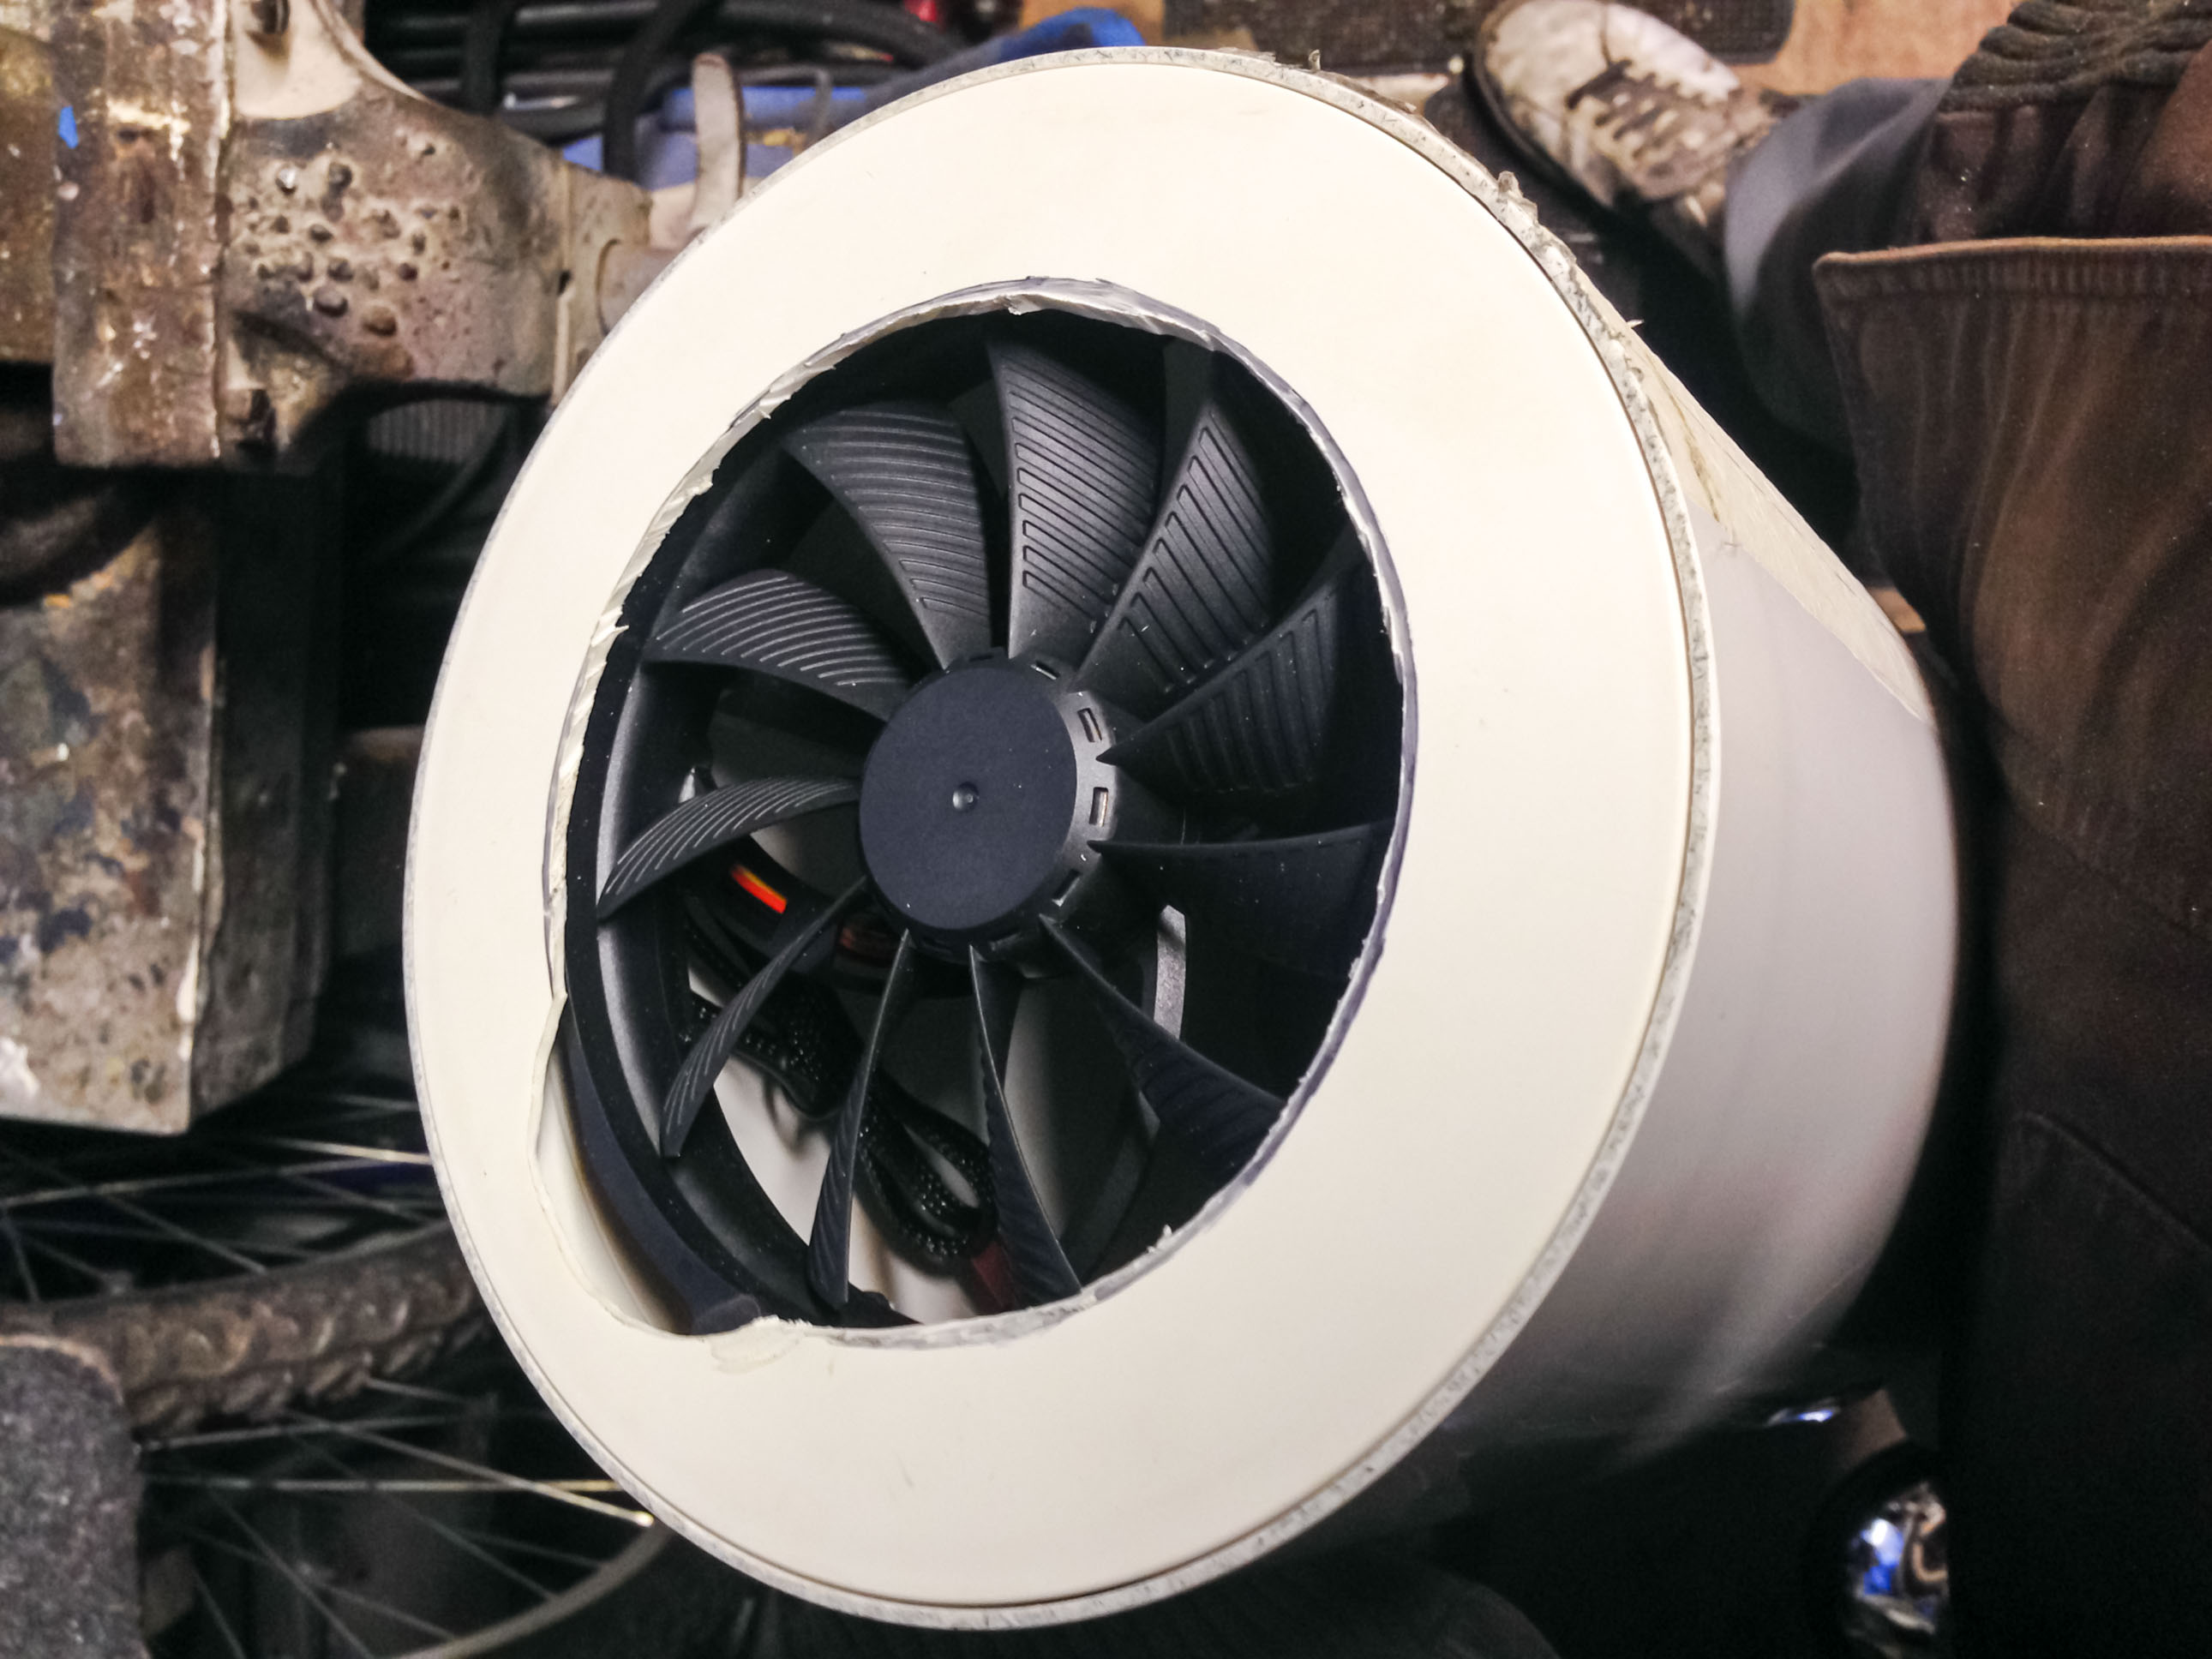
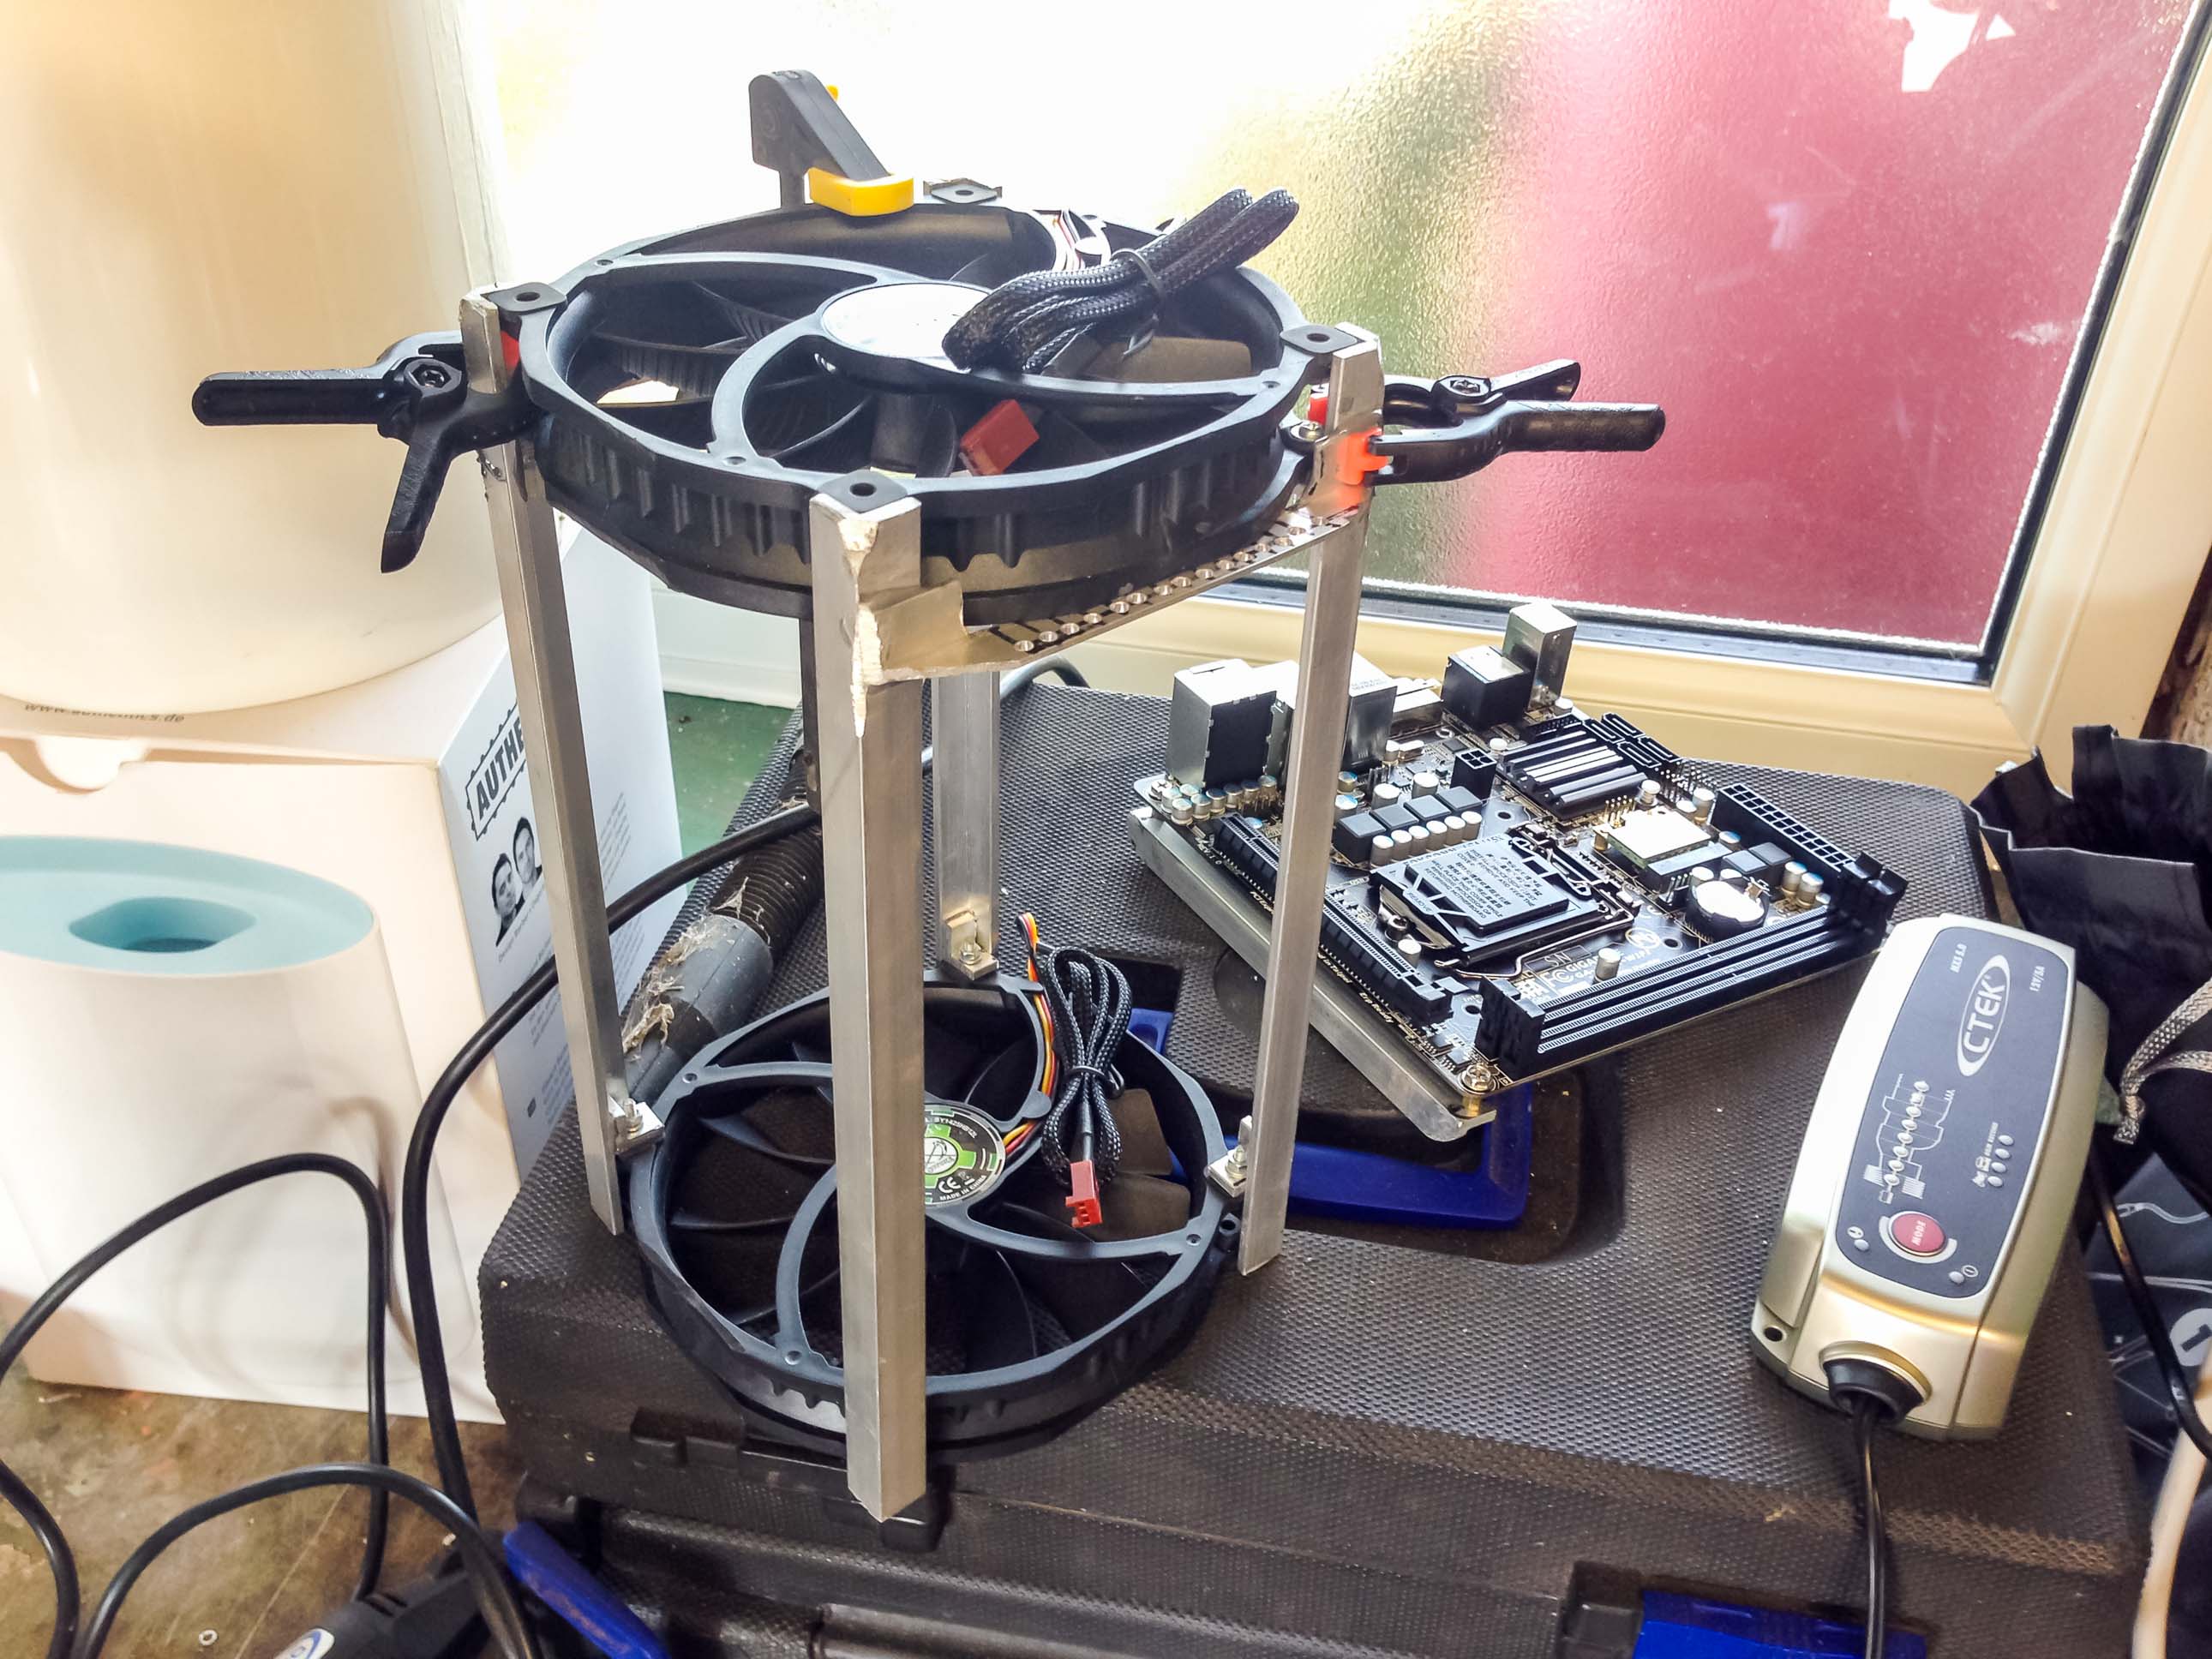
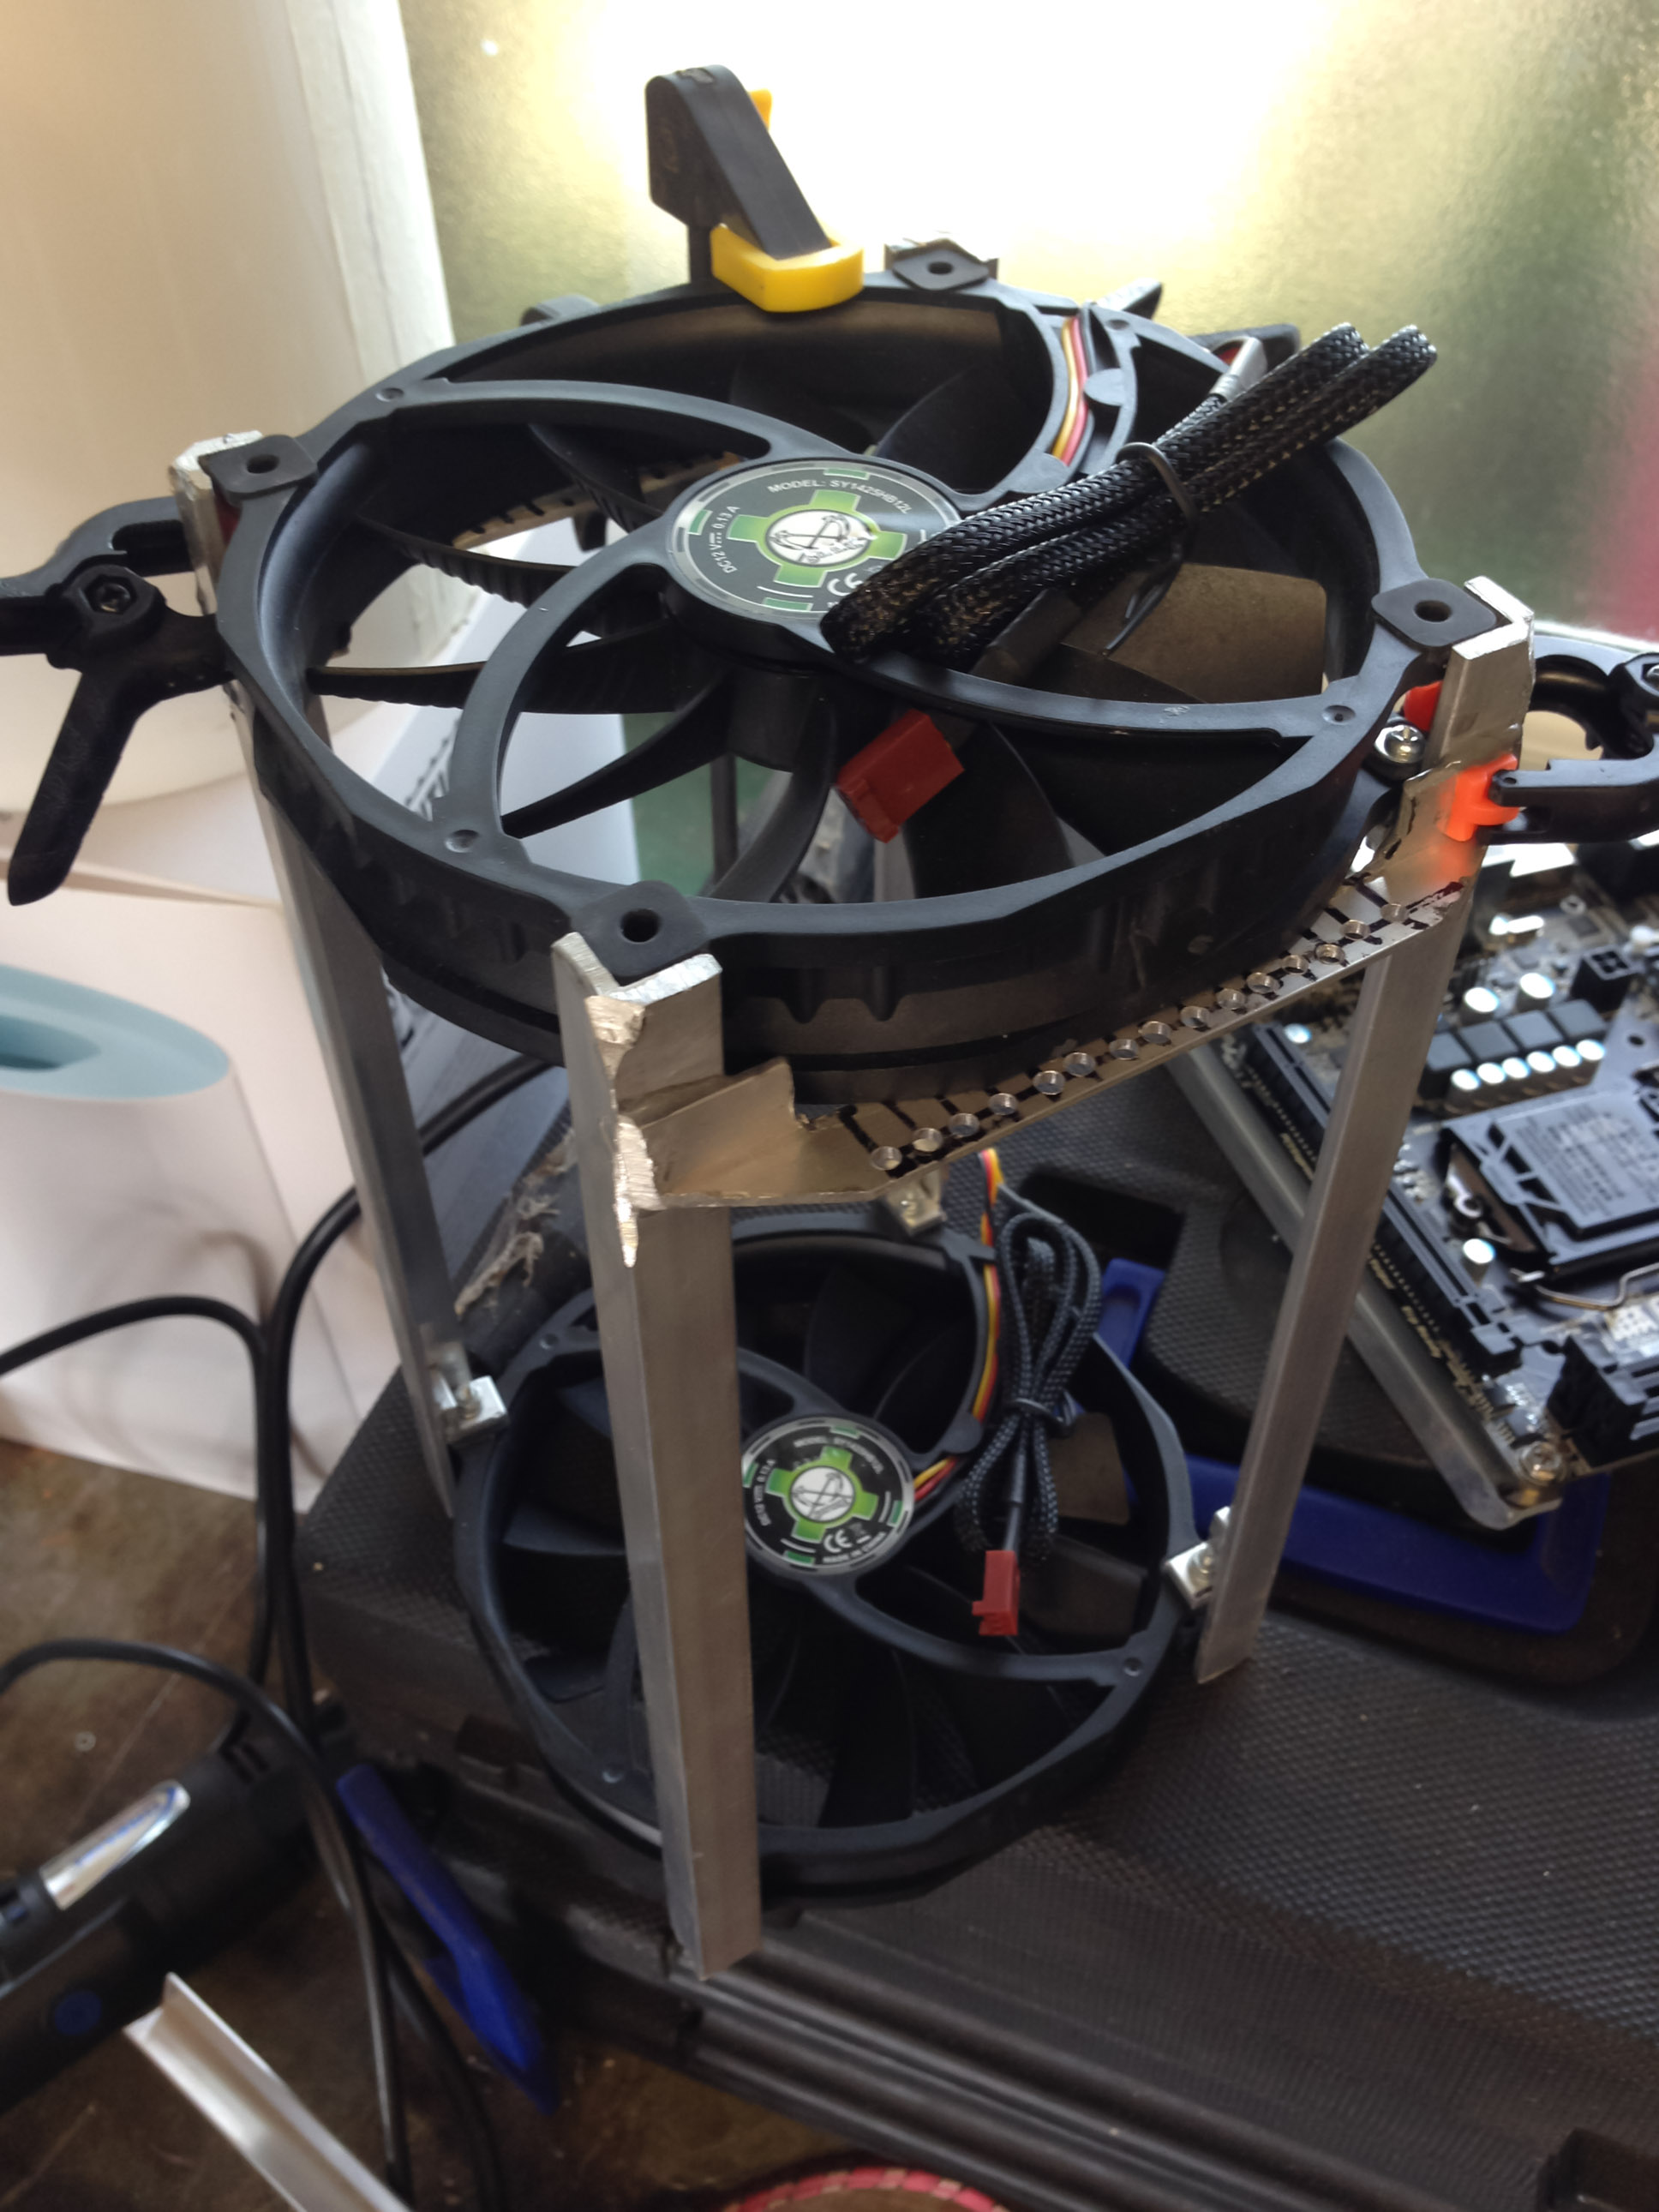
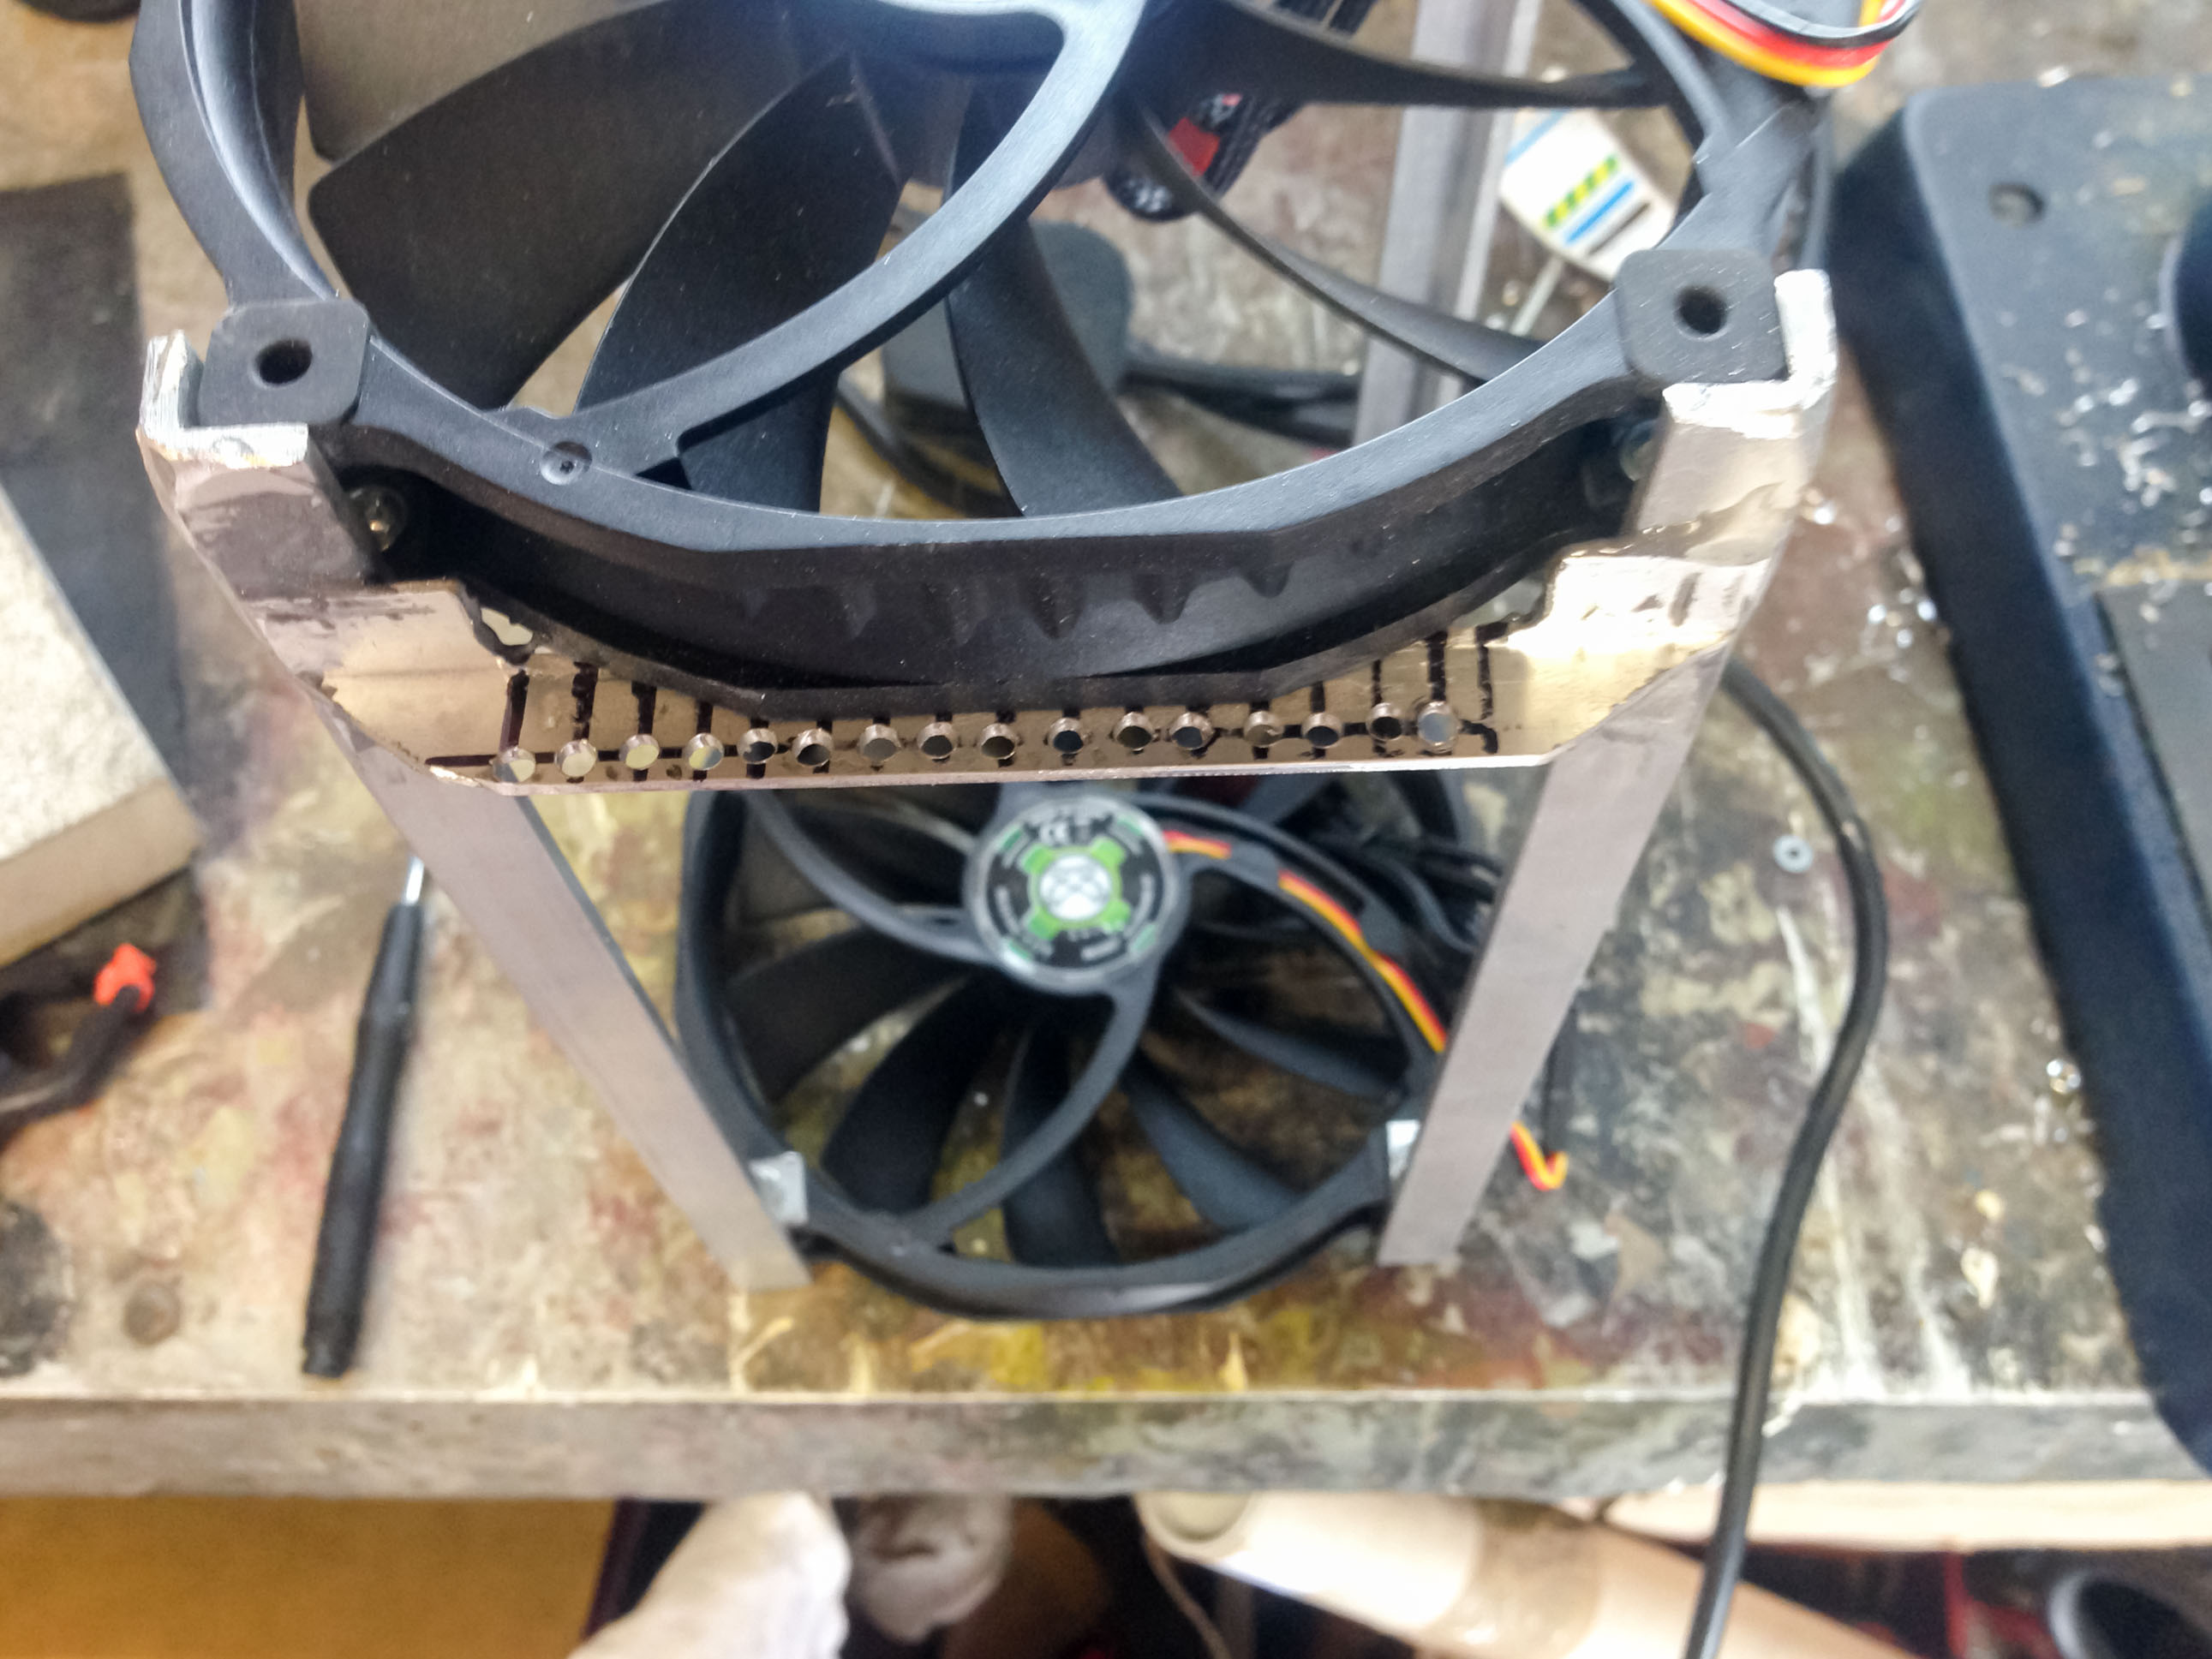
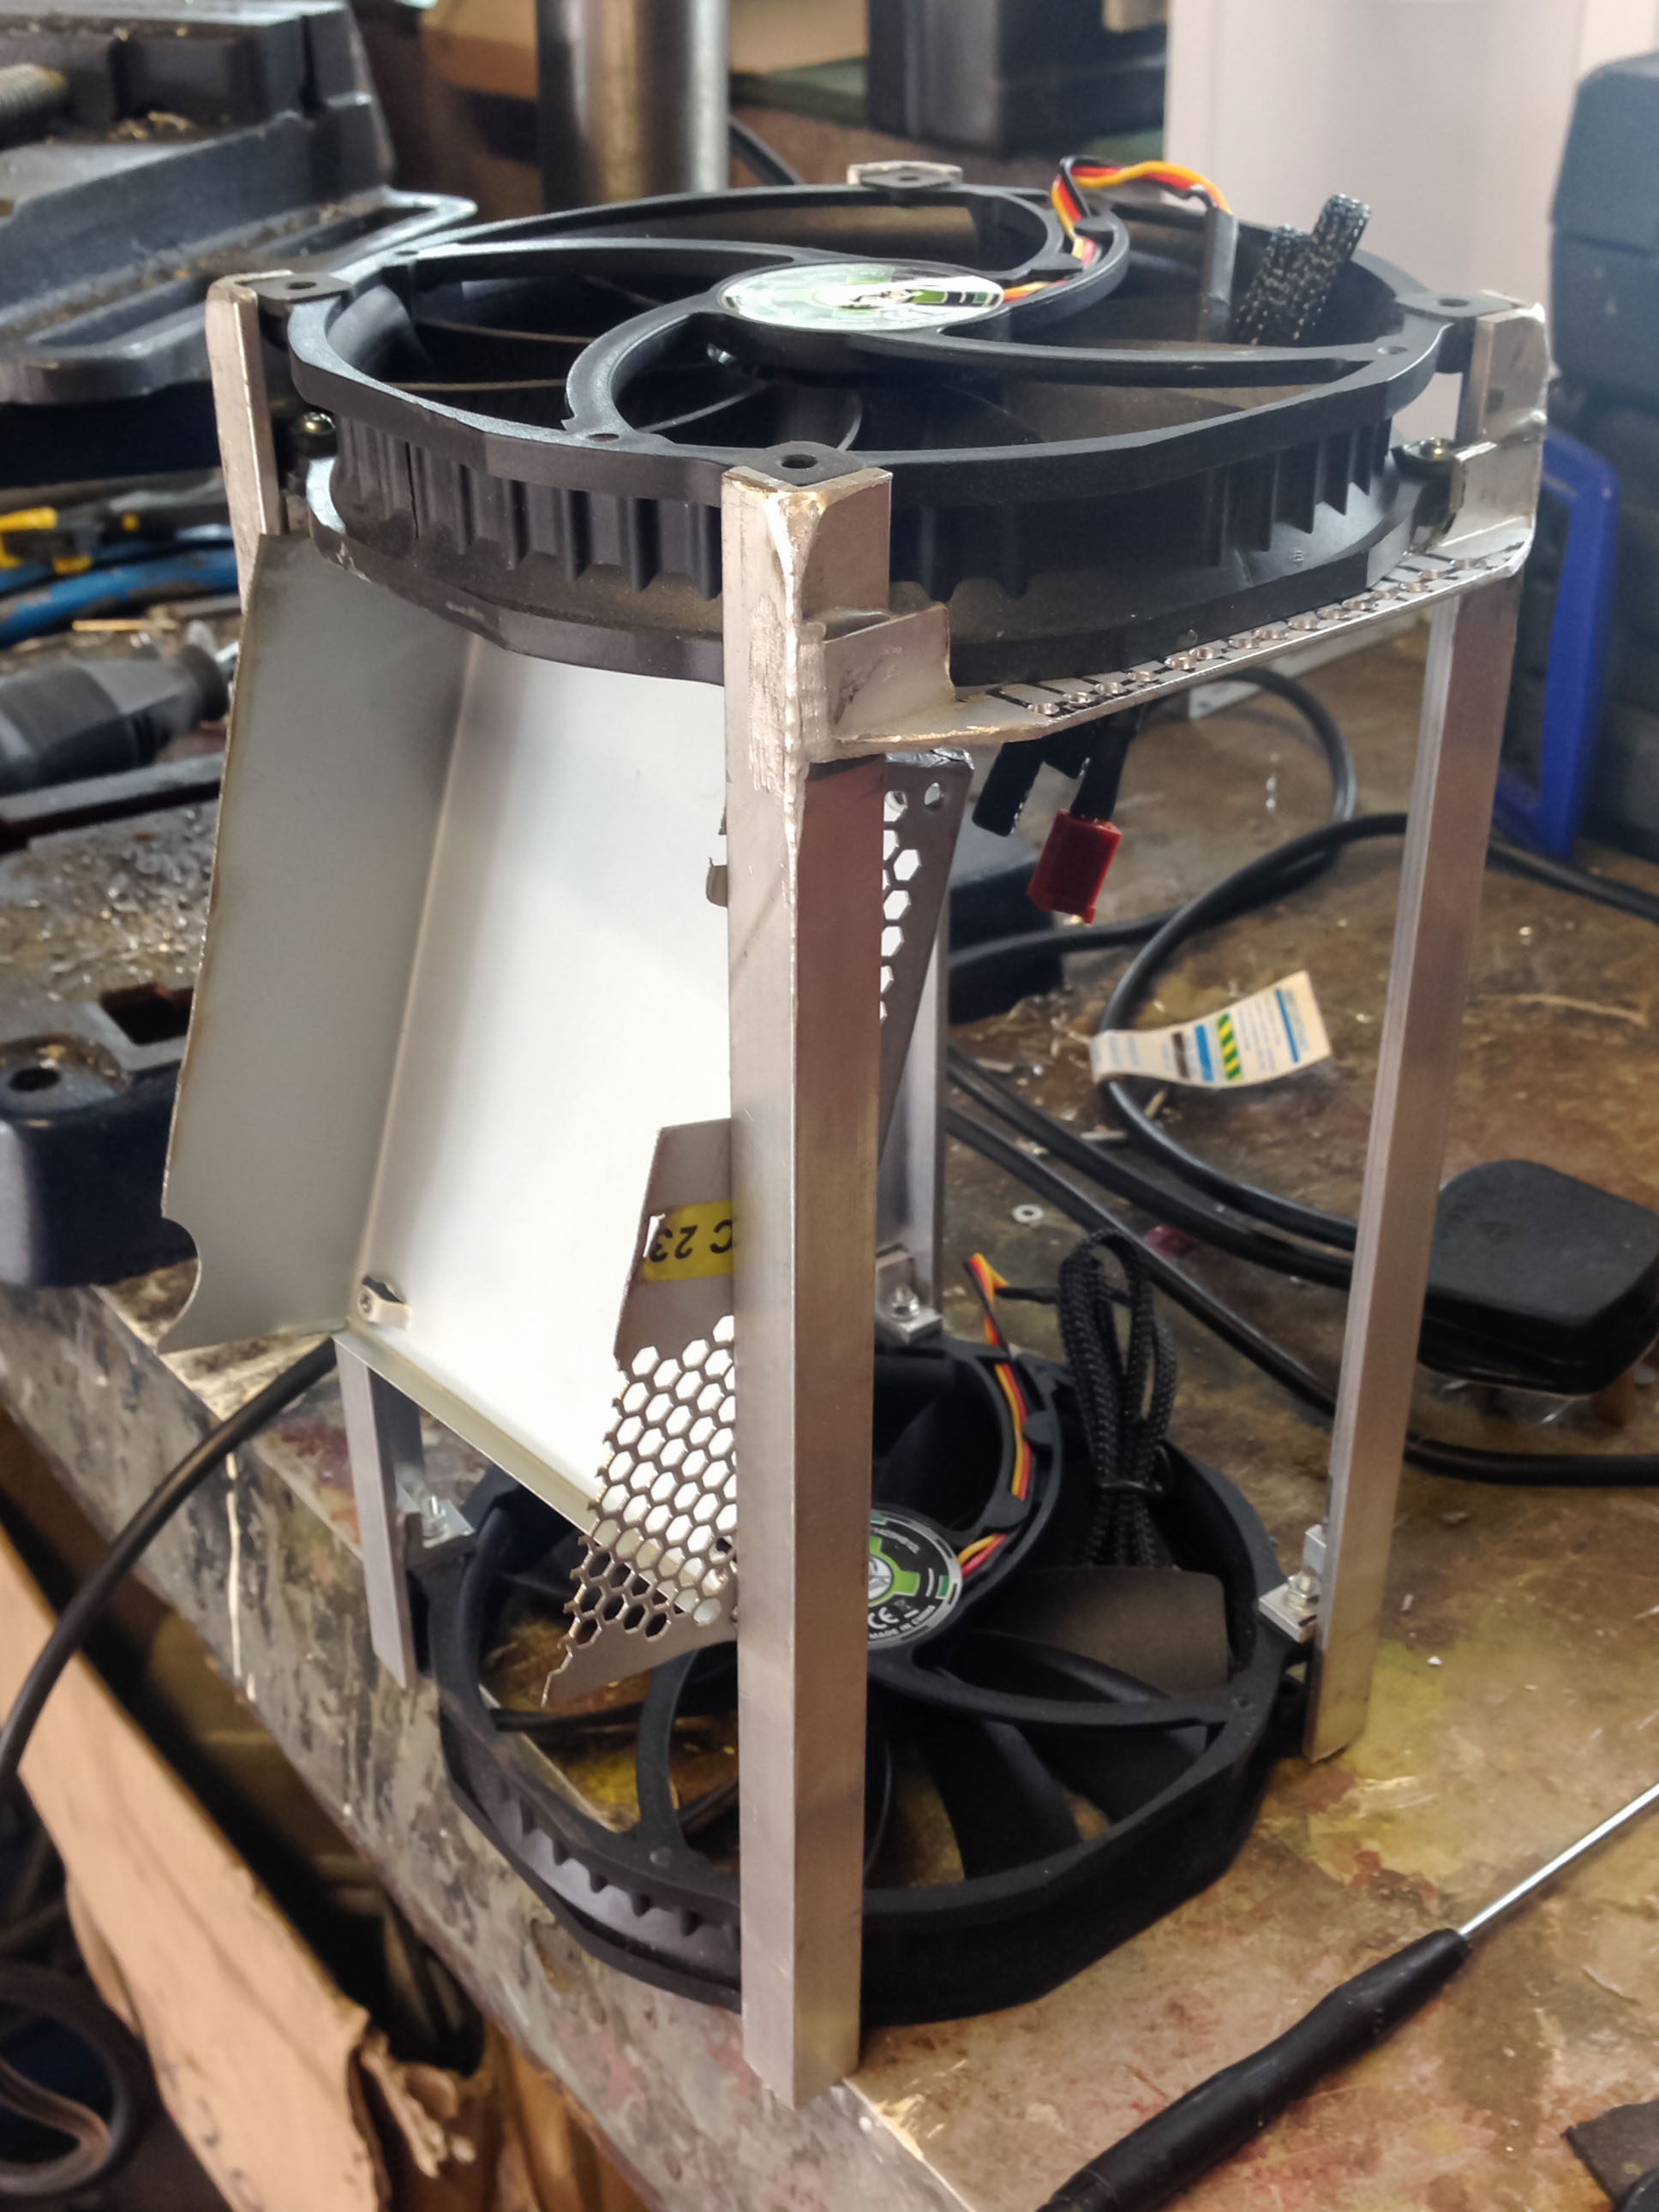
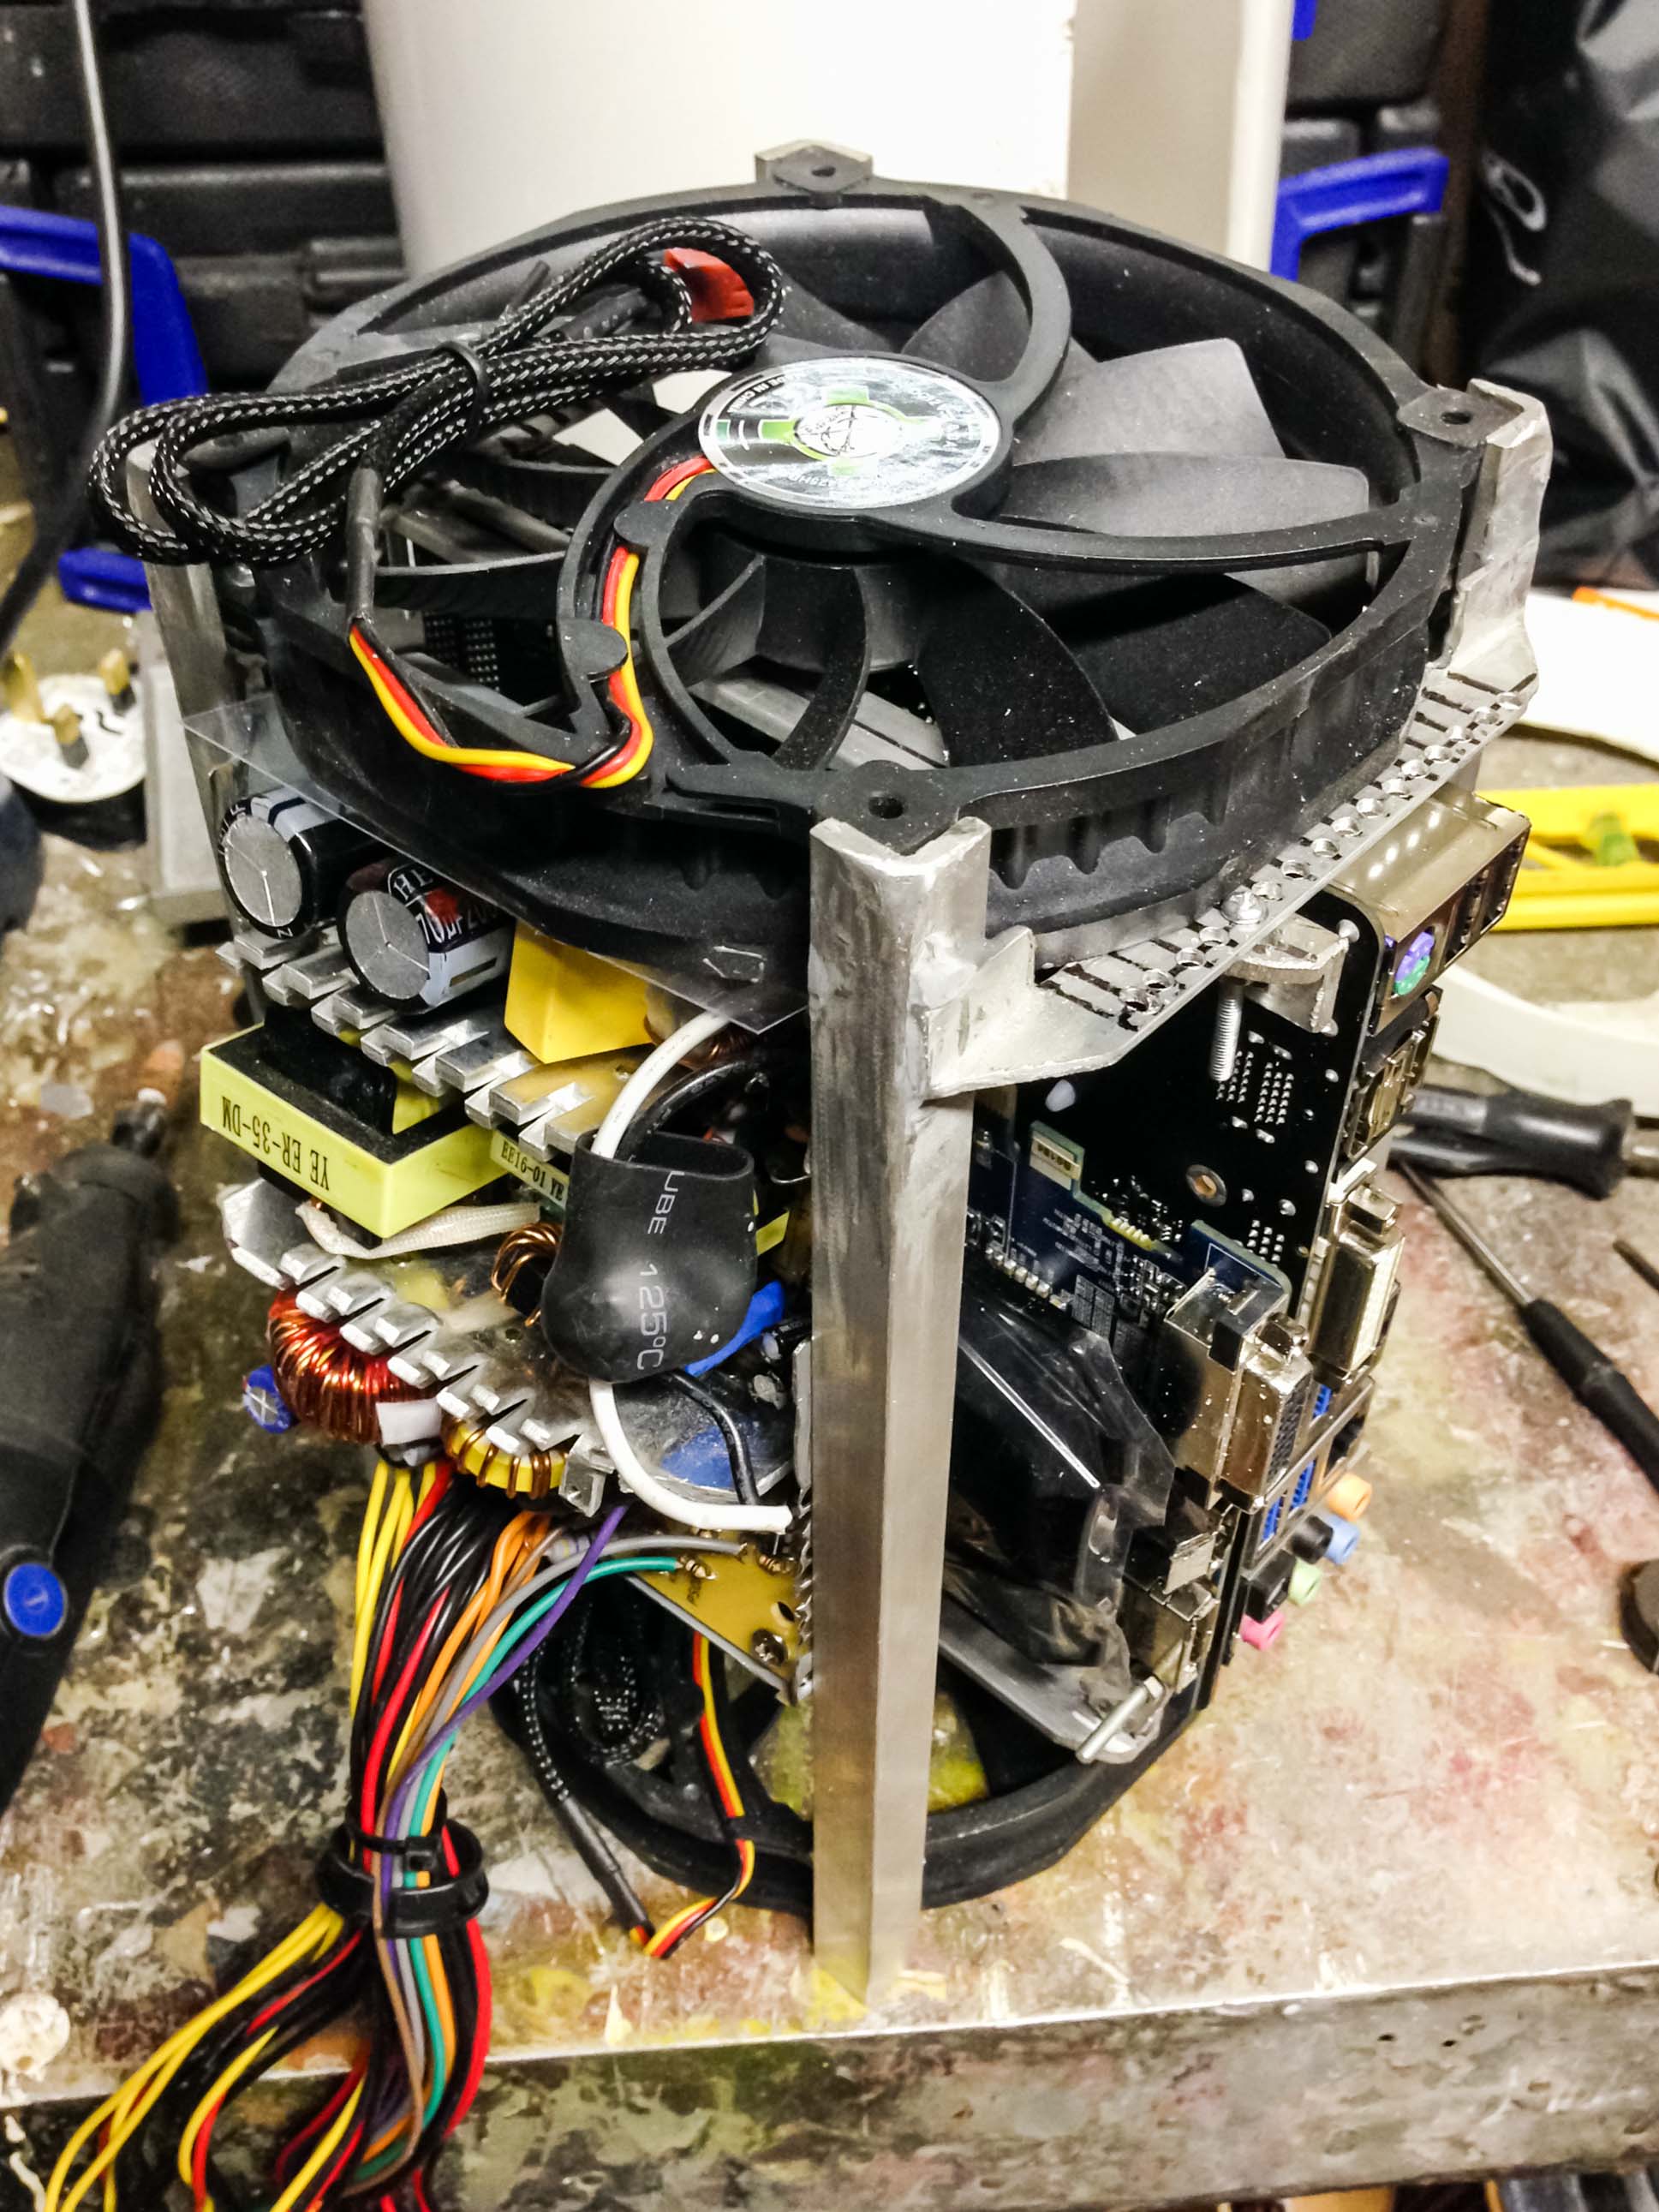
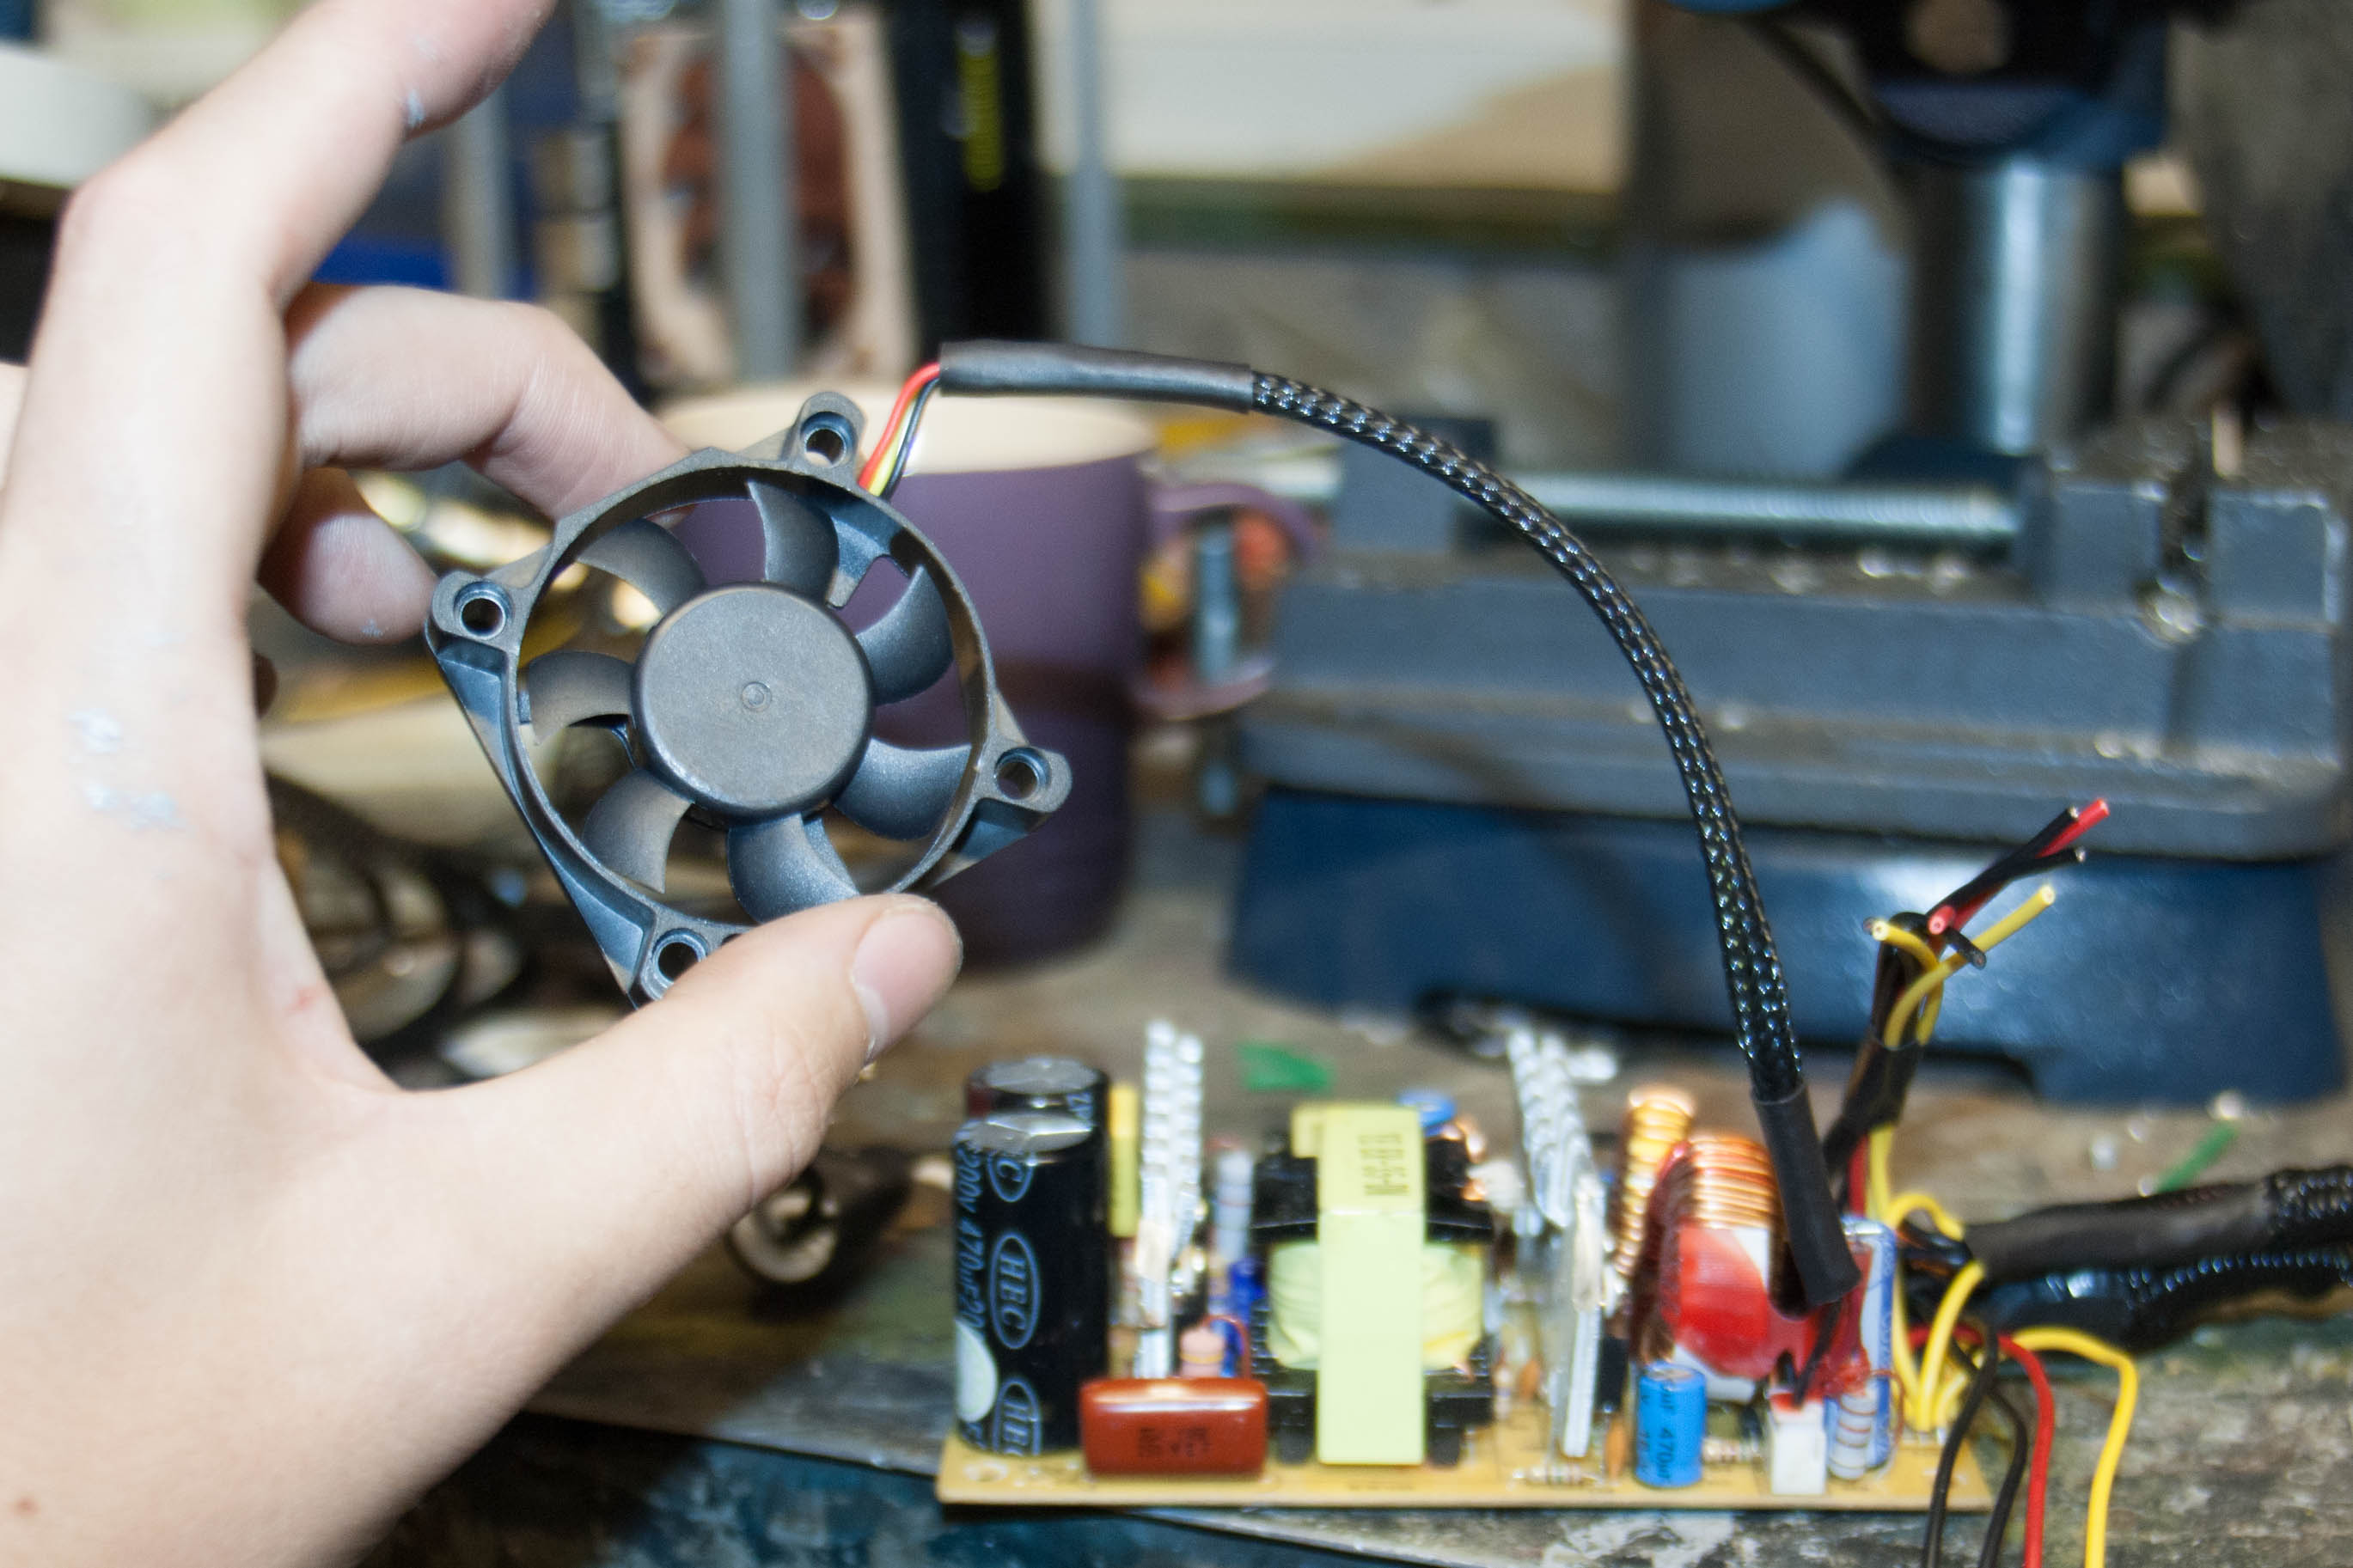
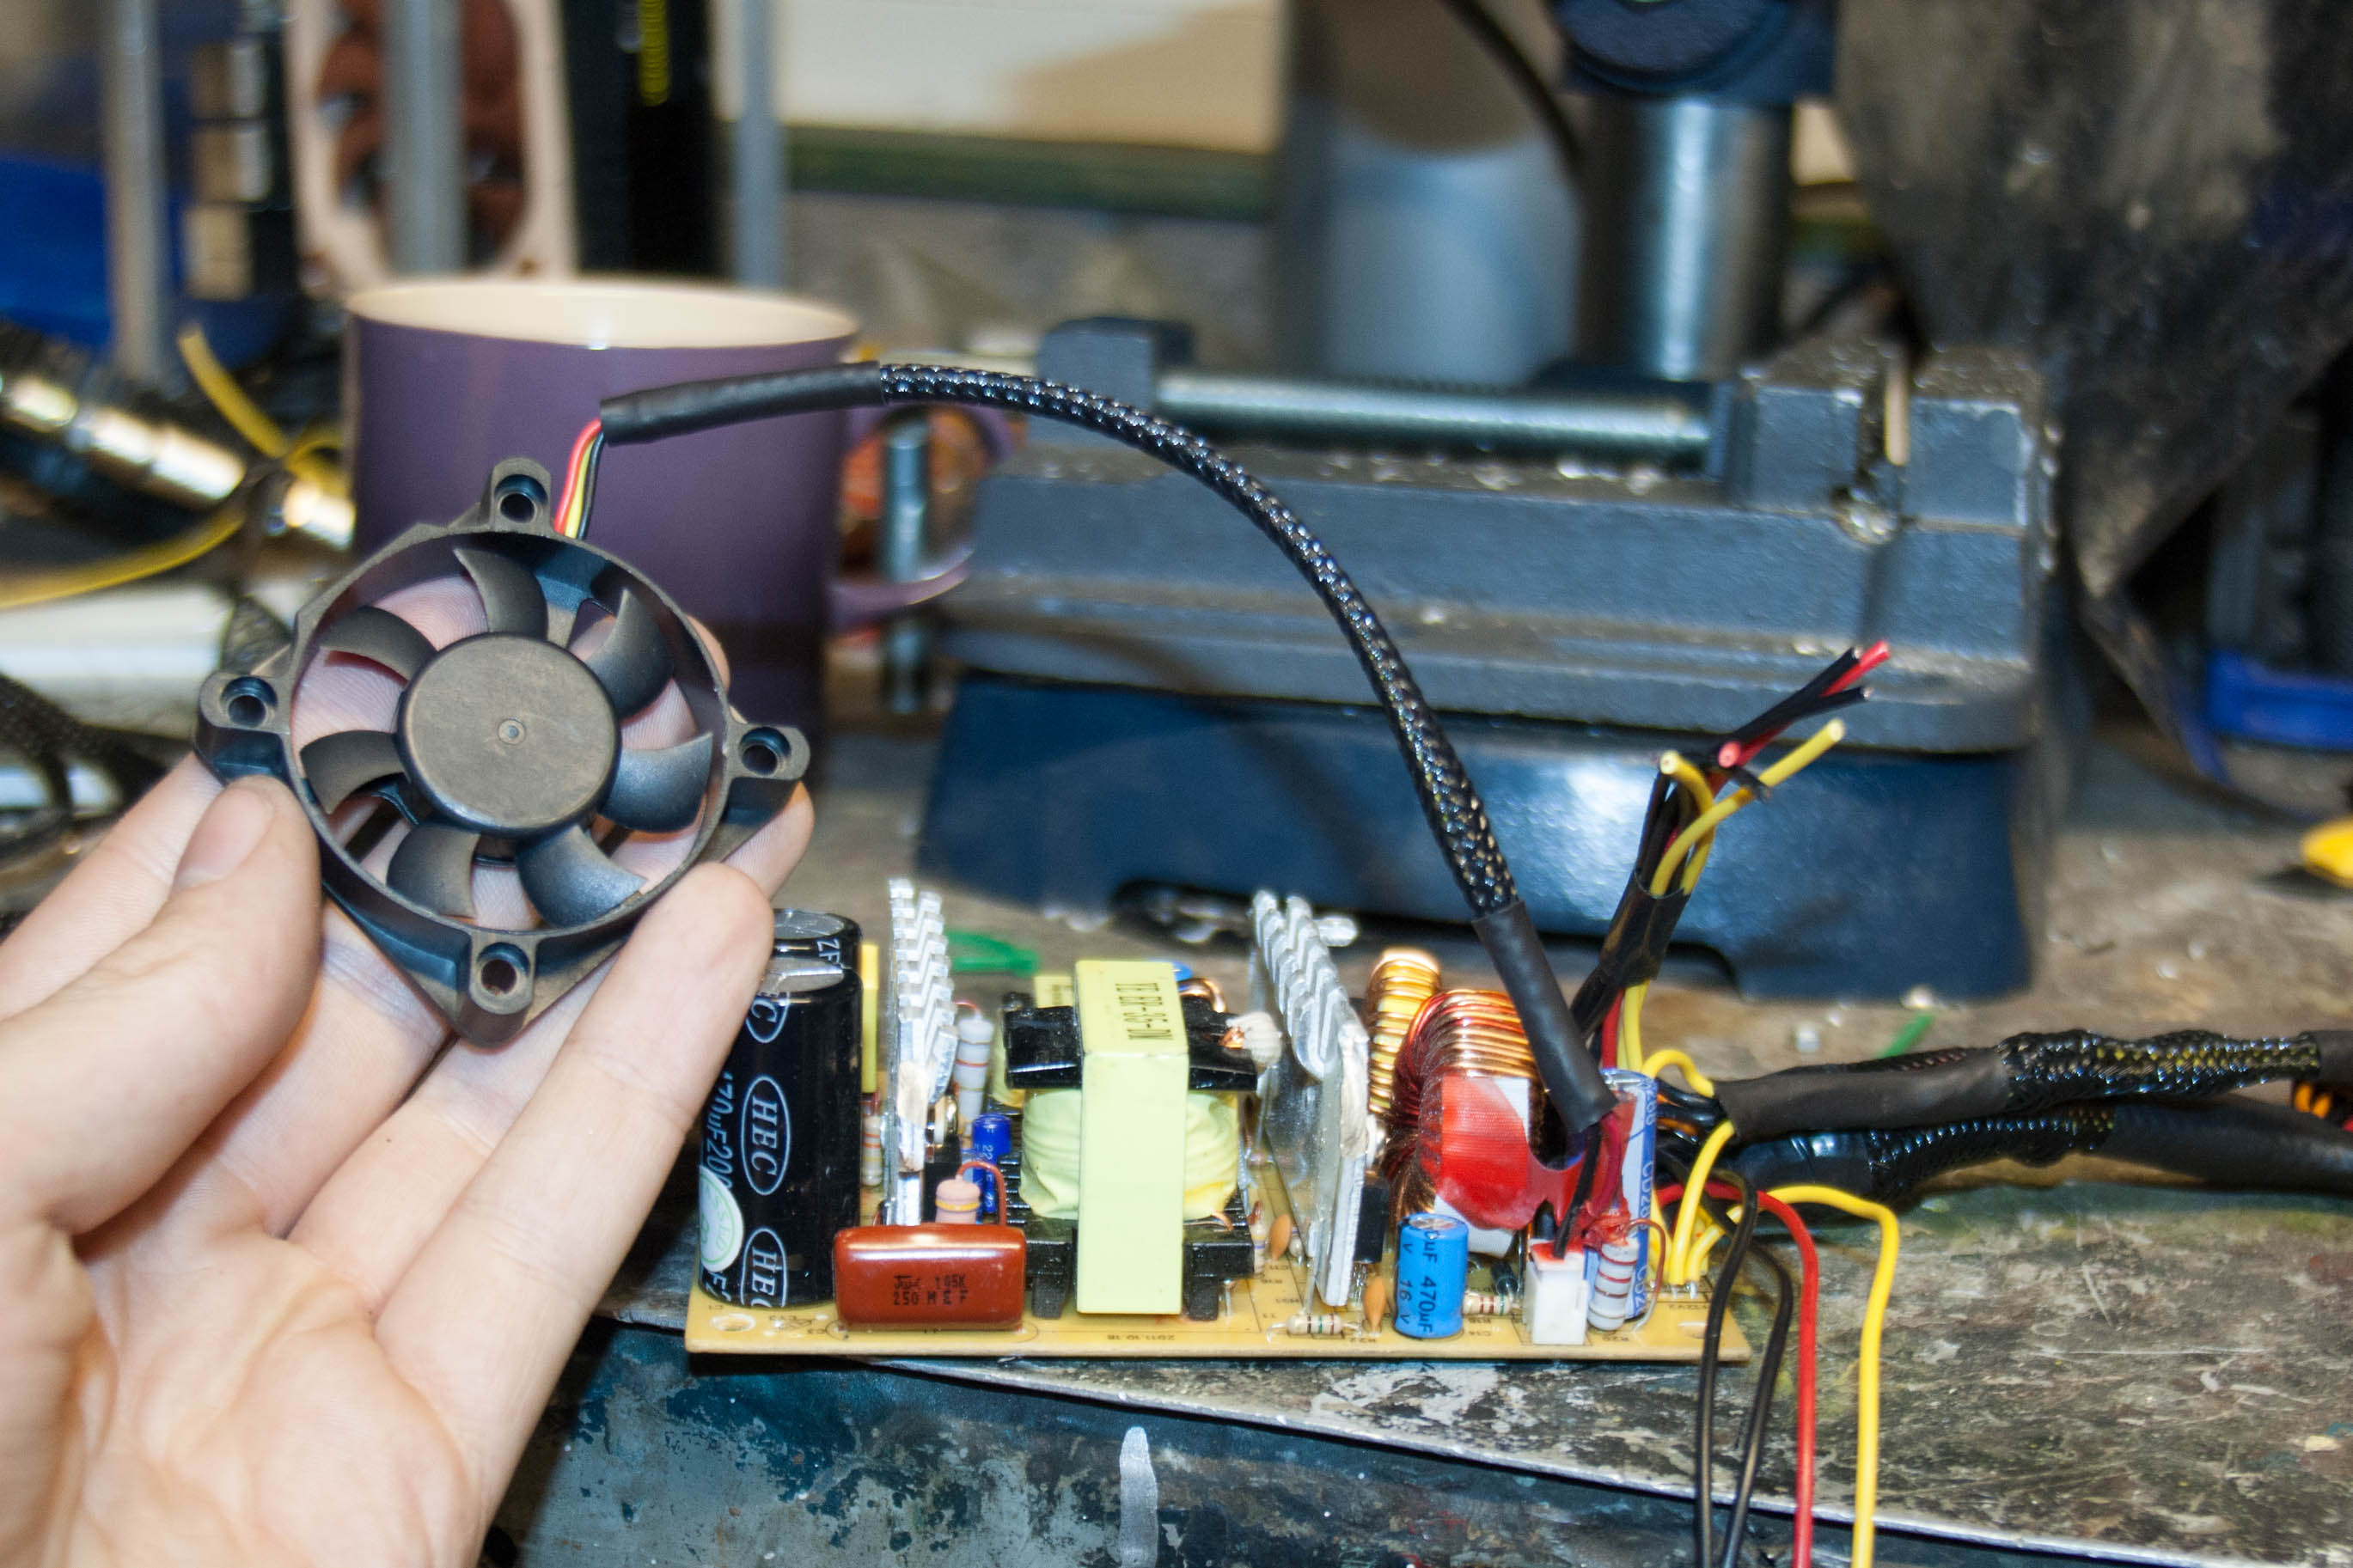
14cm fans, 1 for intake, 1 for outtake.
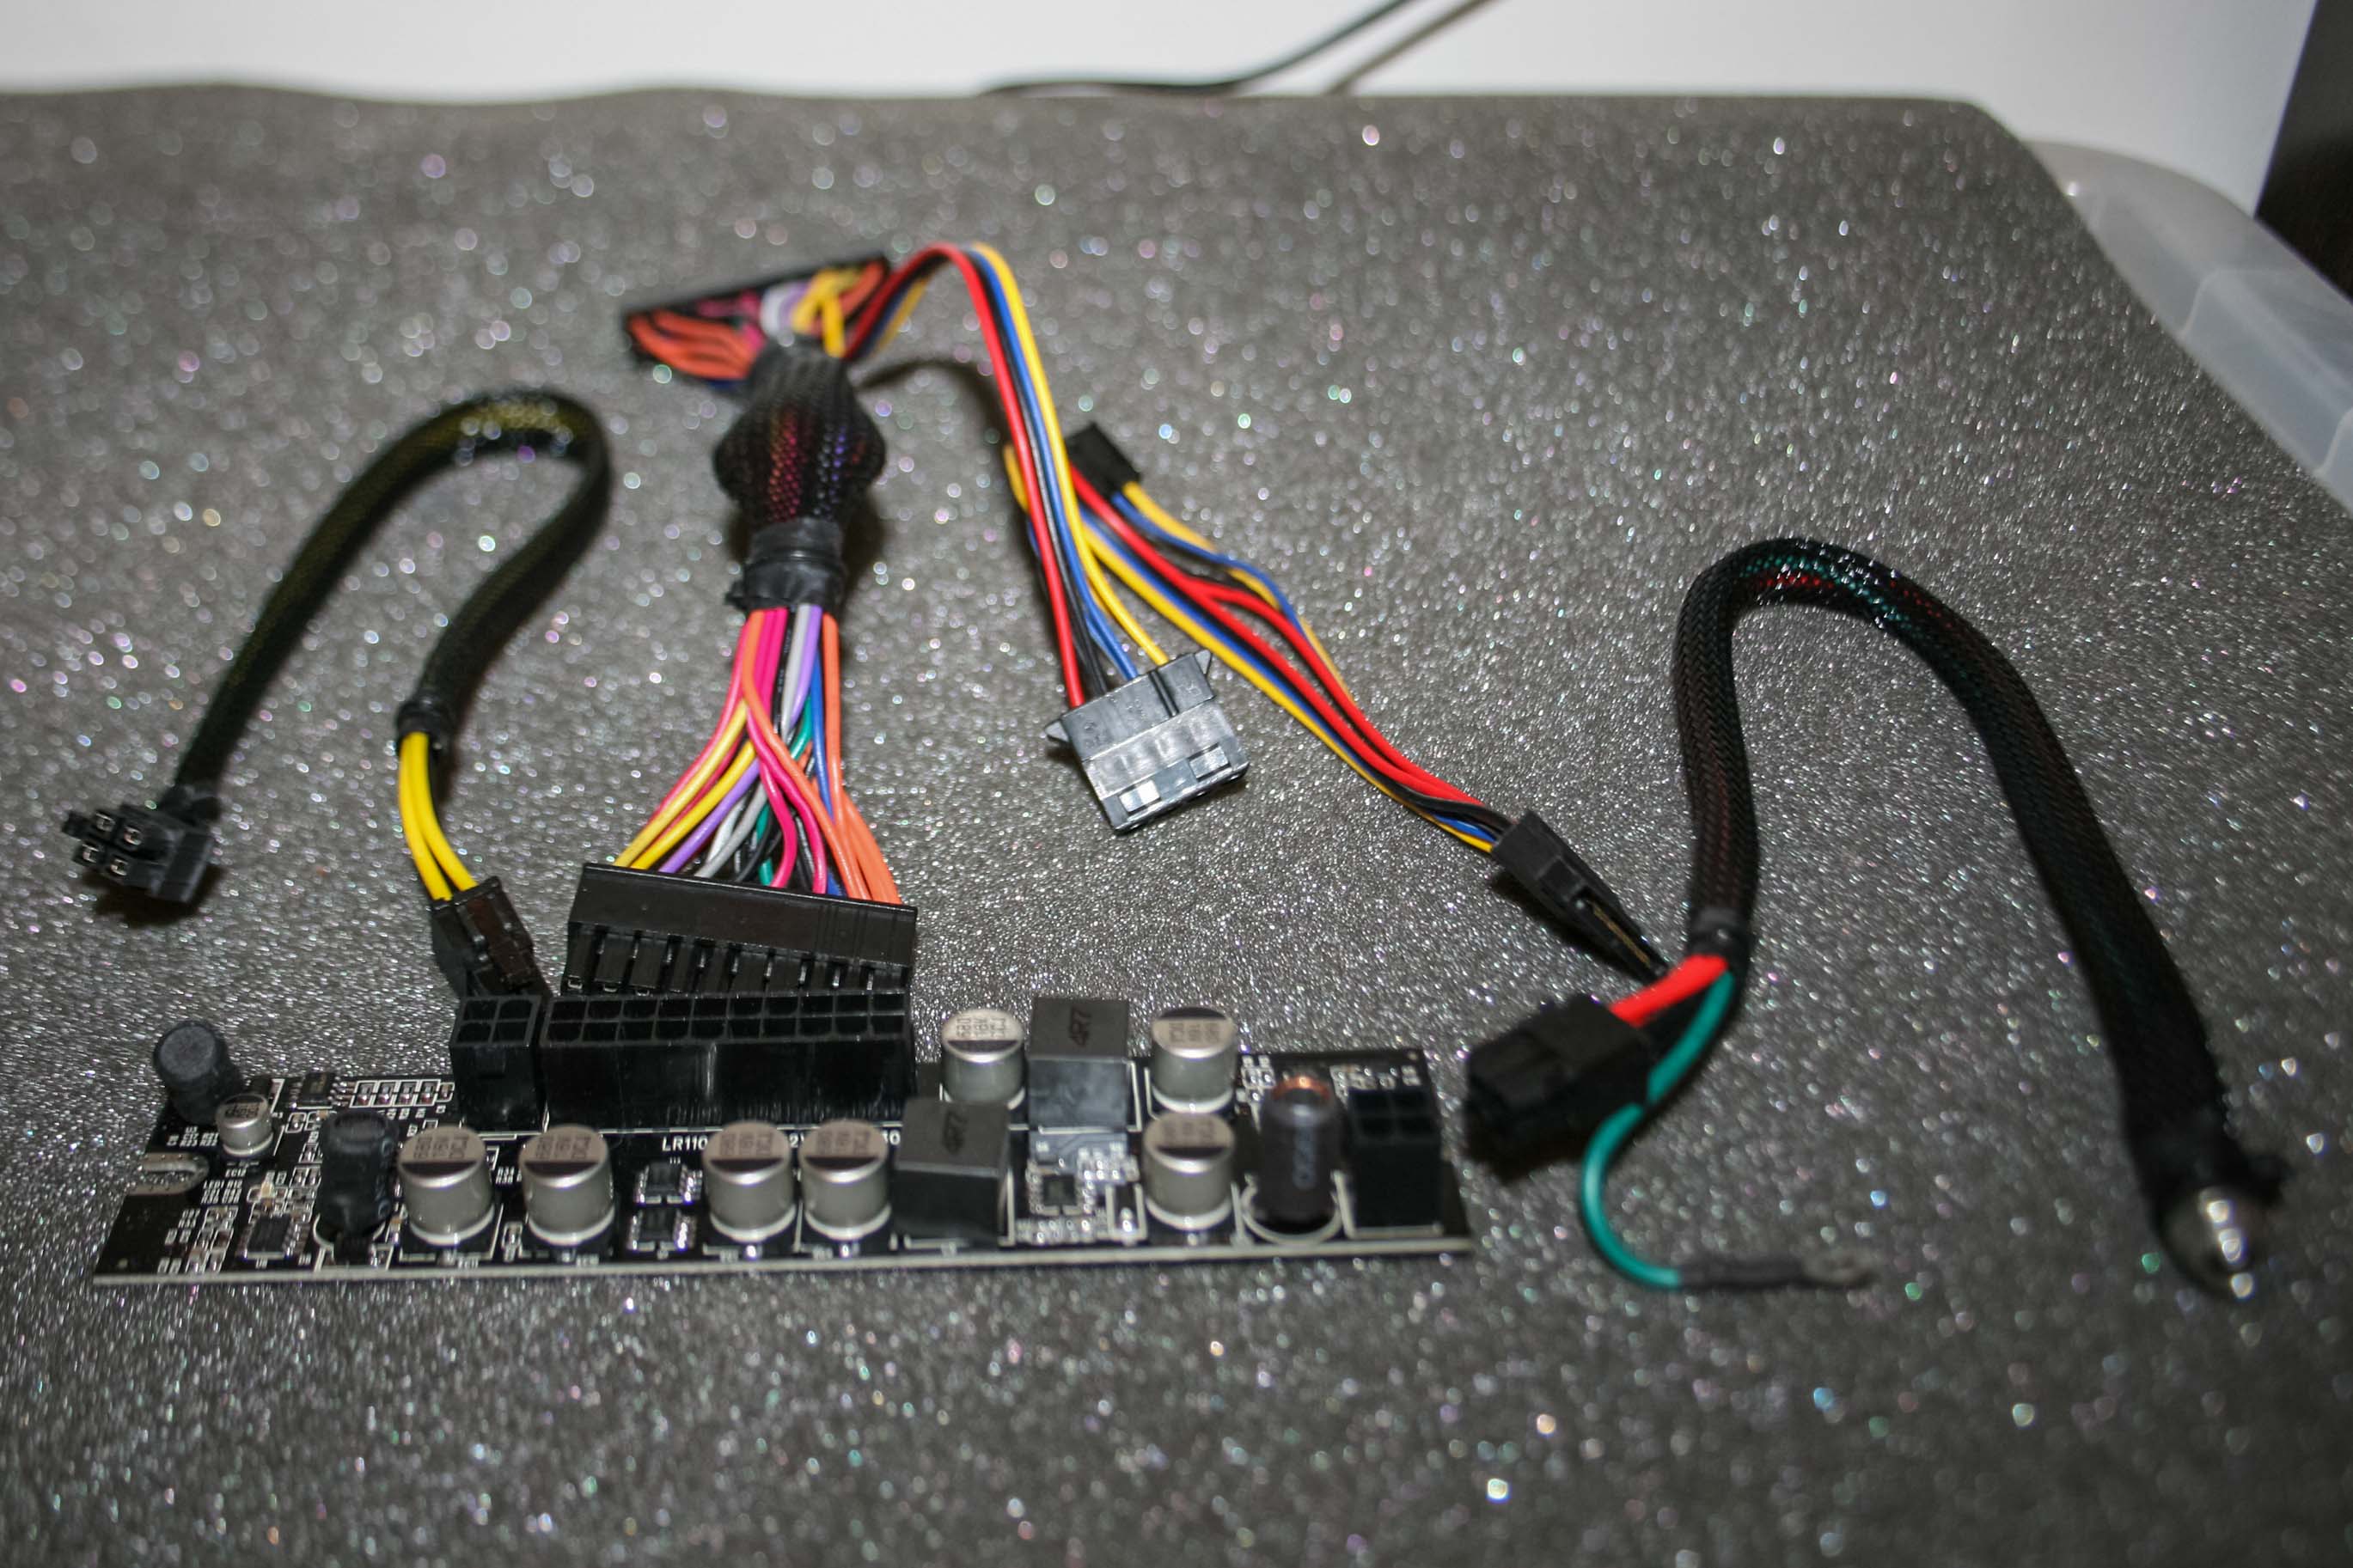
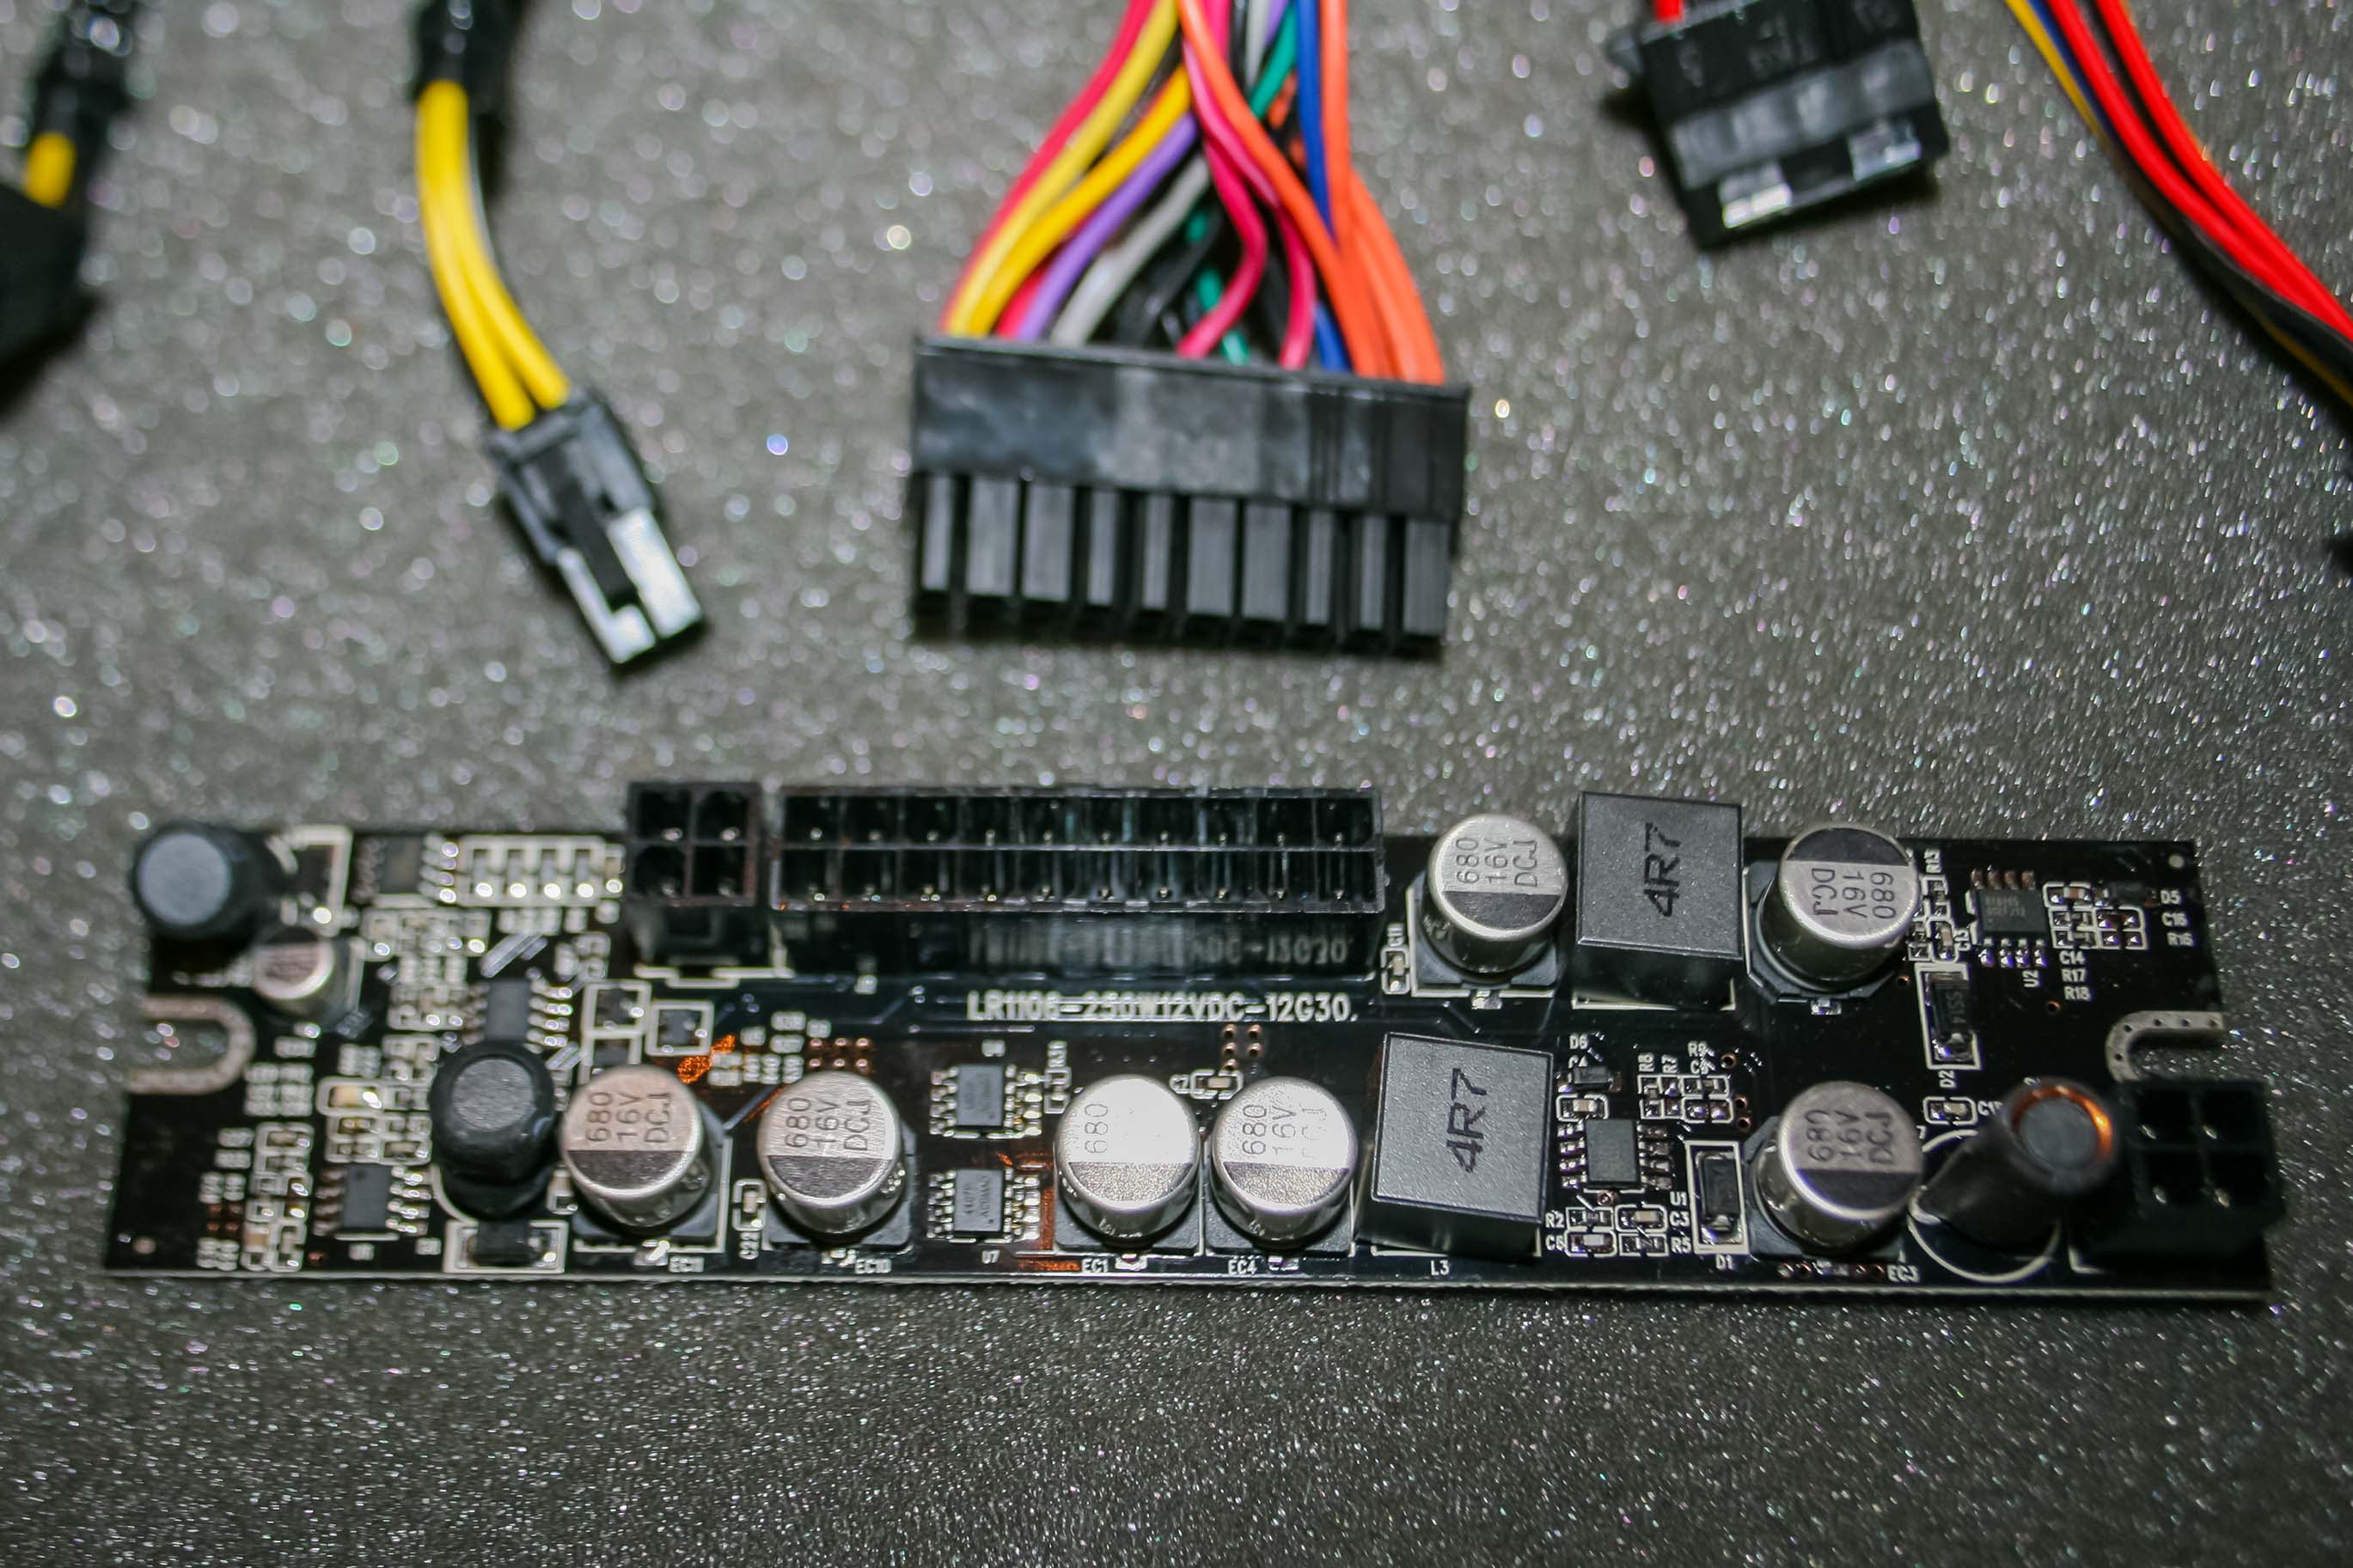
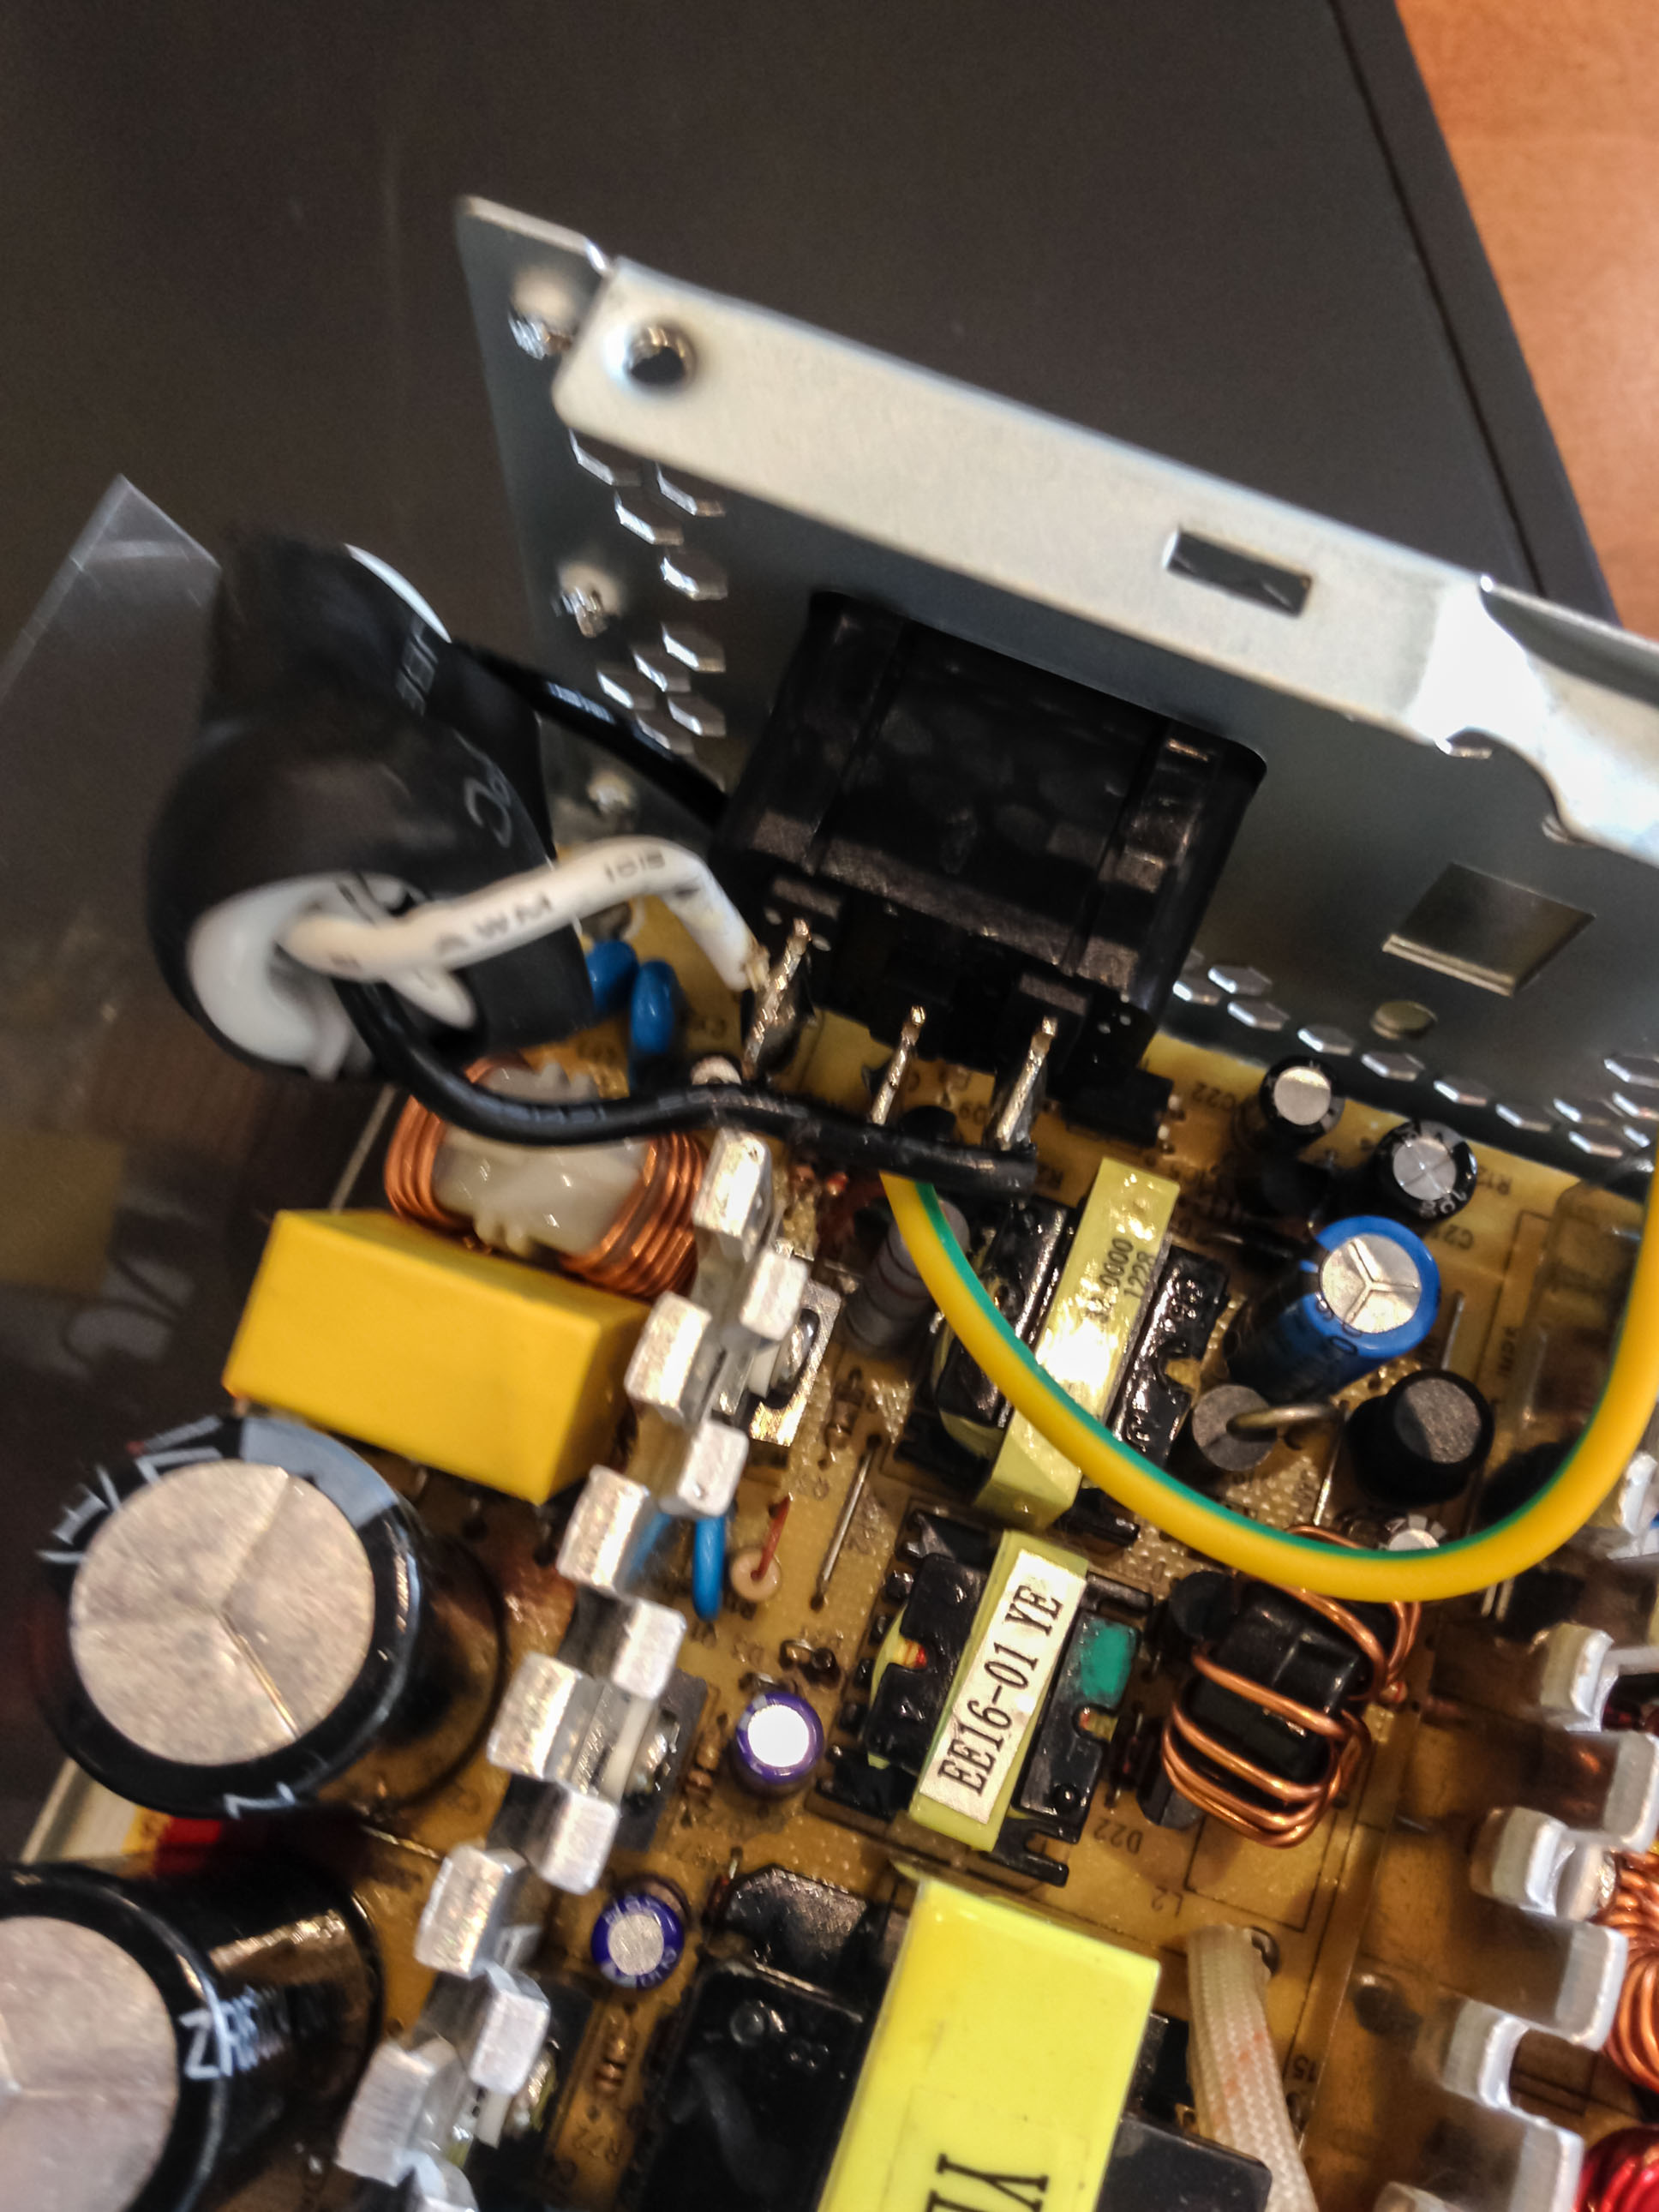
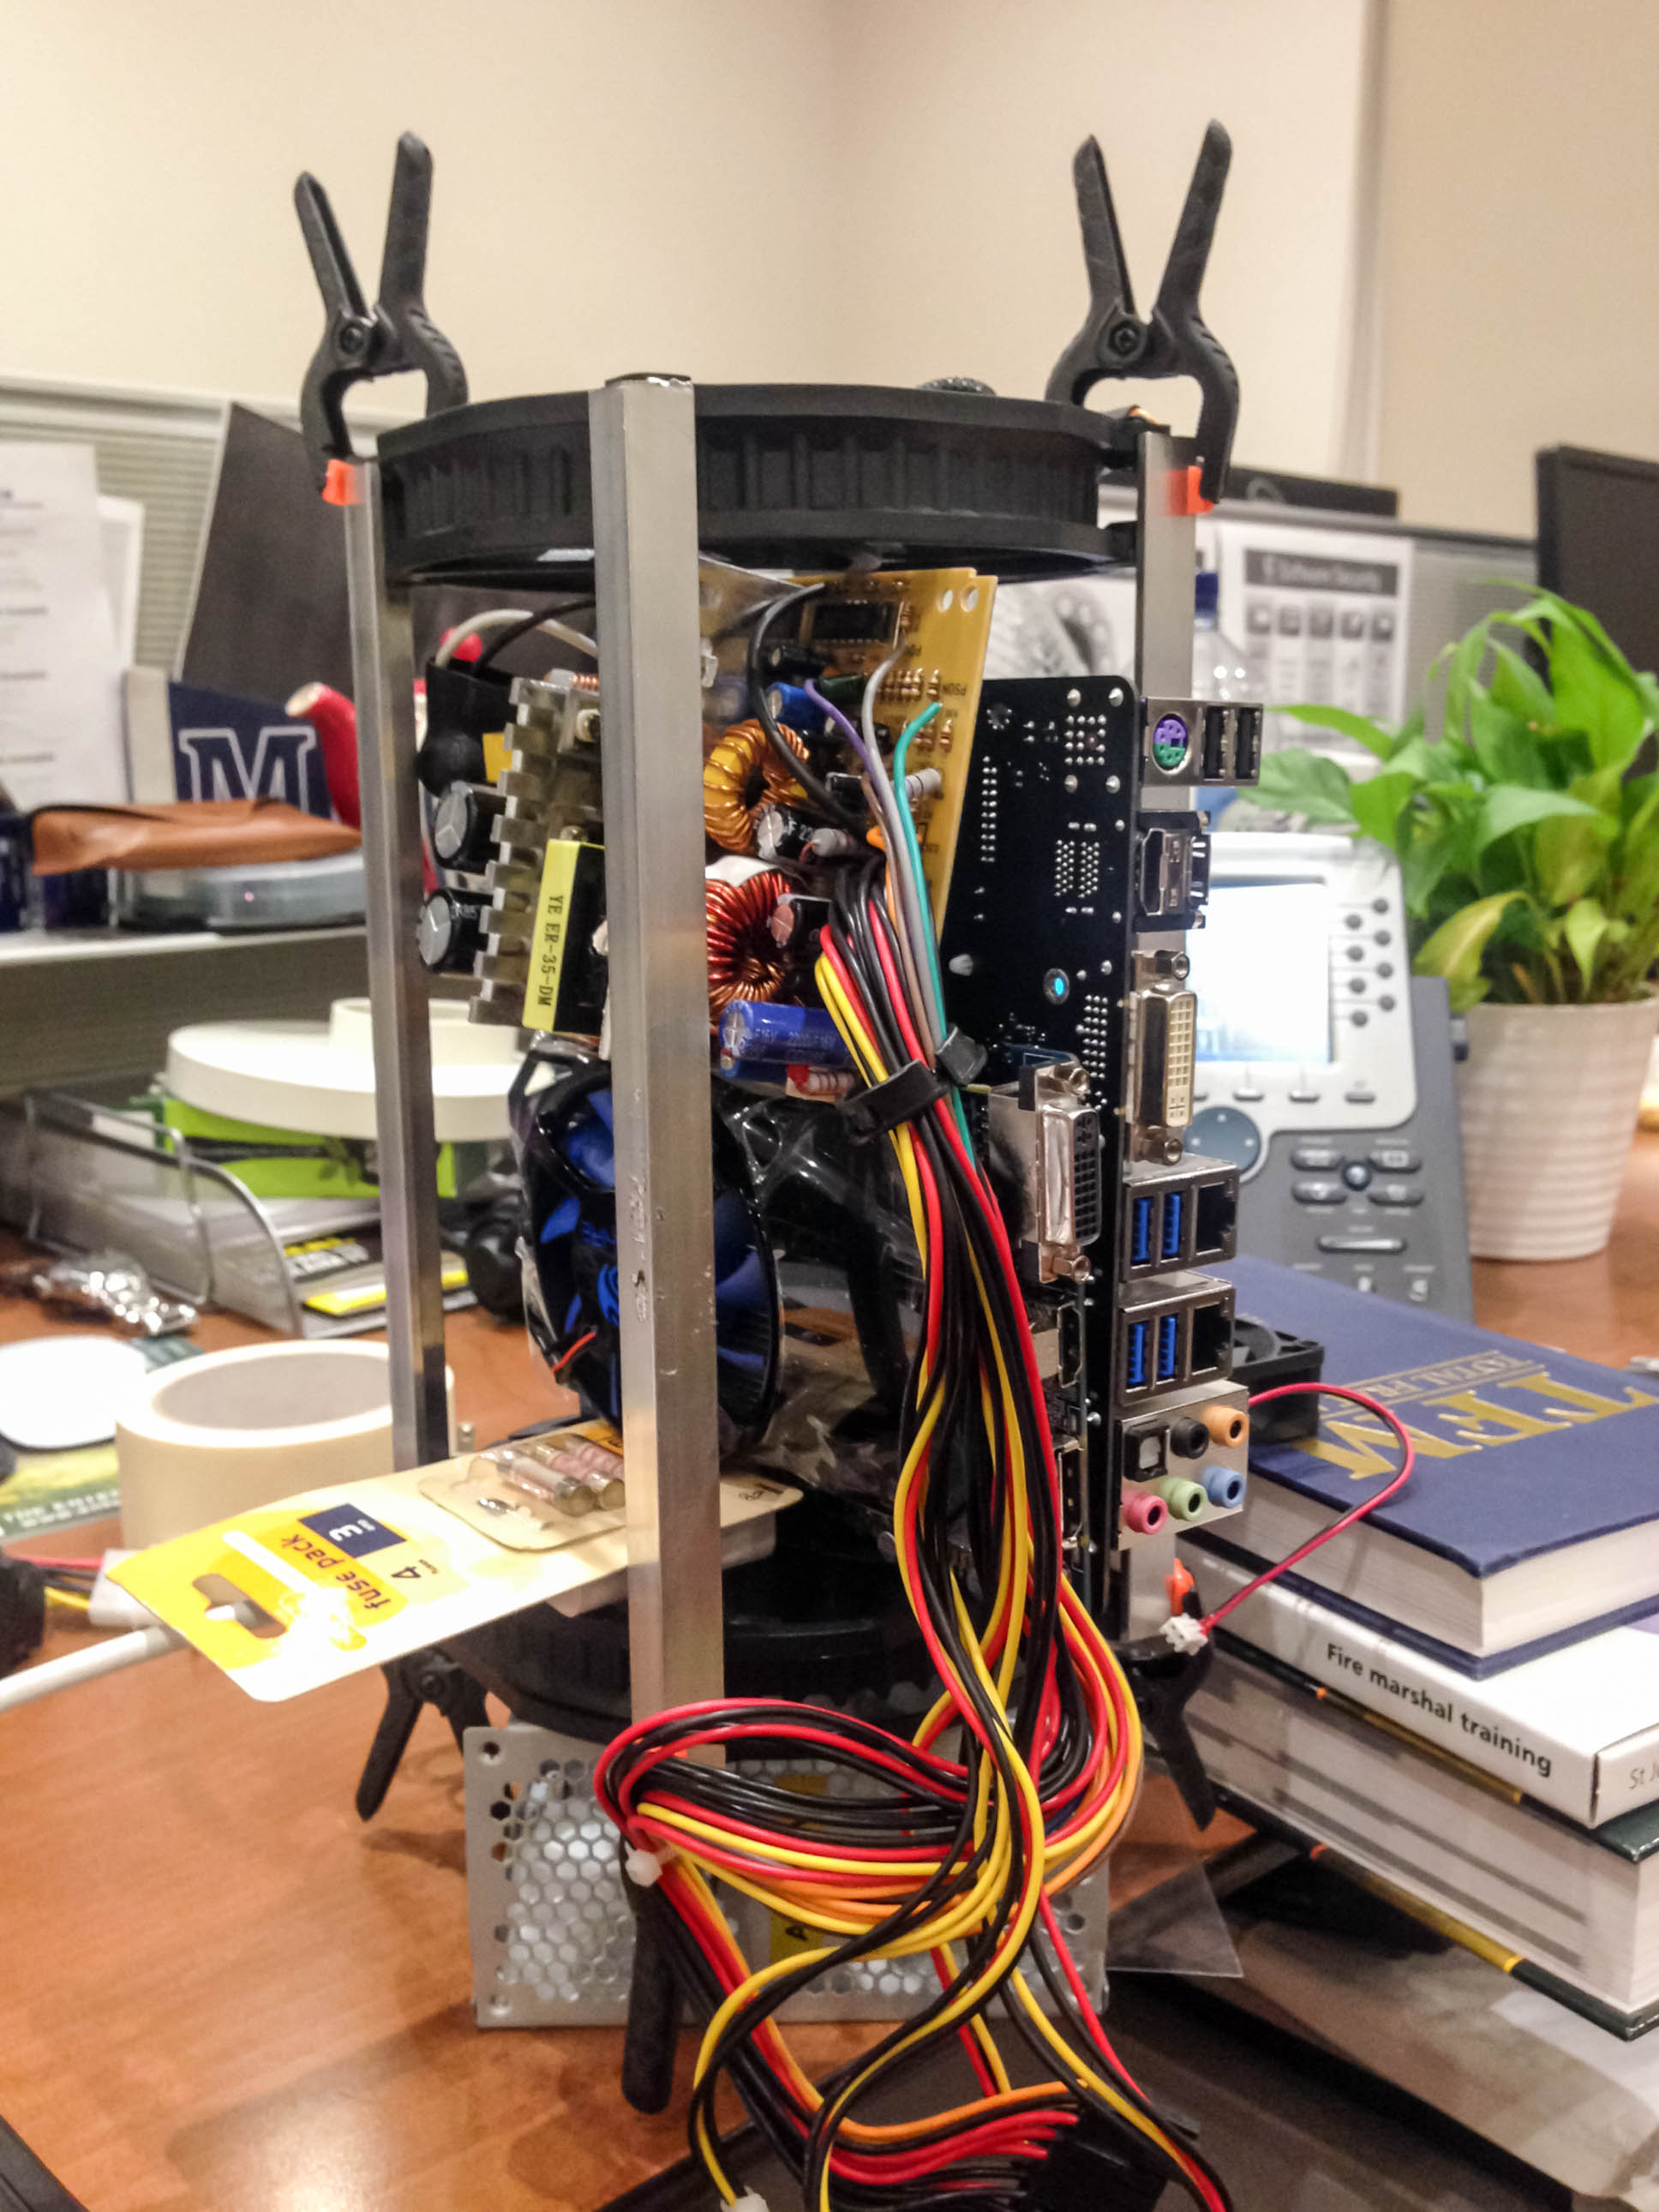
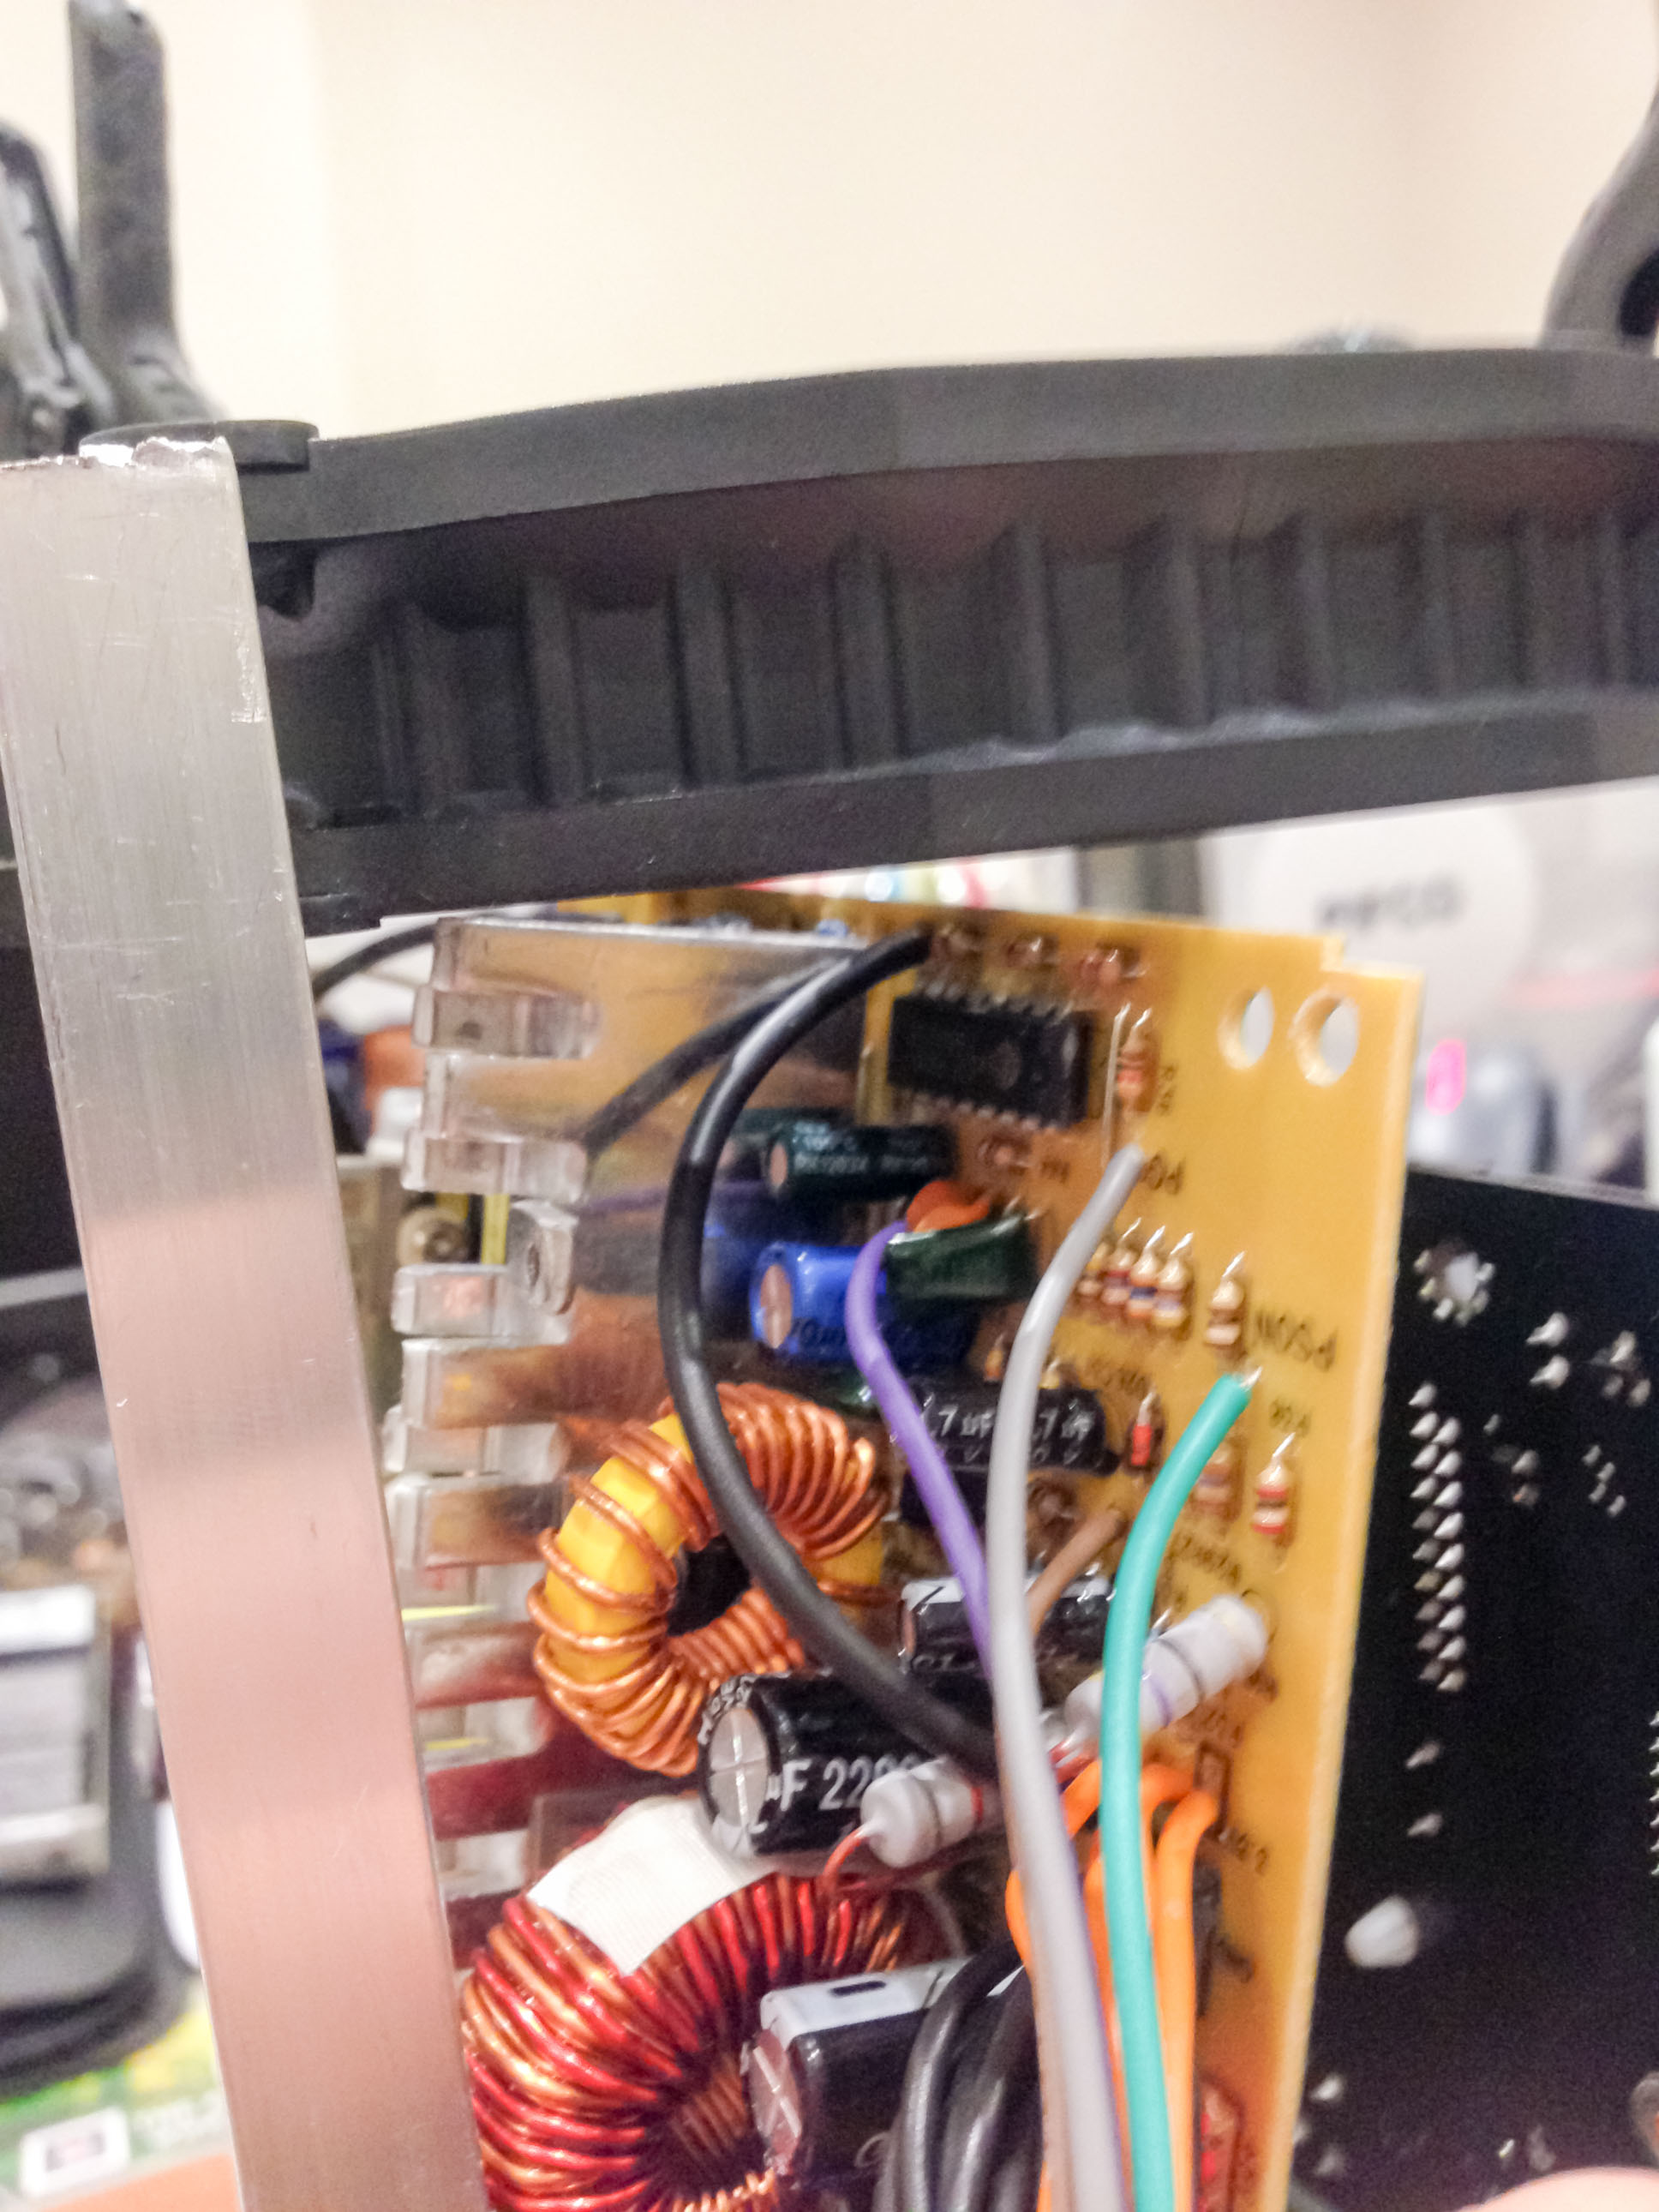
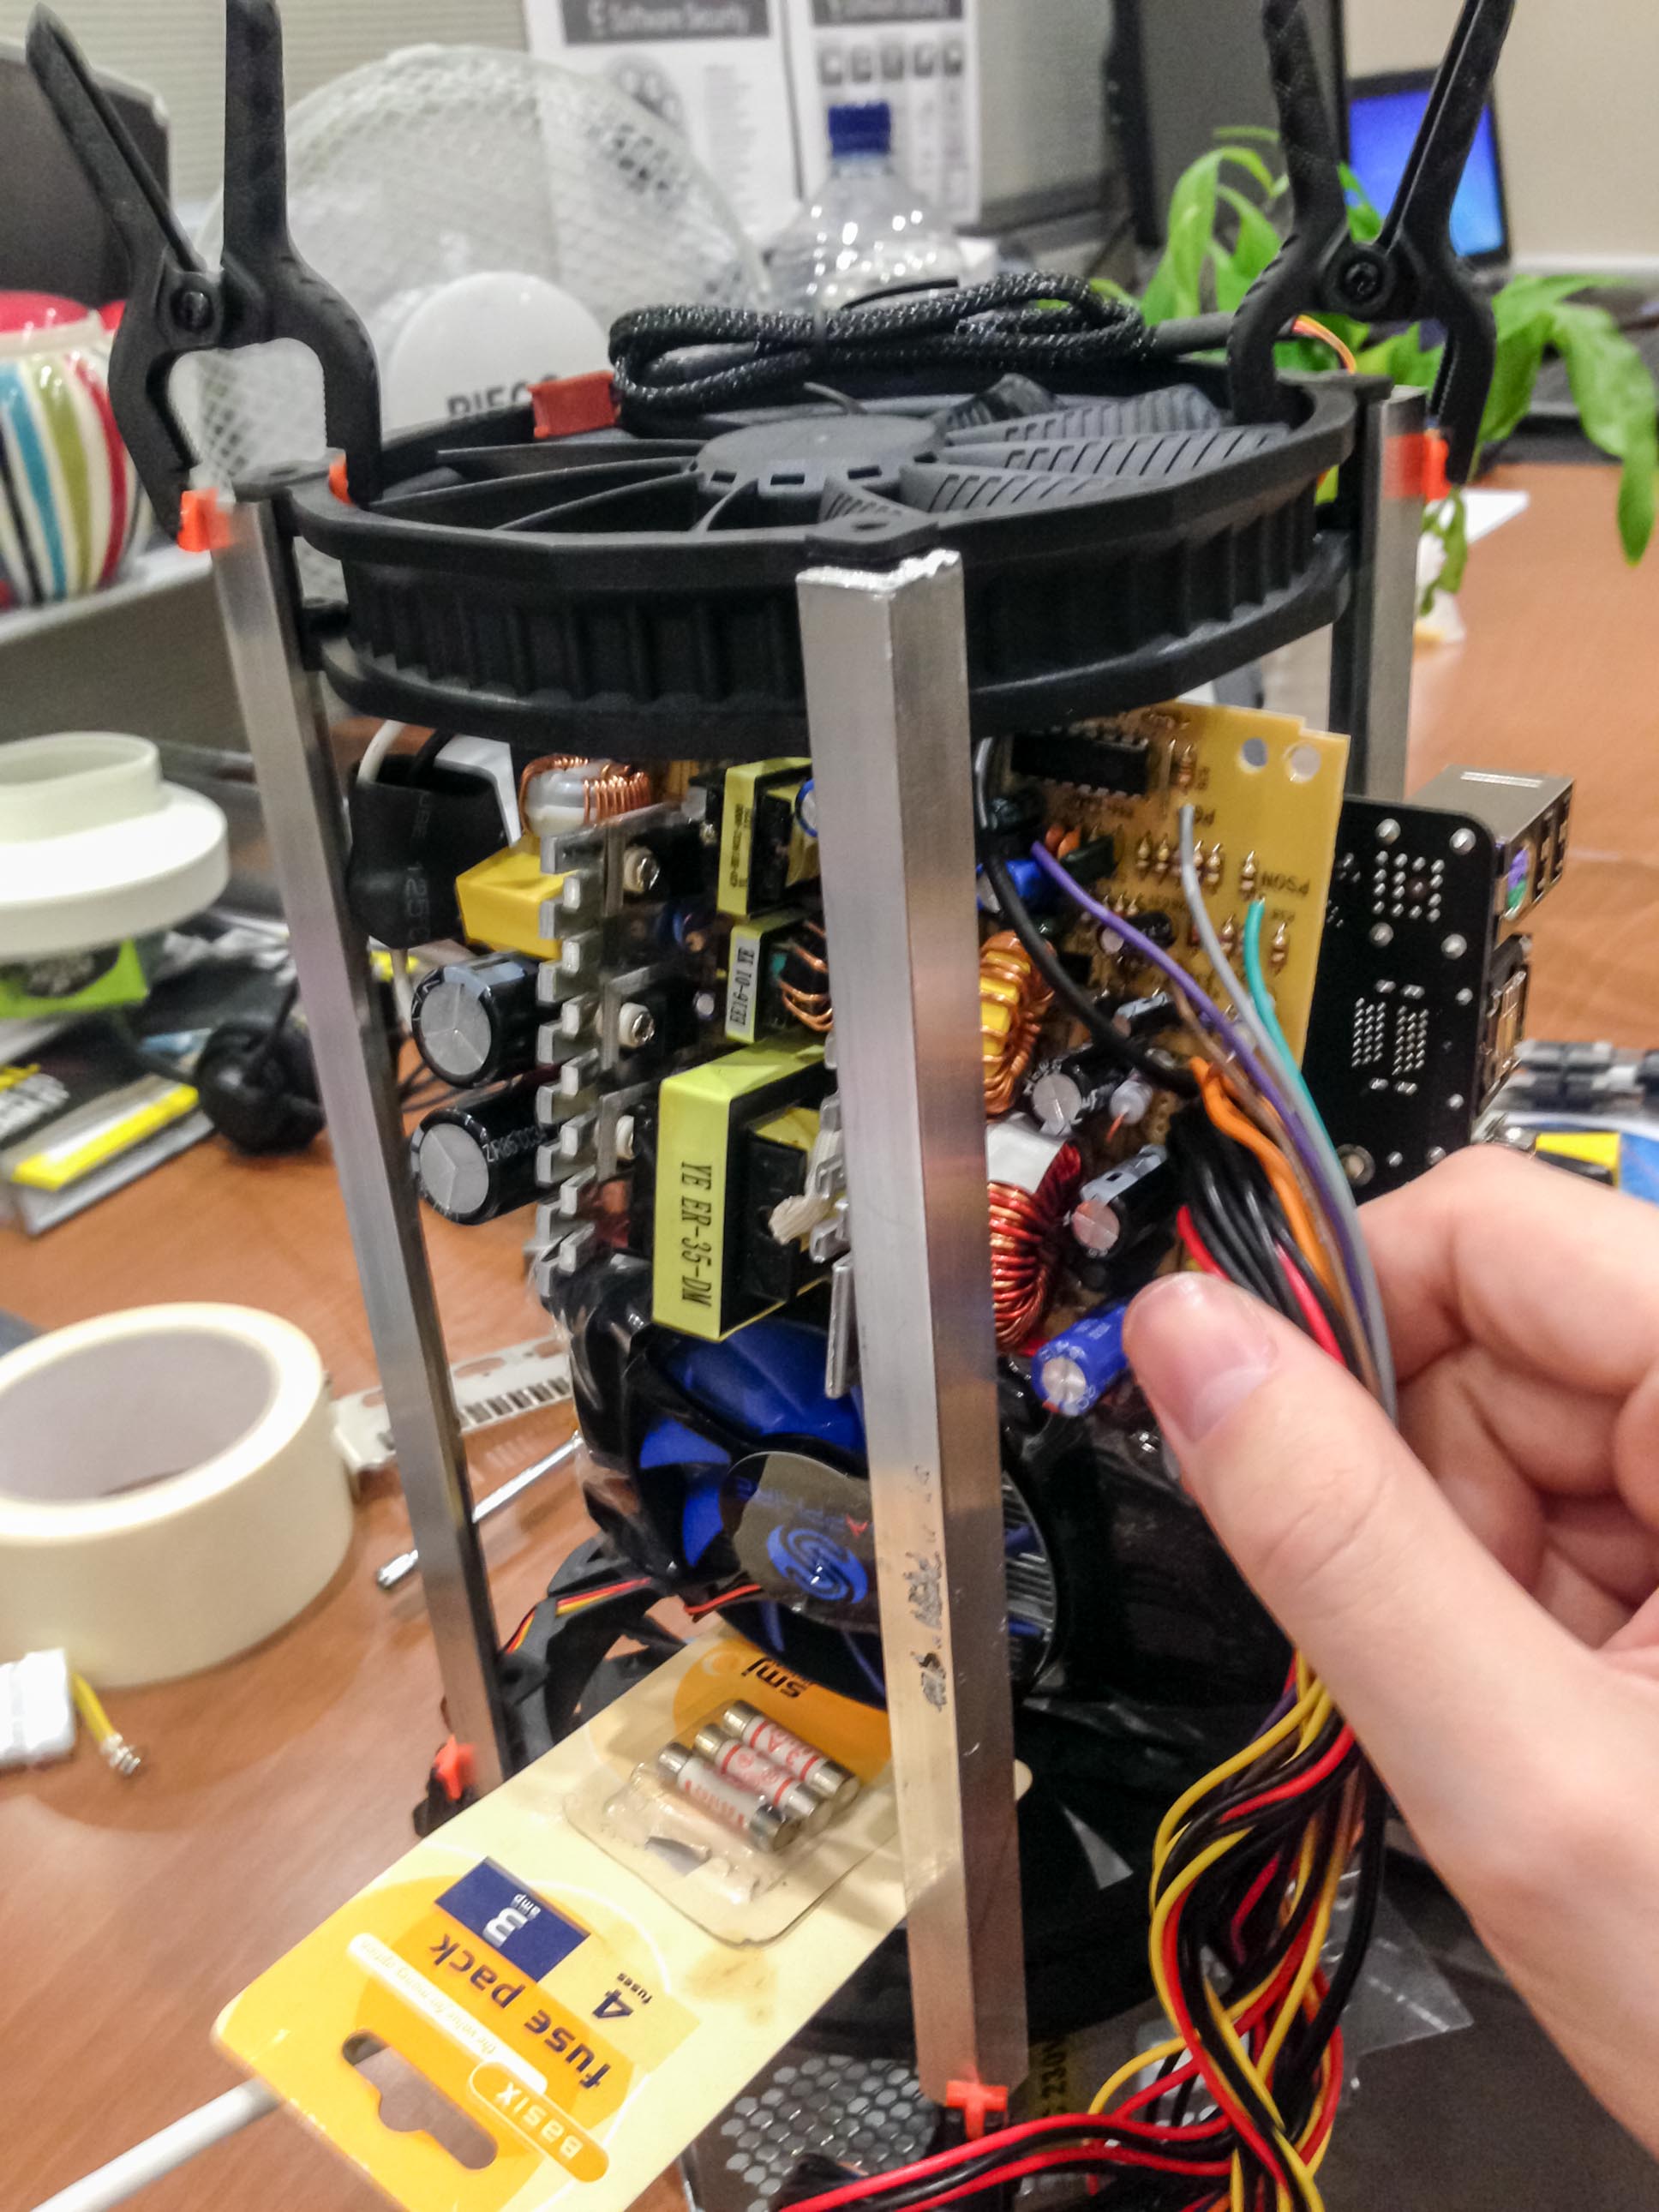
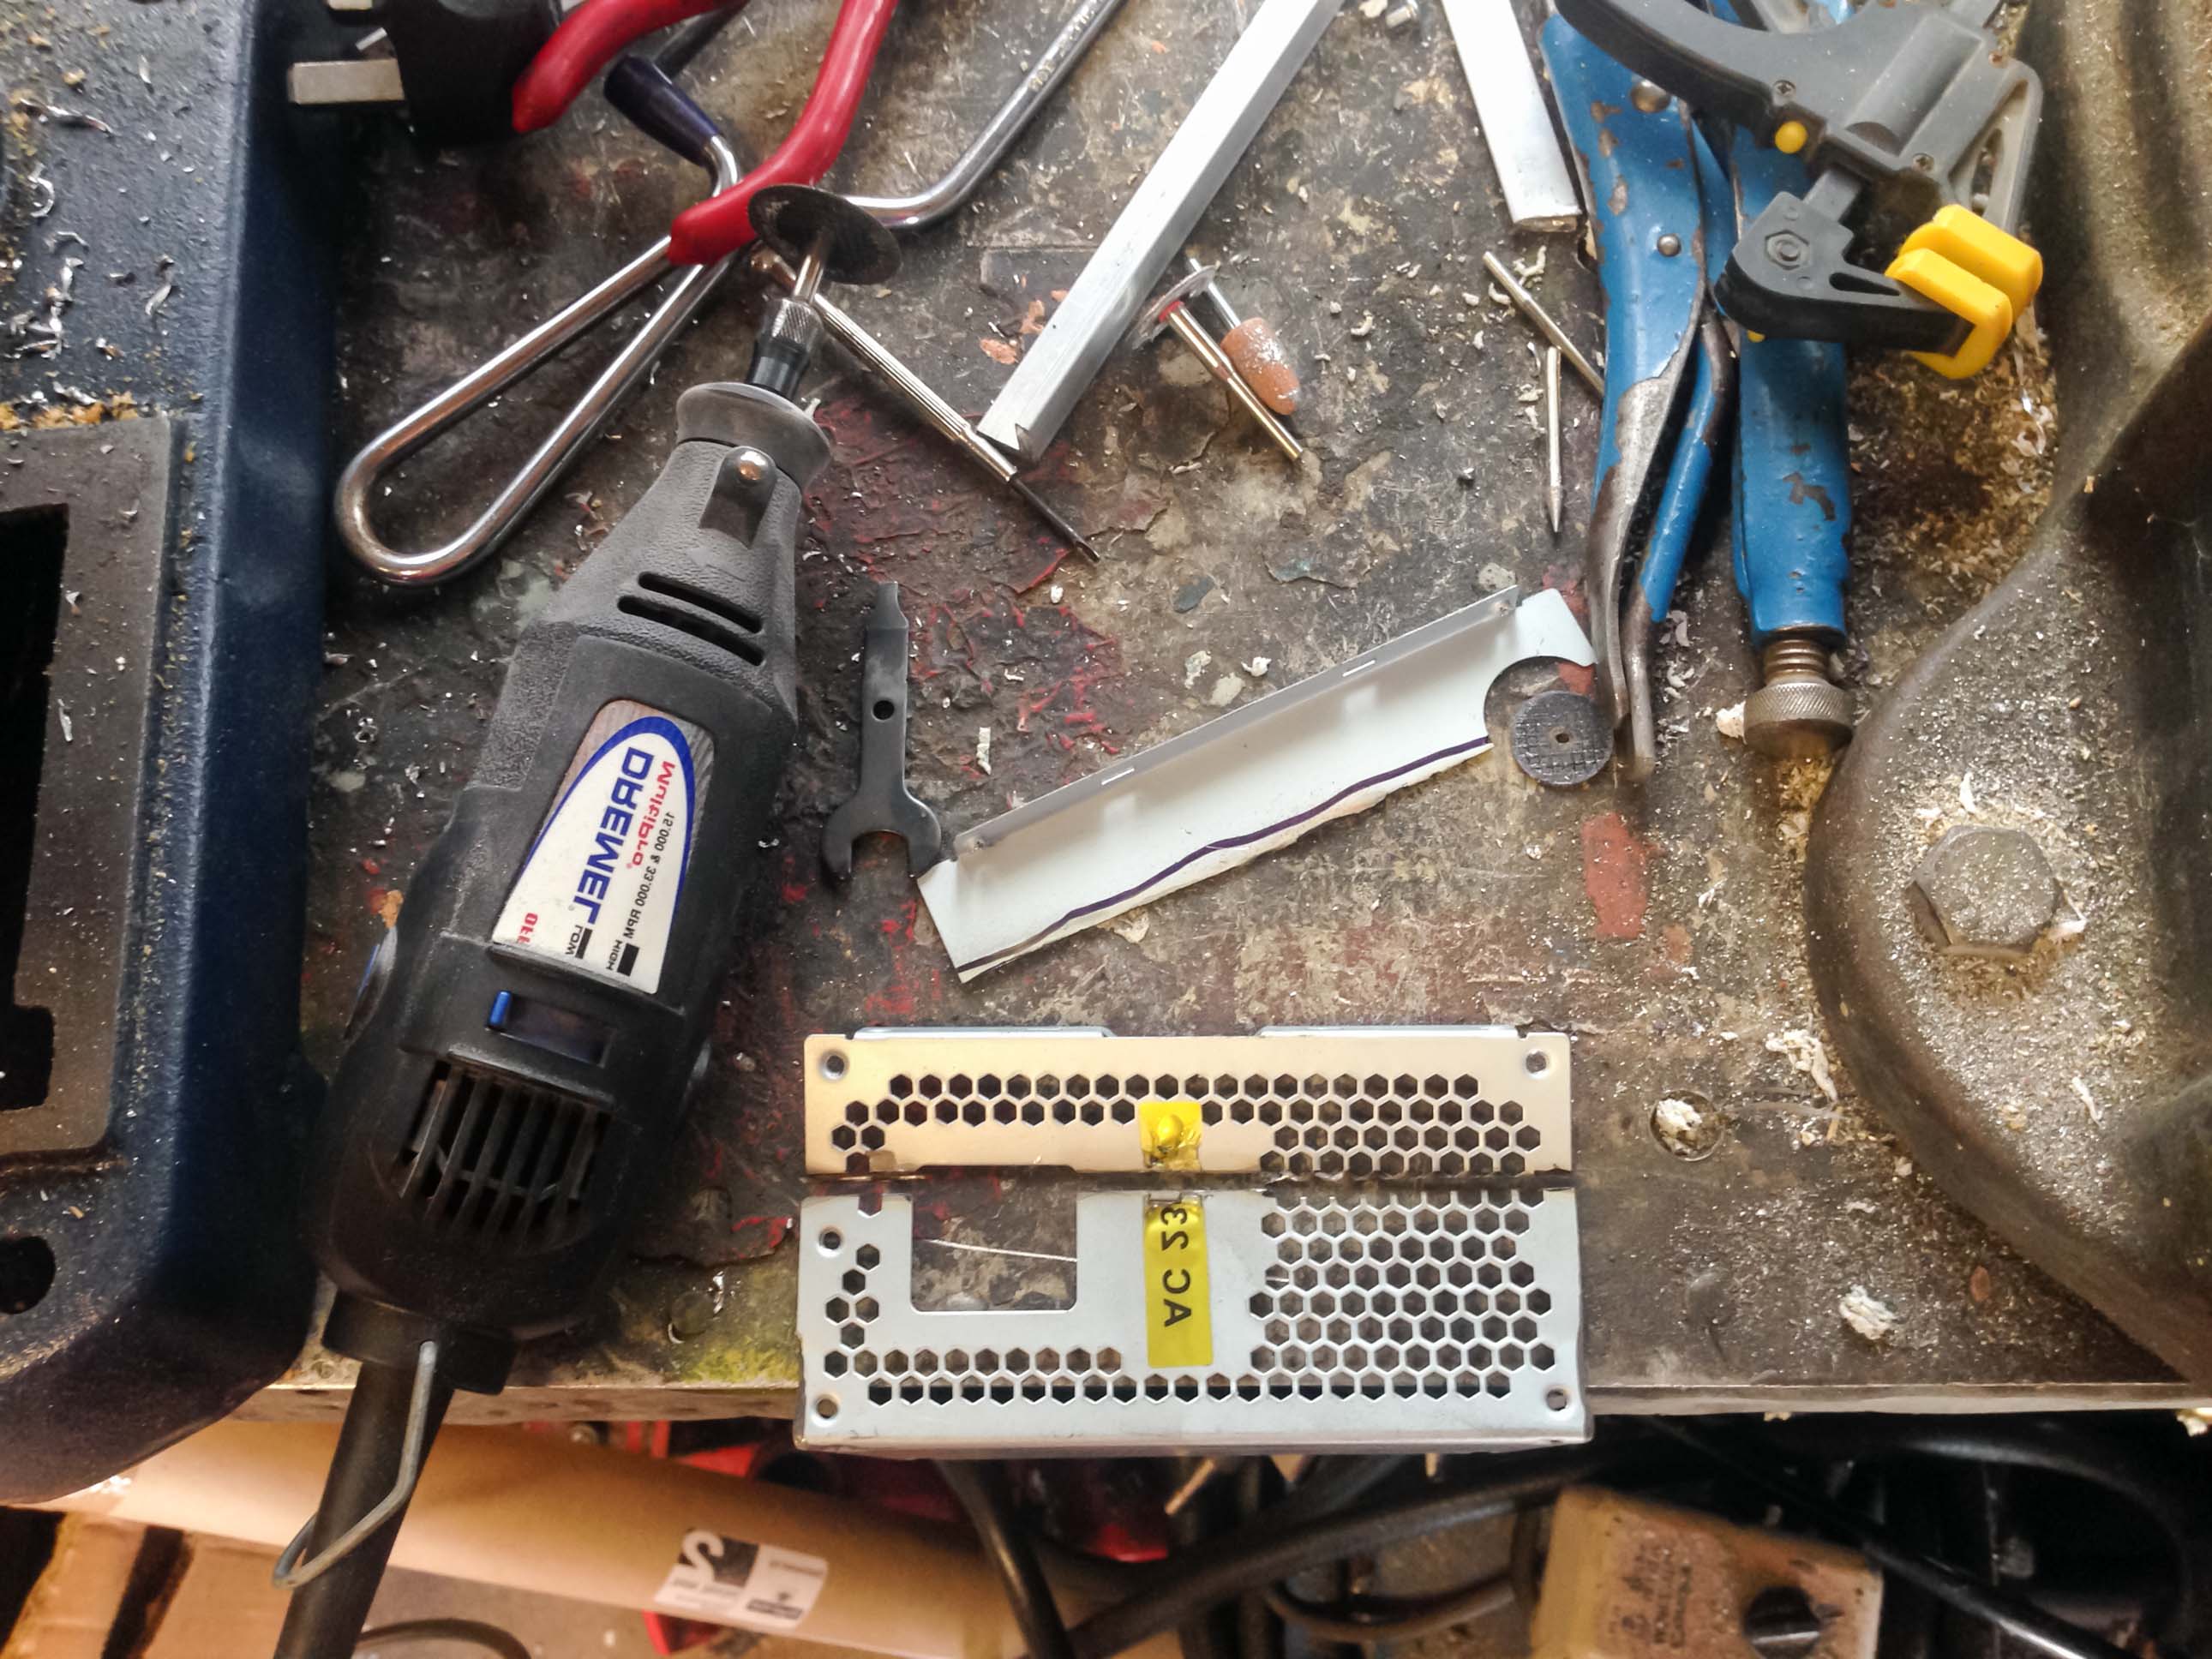
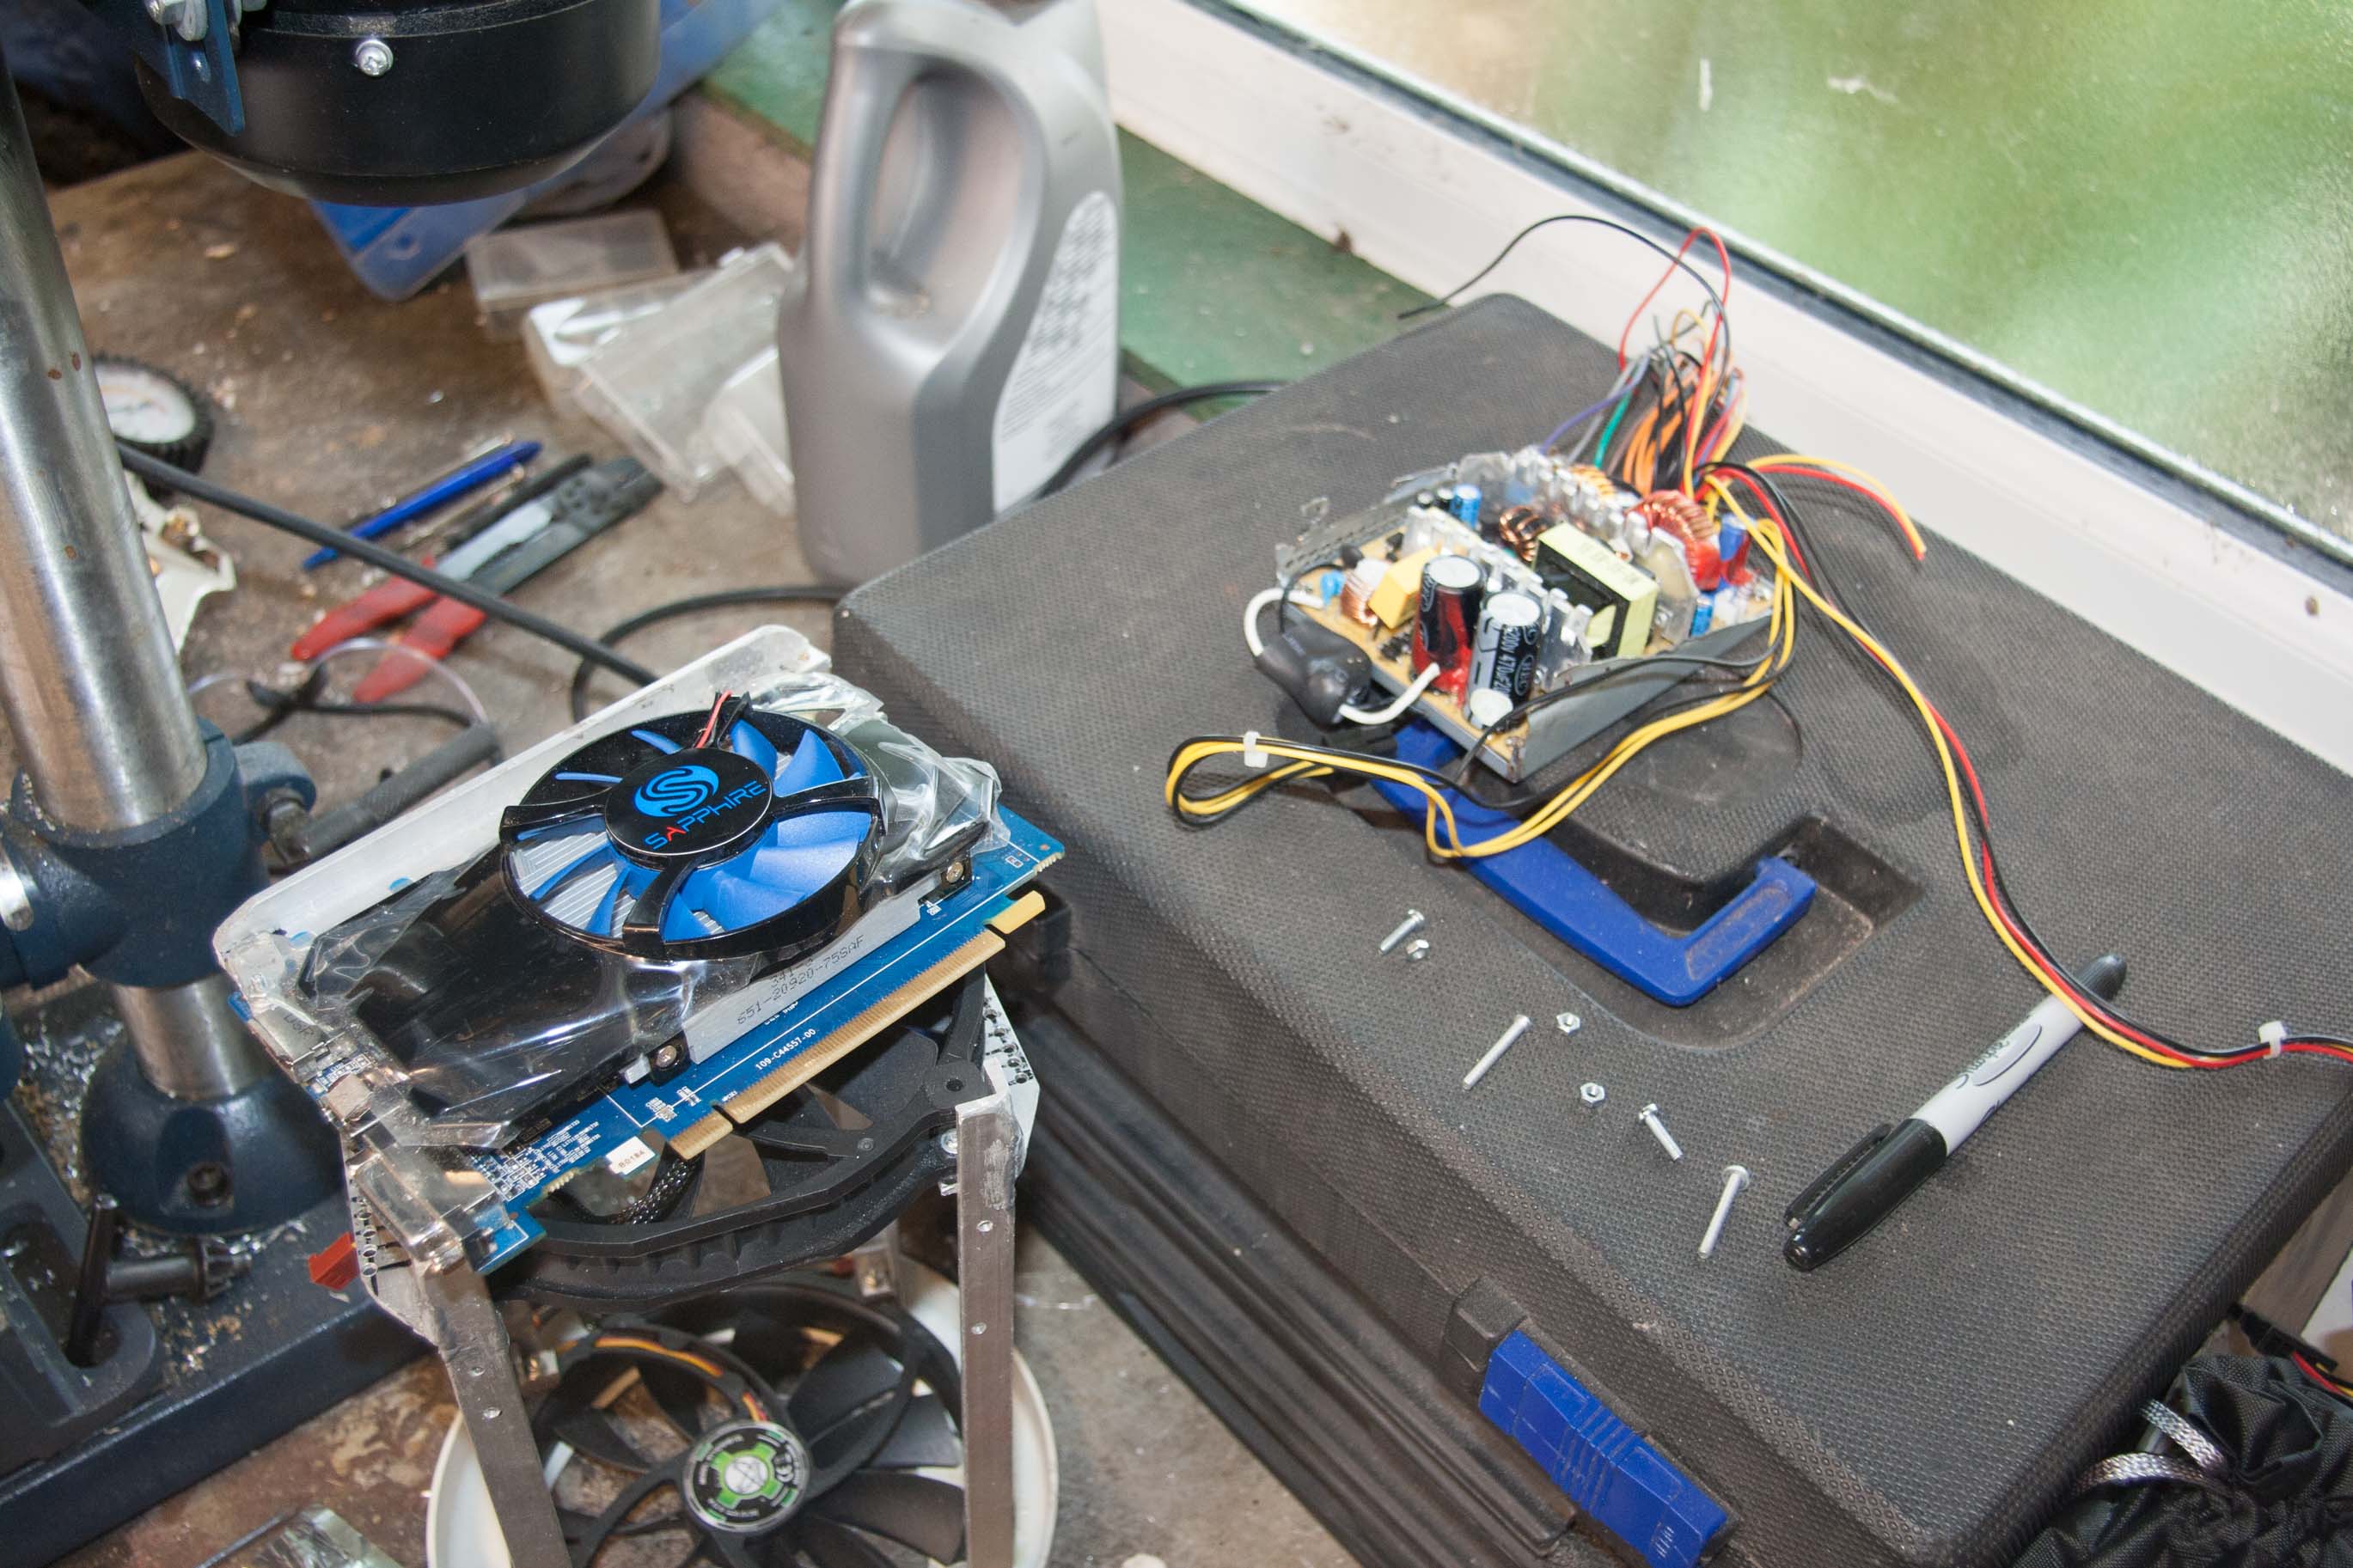
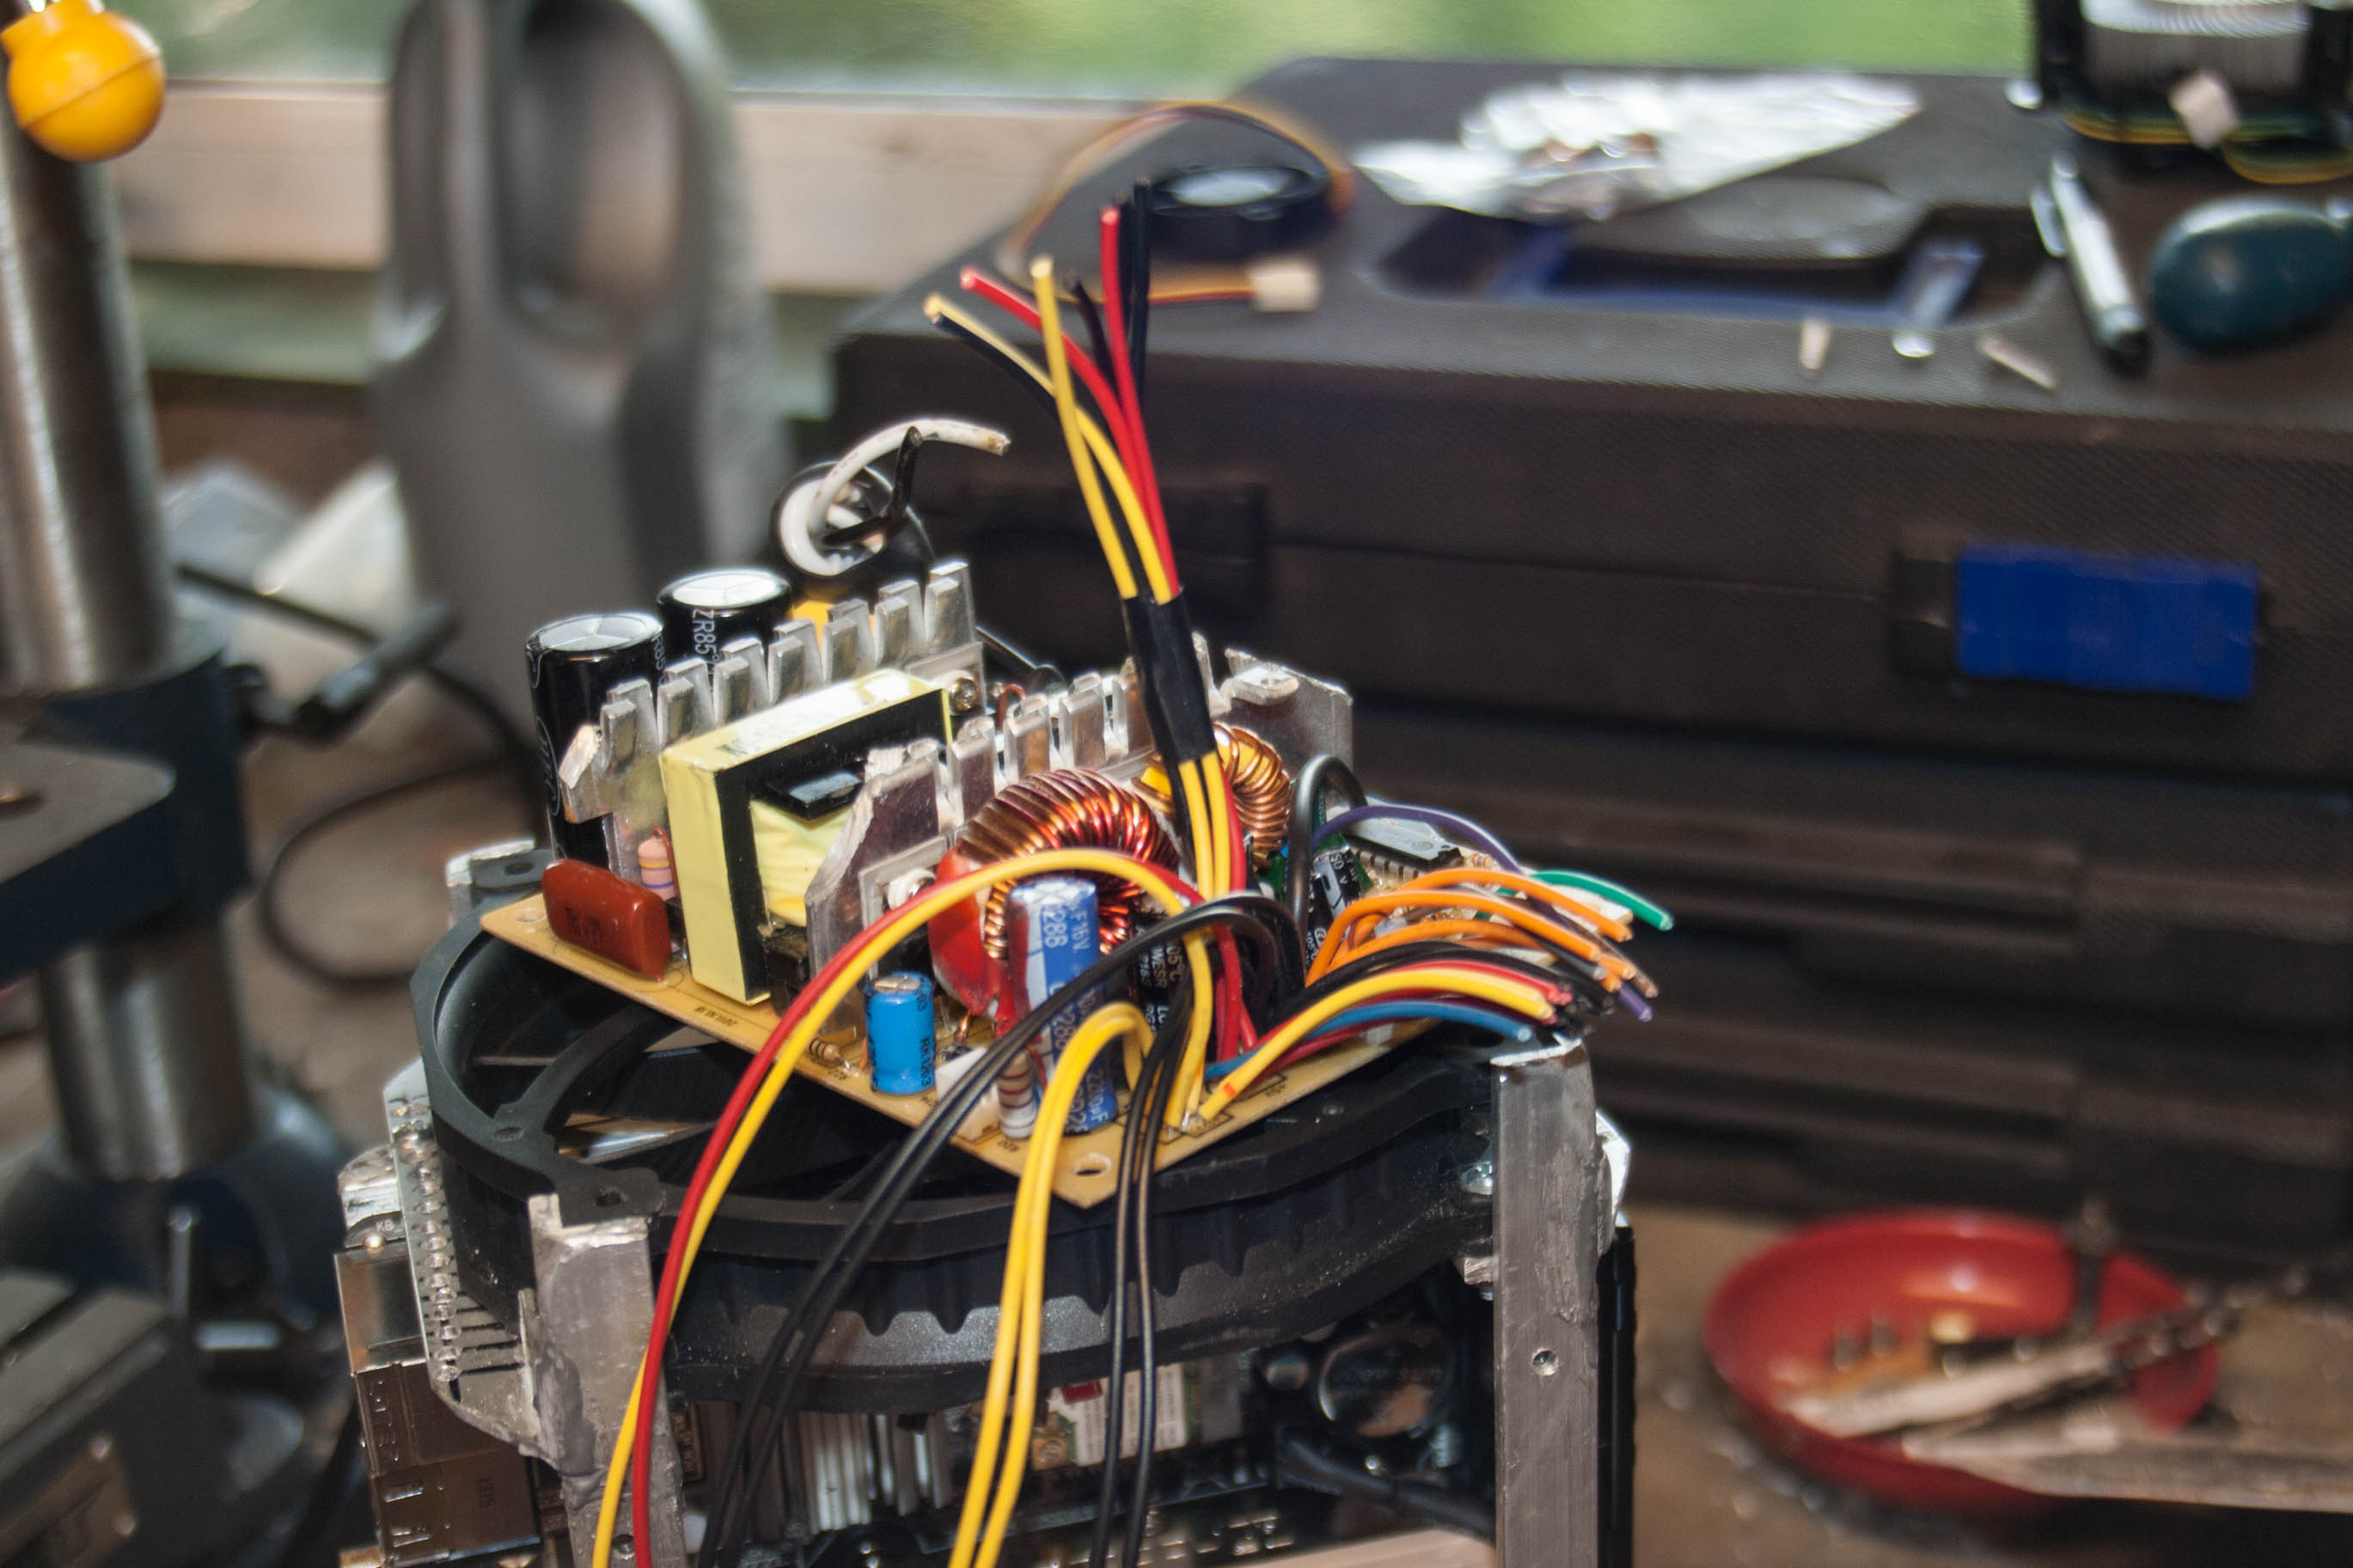
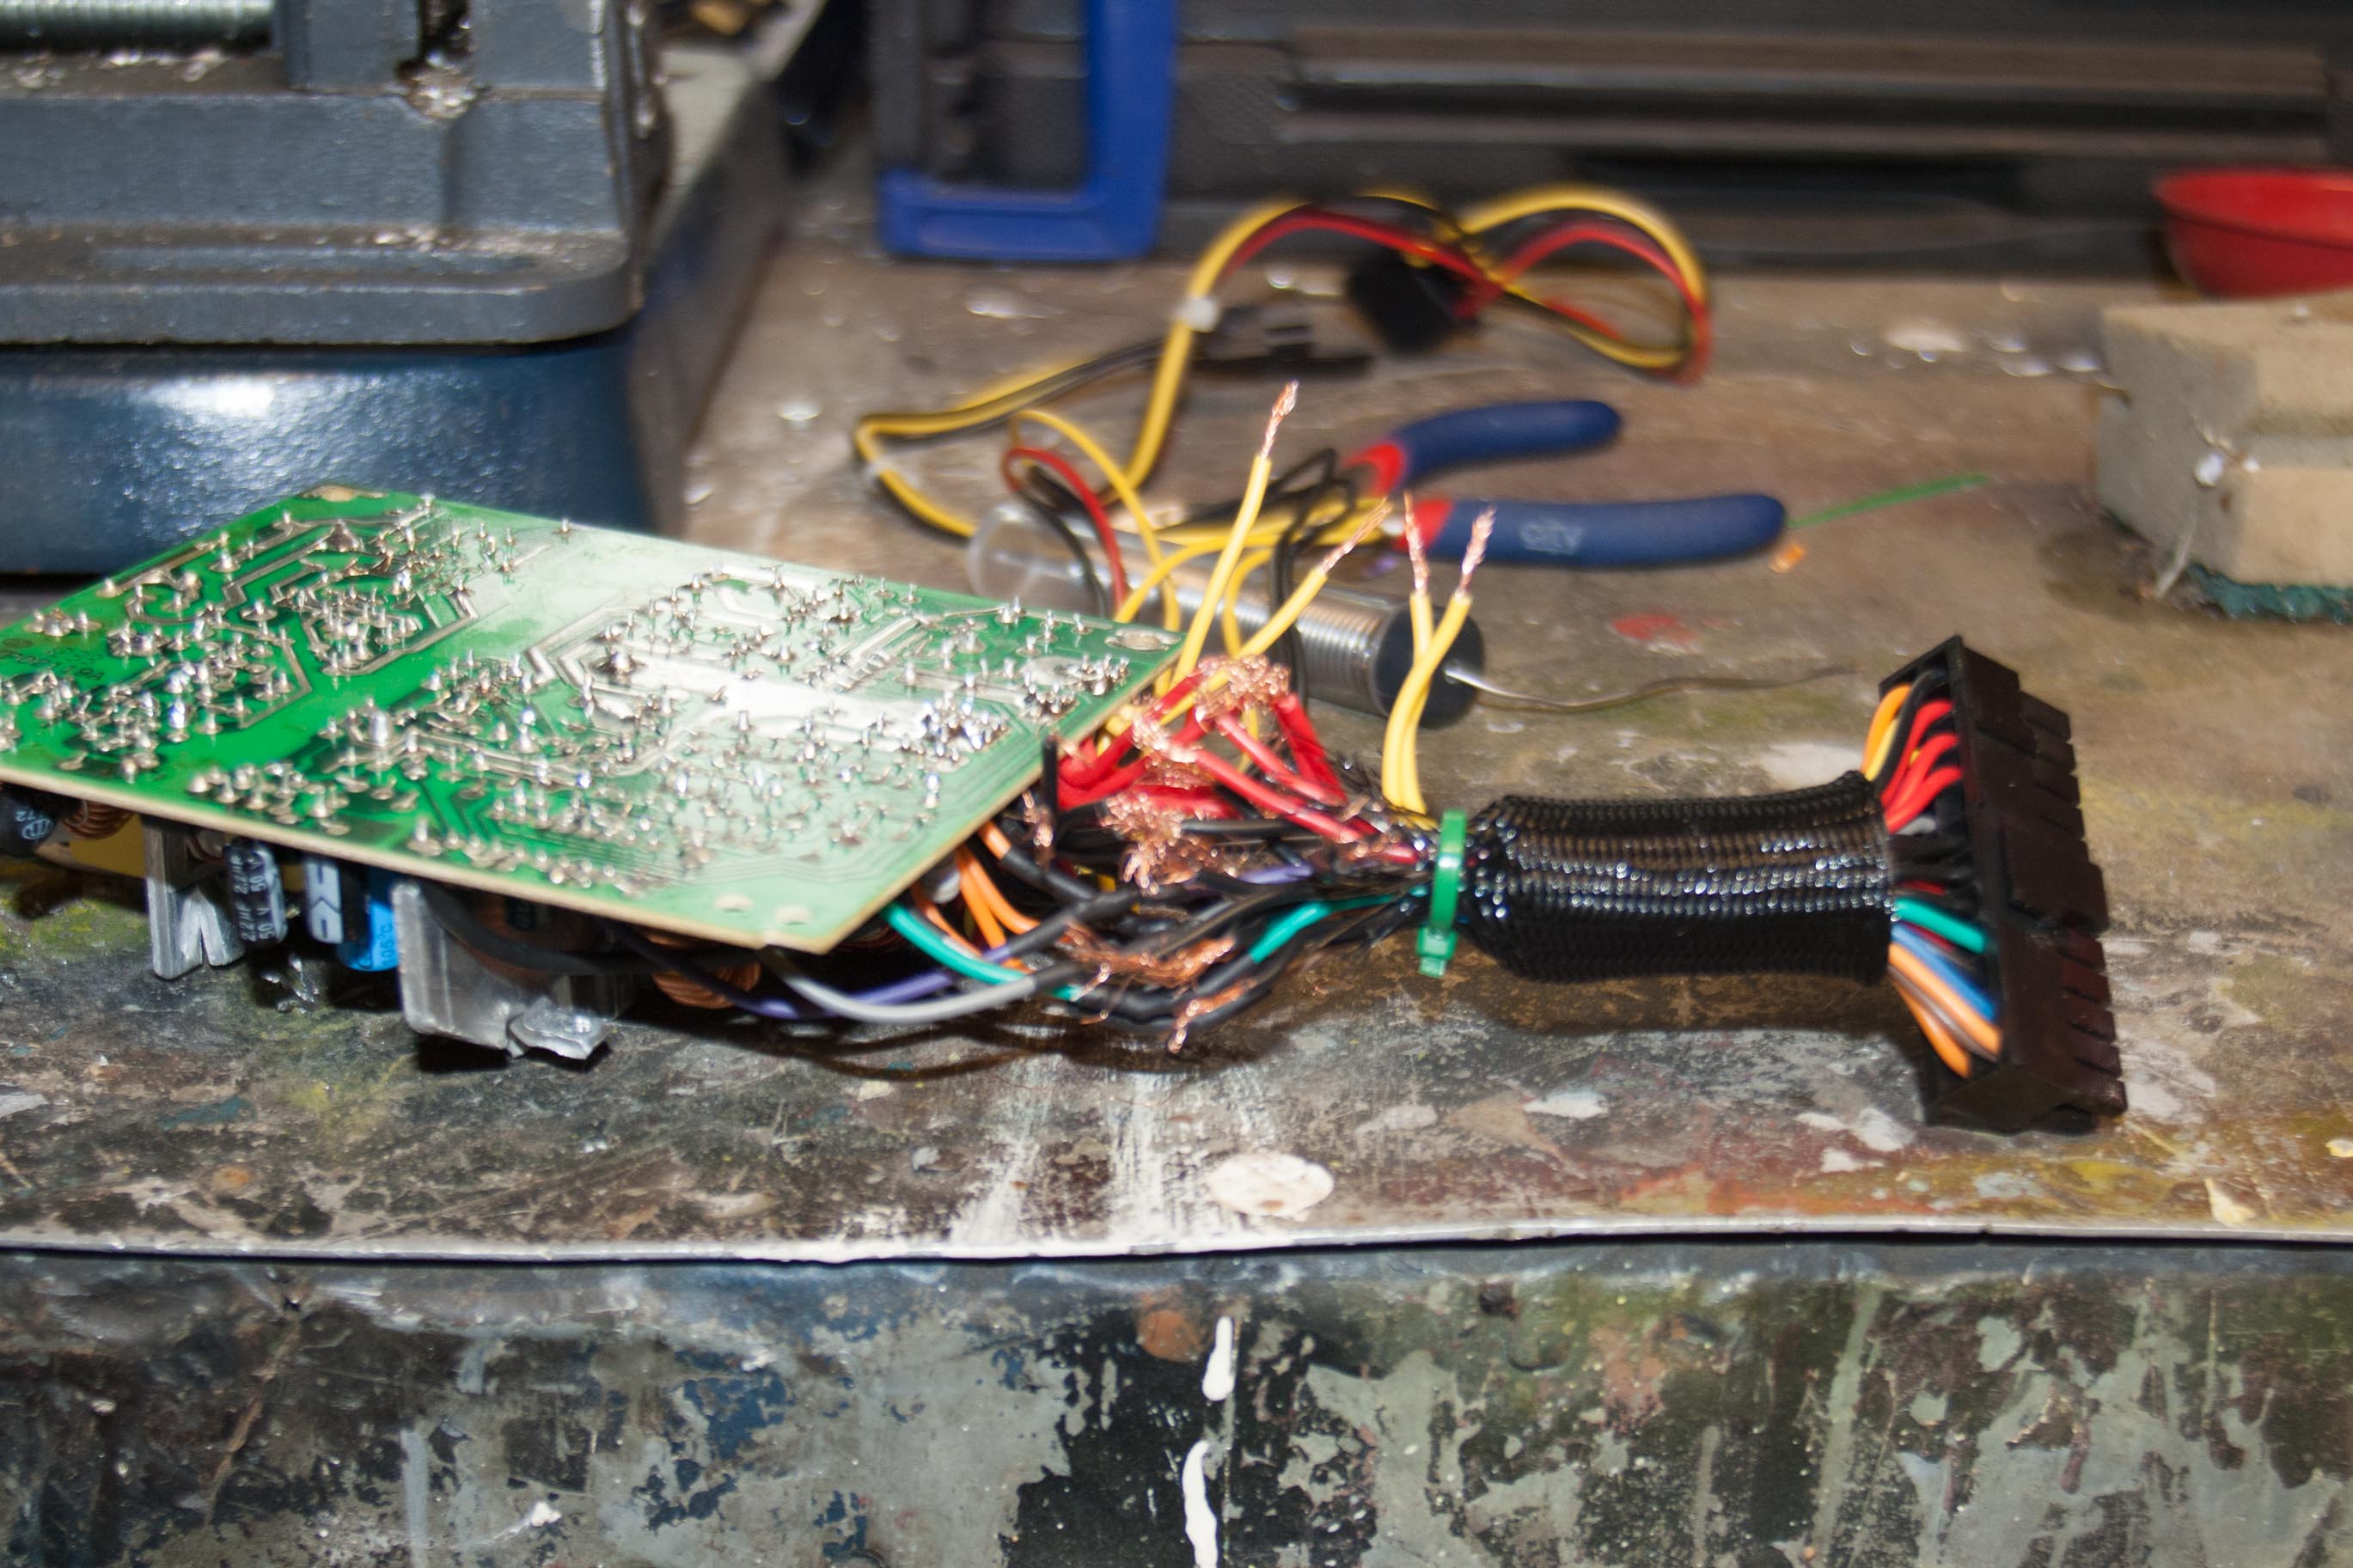
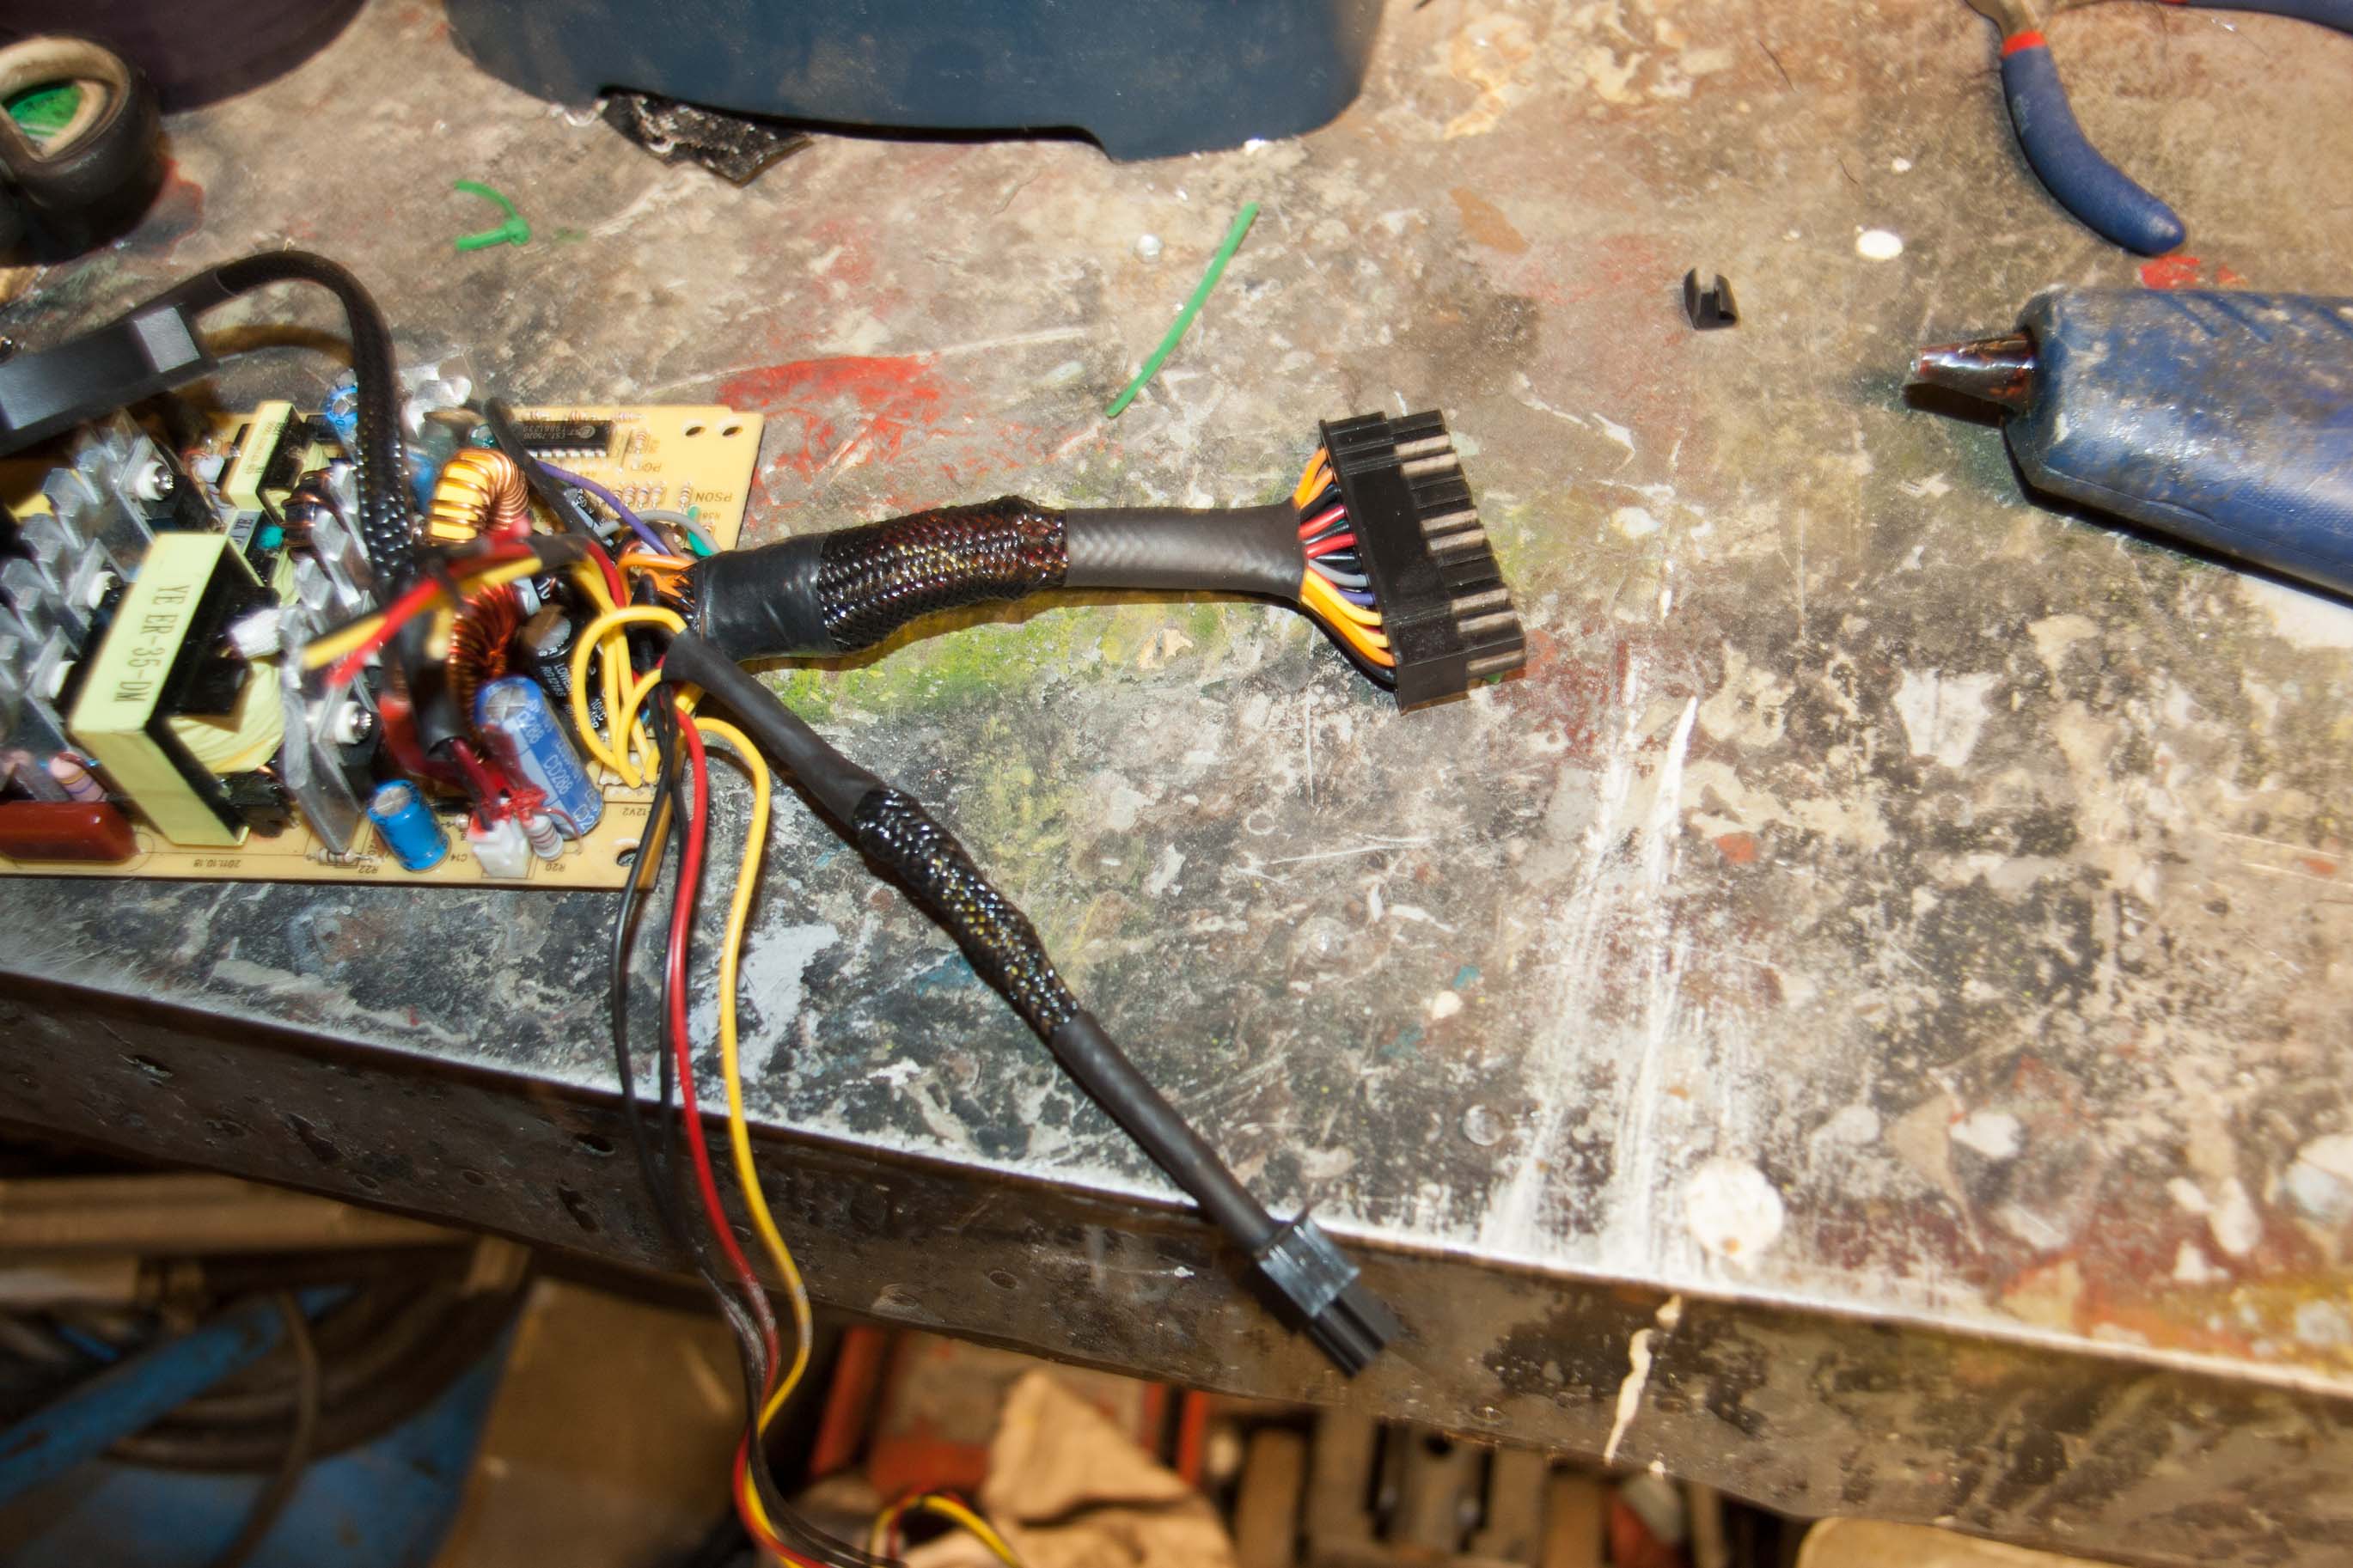
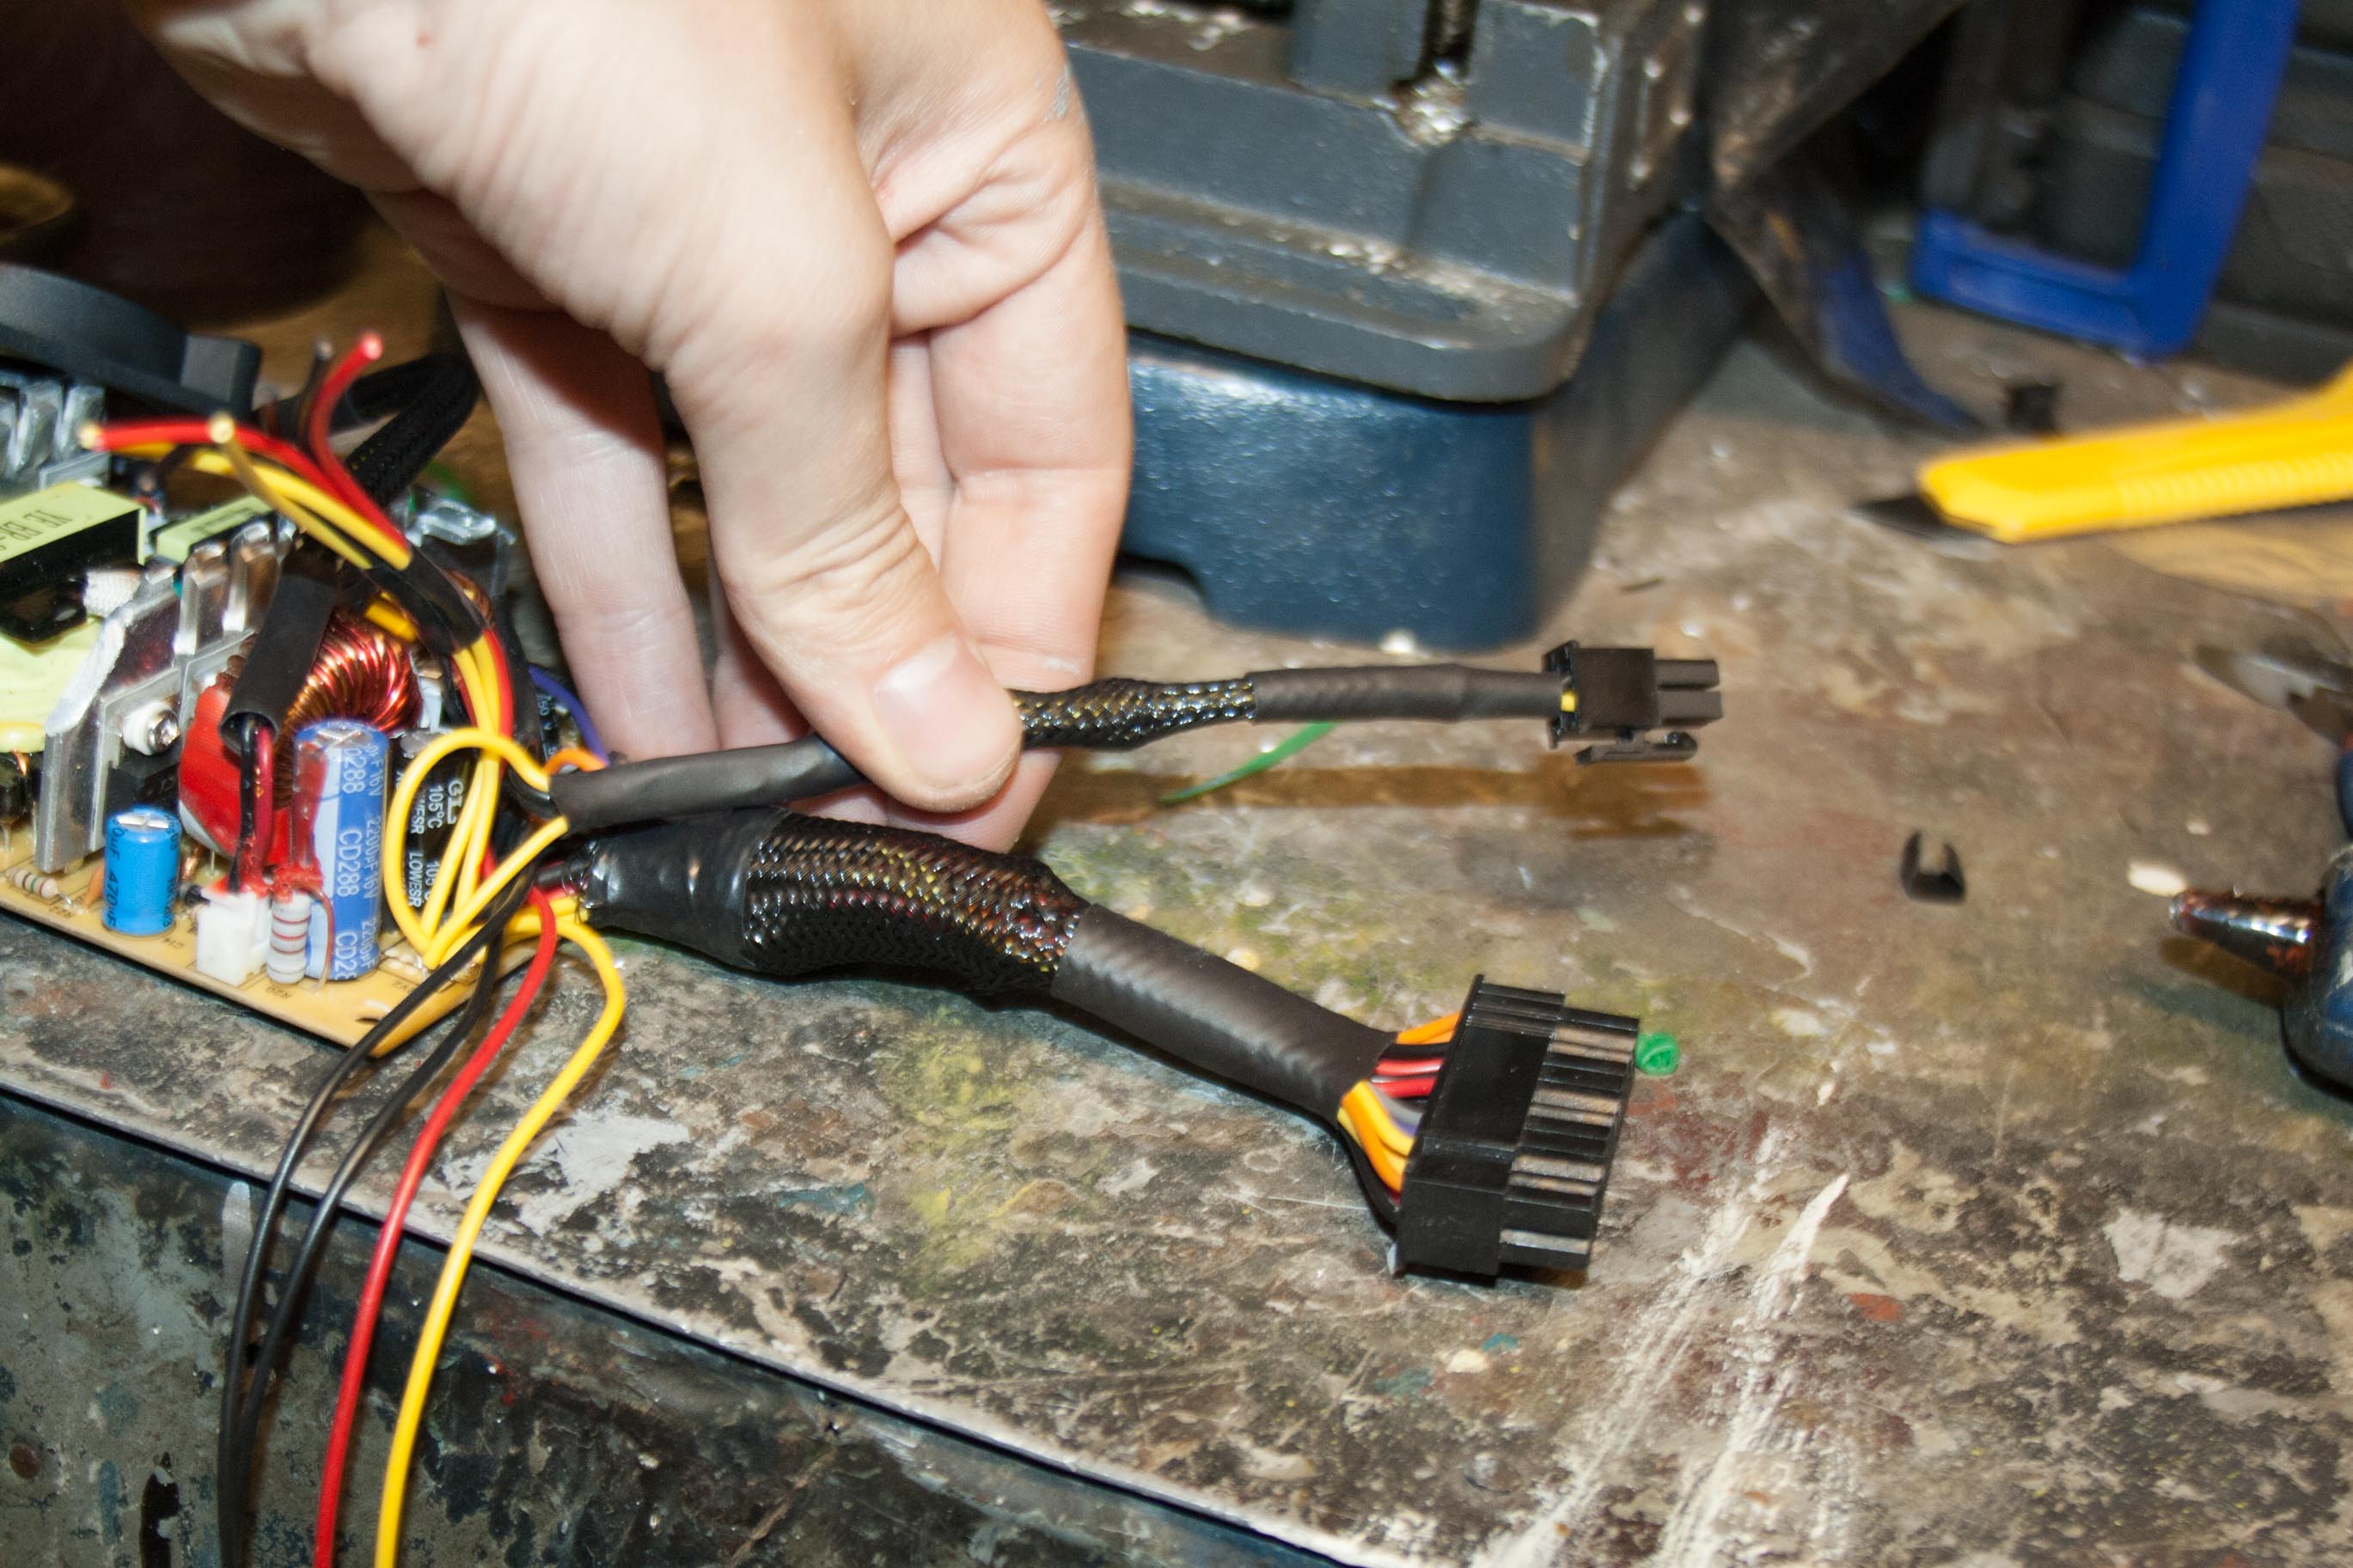
New PSU stripped down.
Popped into local Apple store to take some measurements
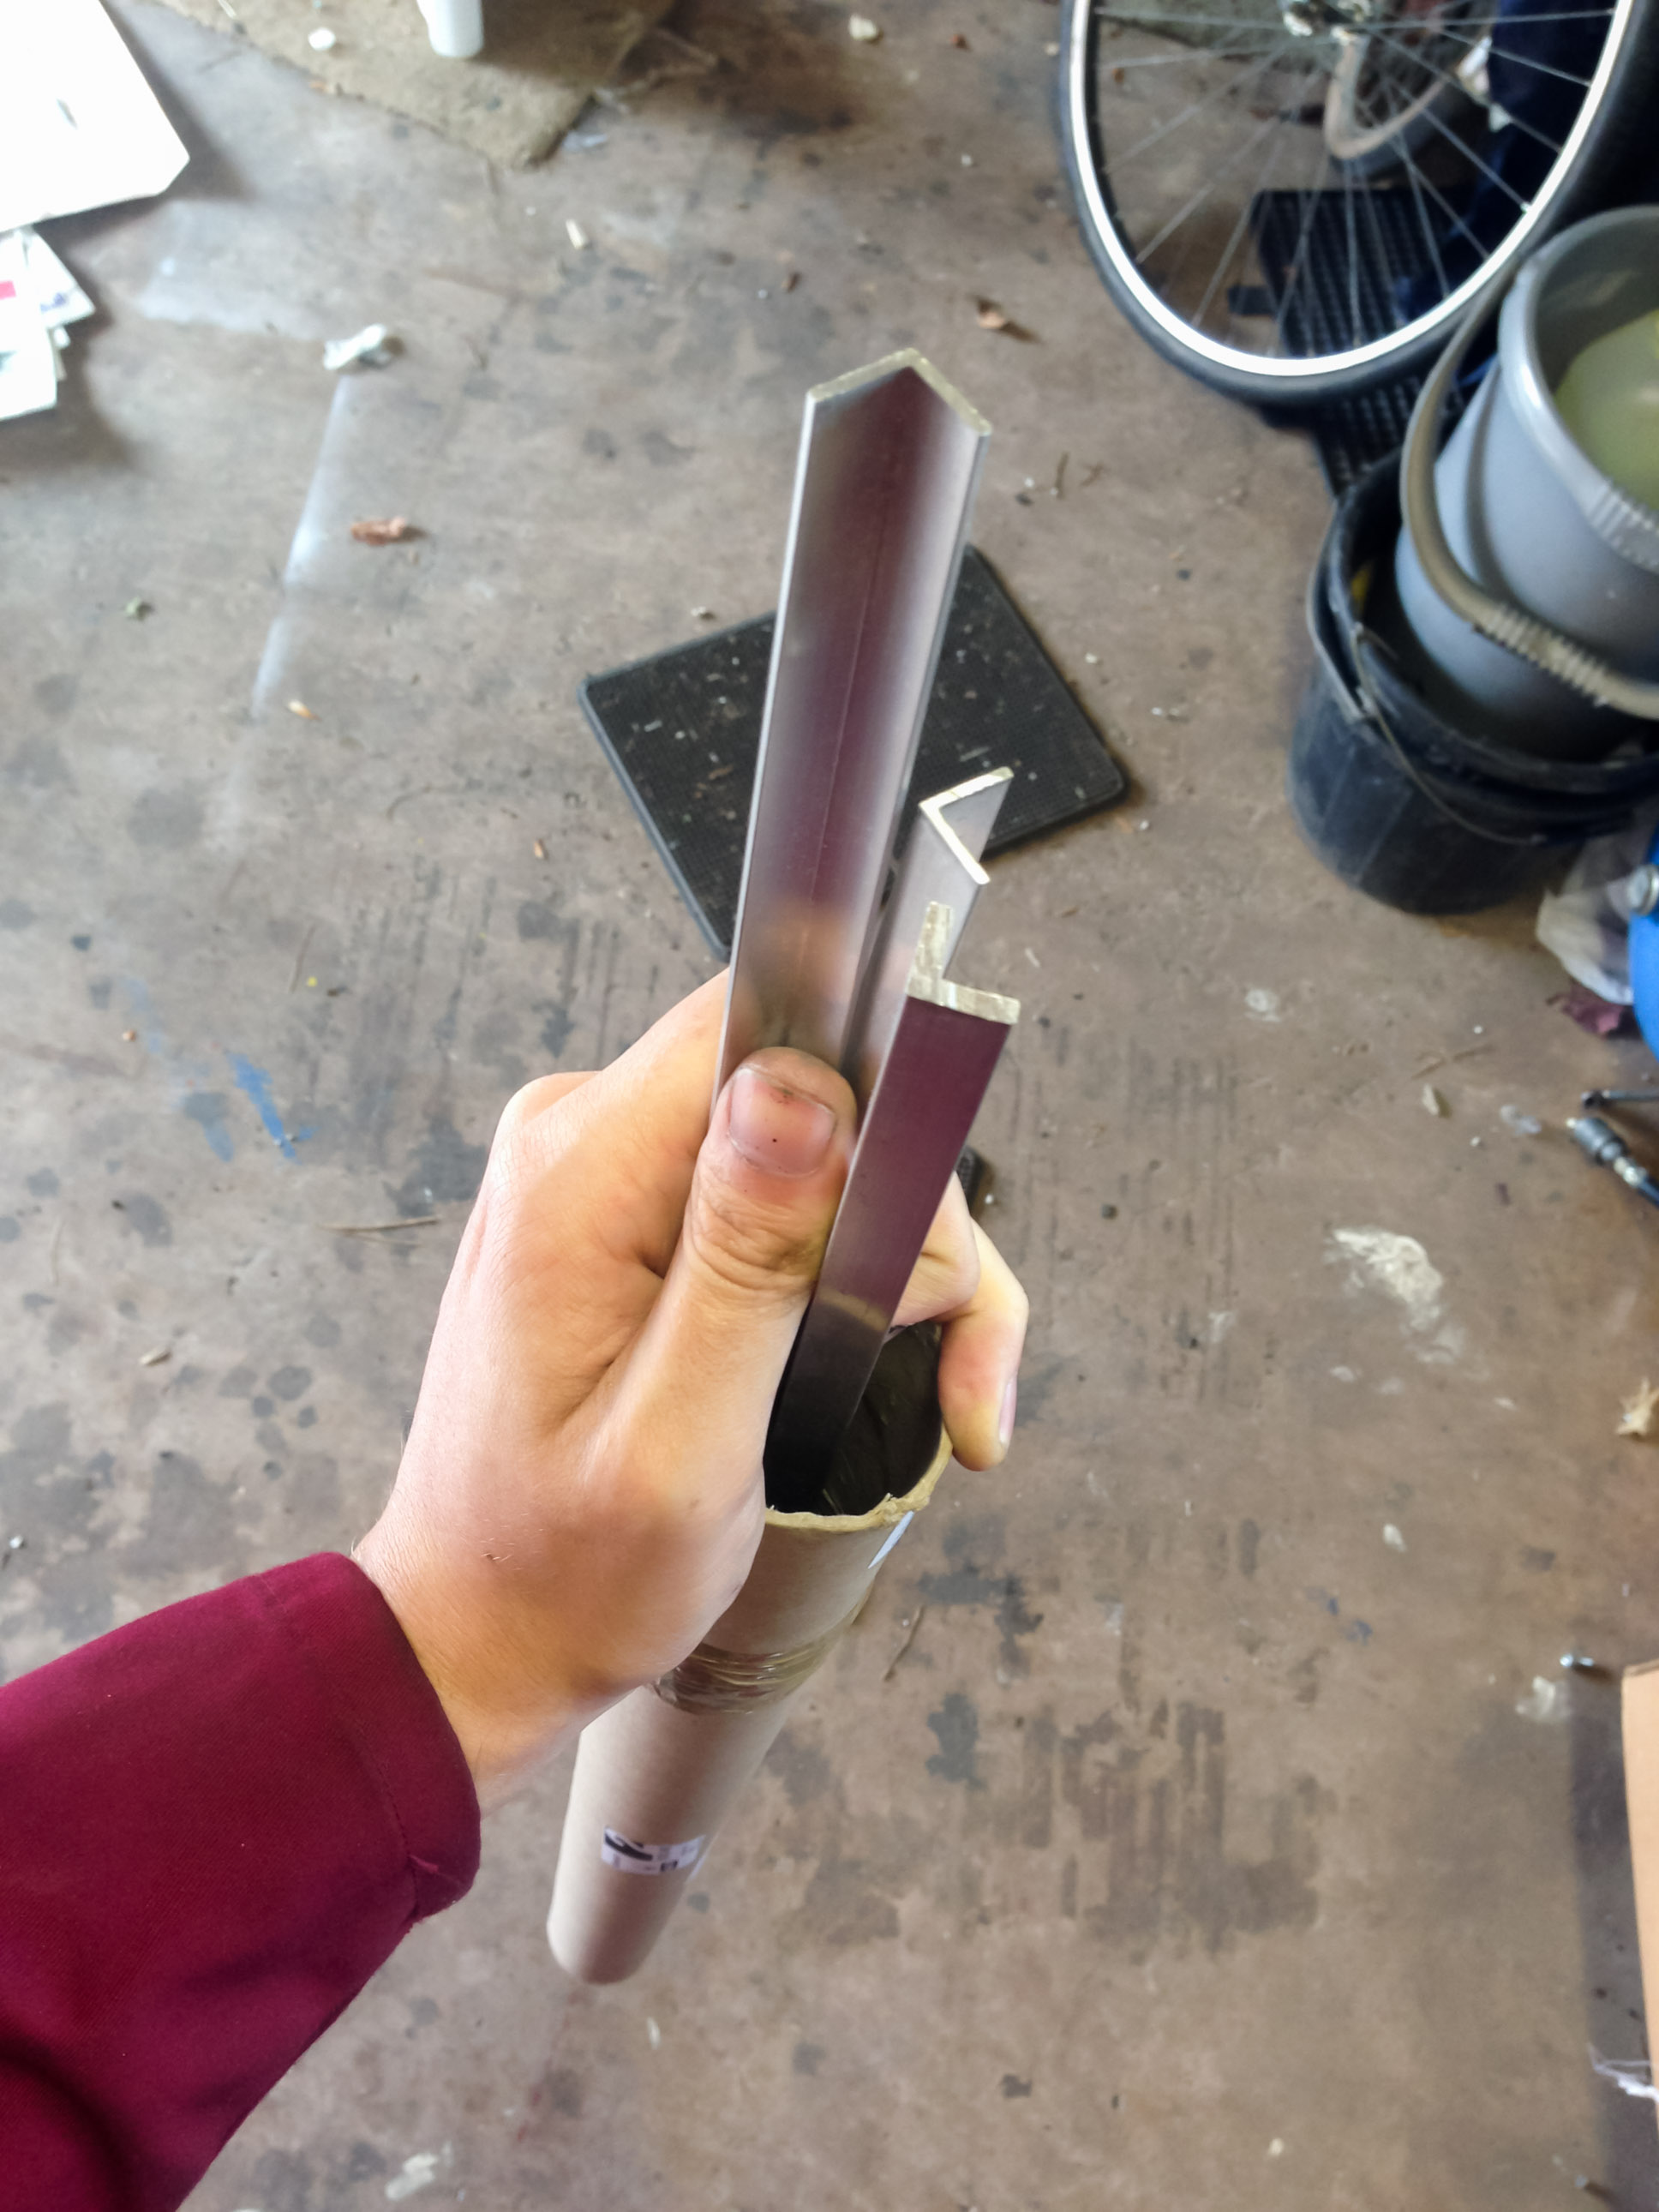
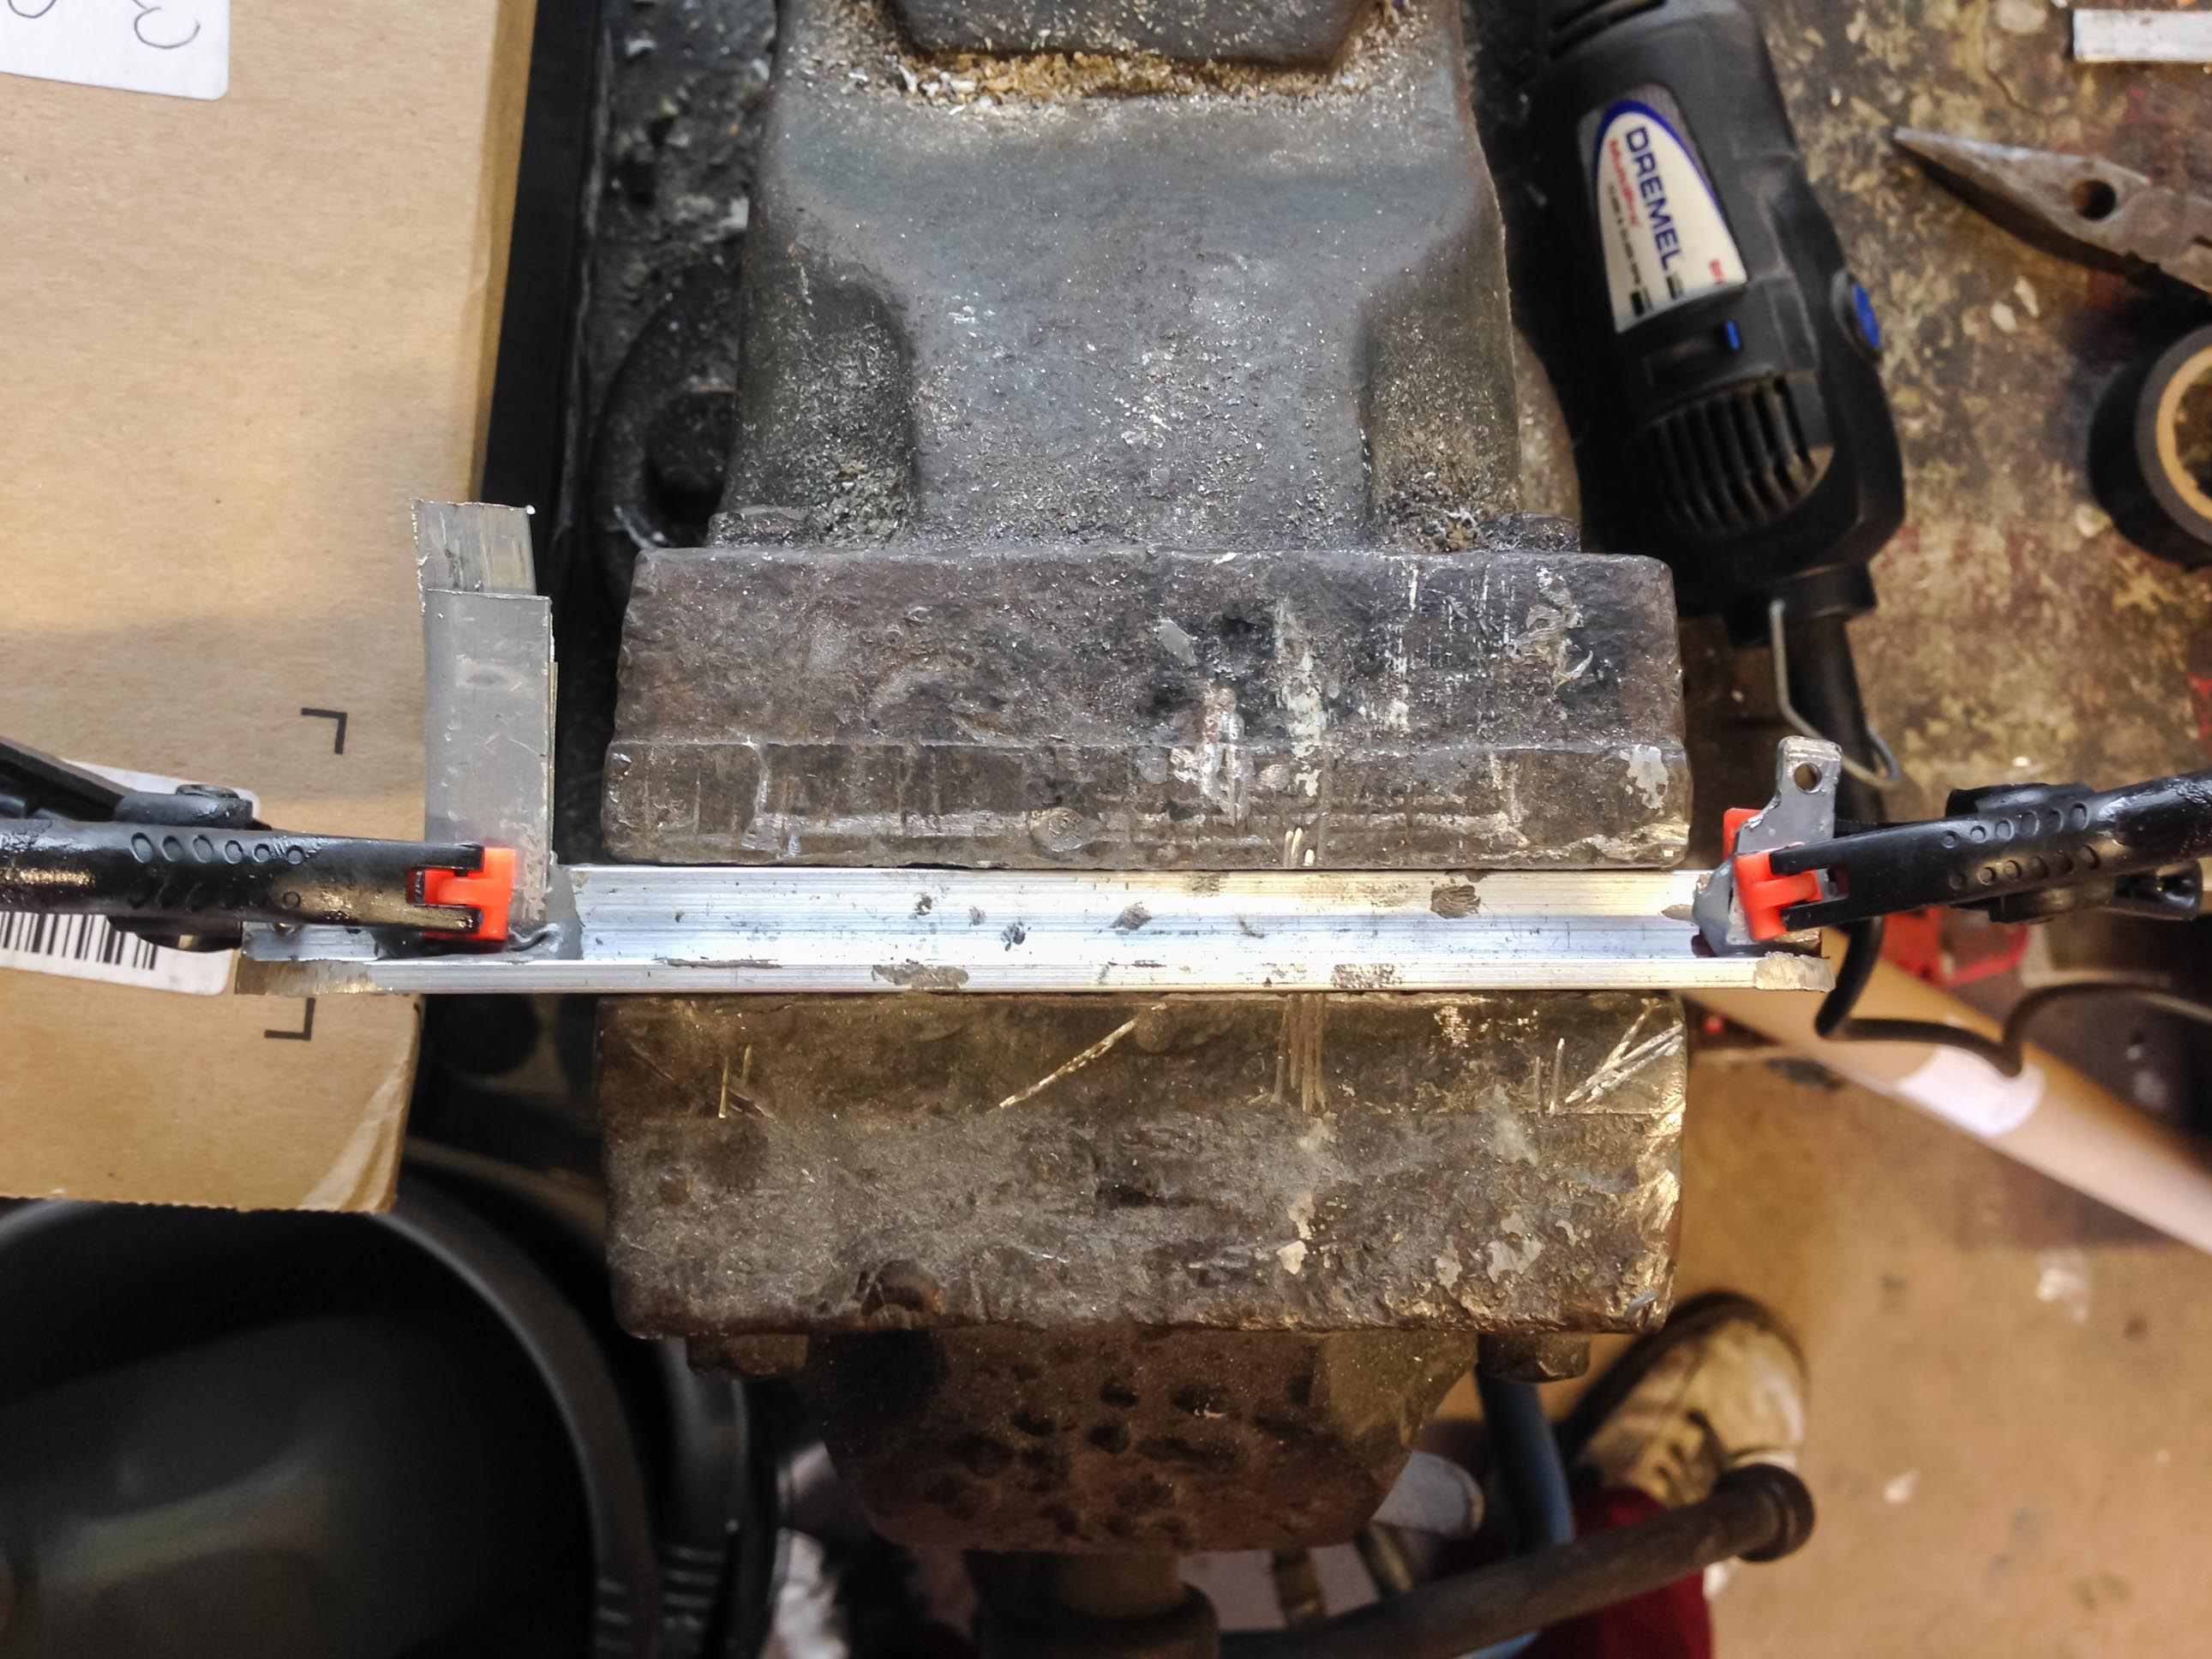
The cage will be fabricated using aluminium
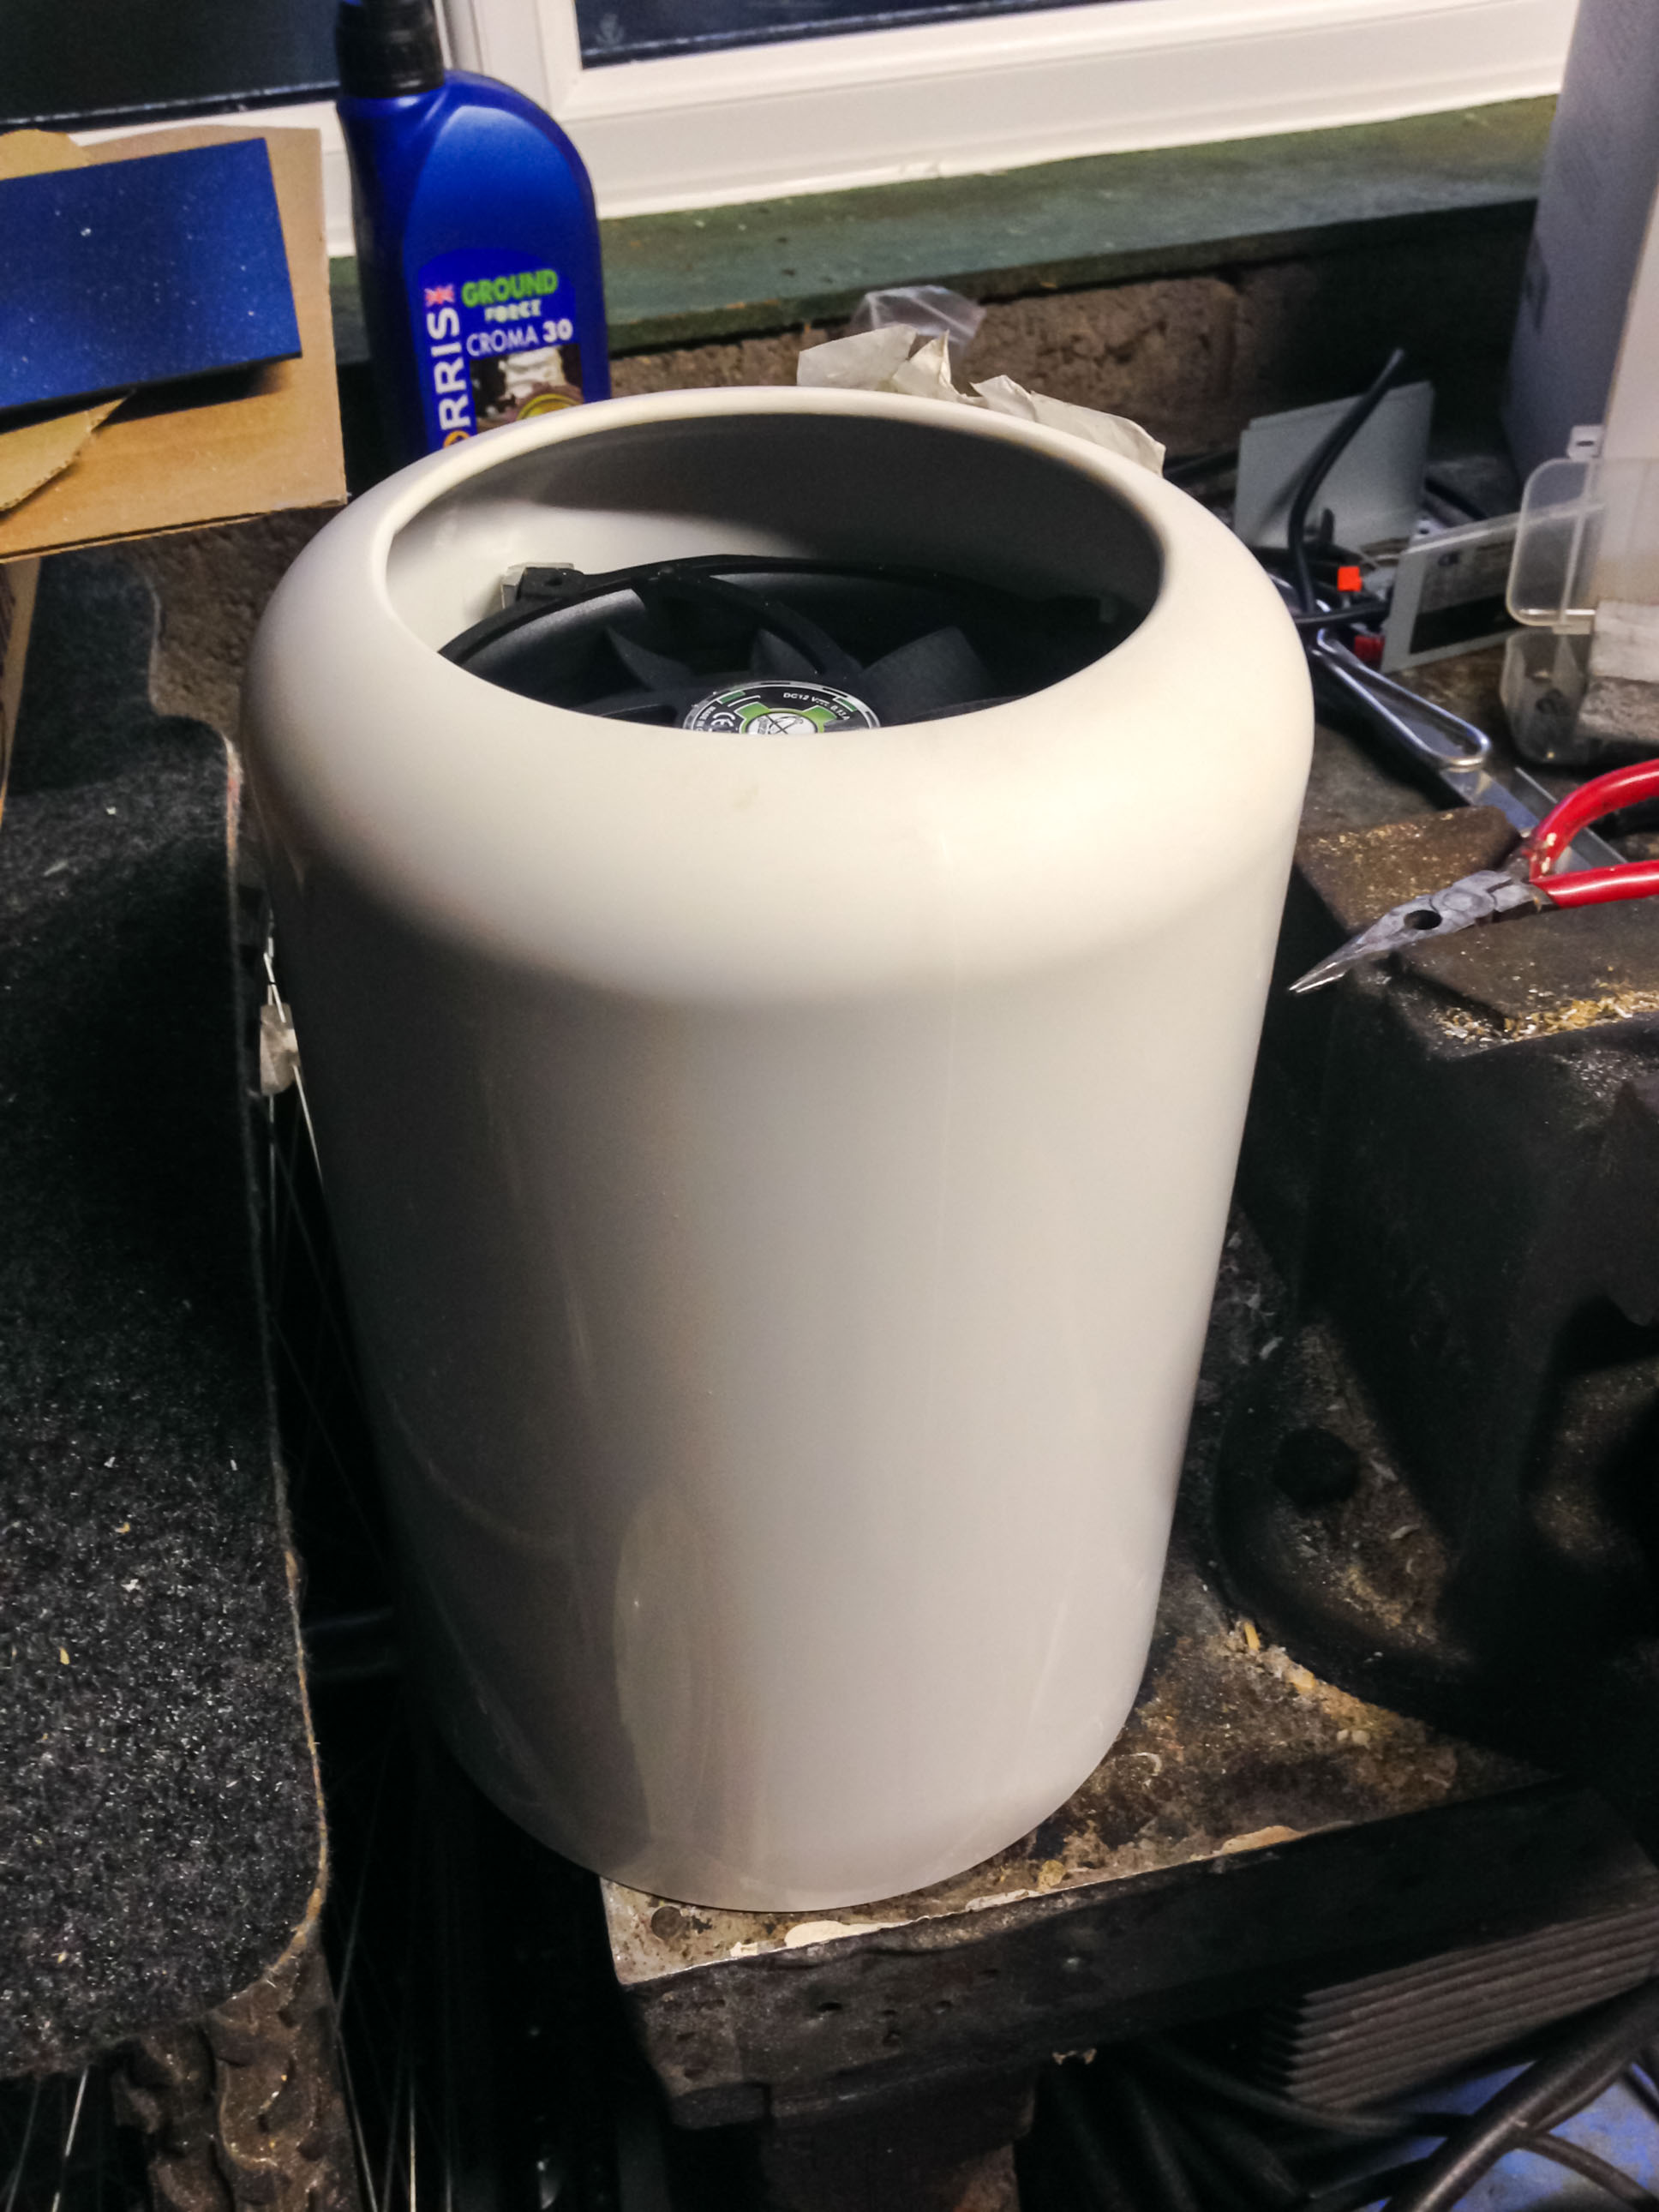
Just trying it for size.
Corner L brackets to support fans.
Removed Wifi antenna for now.
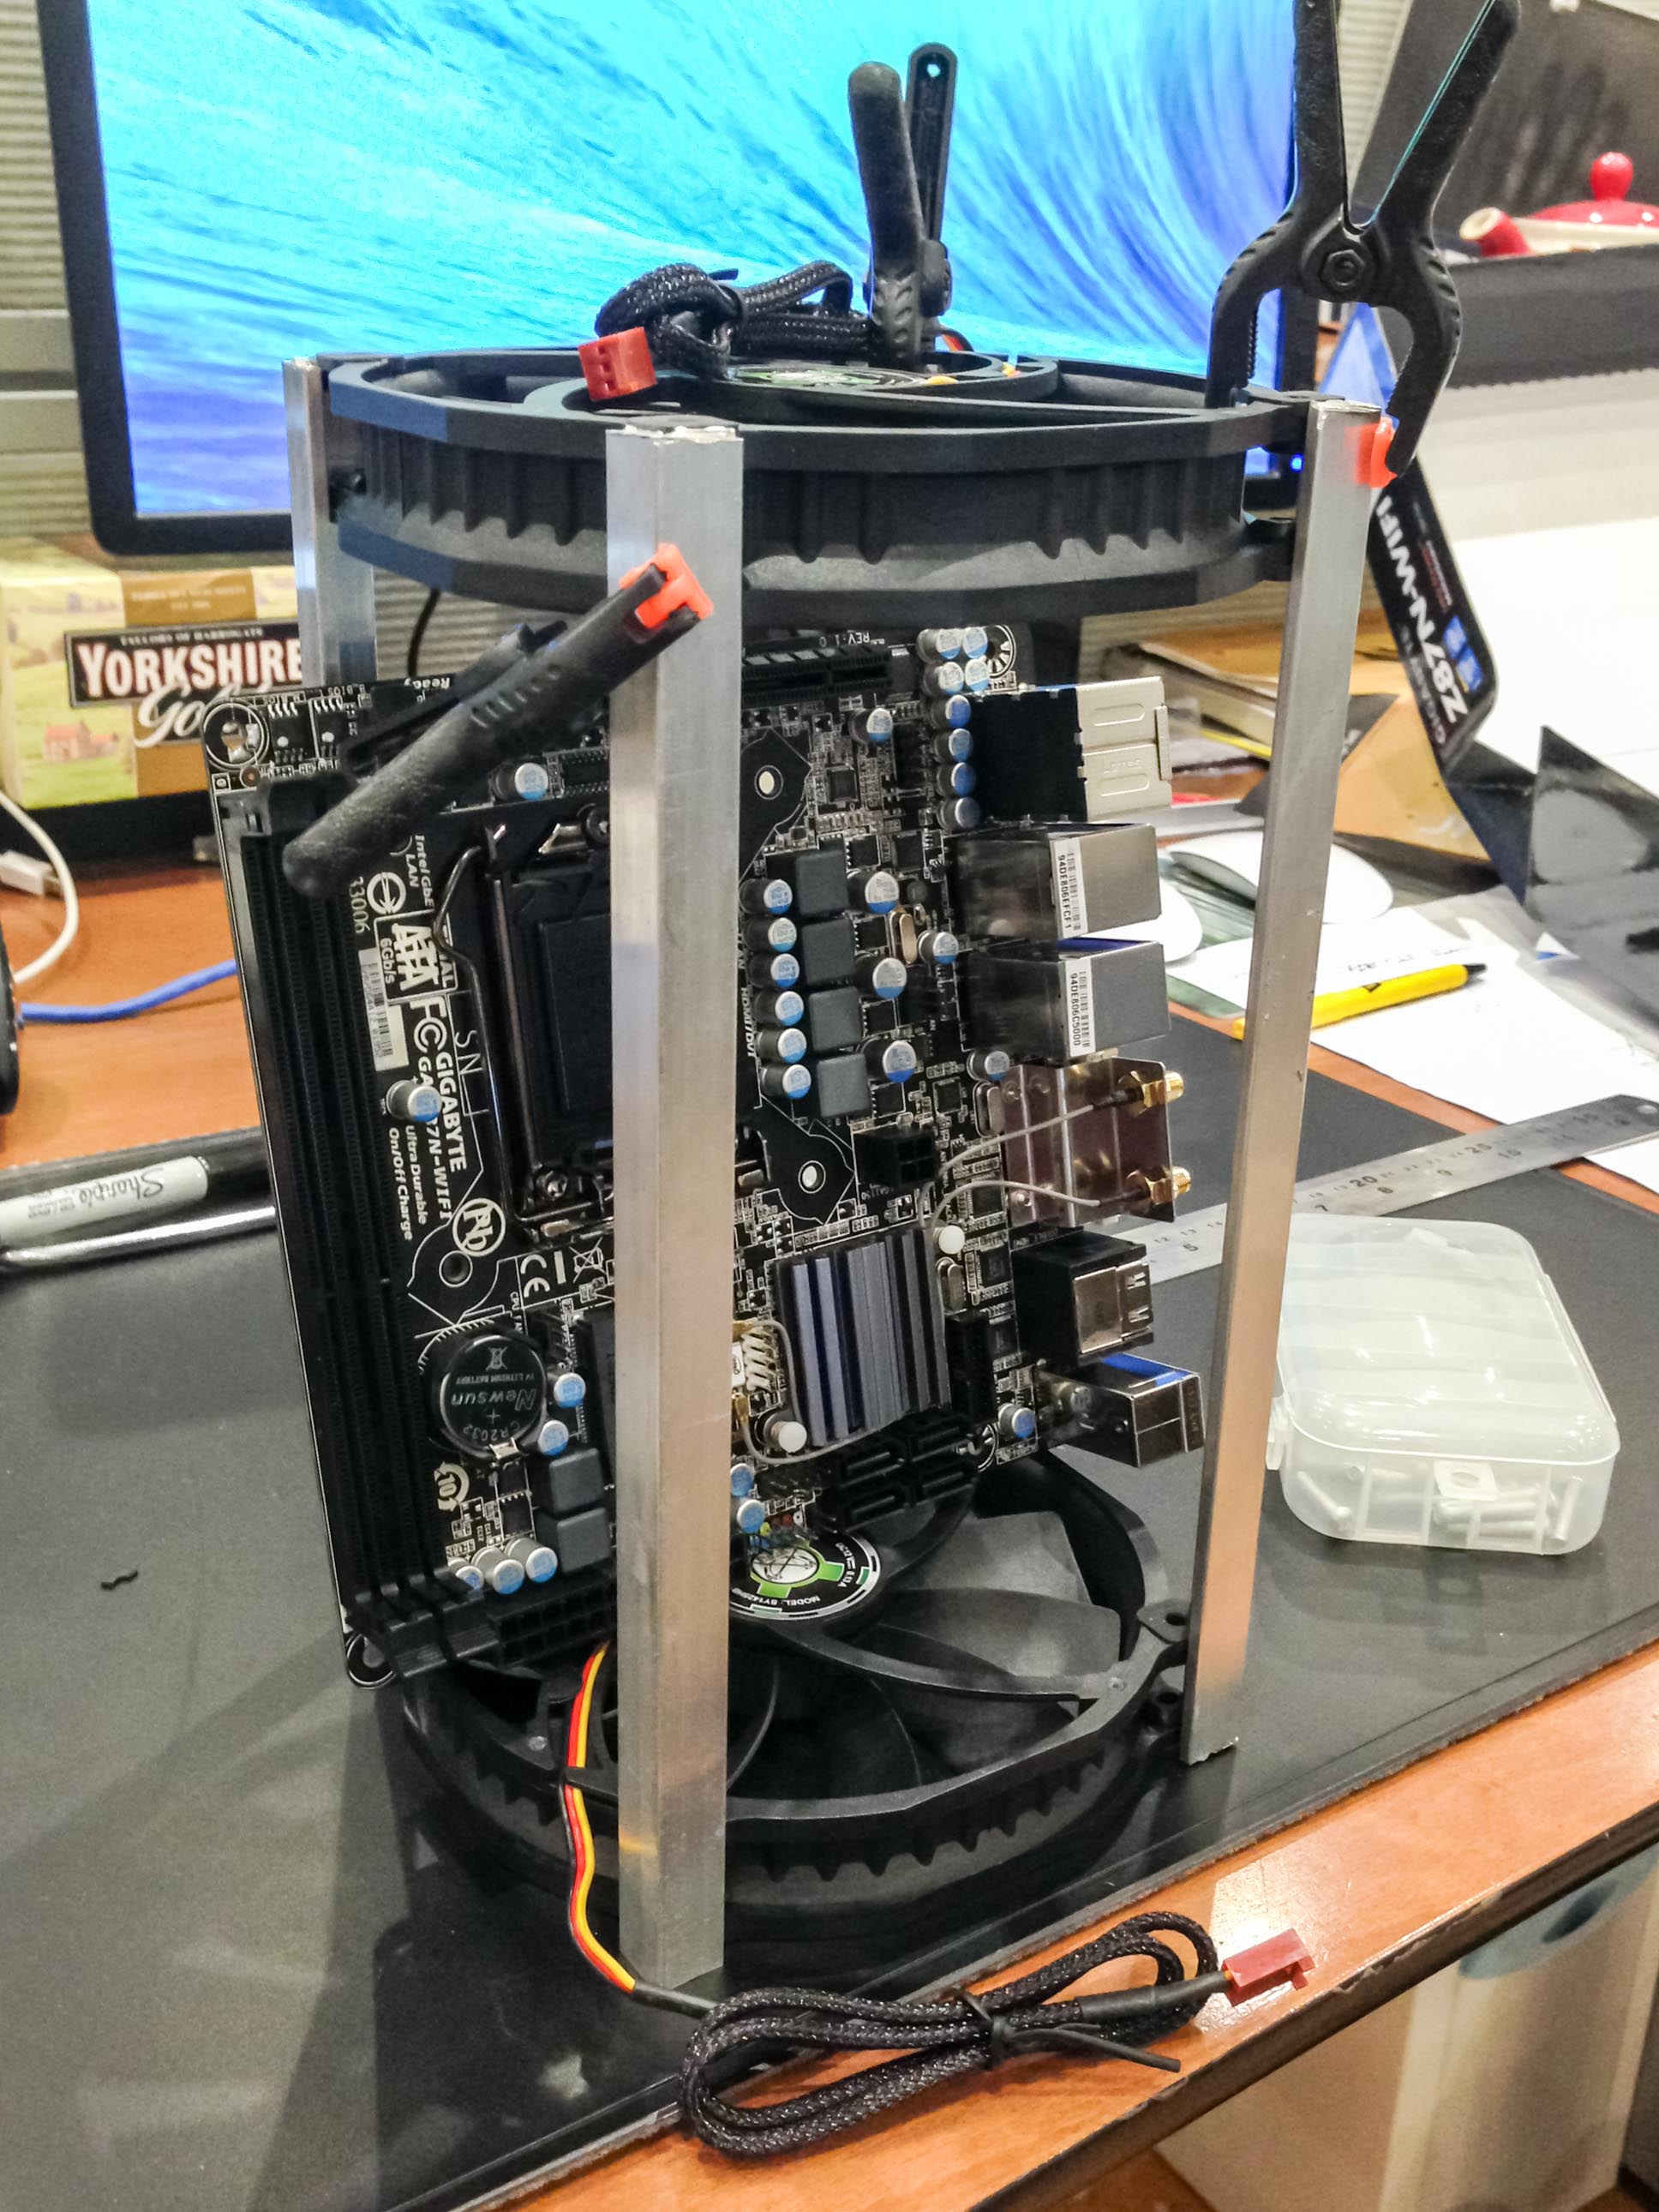
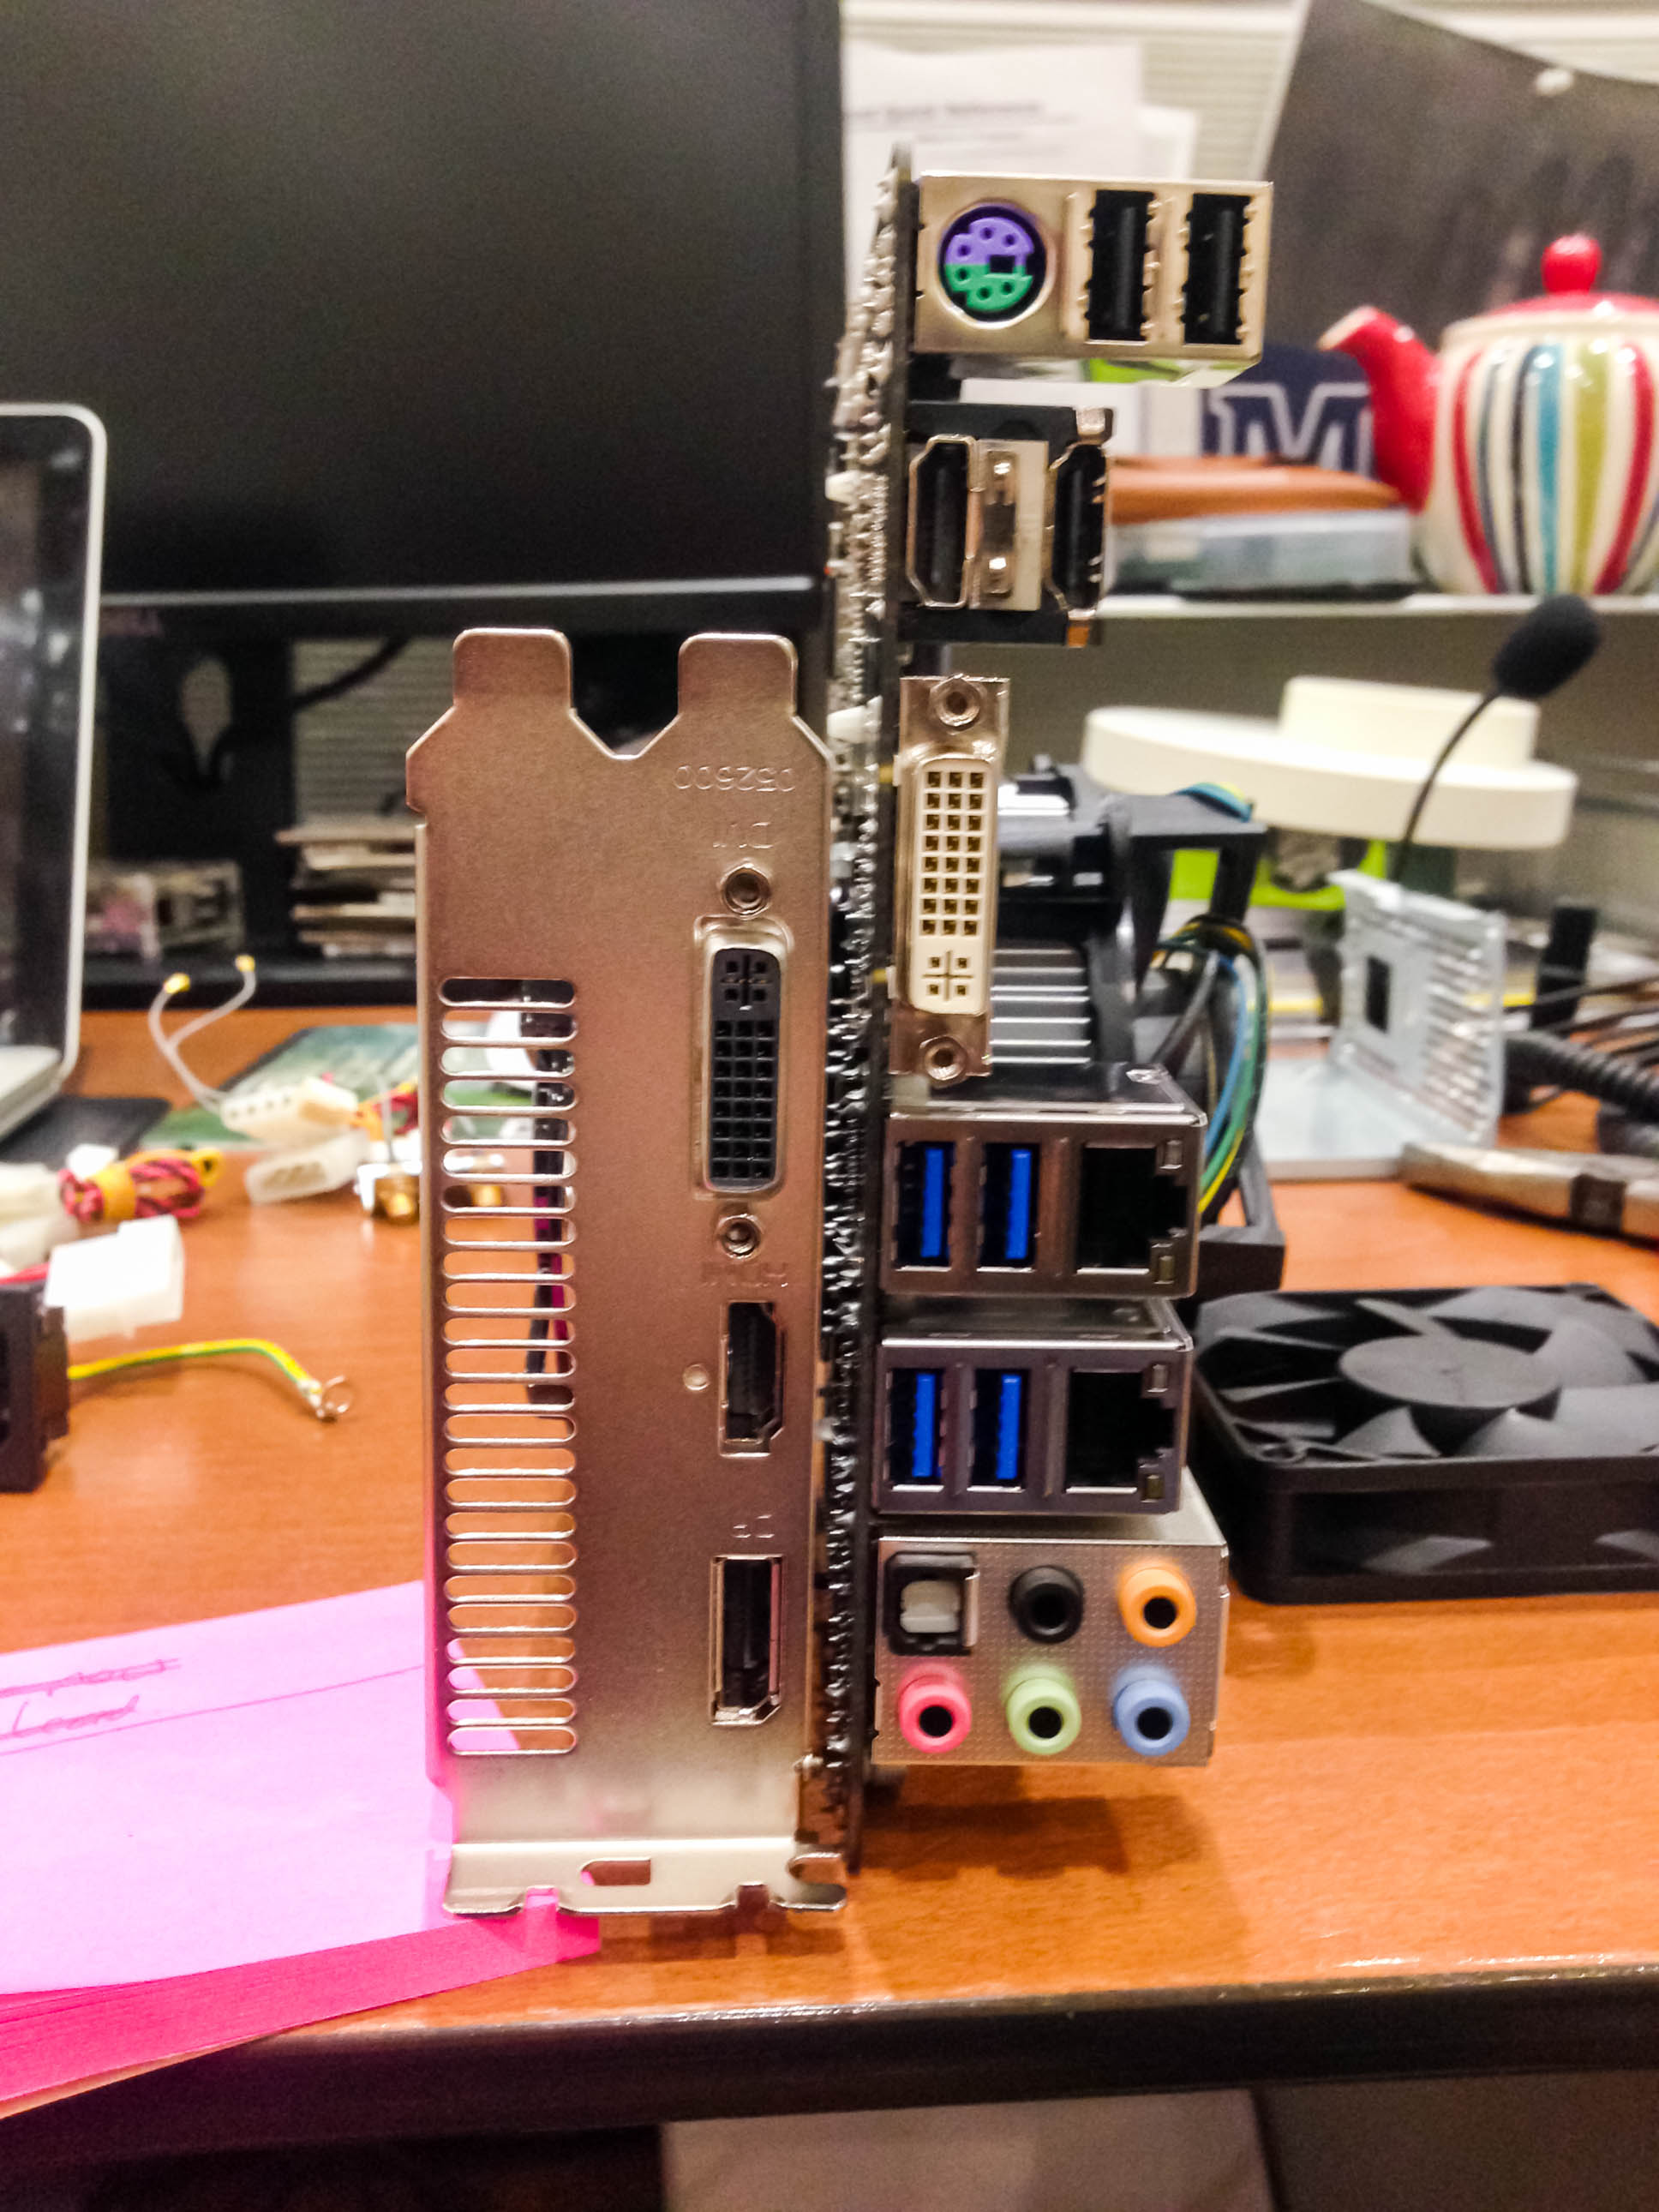
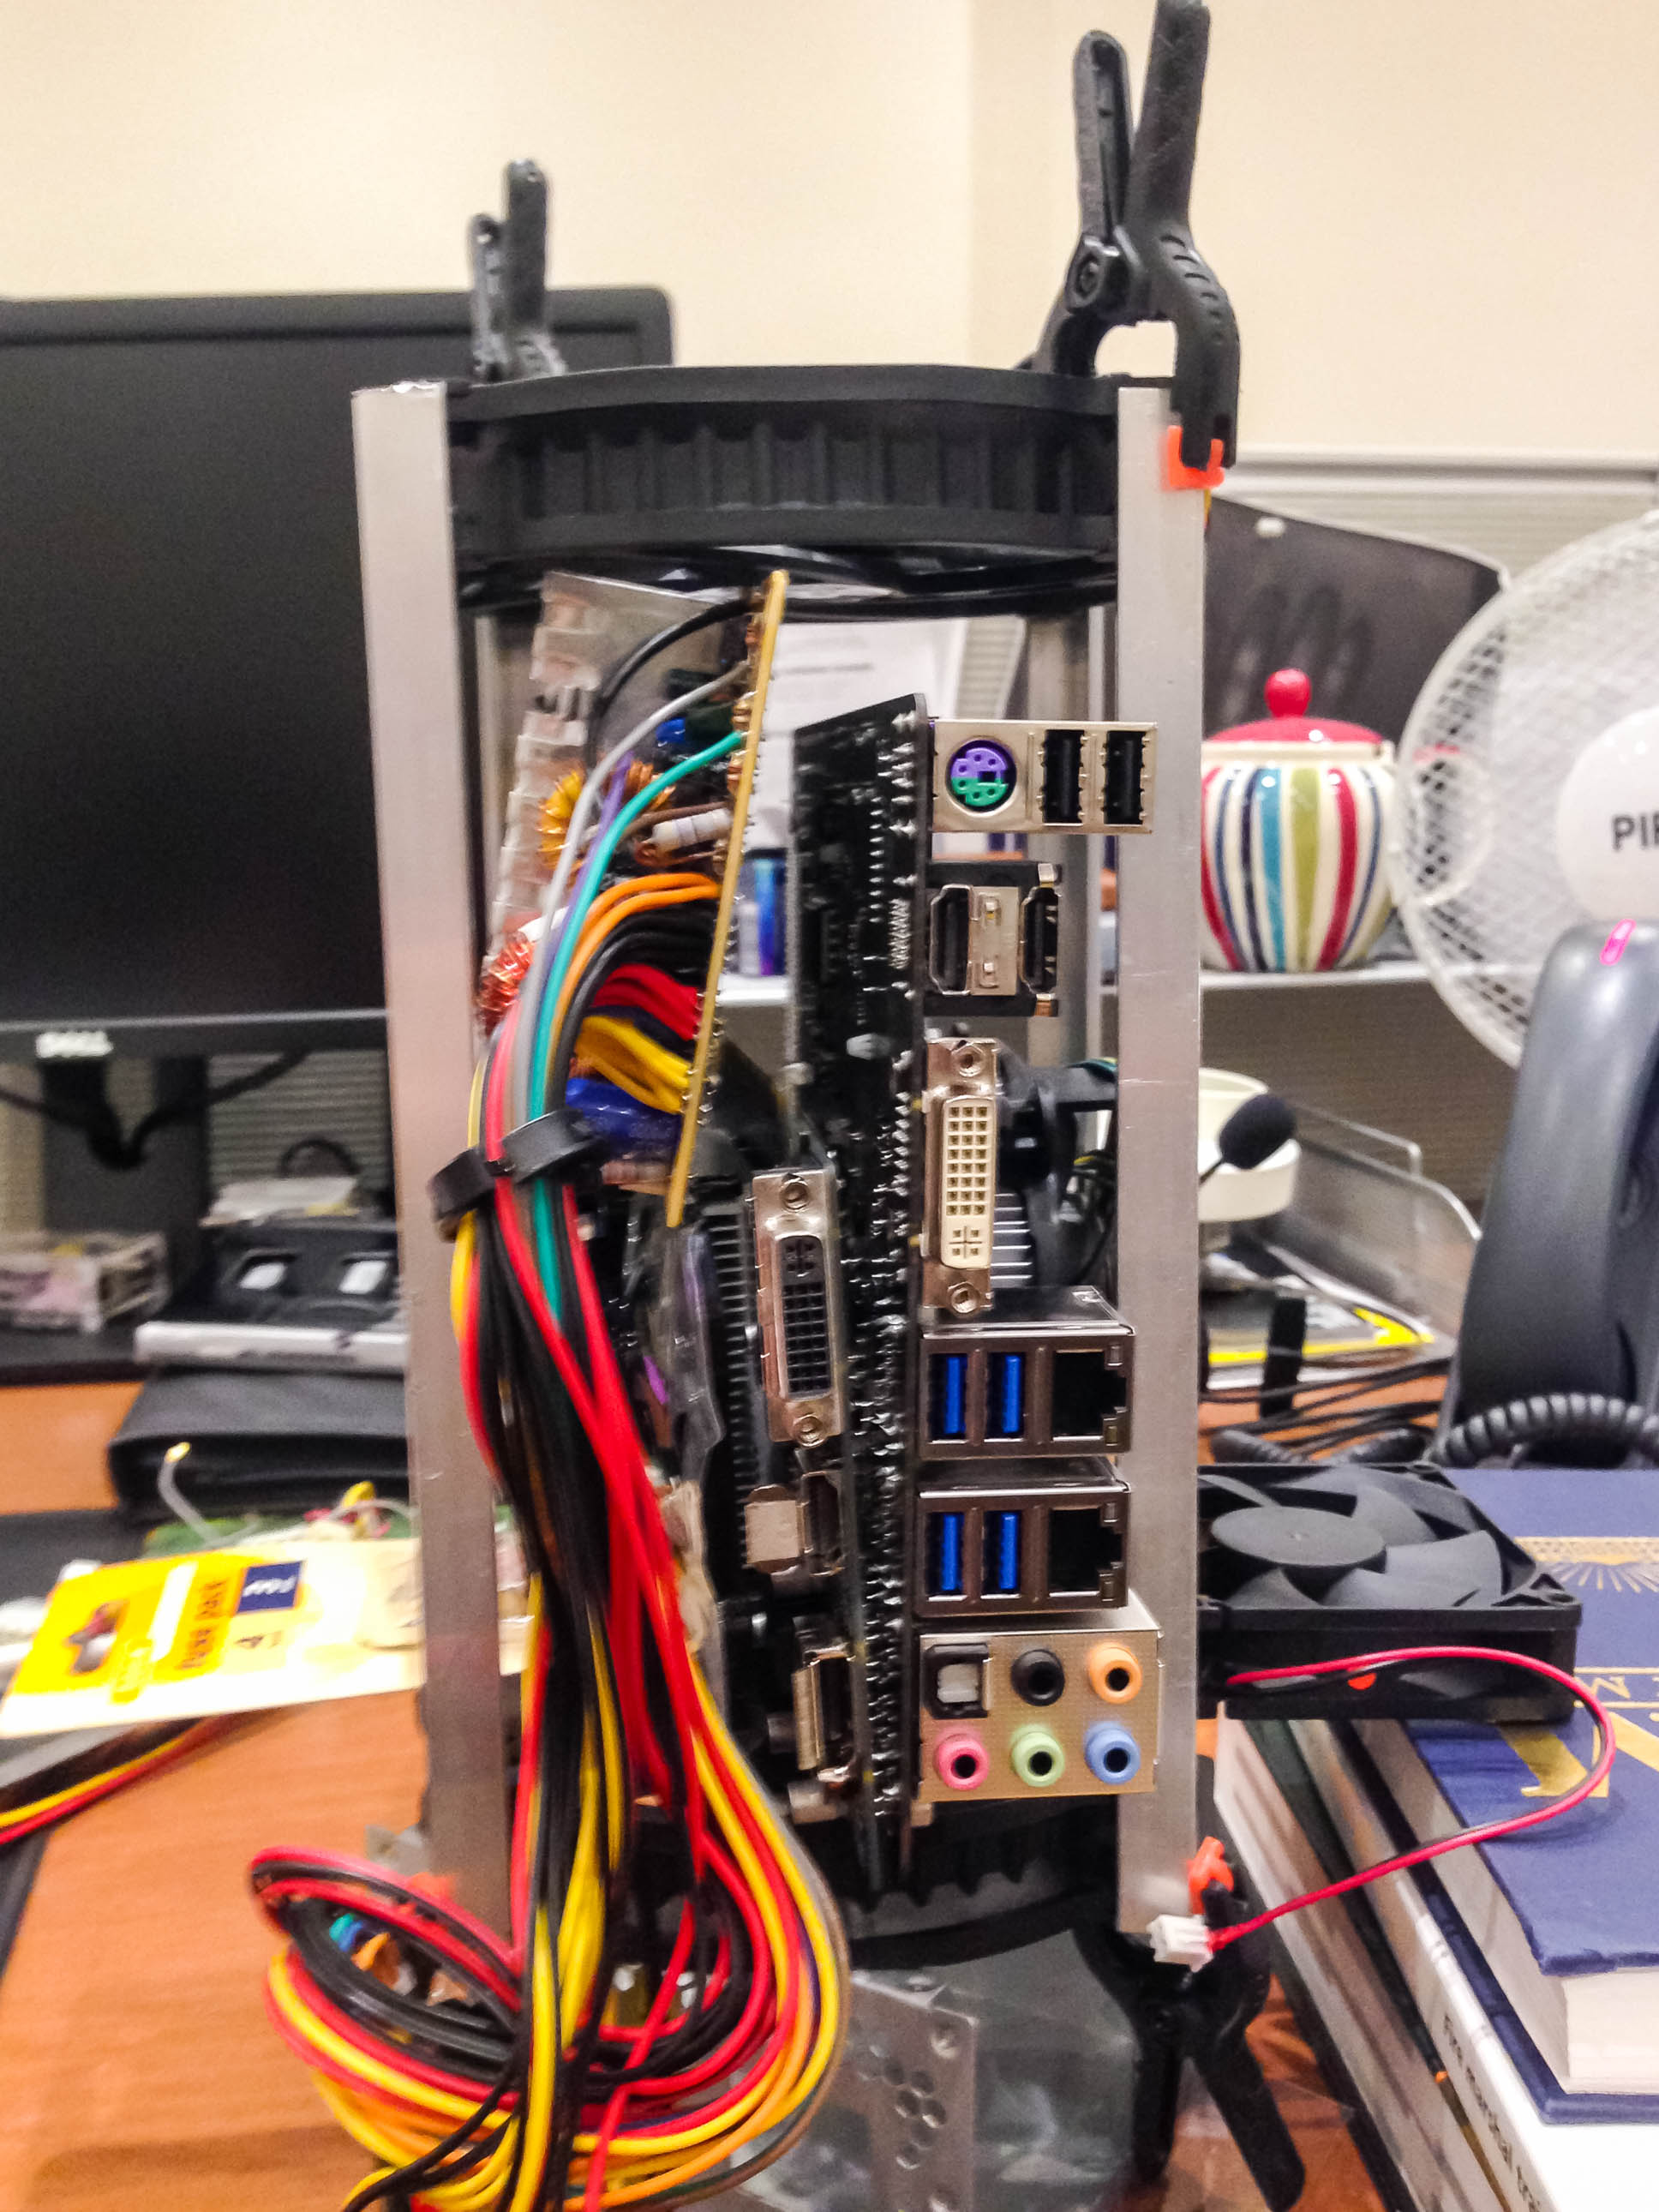
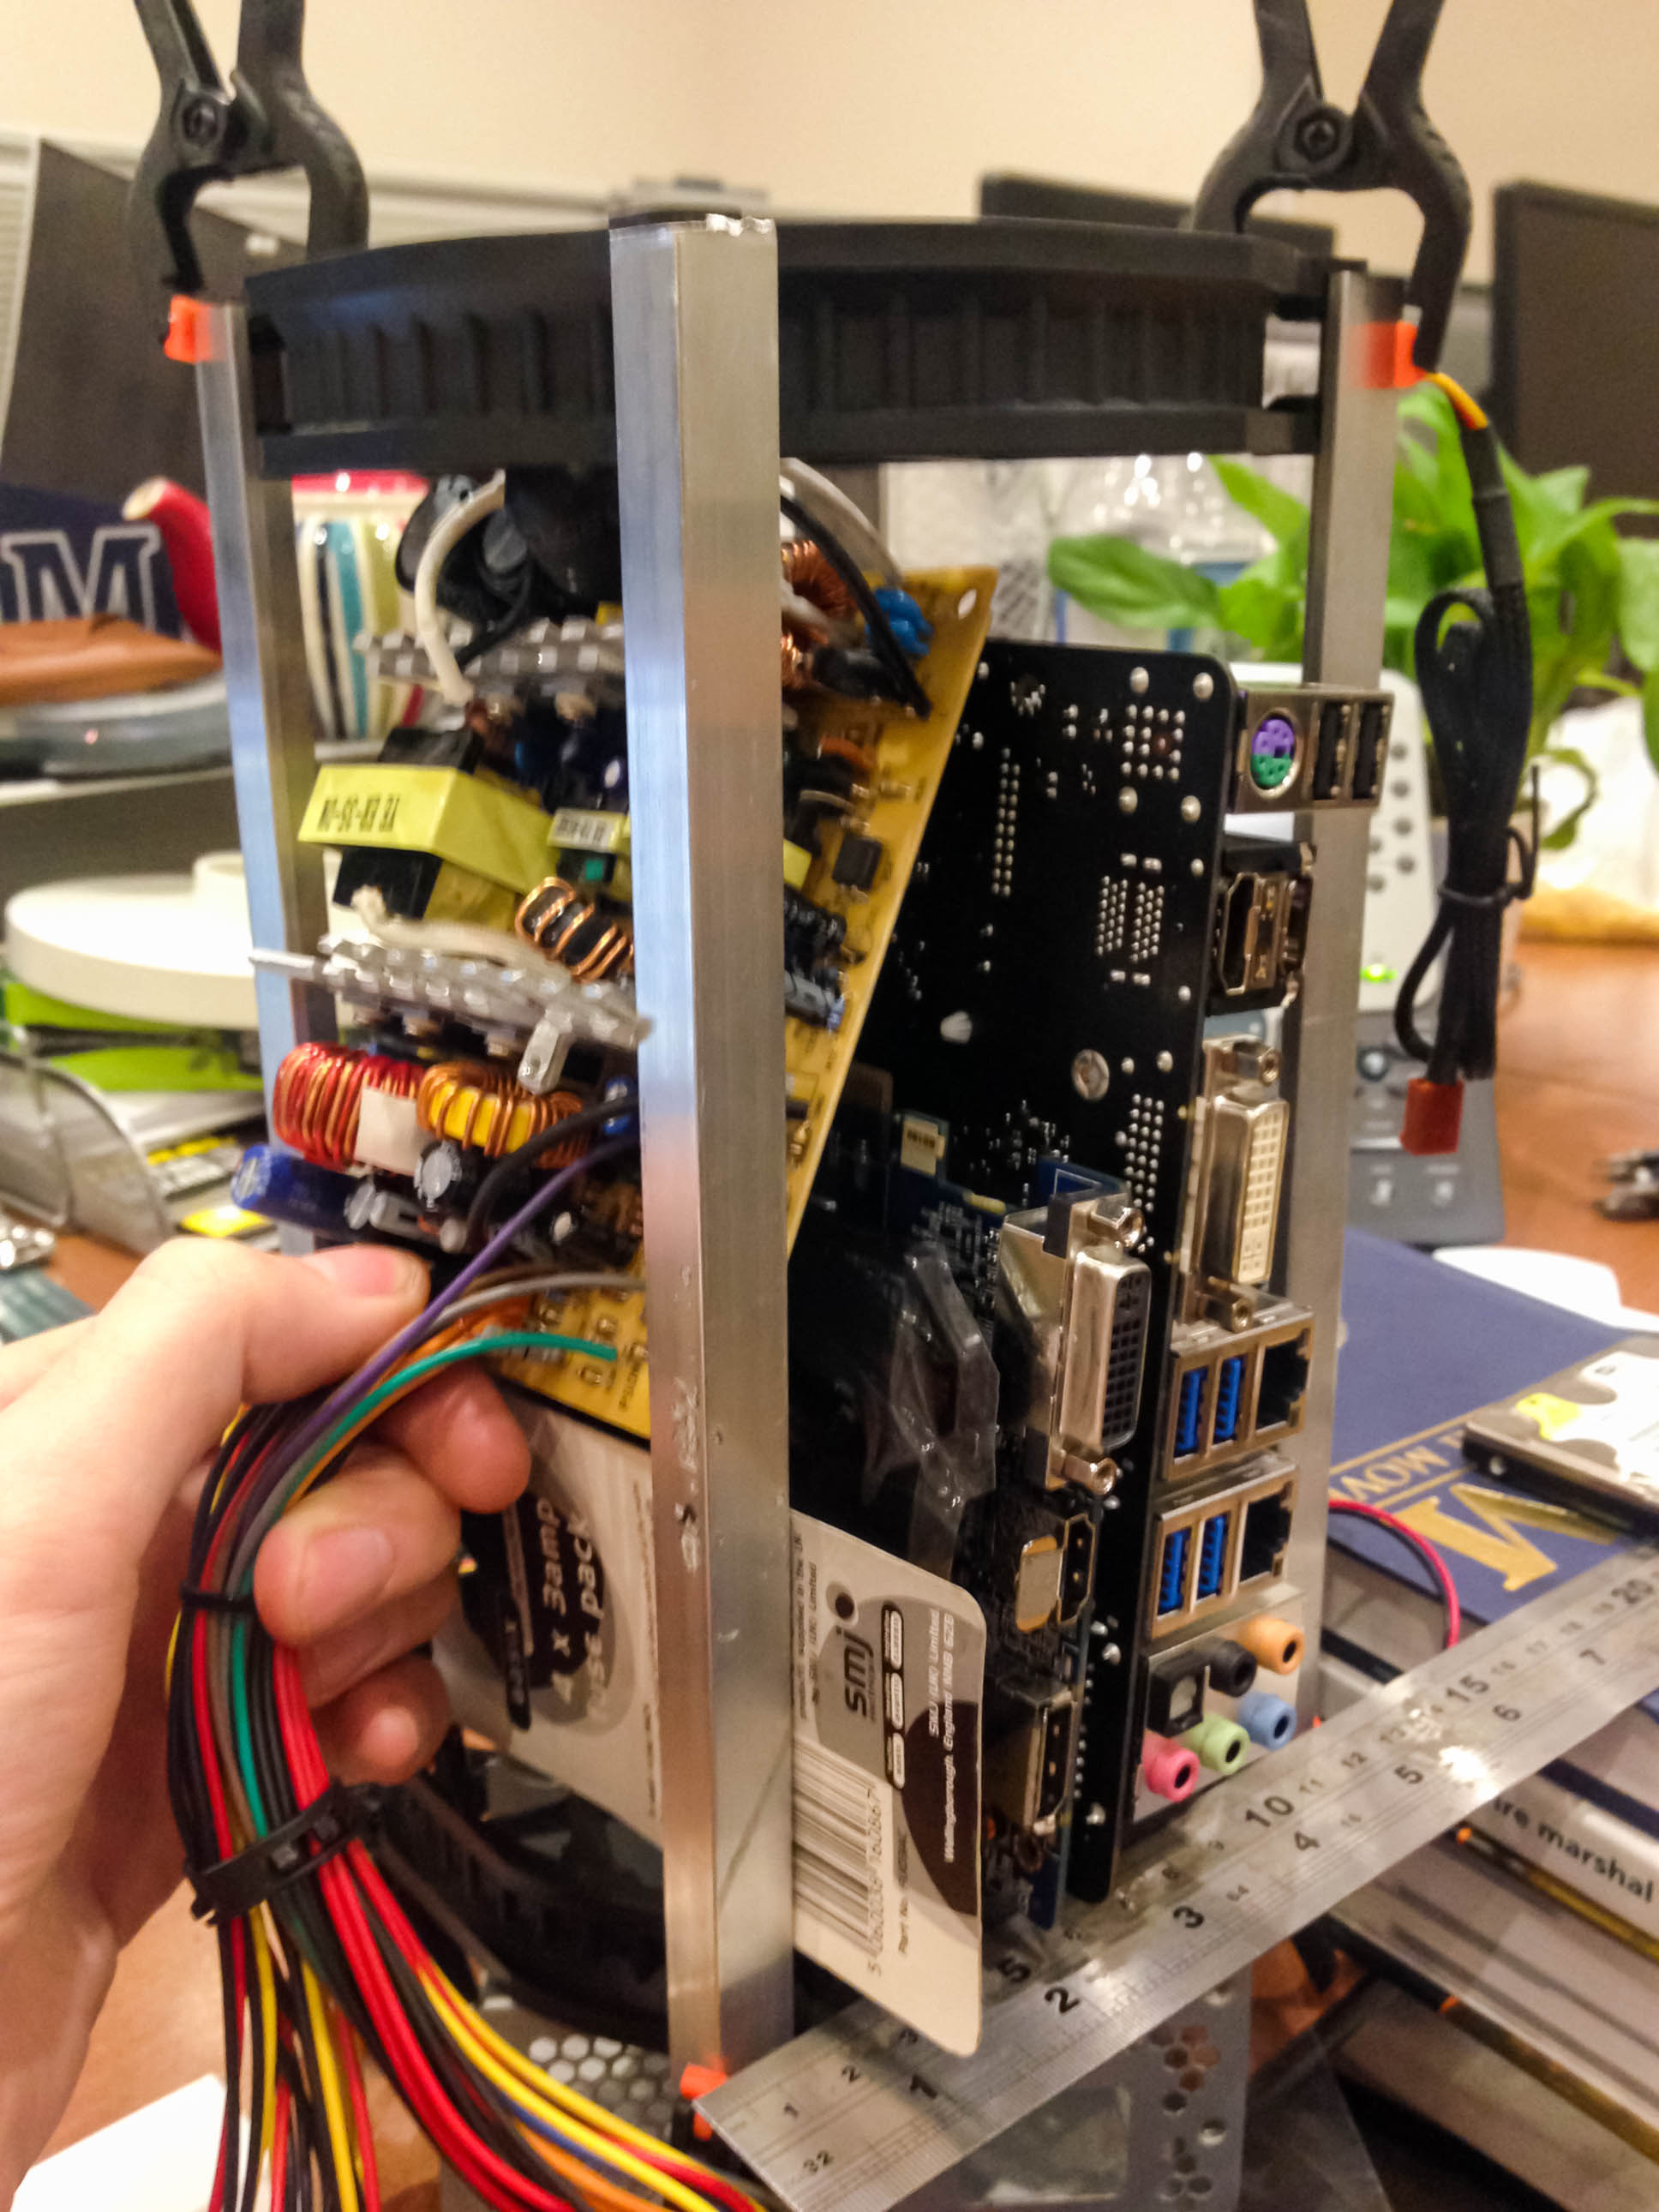
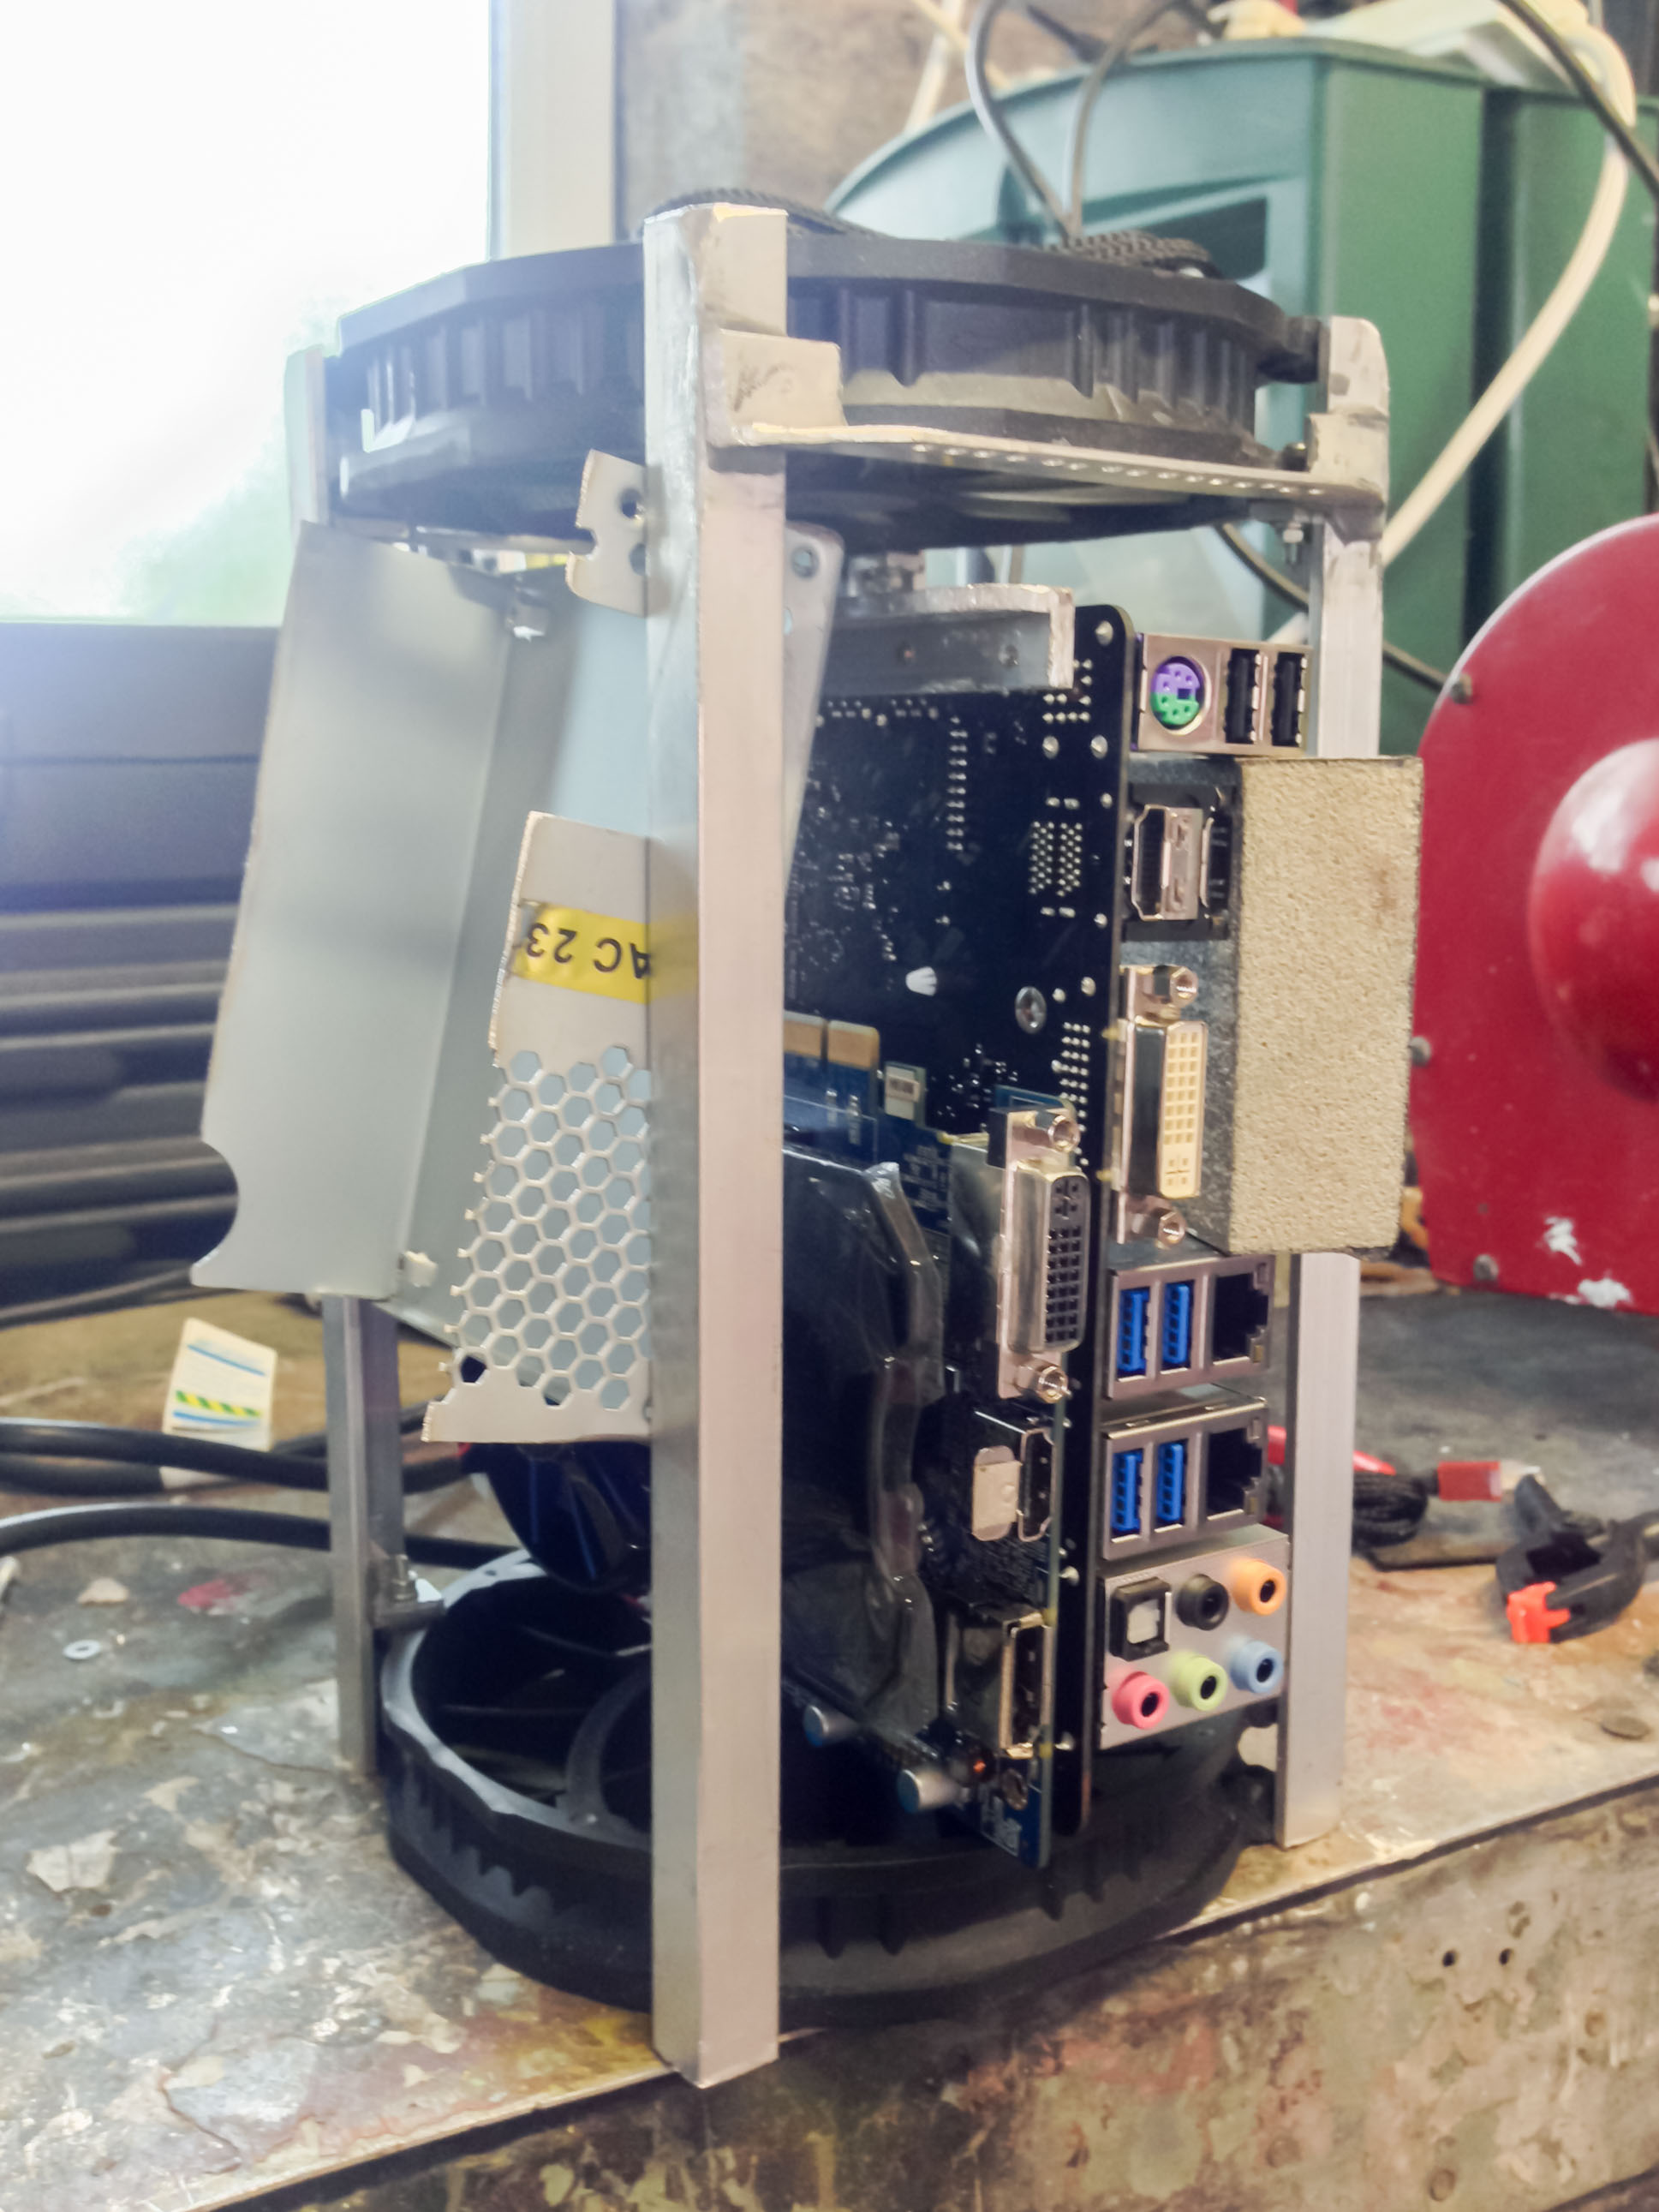
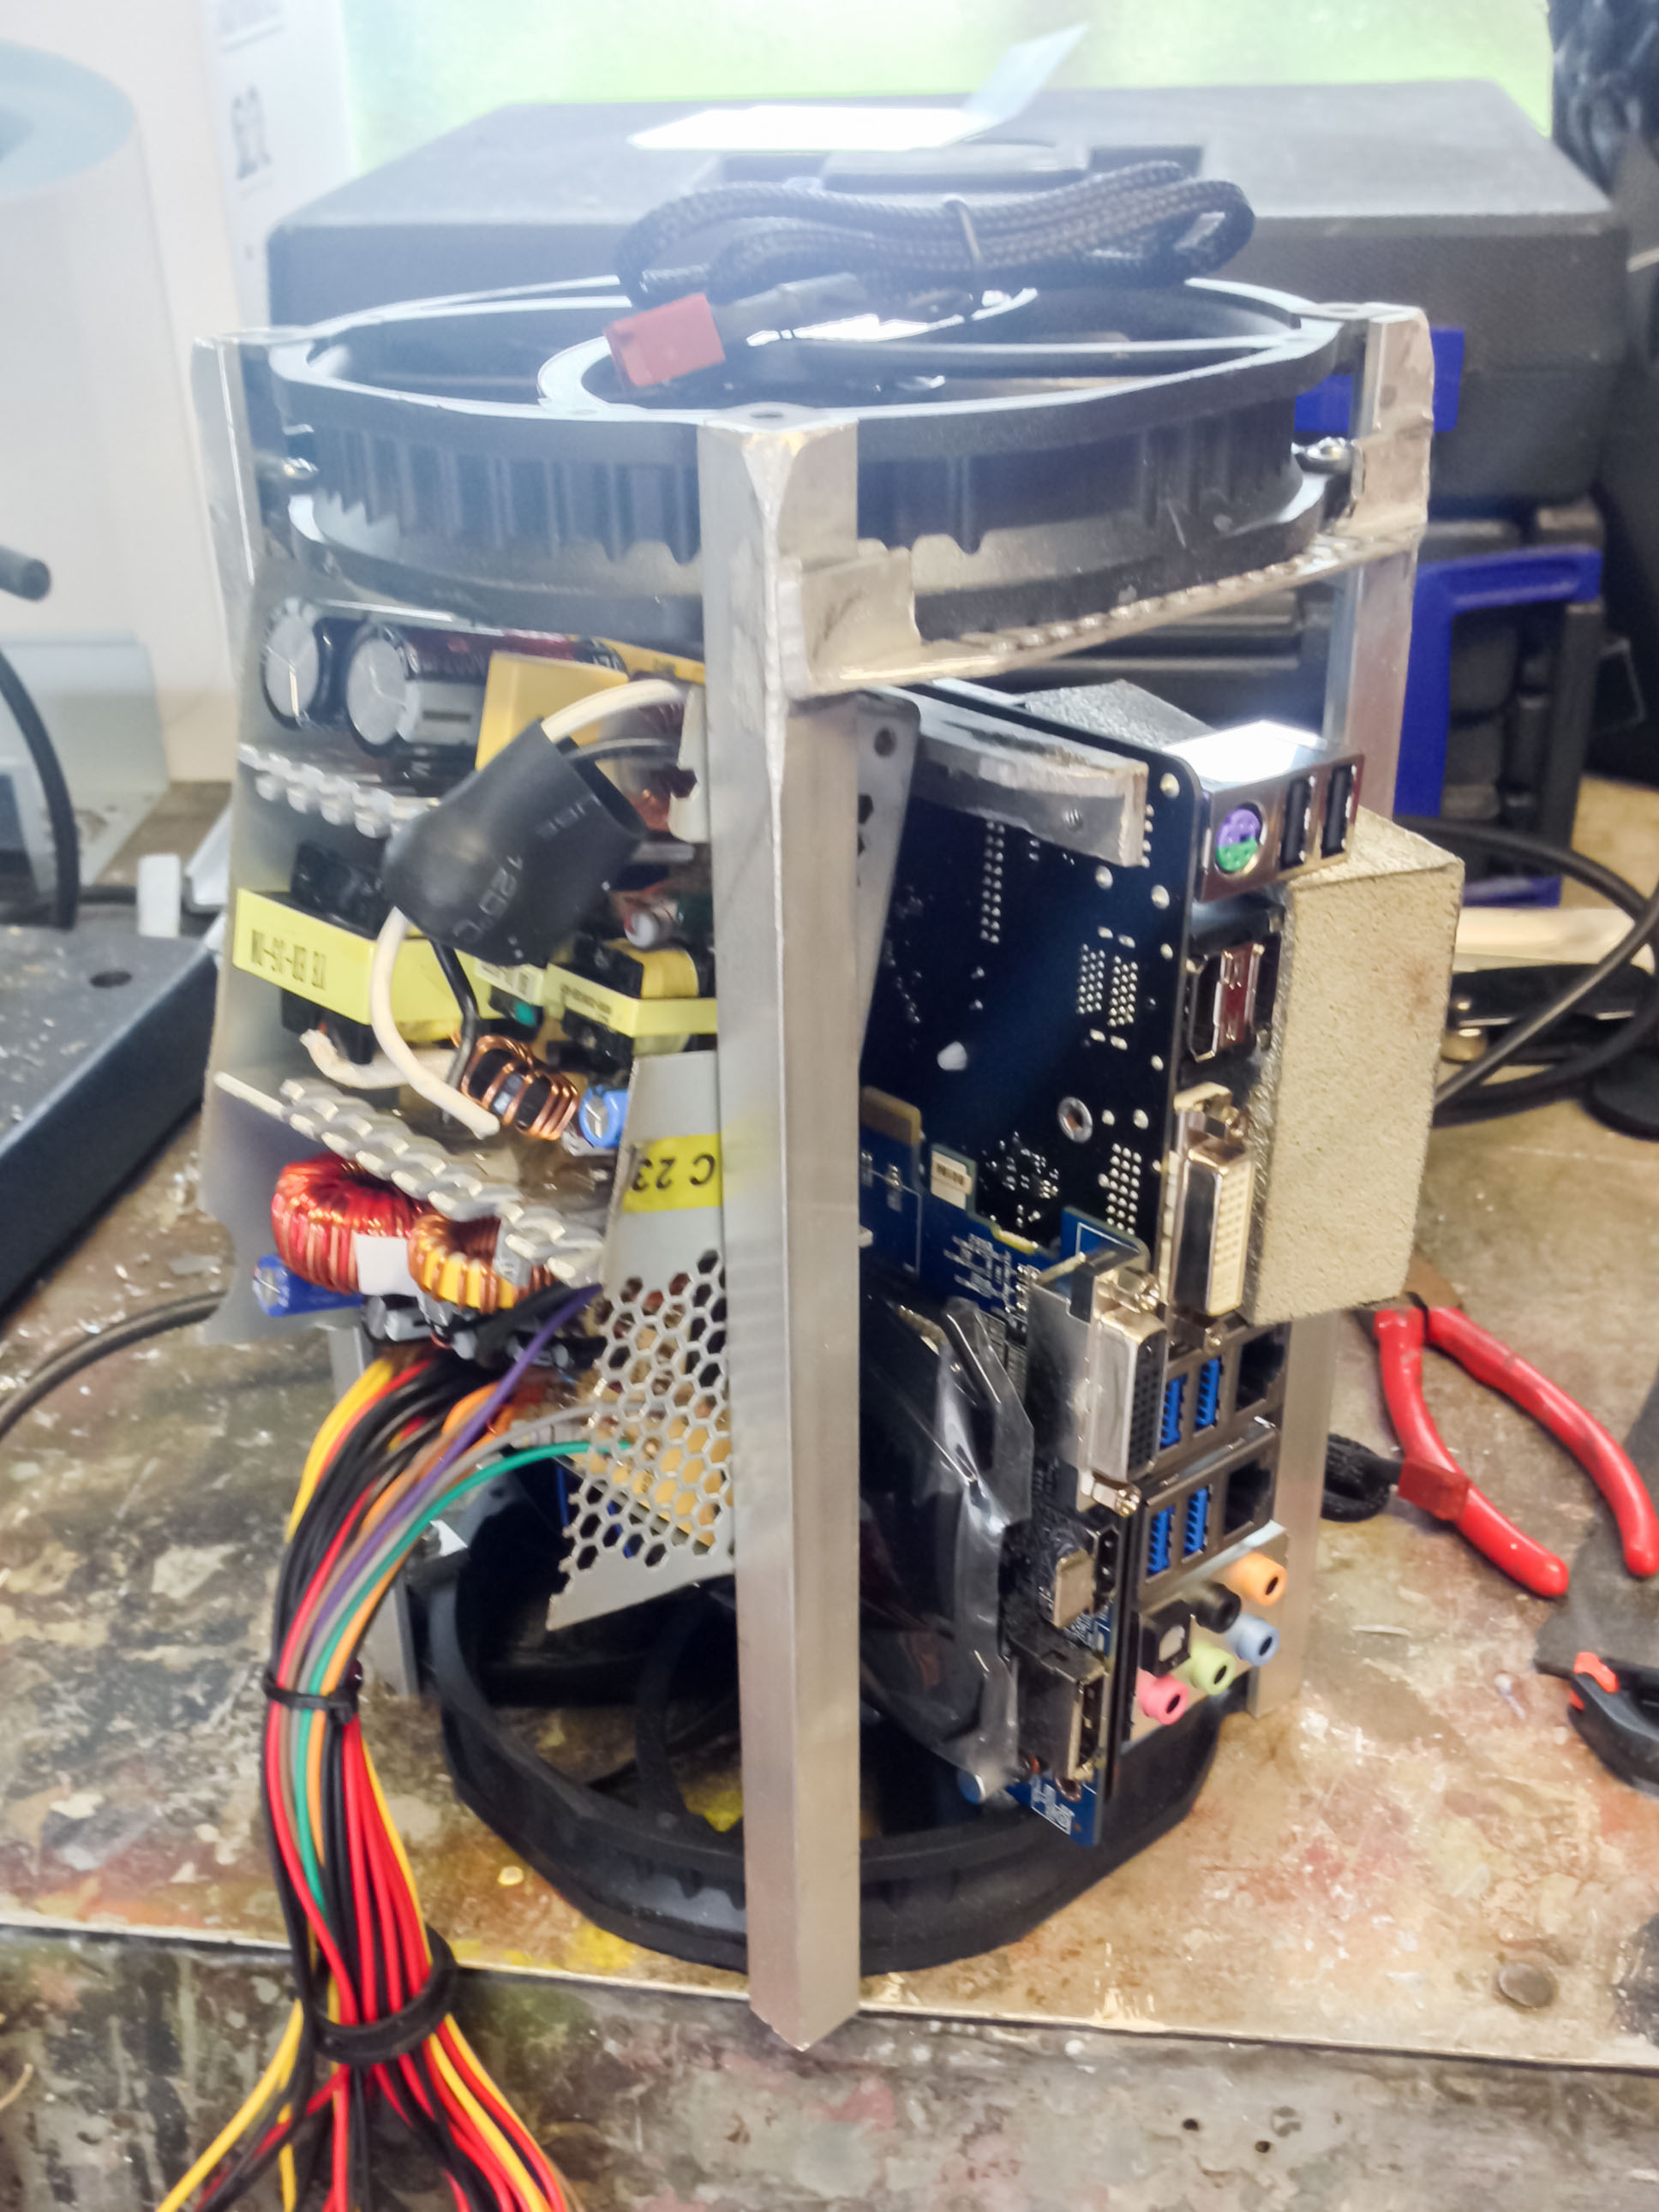
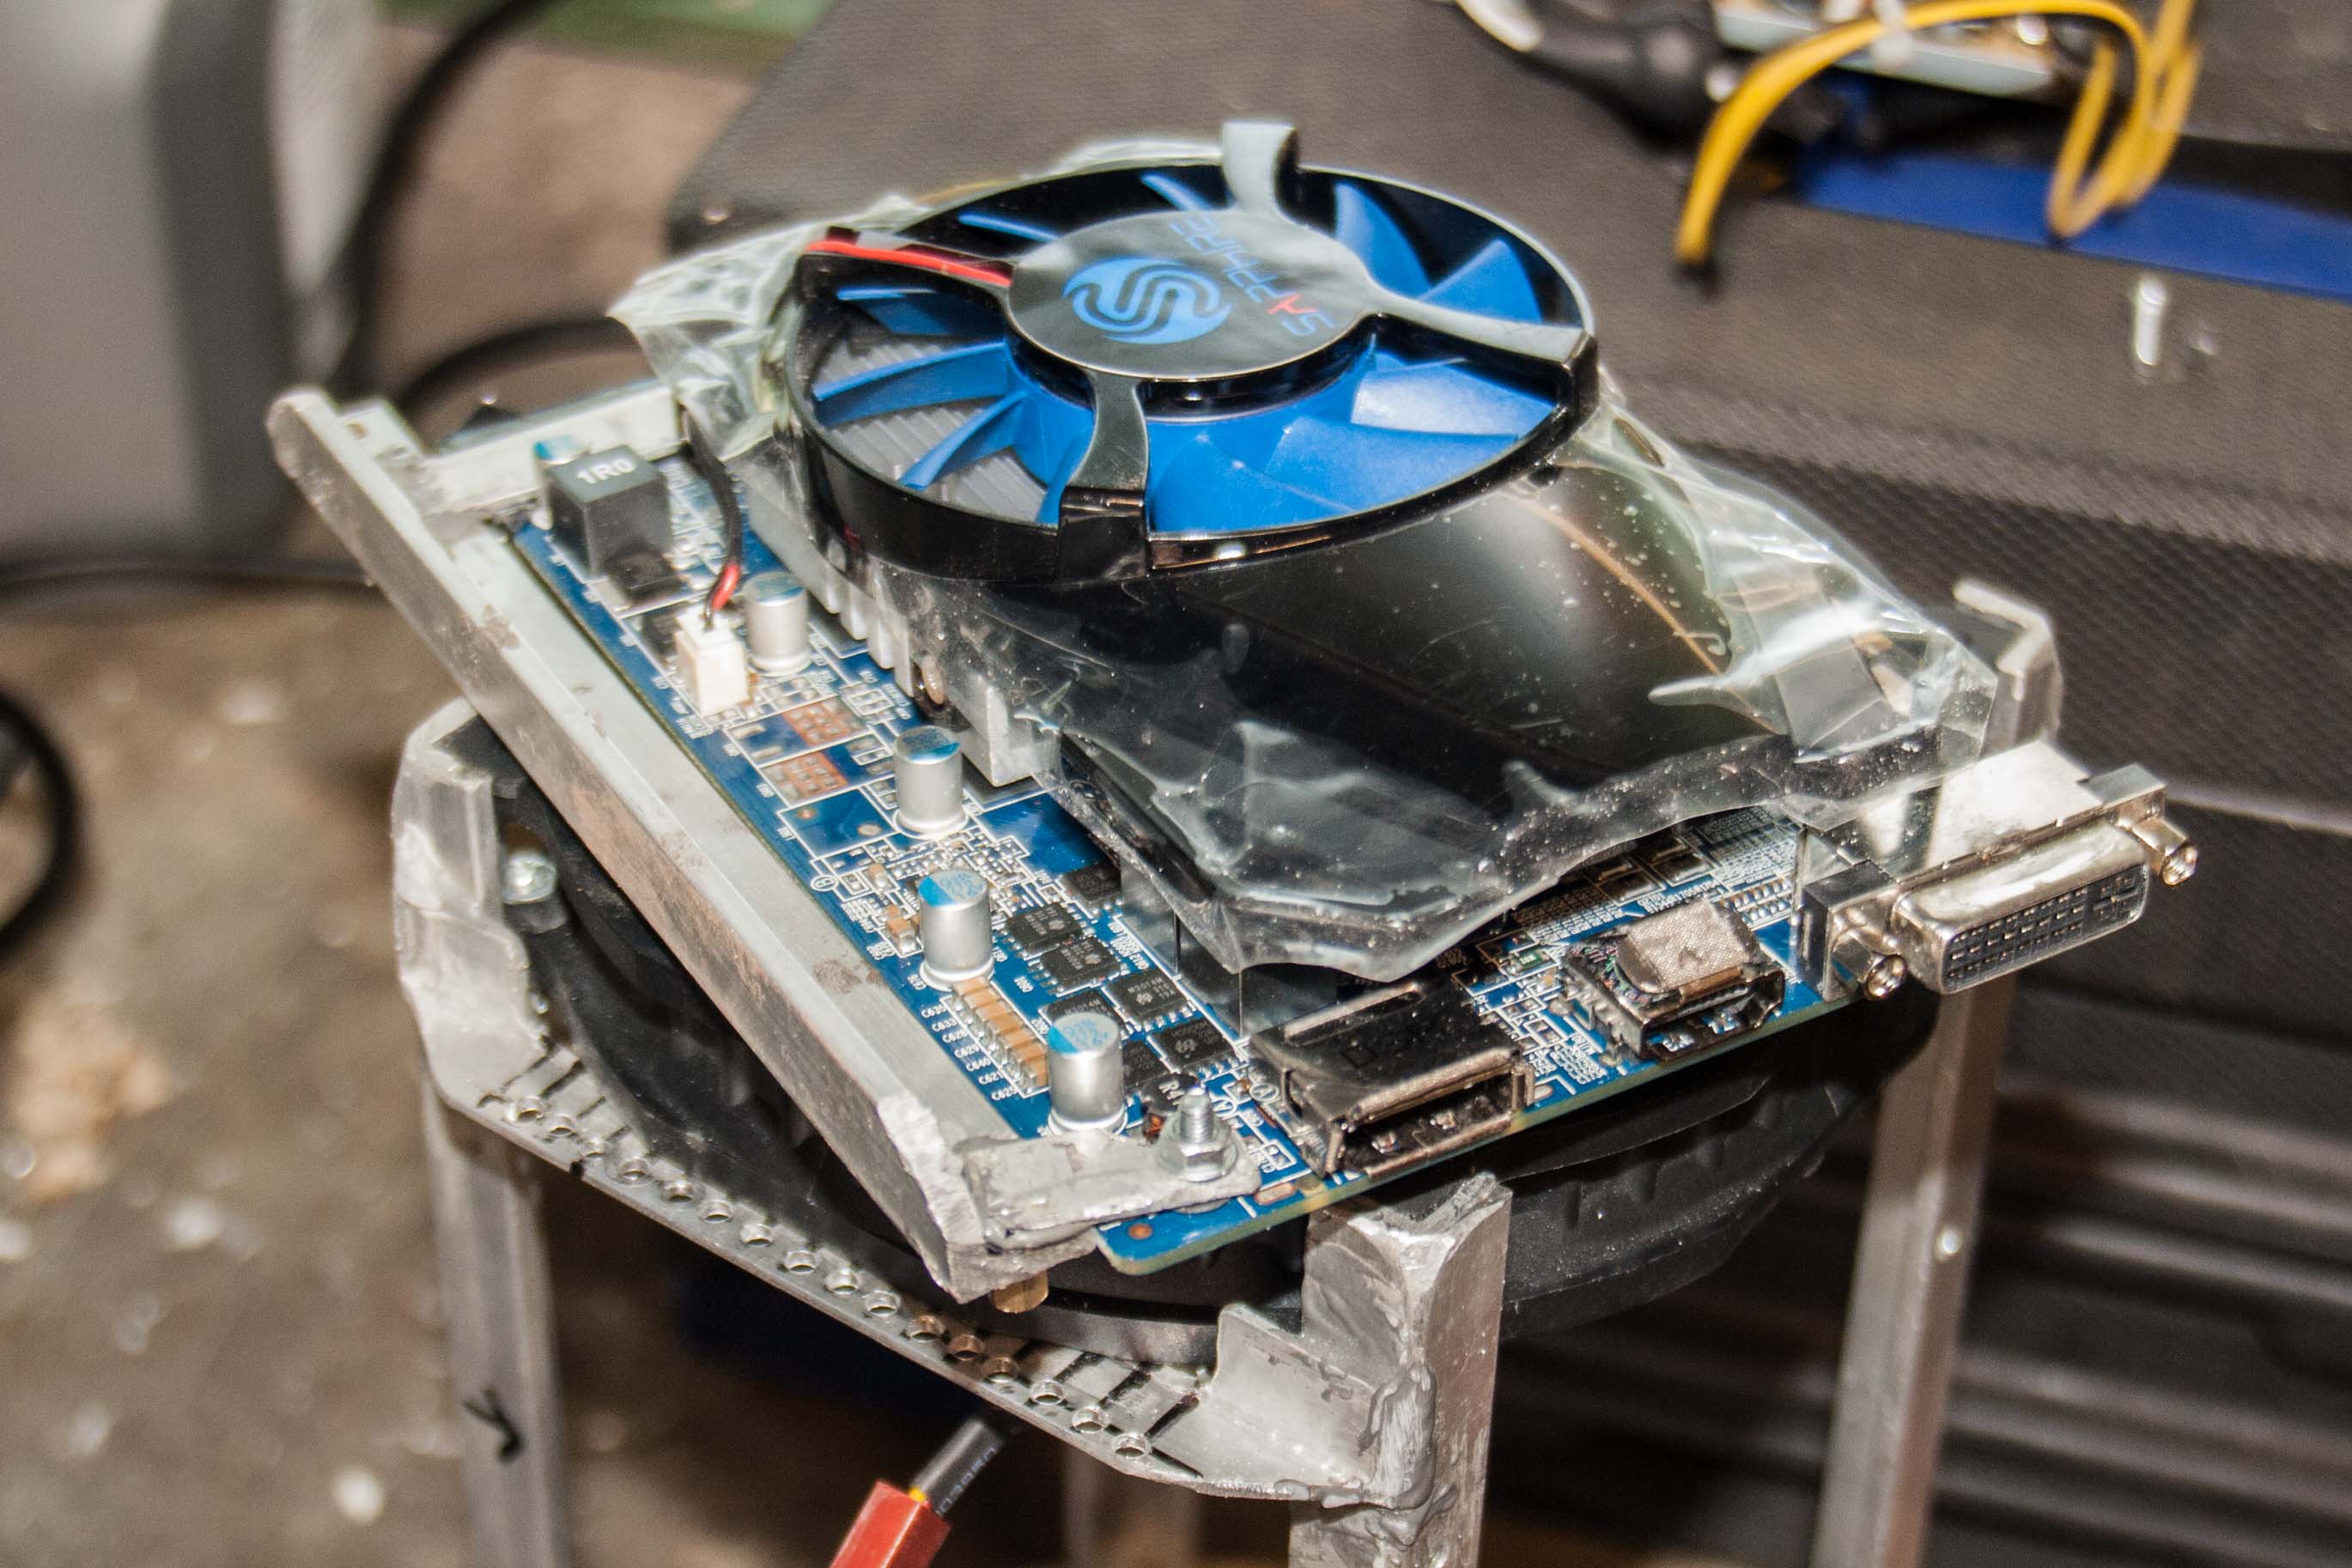
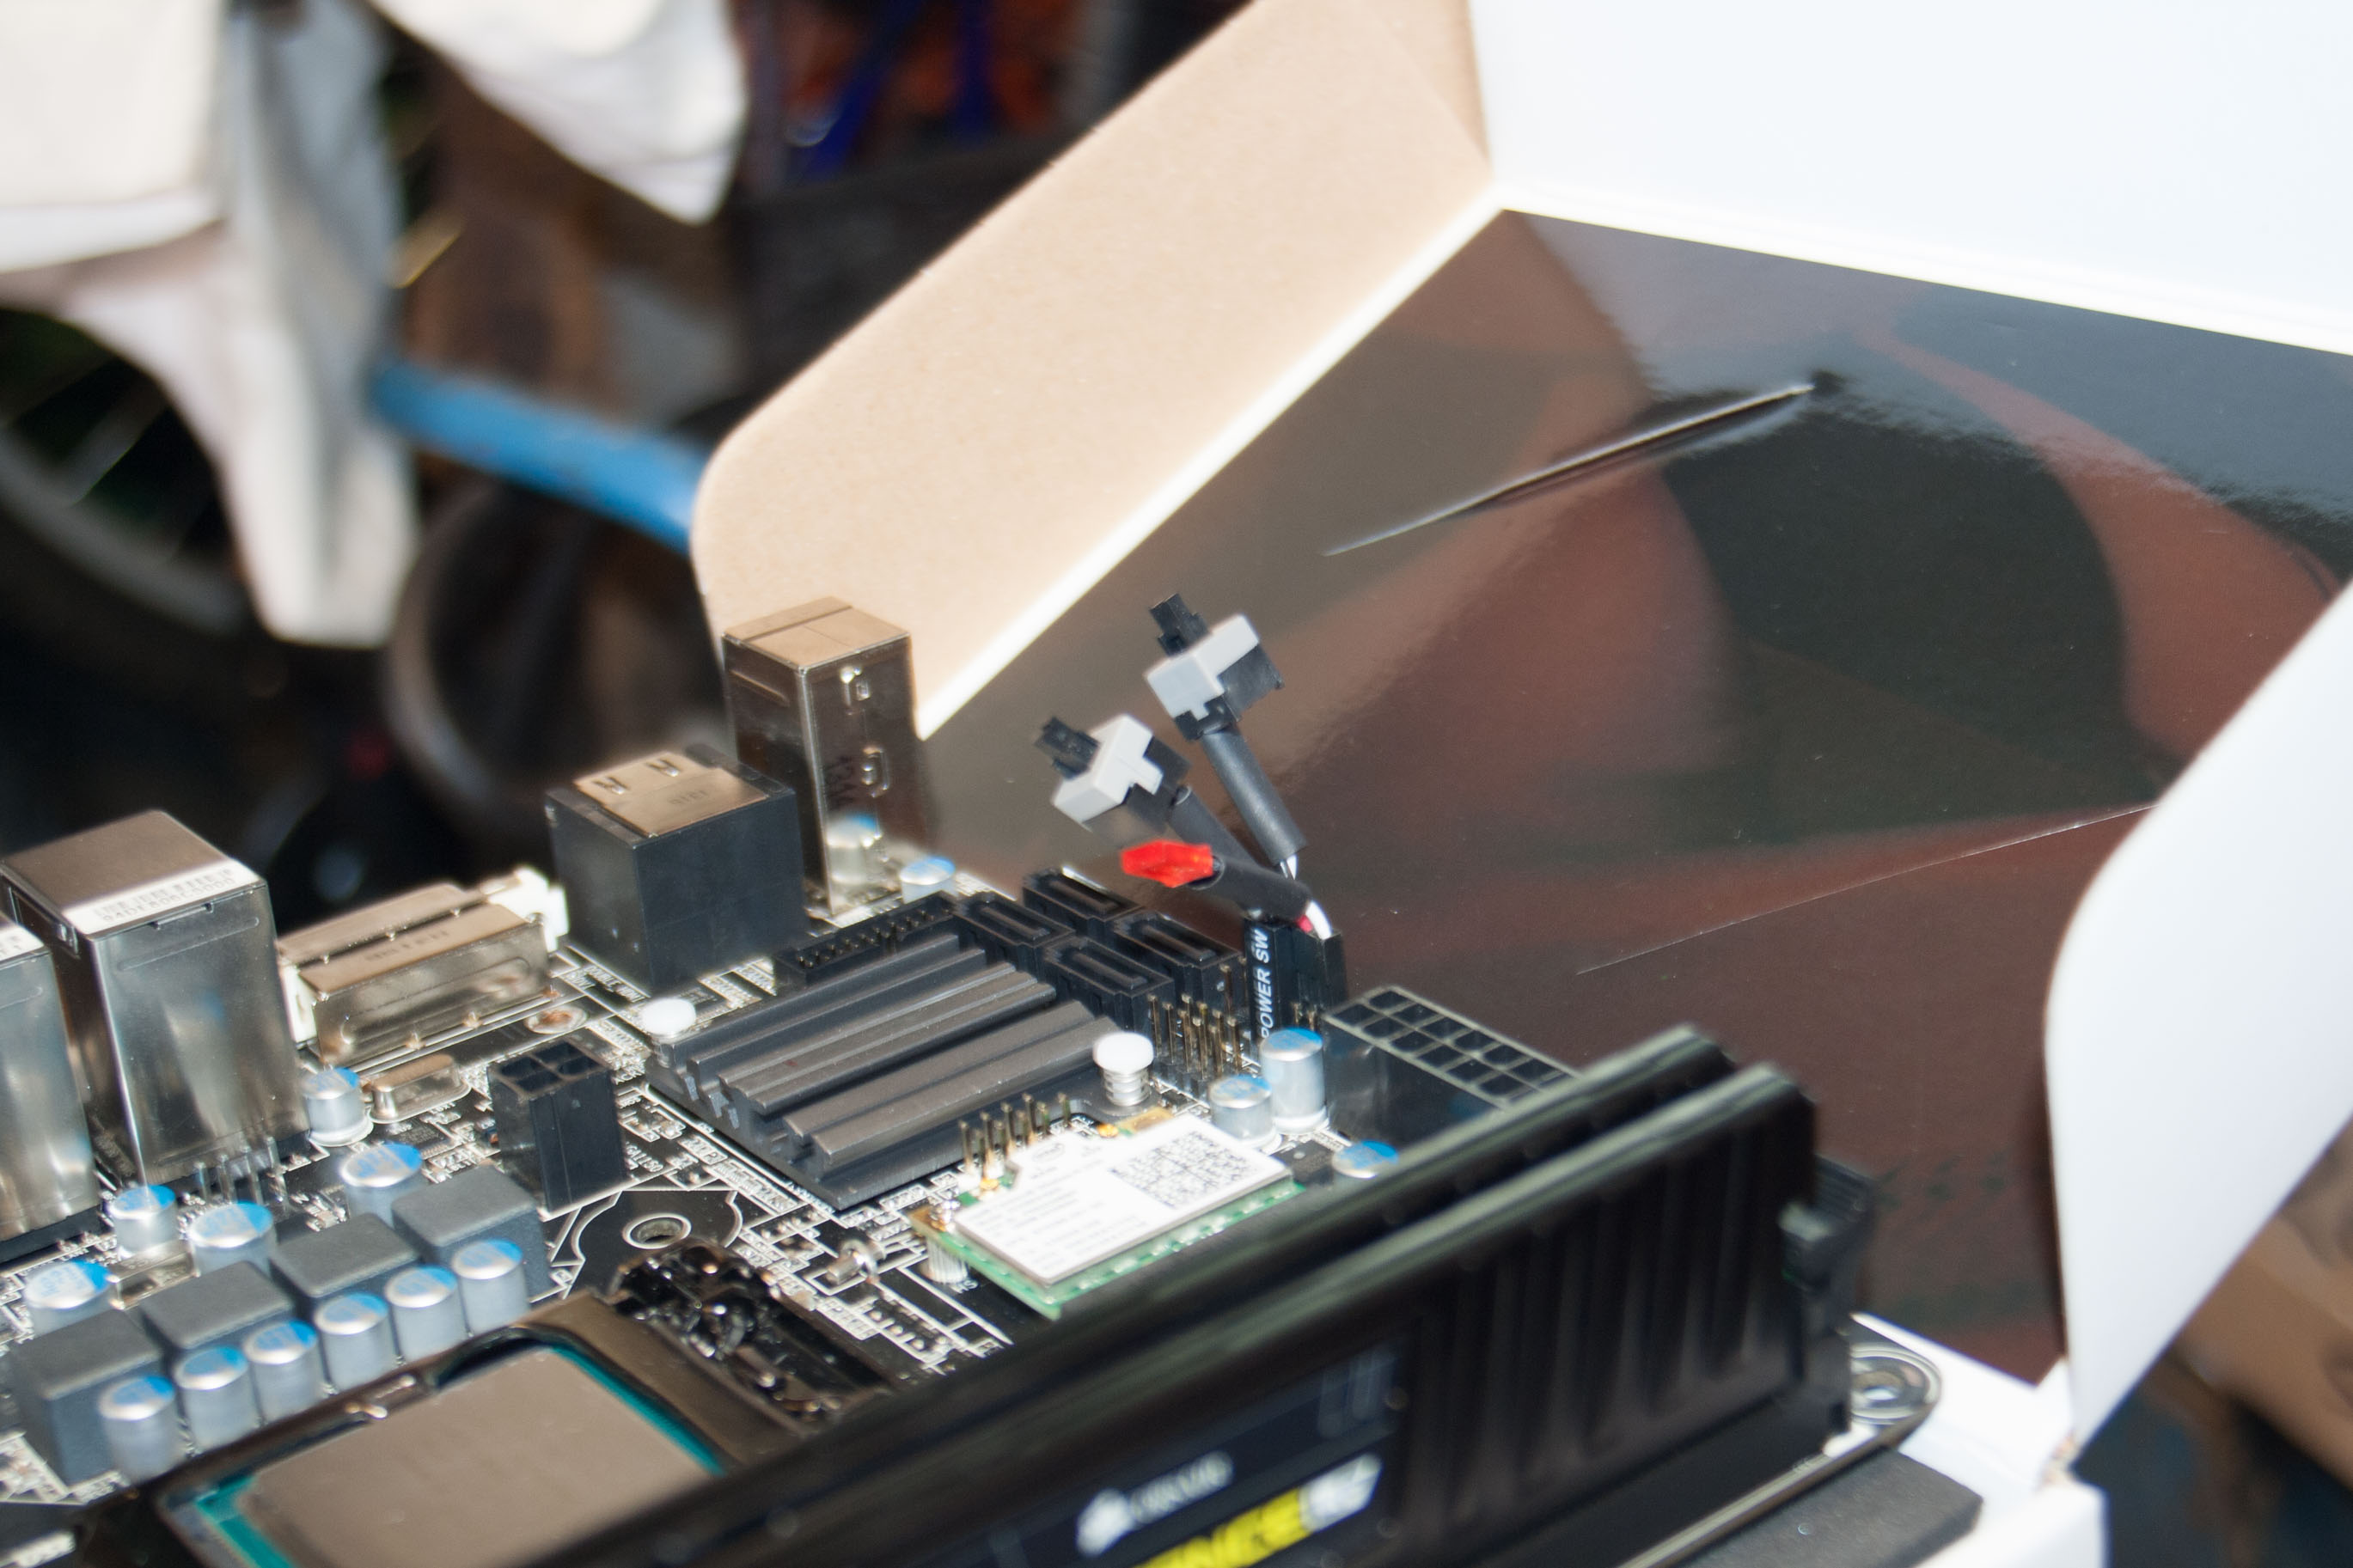
Positioning Motherboard and GPU together.
Mockup held together with clips
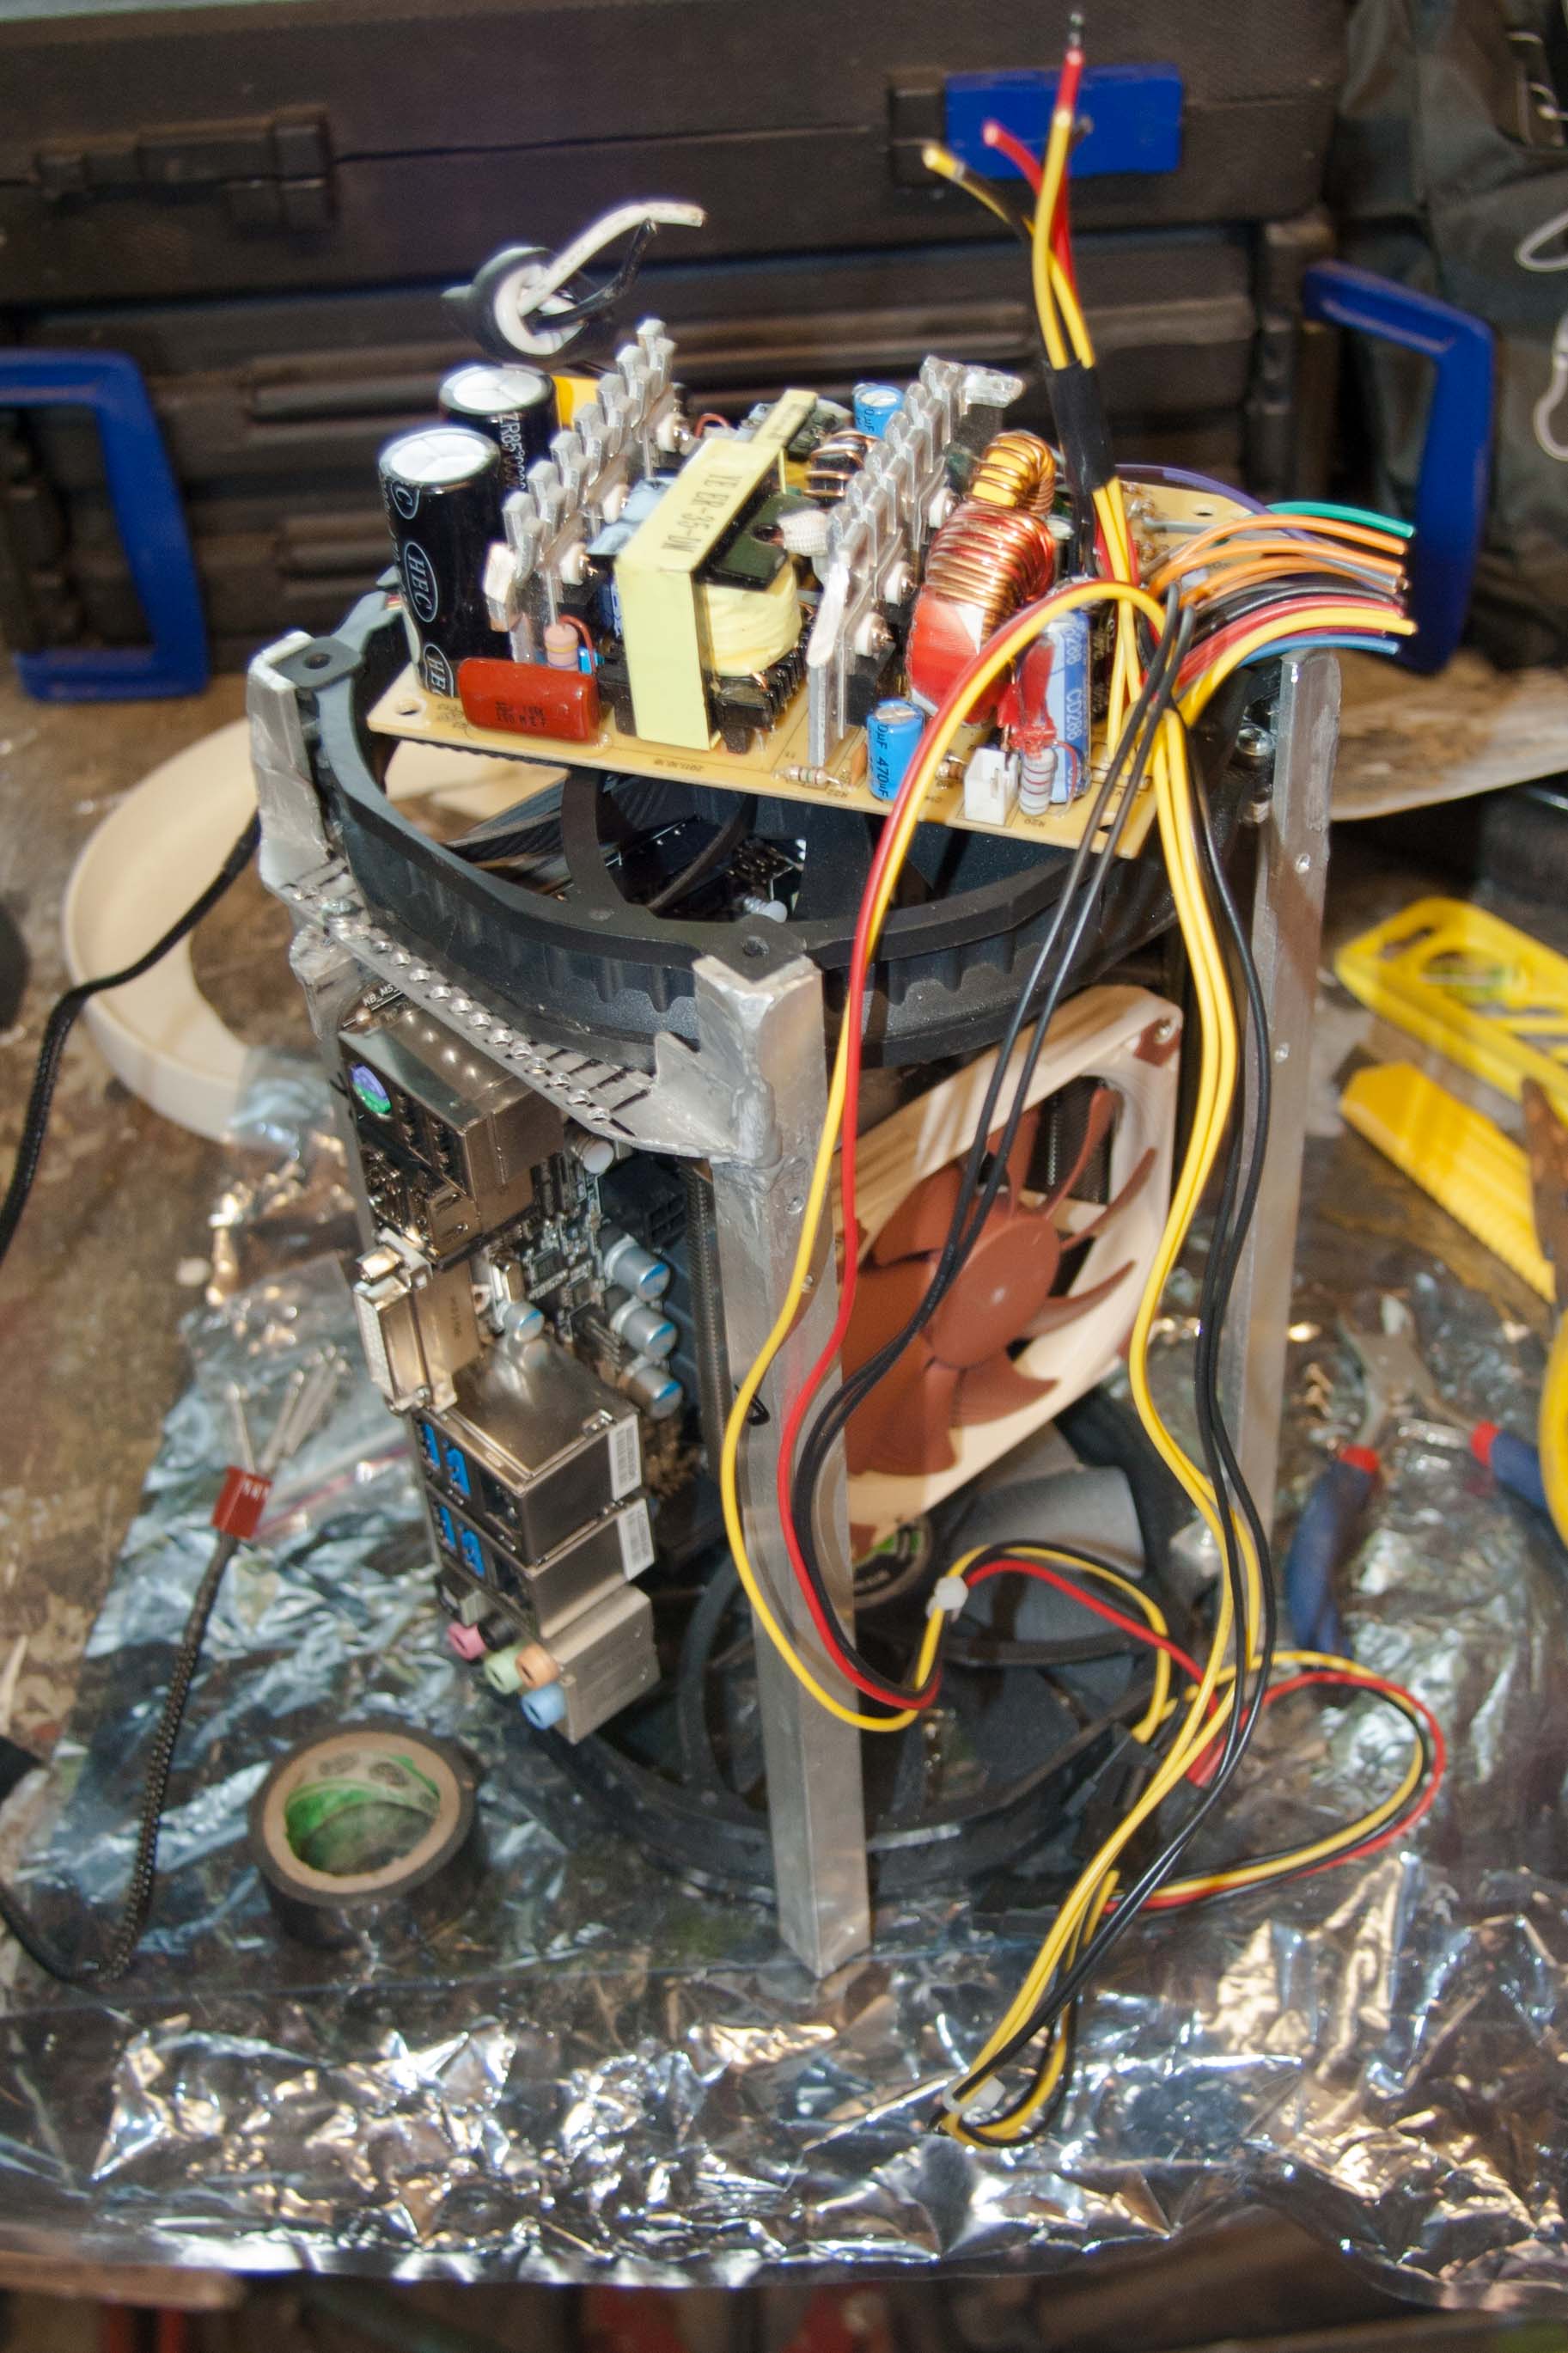
Trying to give the PSU a good airflow
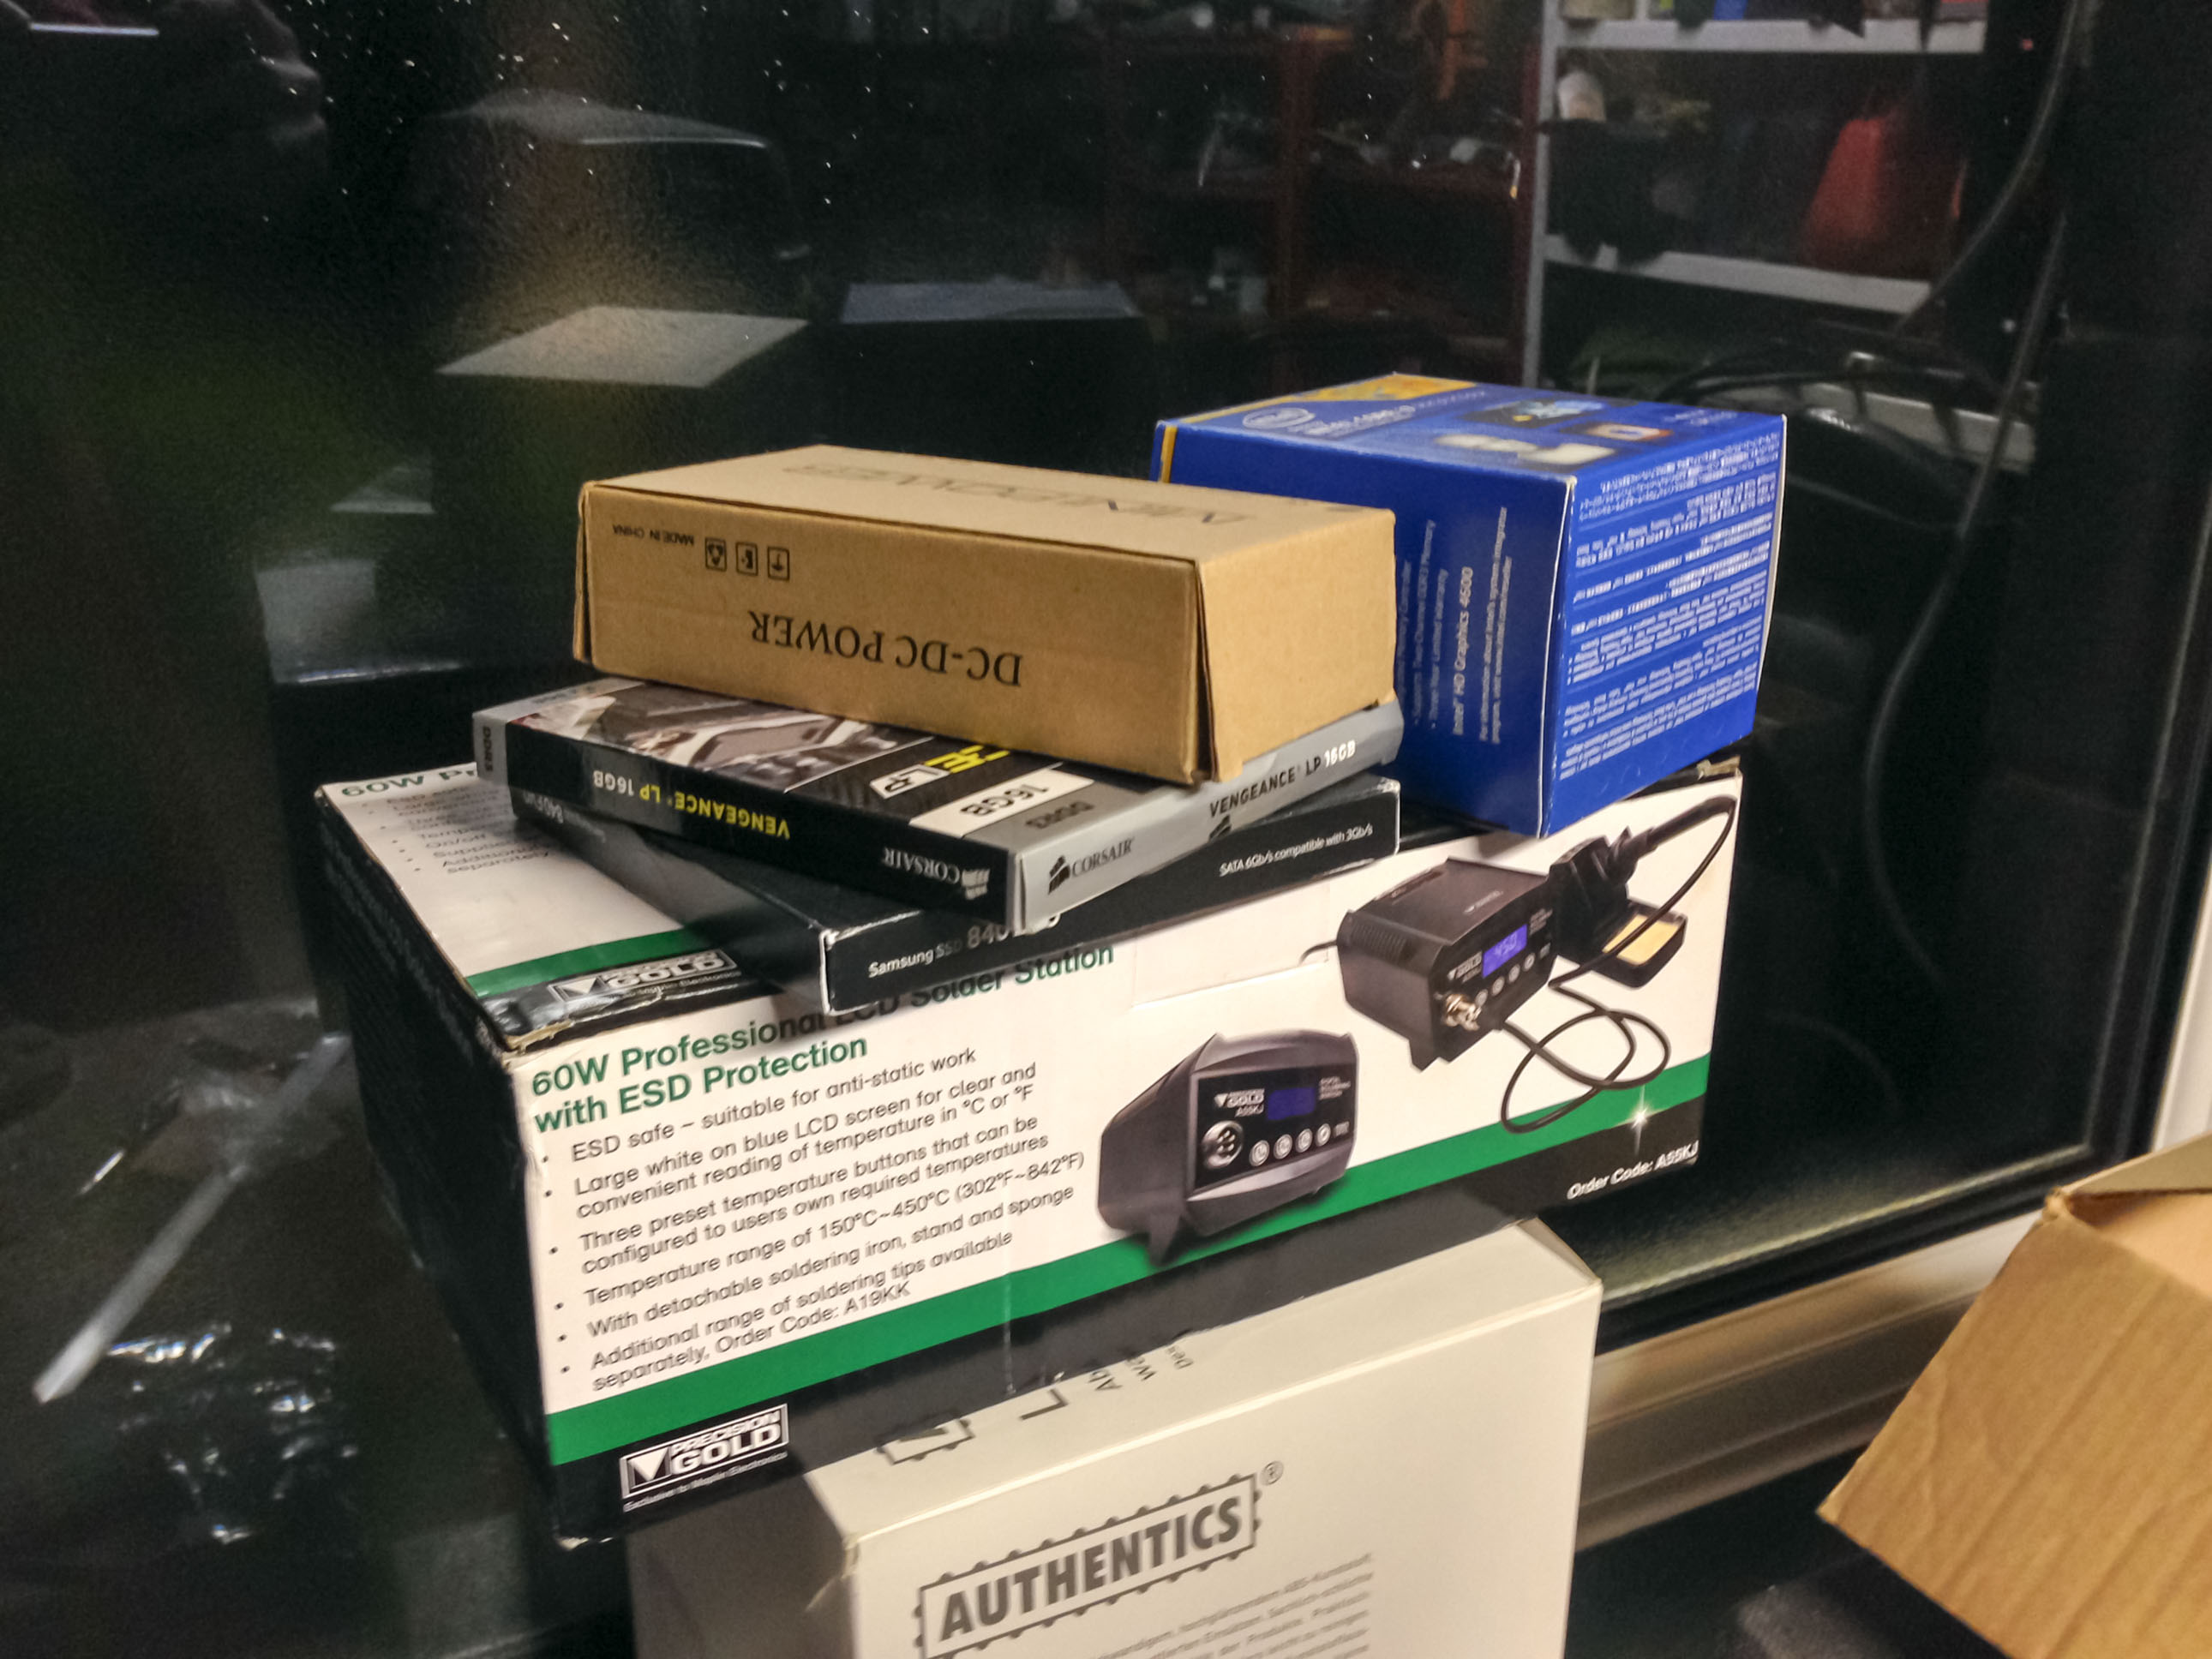
The big 3 that I need to make fit.
Should fit quite nicely
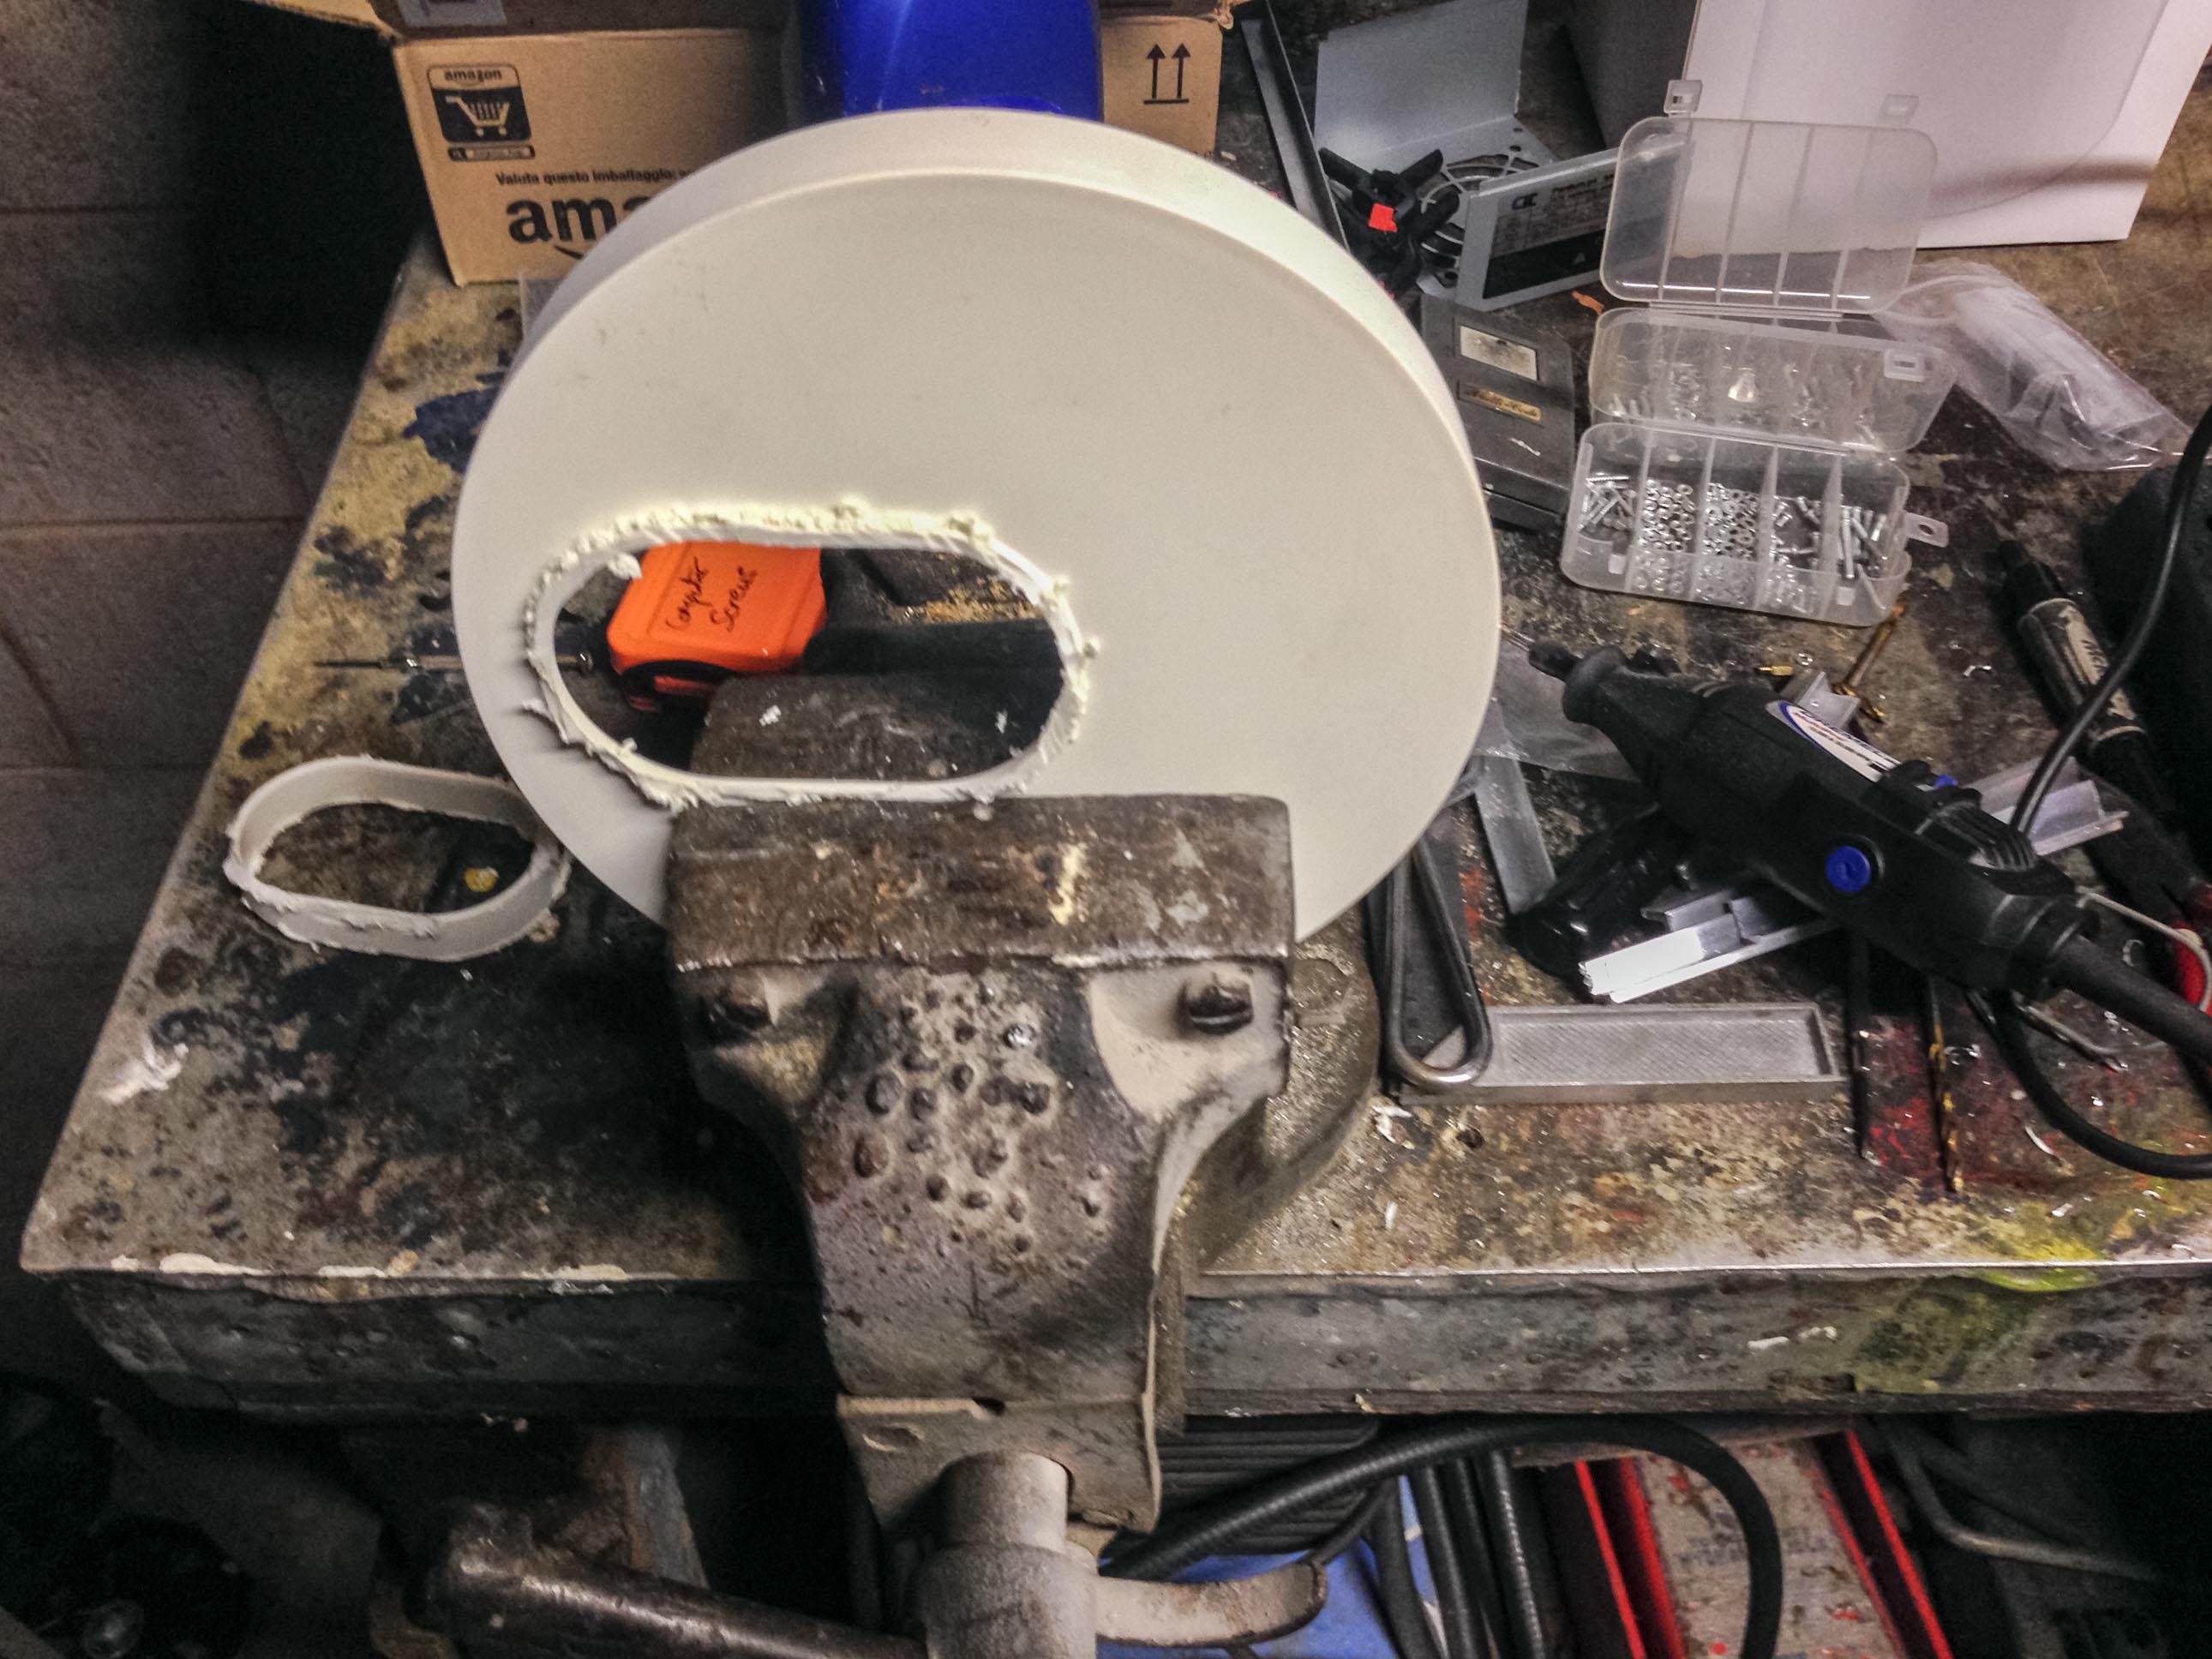
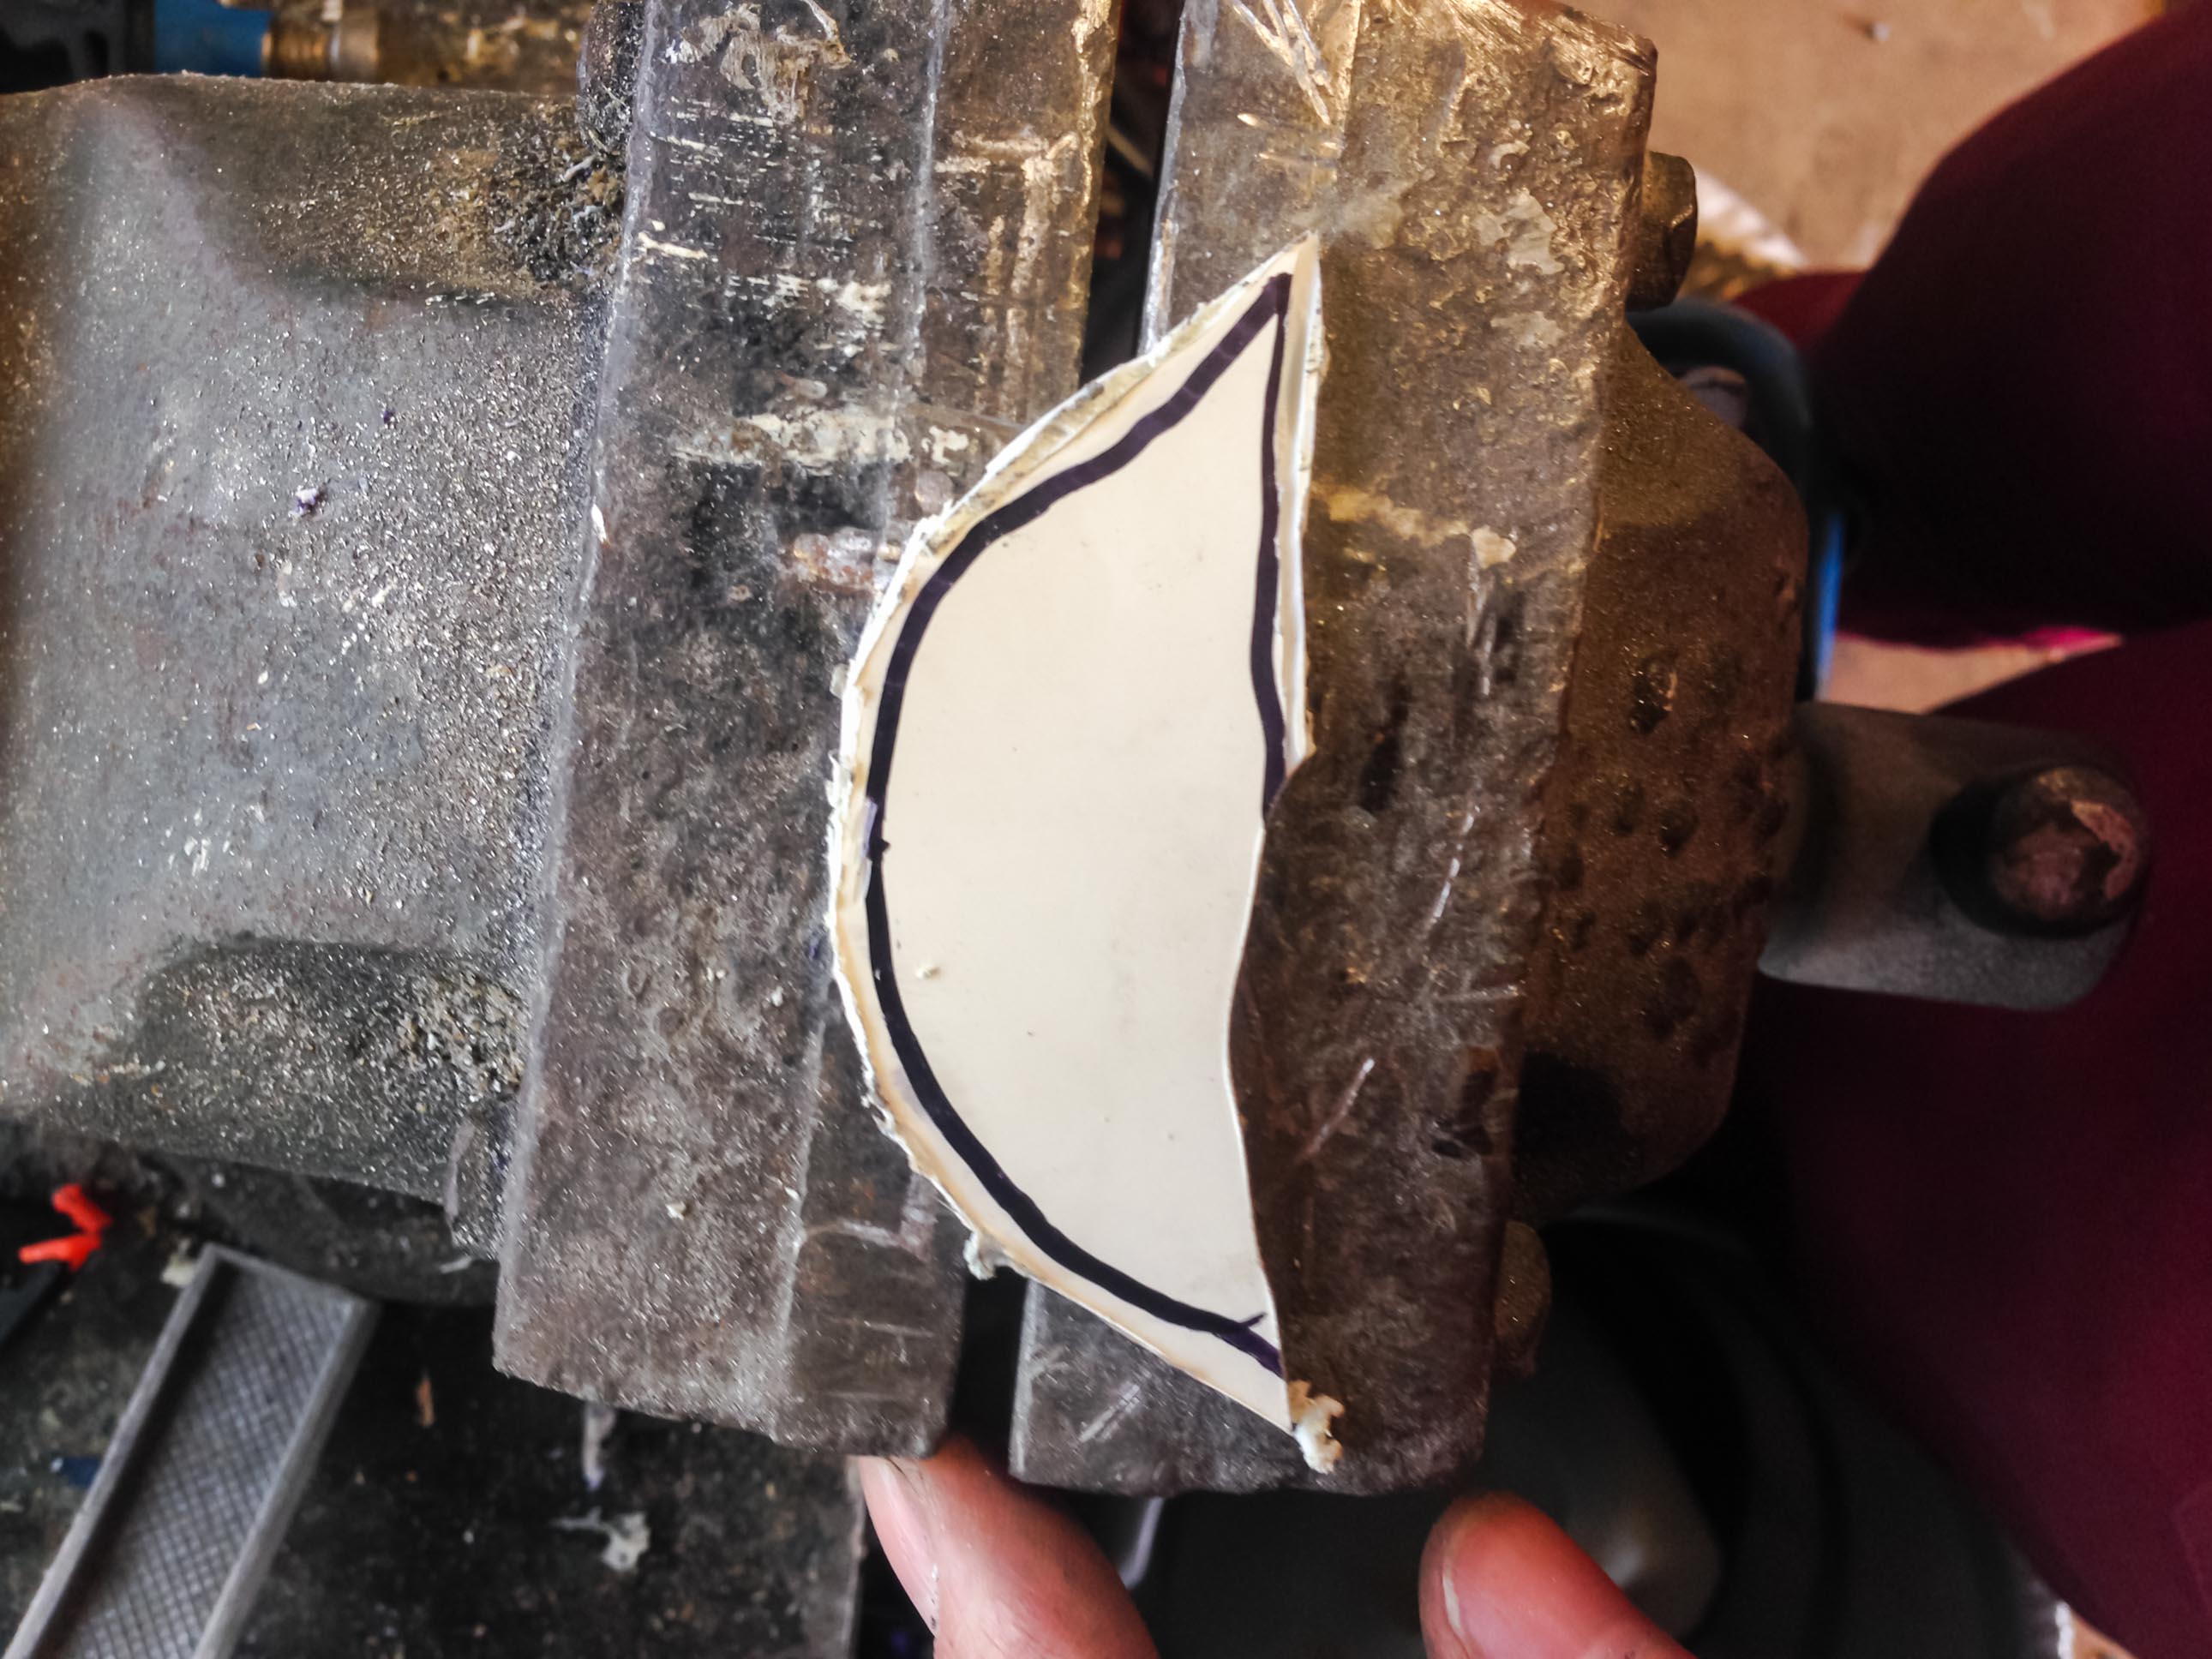
Whack out the Dremel
Diamond cutting discs cut through the plastic like butter.
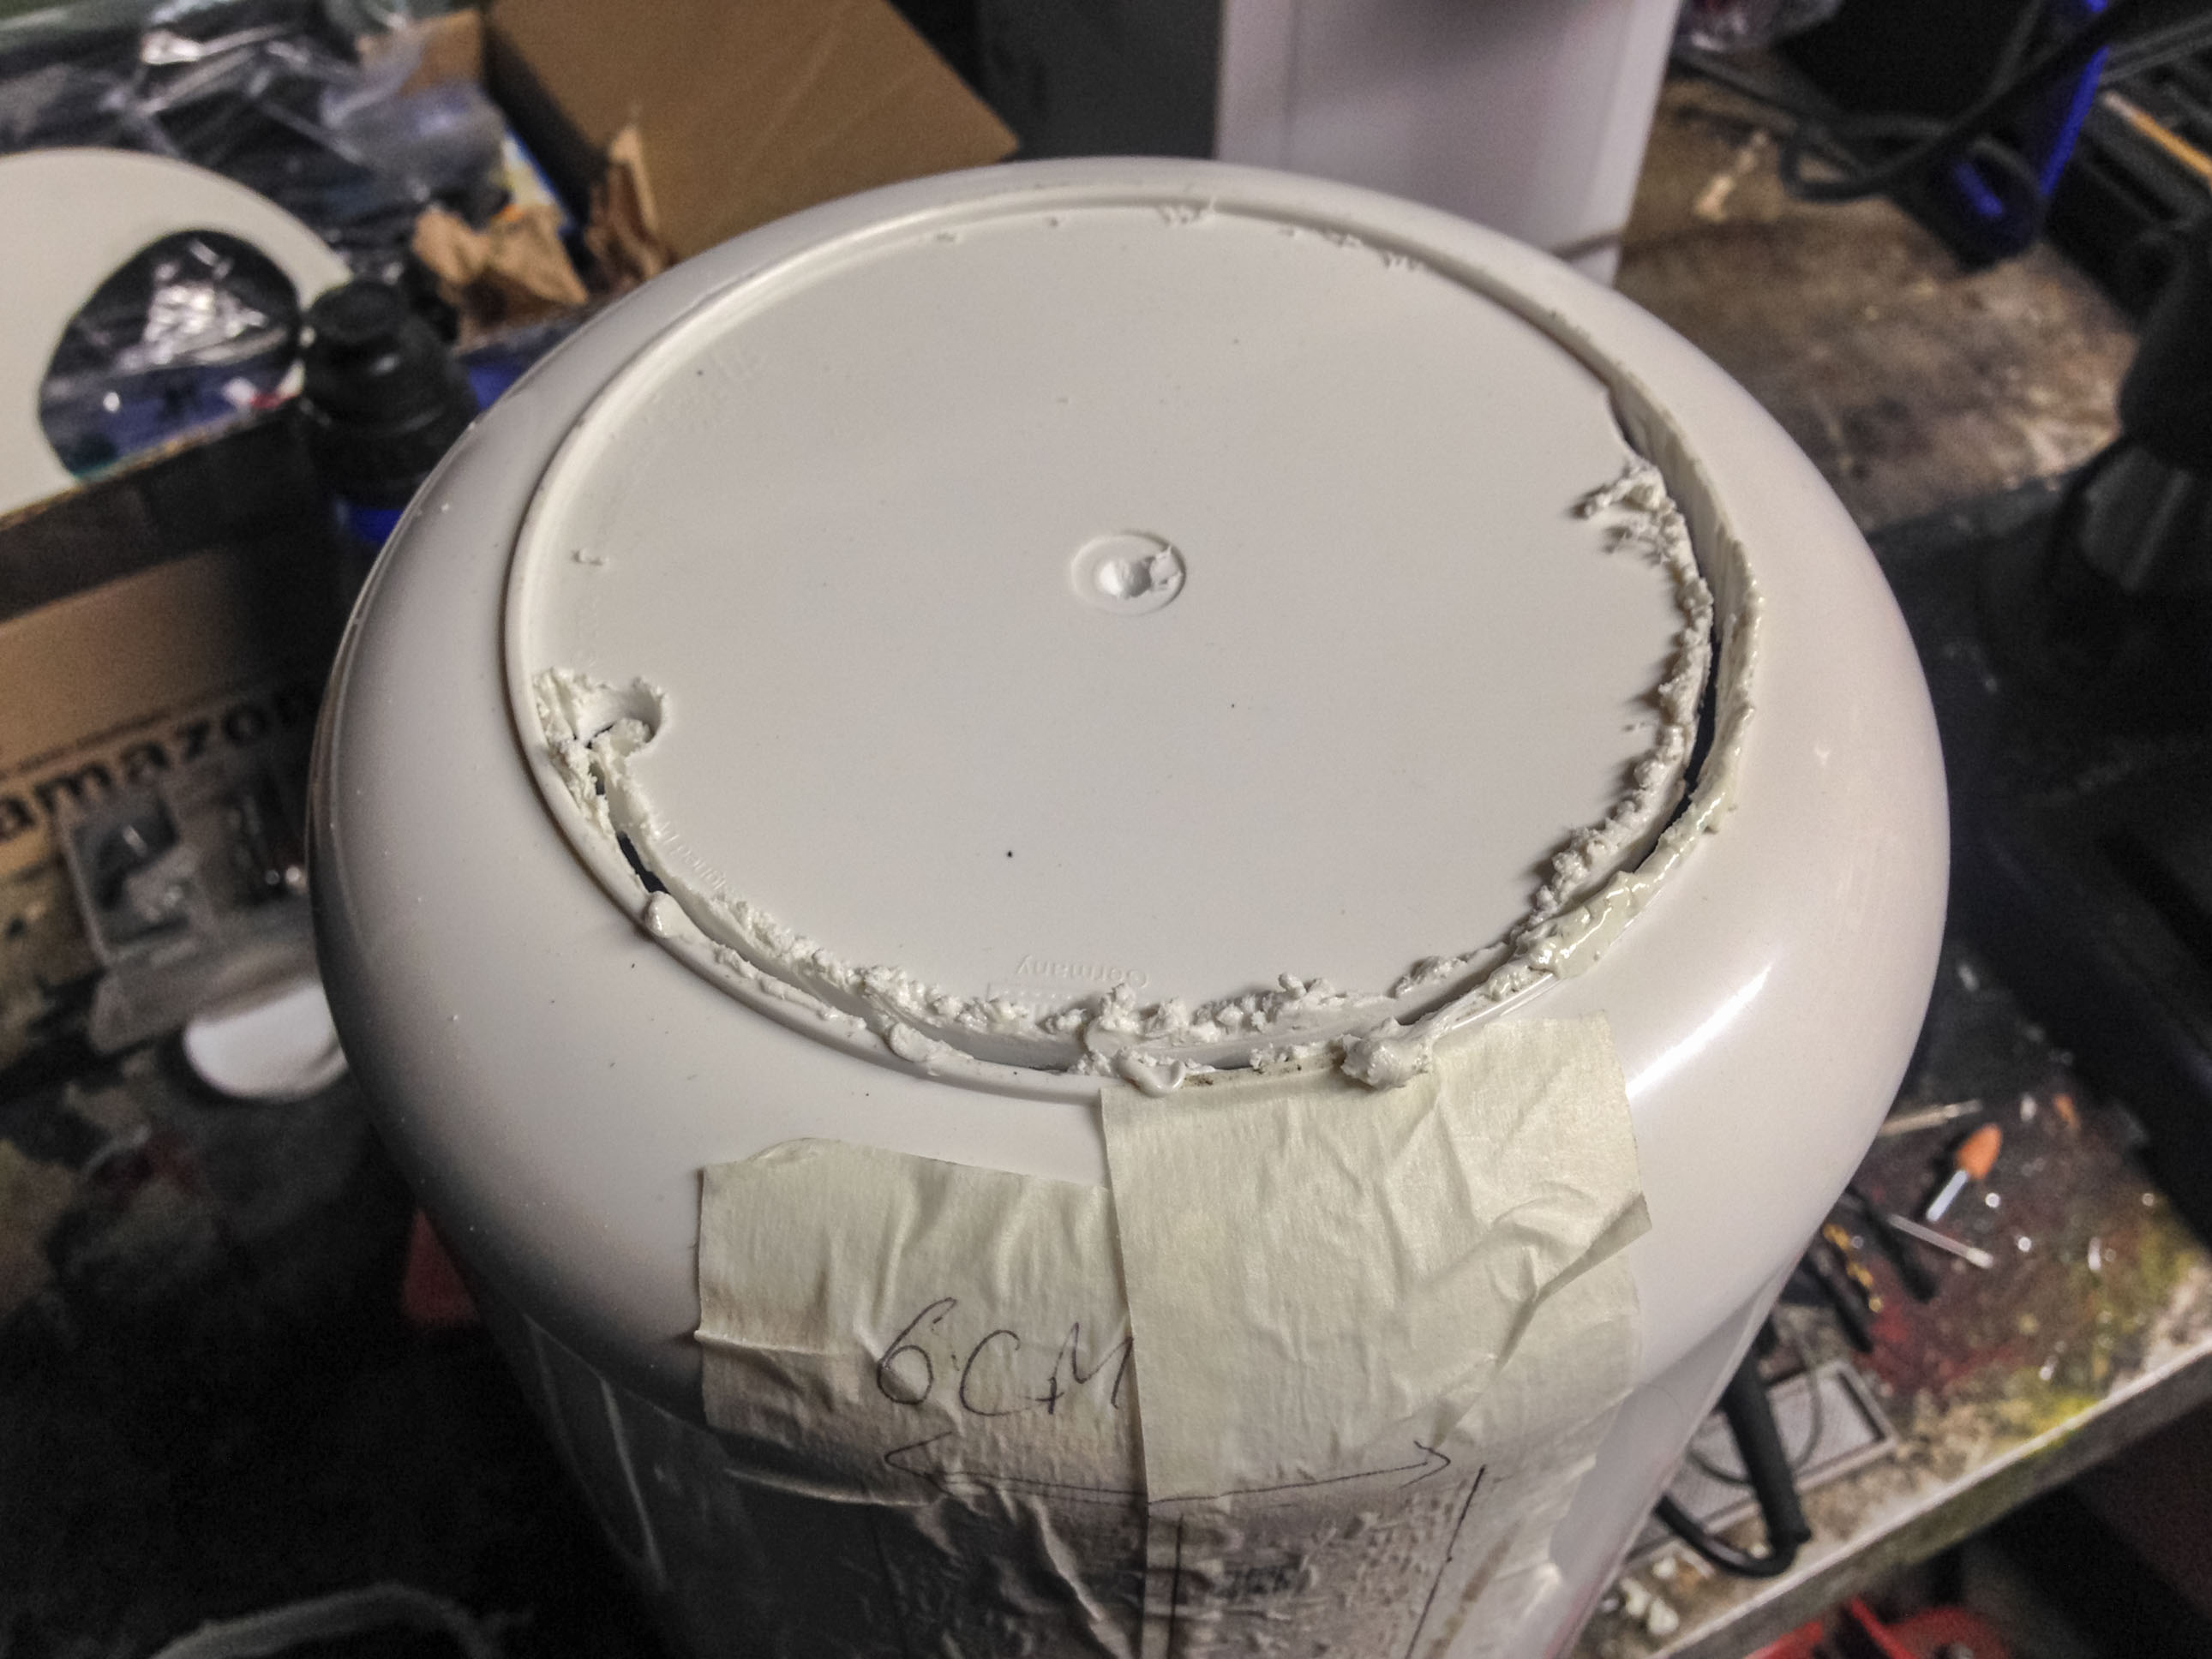
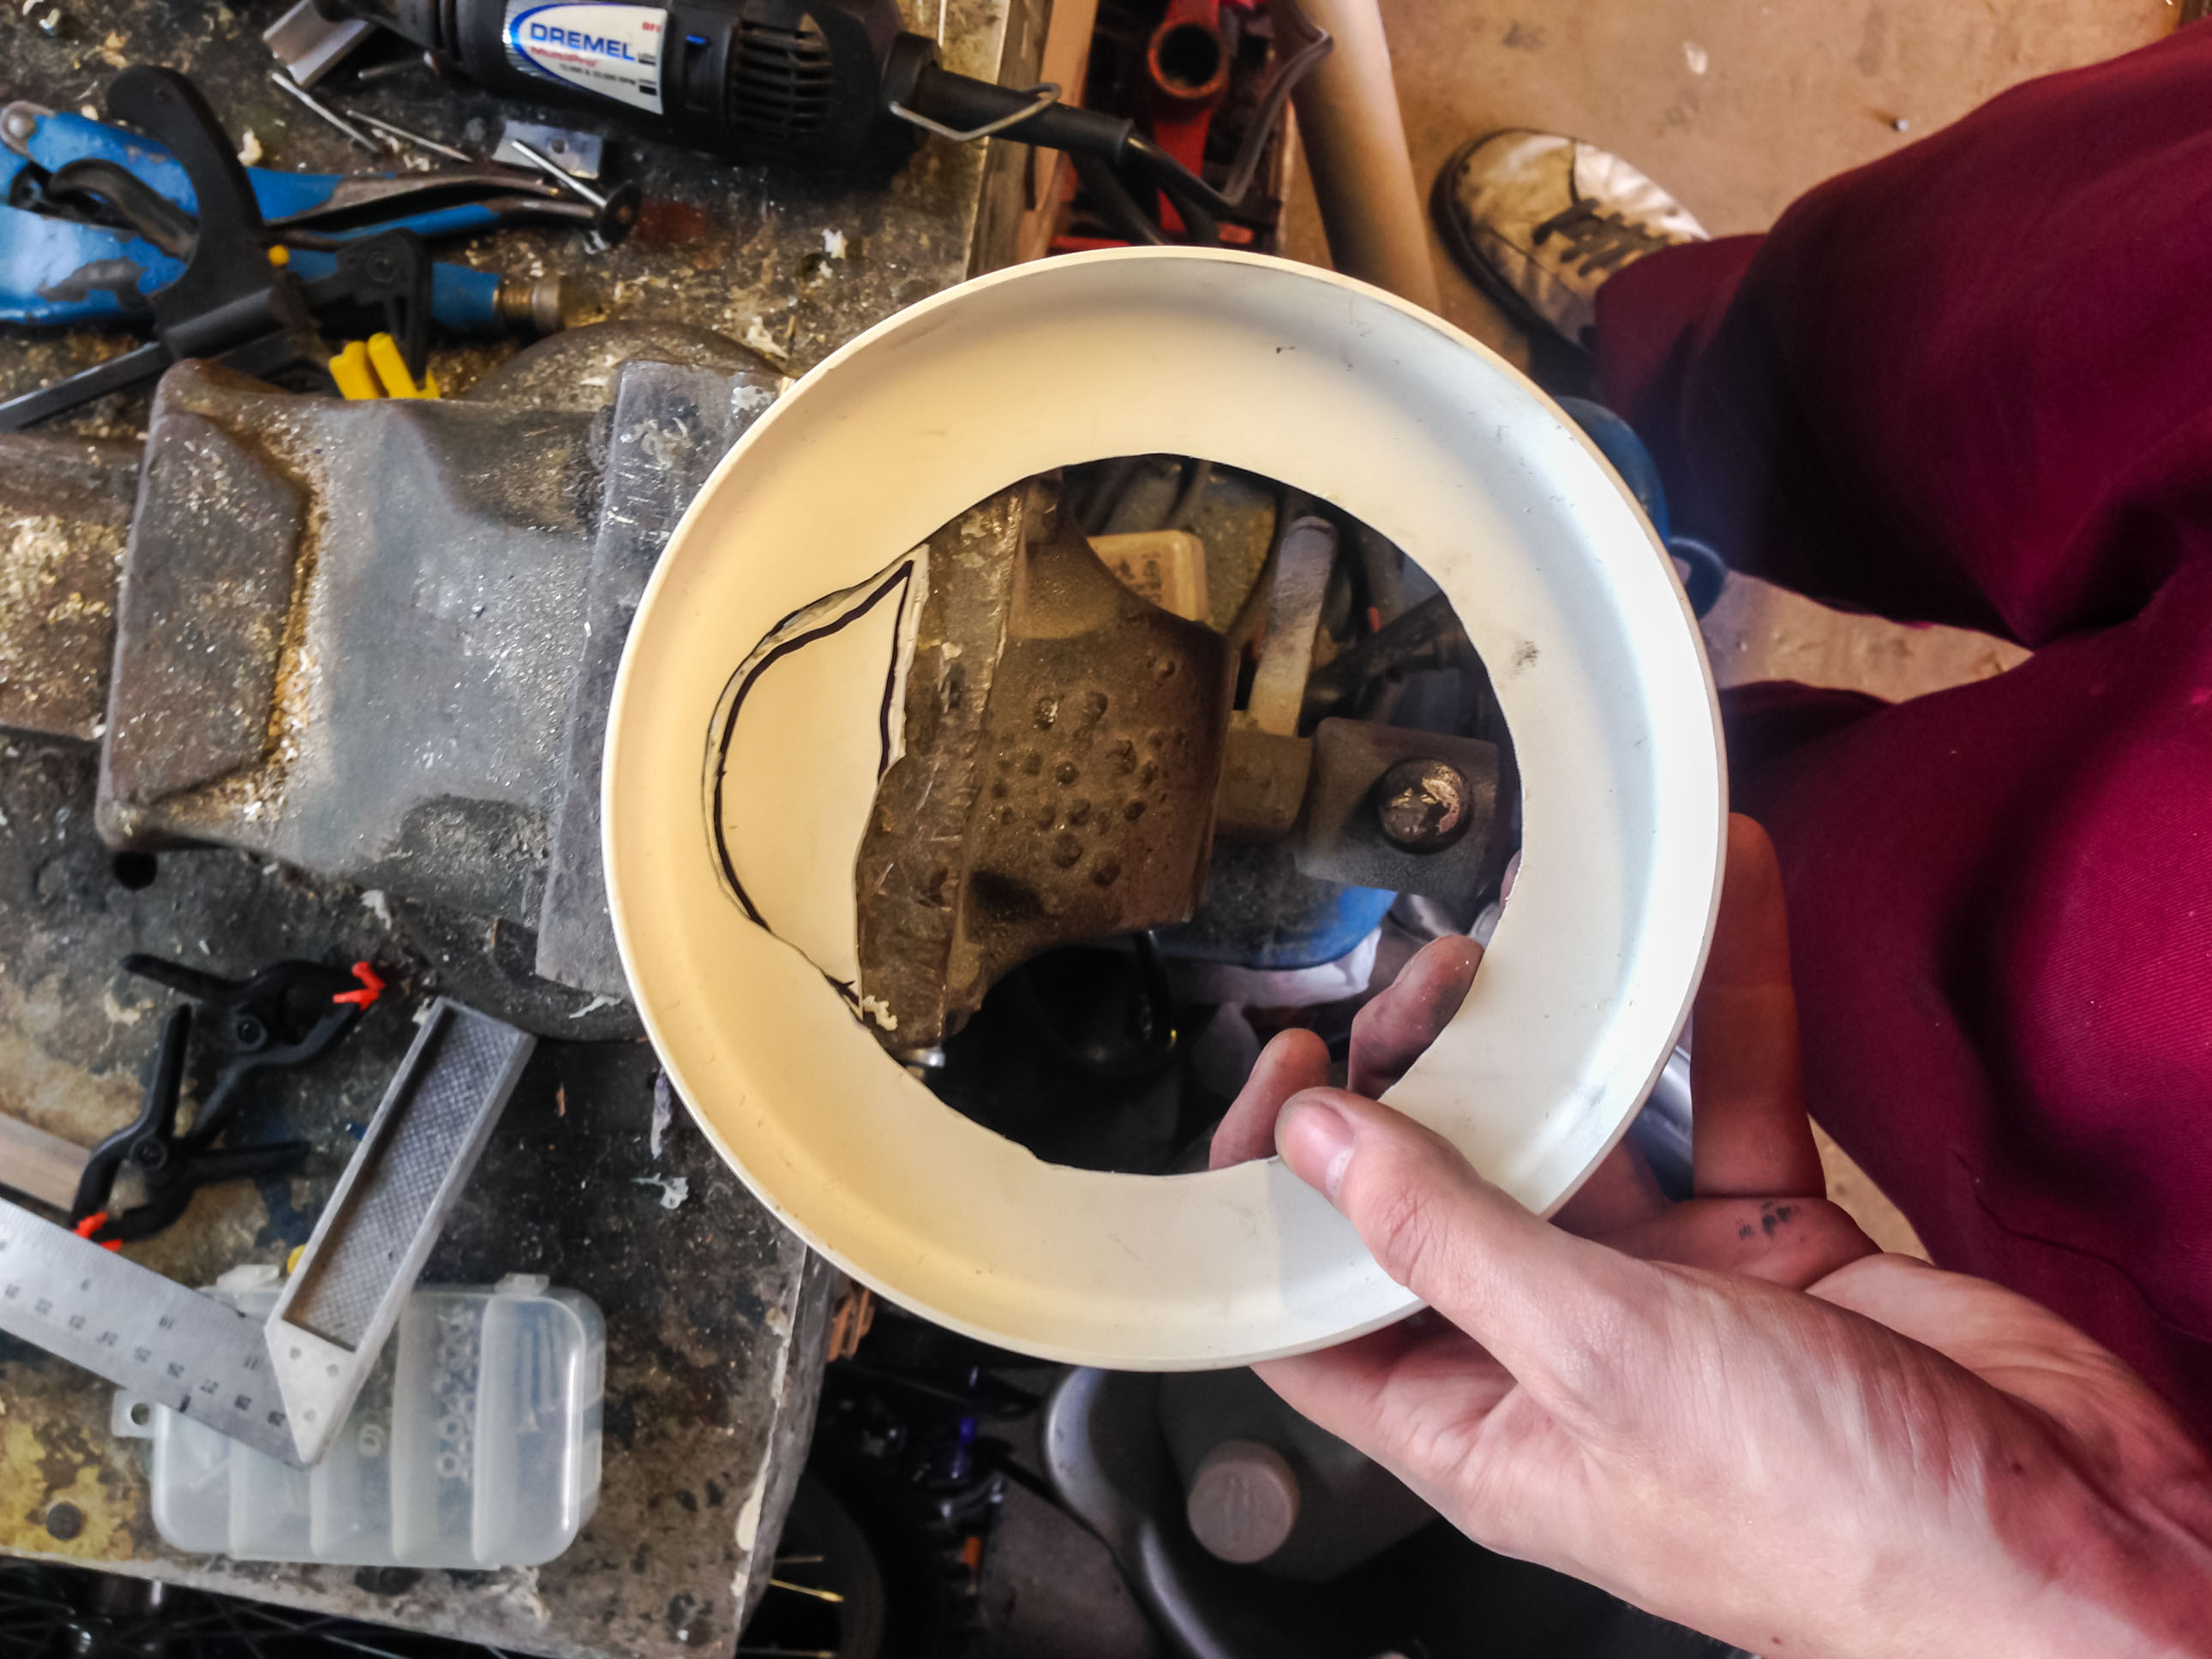
Cut around the rim as a guide
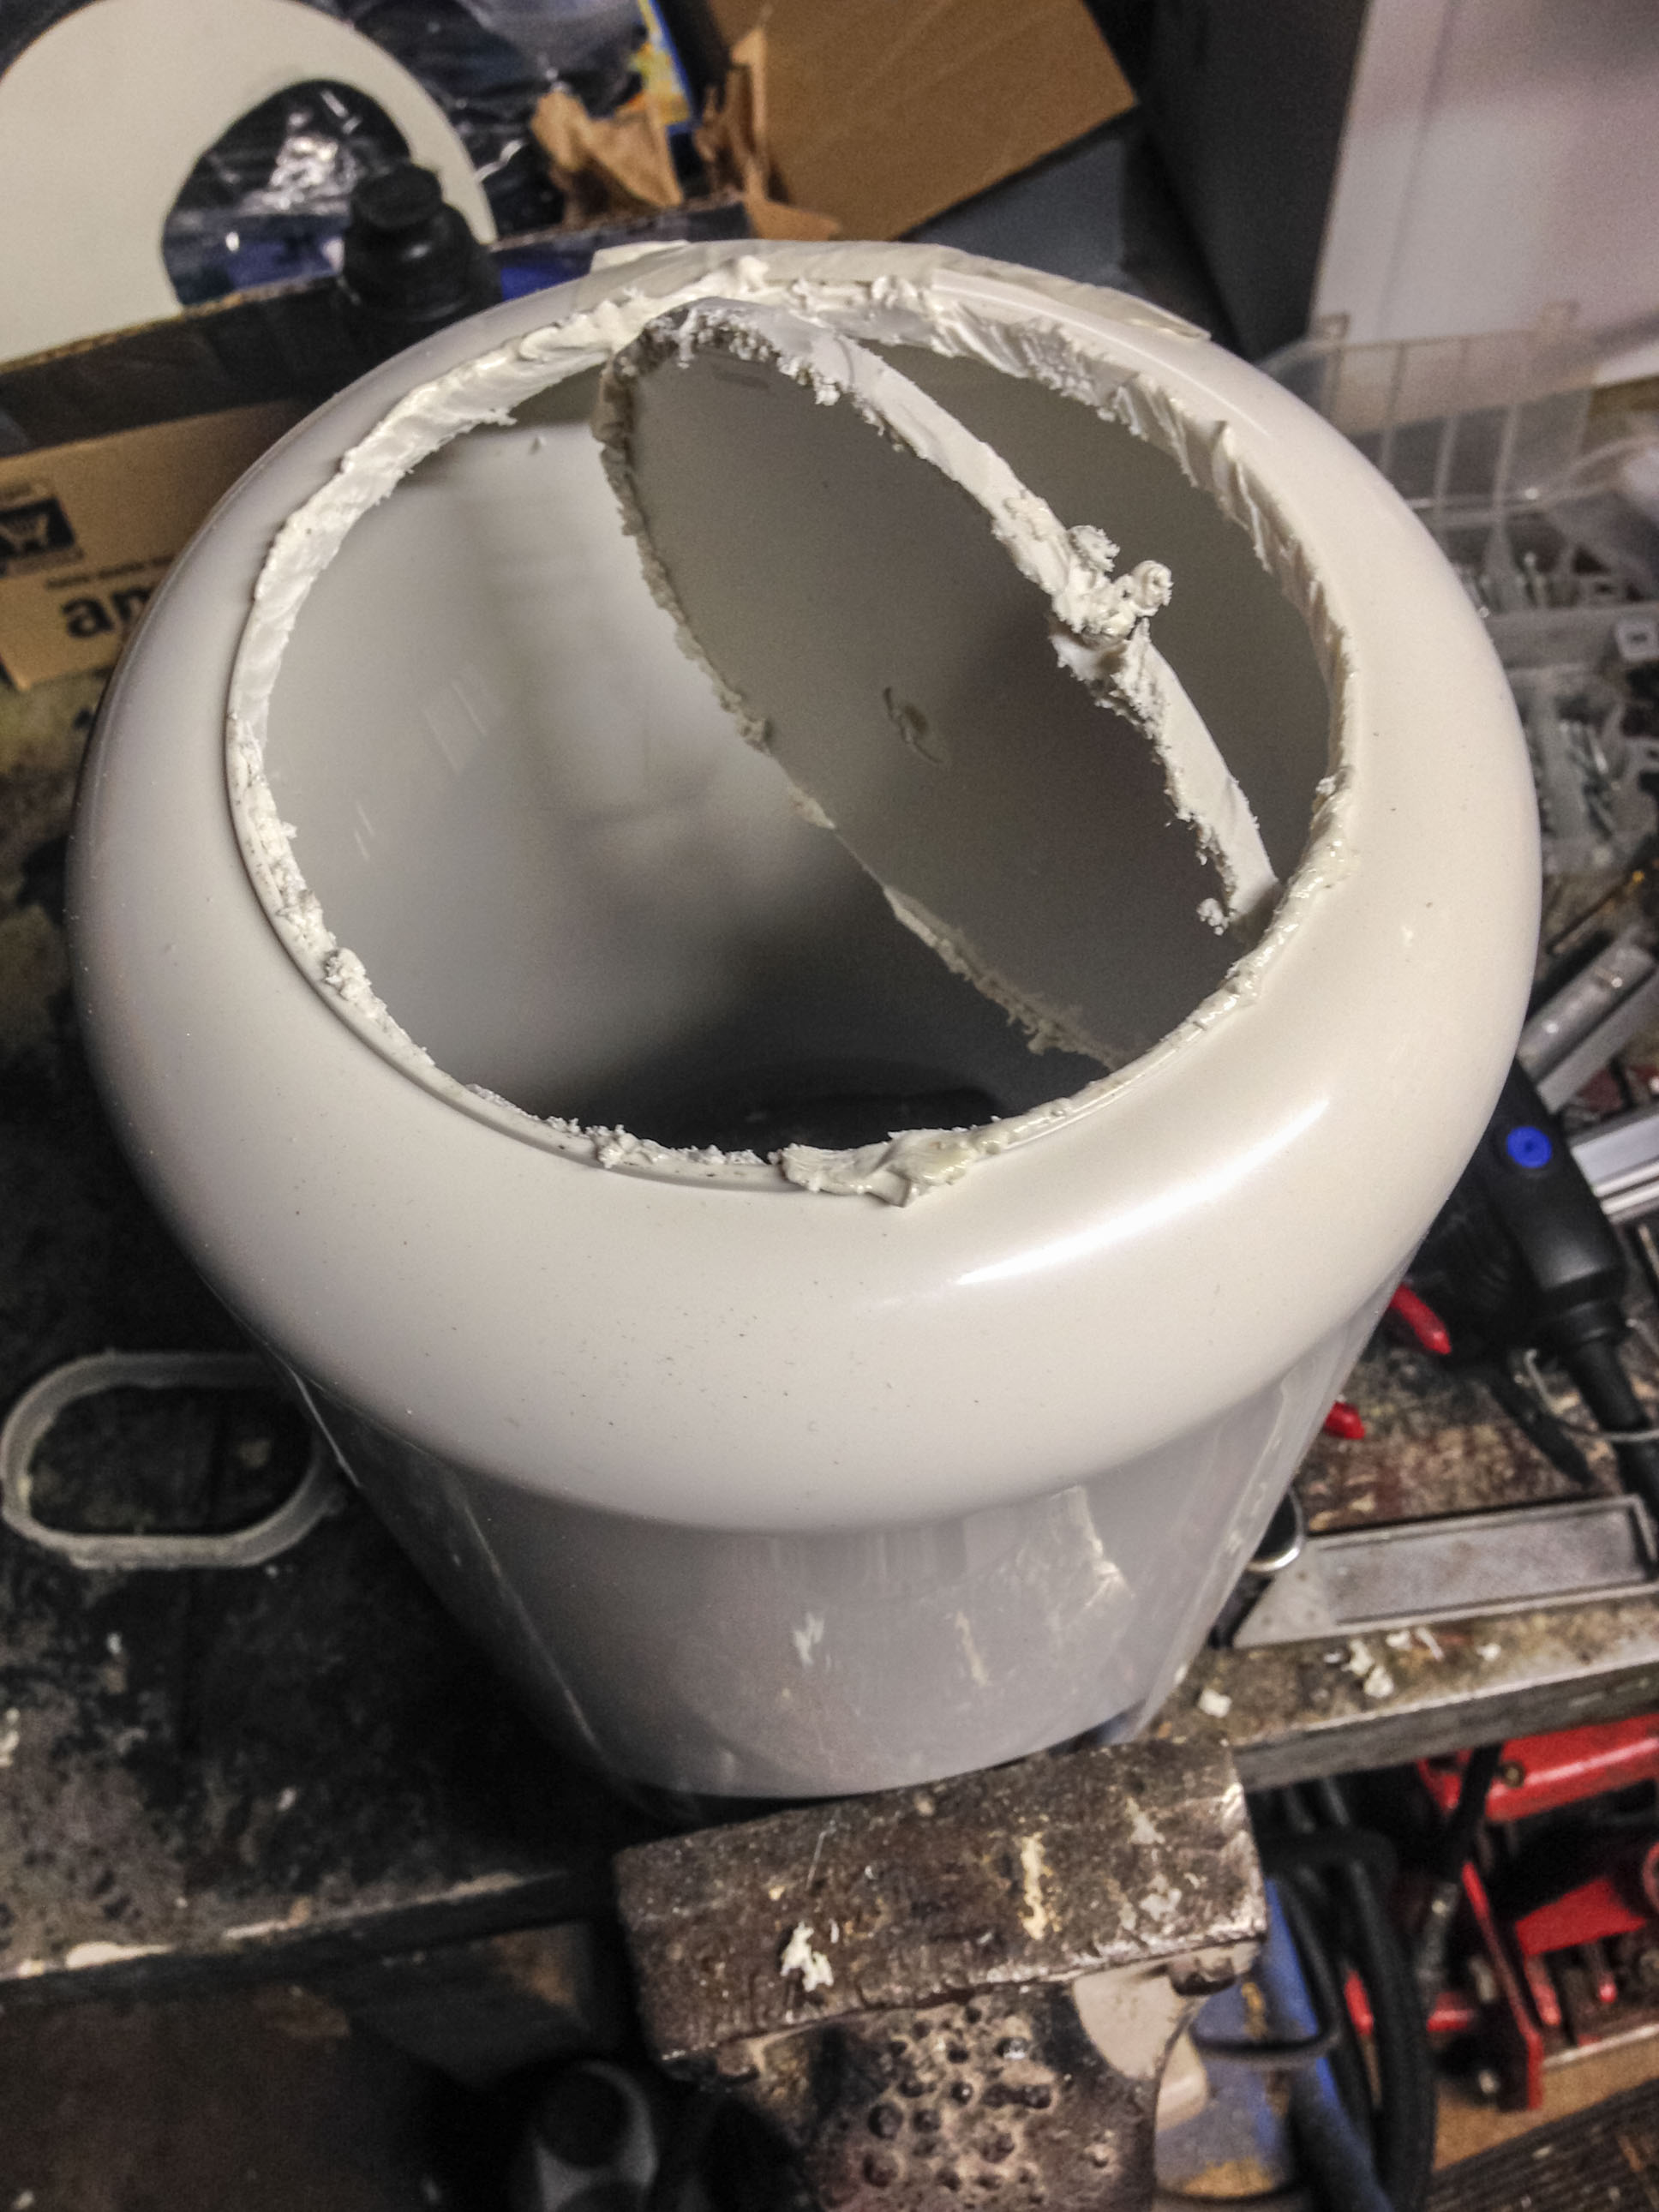
After a bit more cutting and sanding.
Initial fitting.
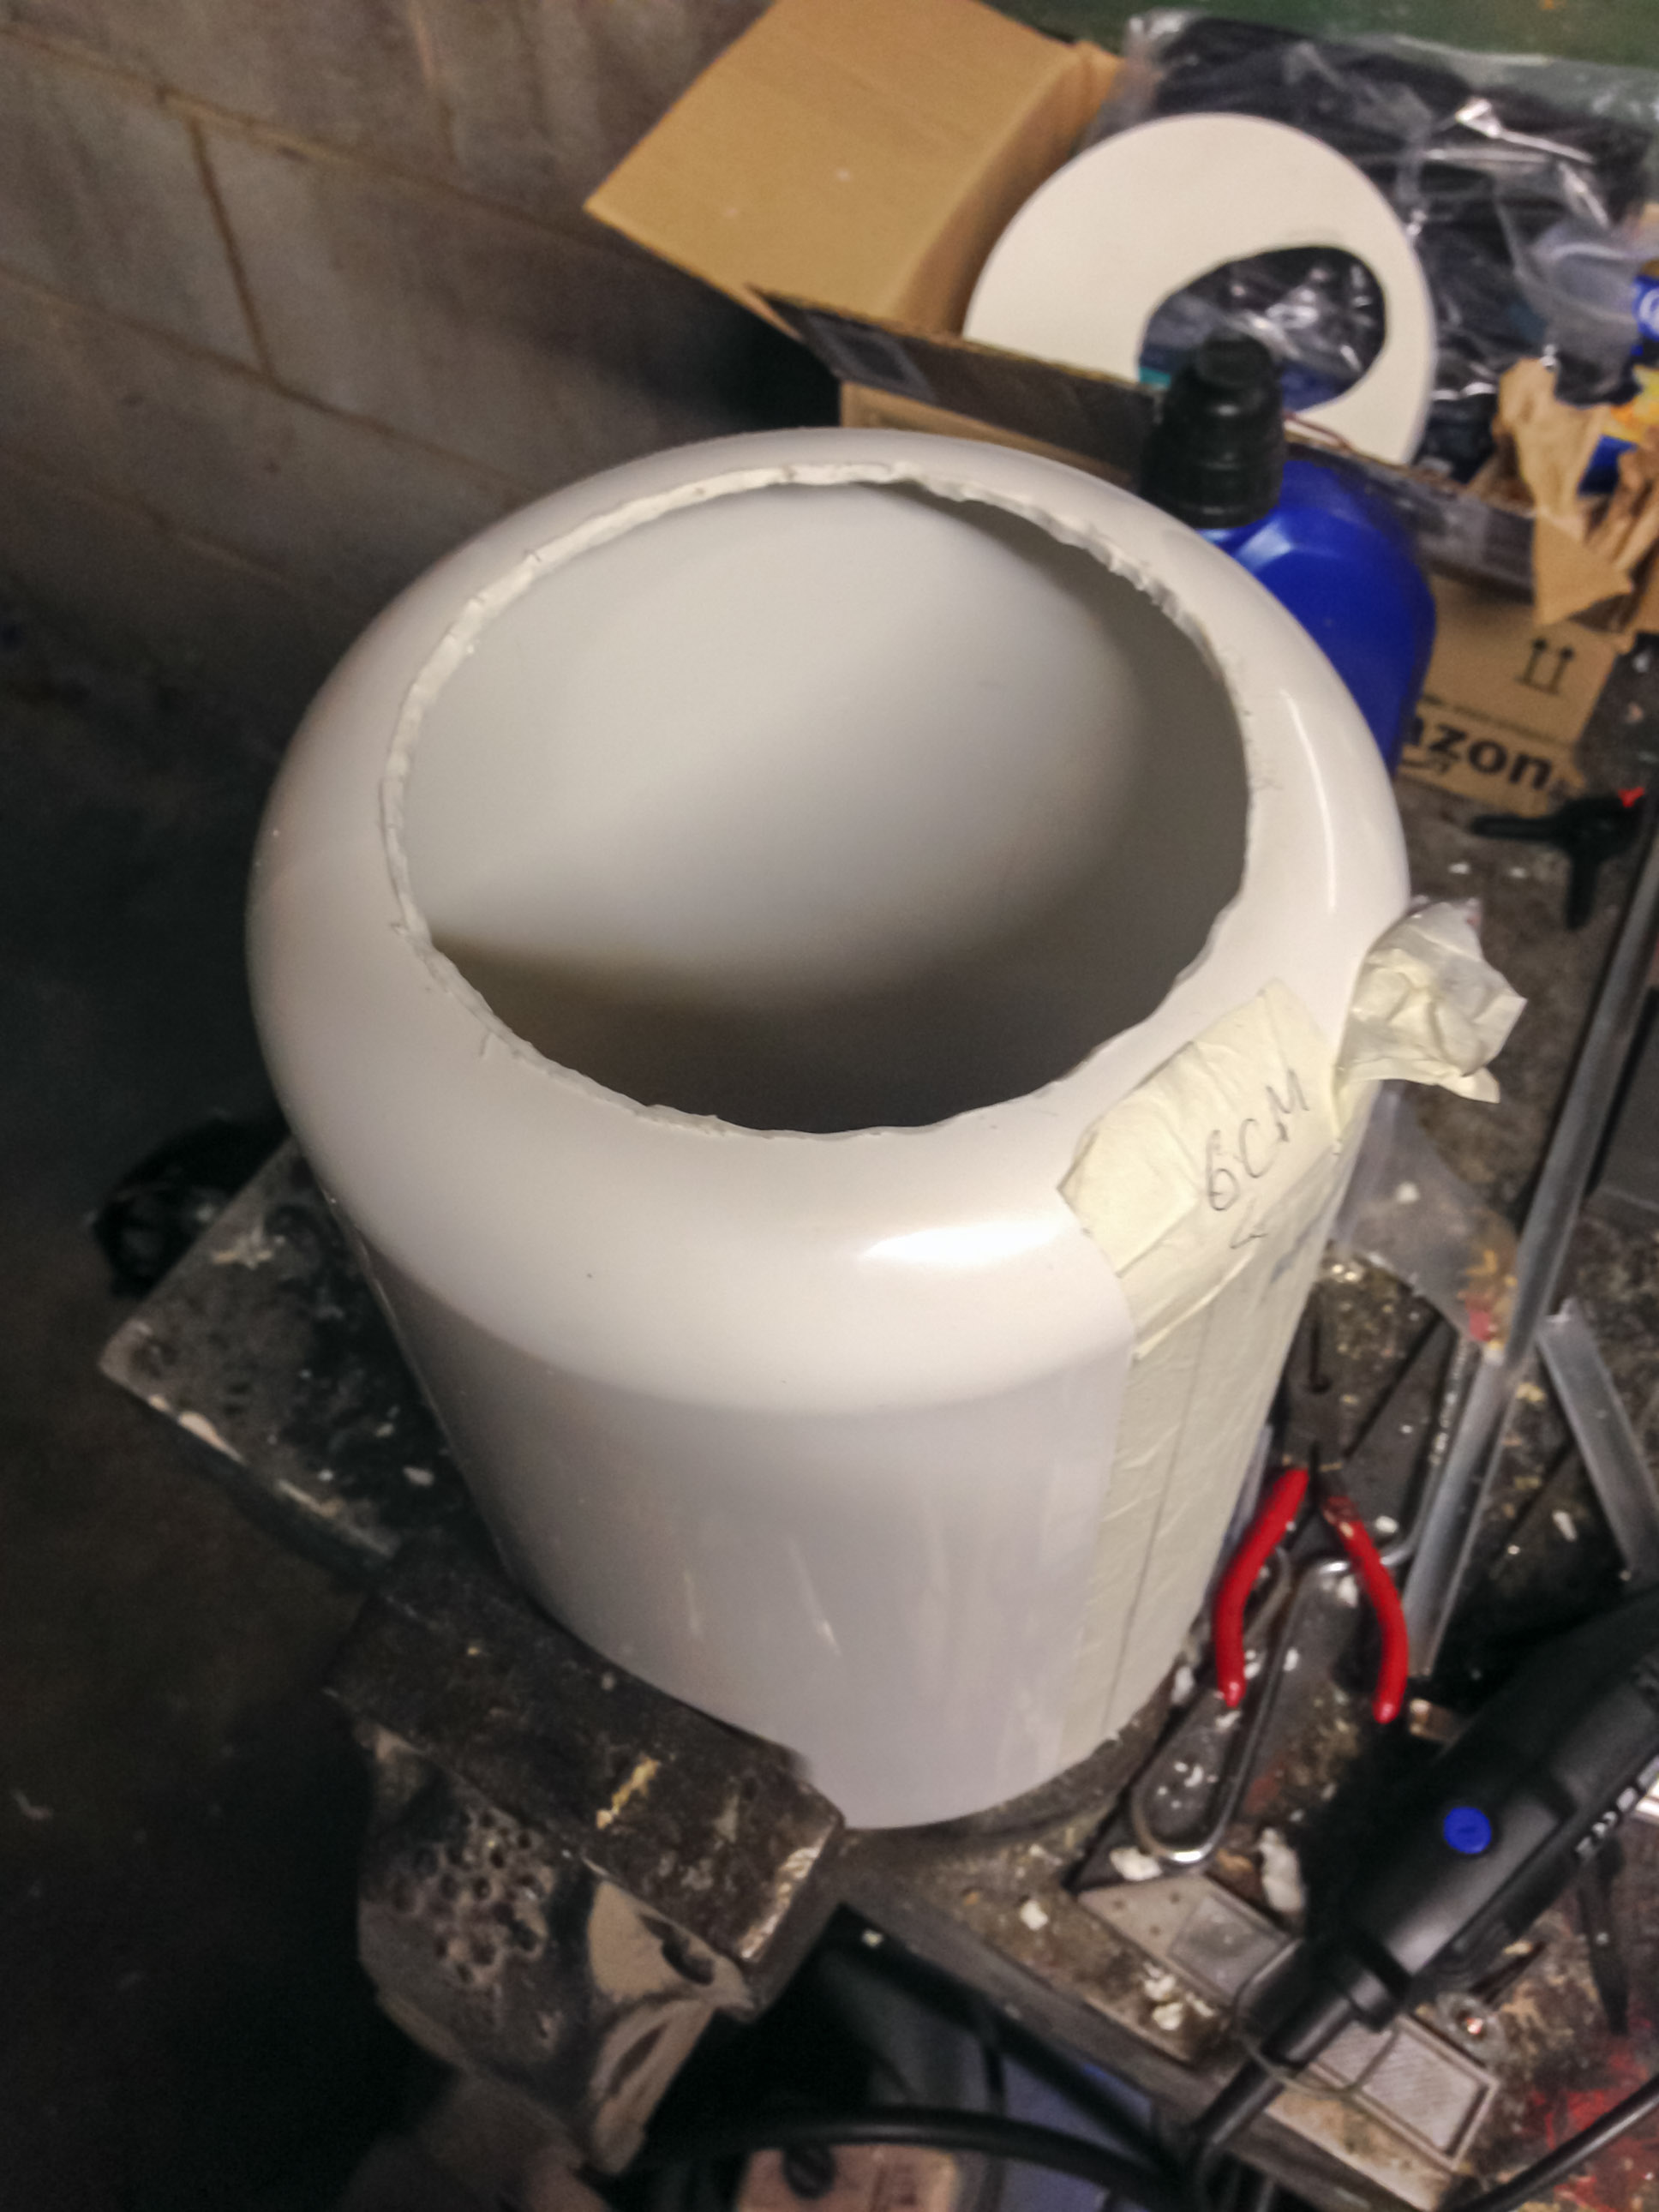
More sanding.
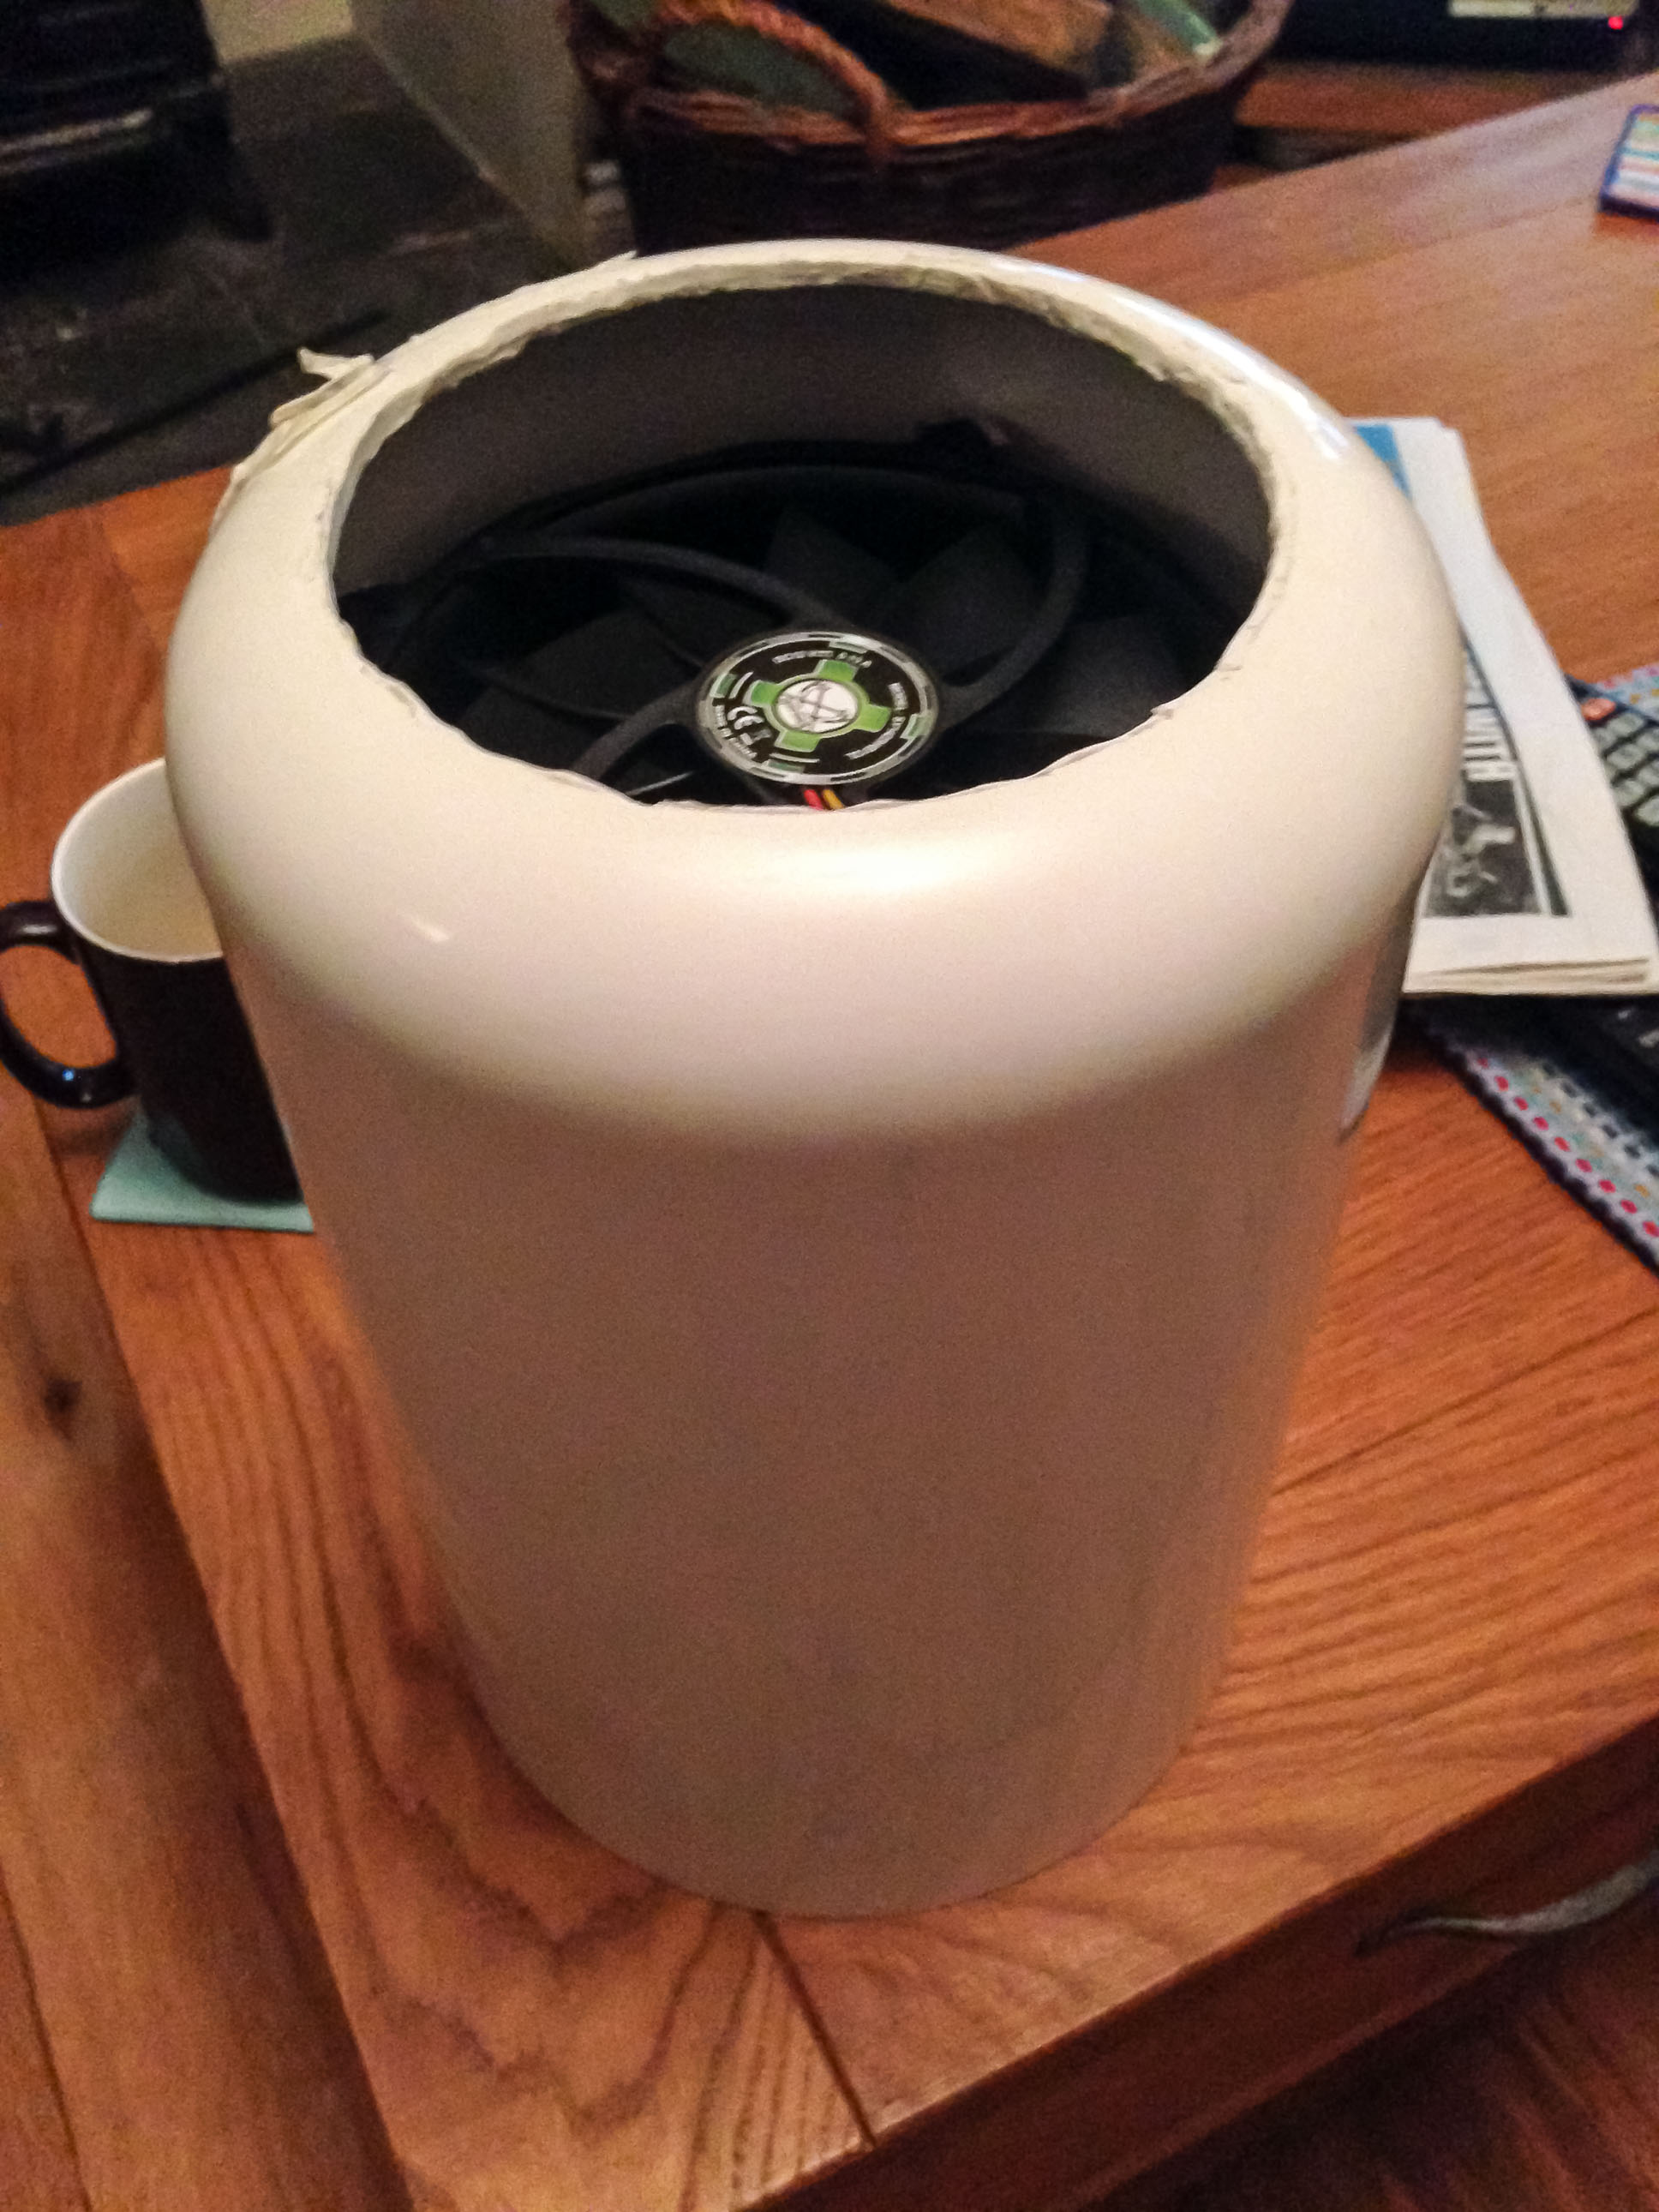
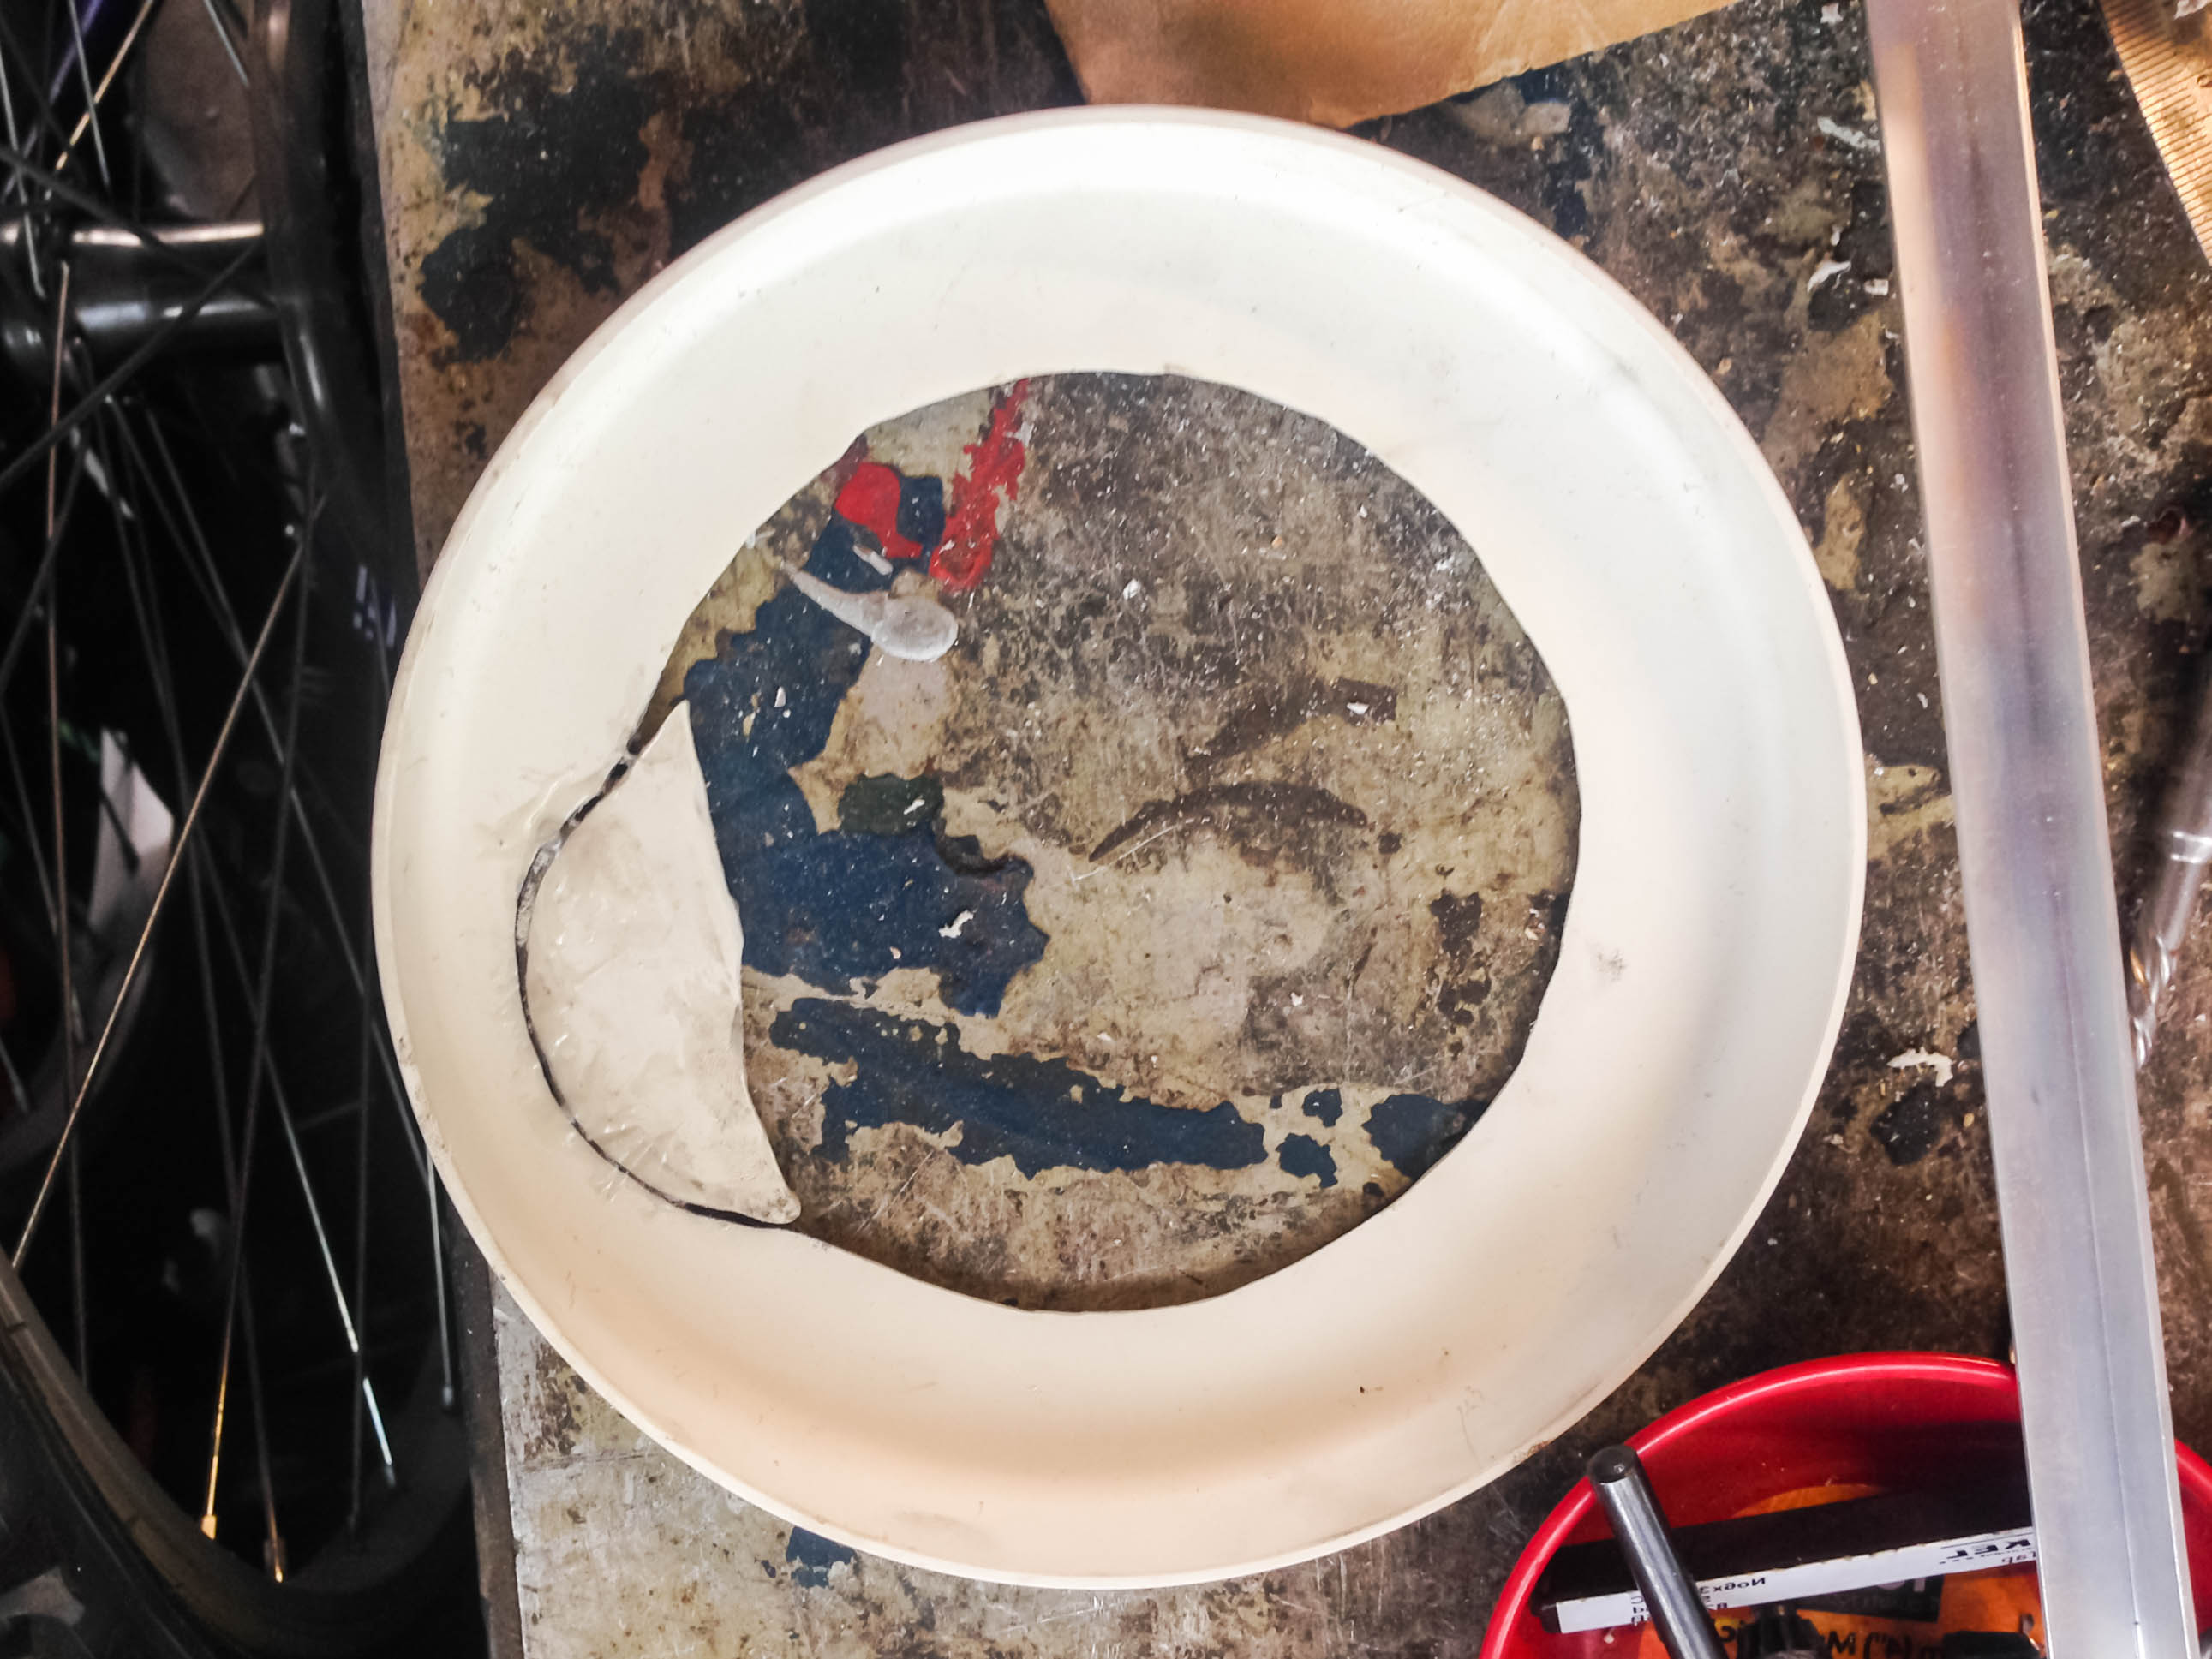
Bottom inlet hole for fan.
Looking smooth
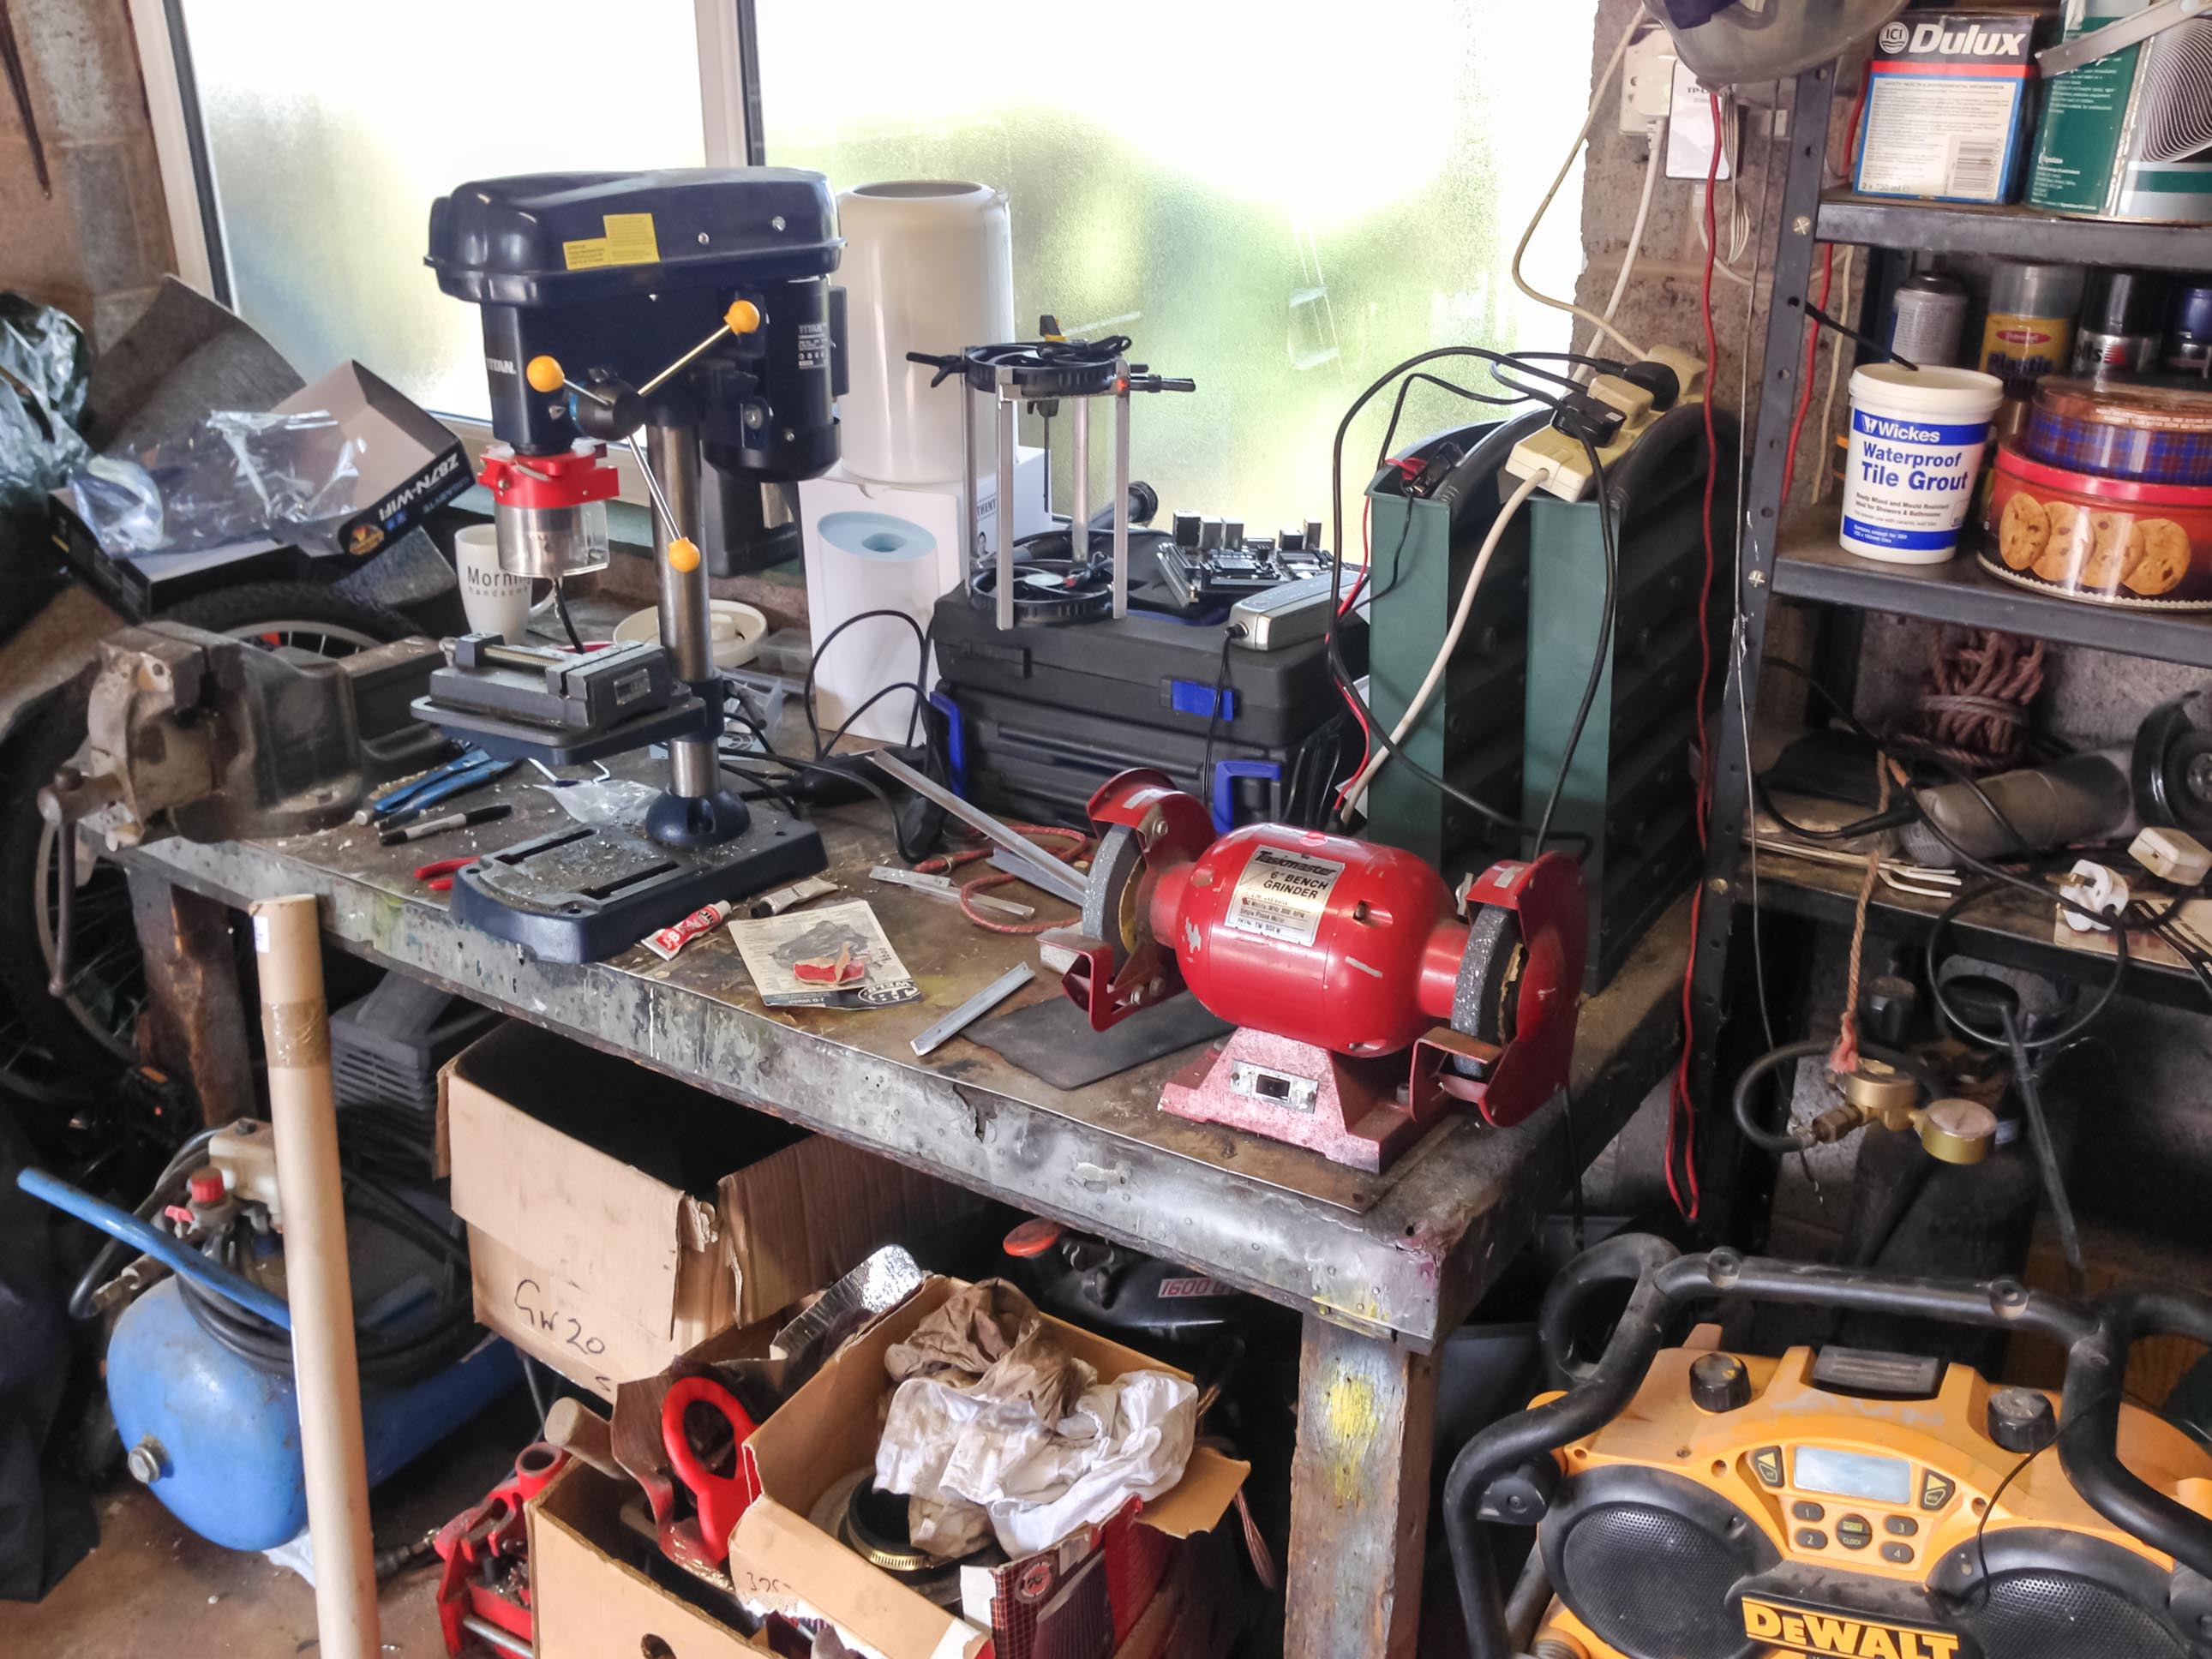
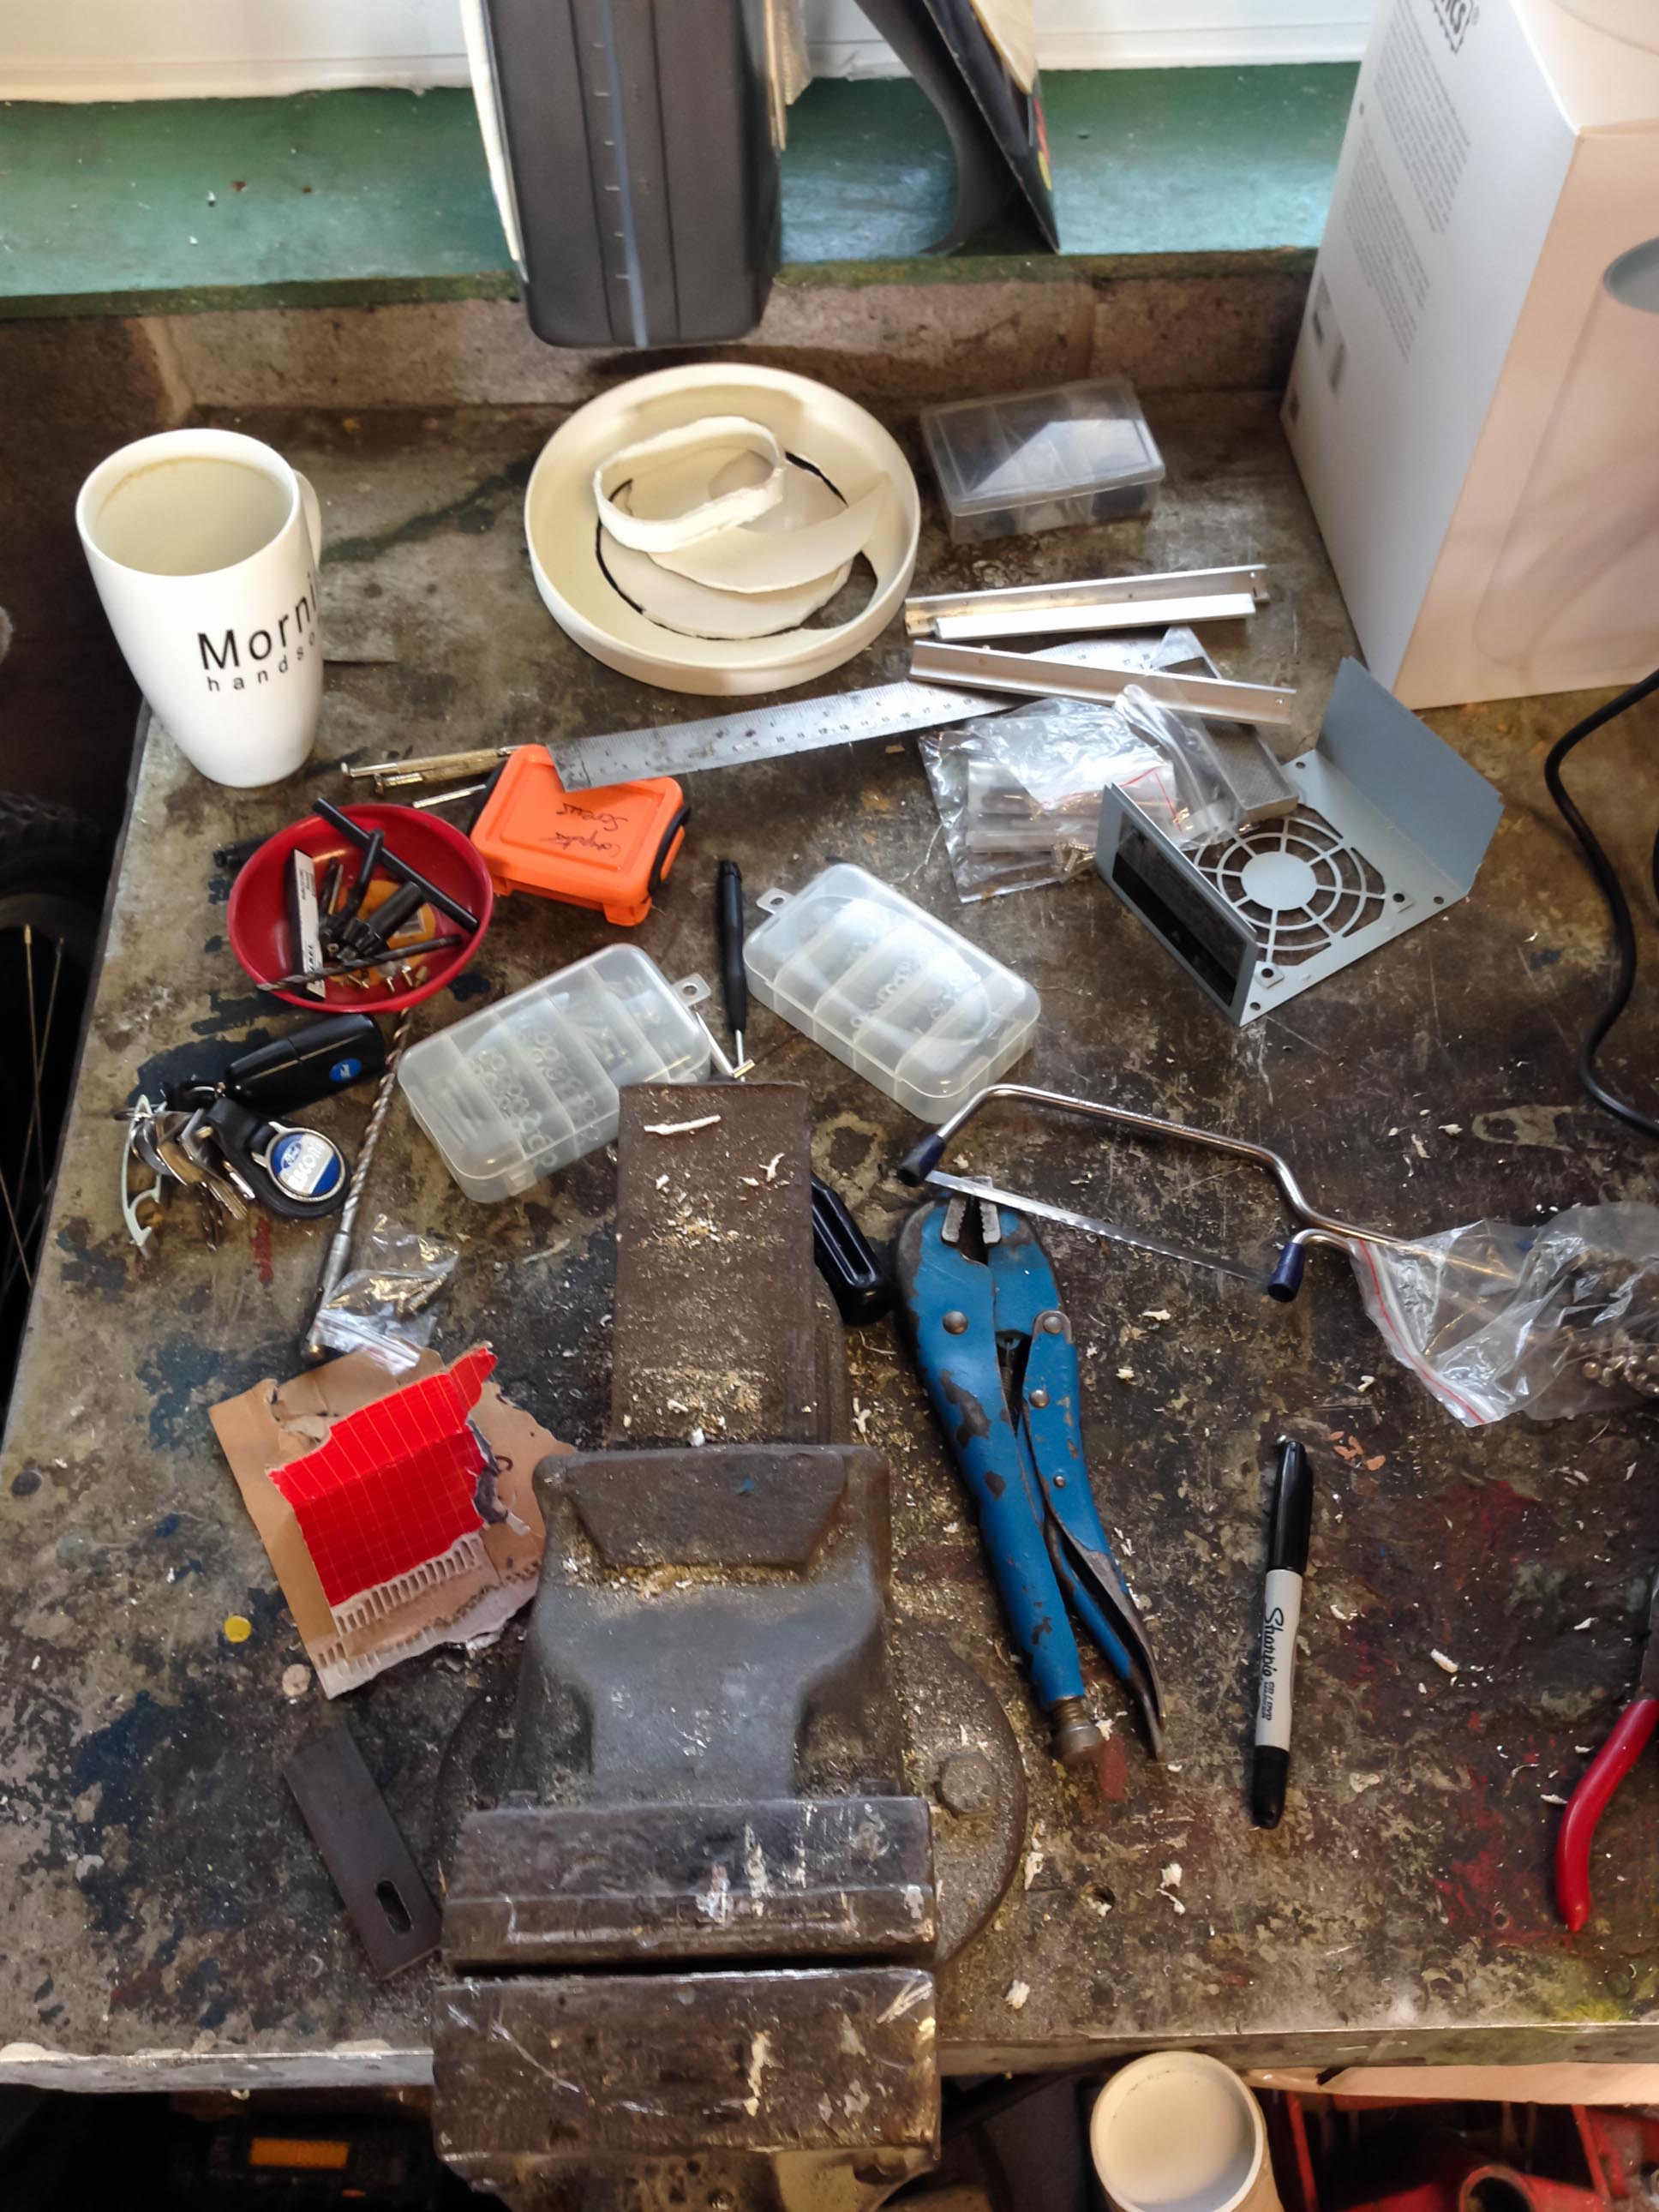
Moved the workshop home because things got messy.
Motherboard mounting rails
Tapped a thread for the motherboard raisers to screw into.
Make the alignment bracket.
Wasn’t sure of the final motherboard position, so just drilled lots of evenly spaced holes.
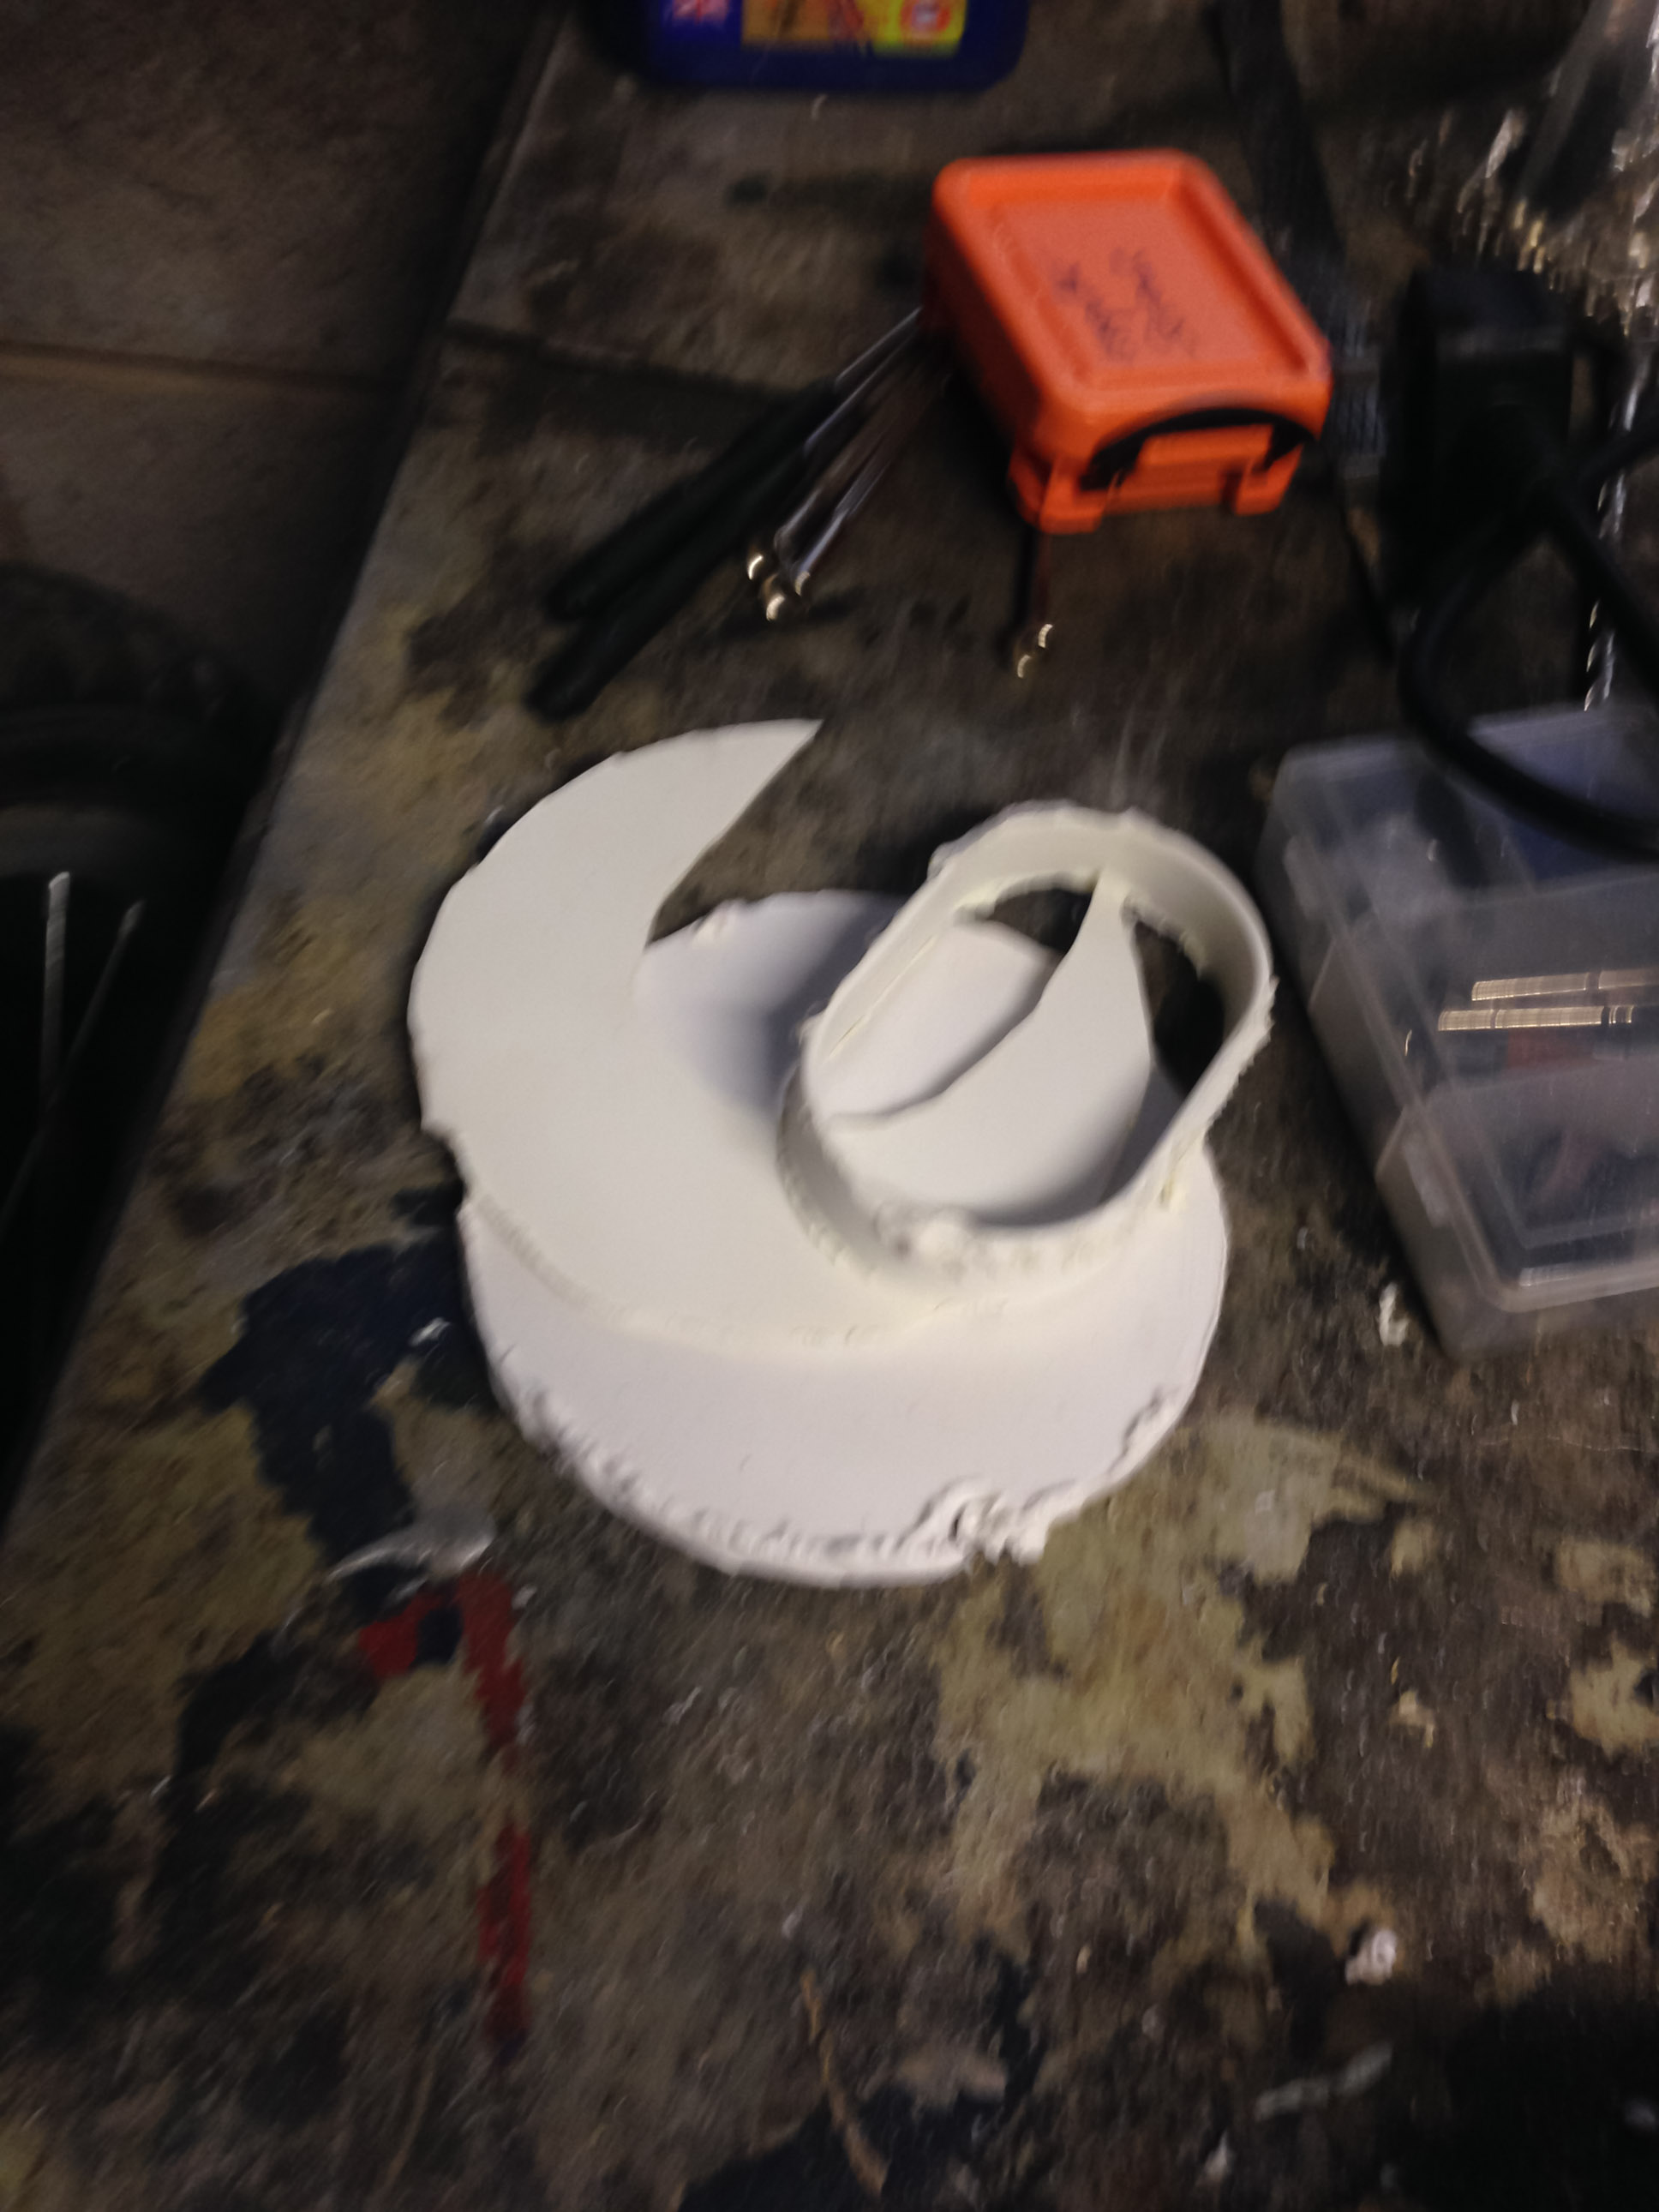
Going to blend this in to make it circular again.
Cold welded the cage together using metal epoxy.
Begin cutting up the PSU.
Might of voided the warranty.
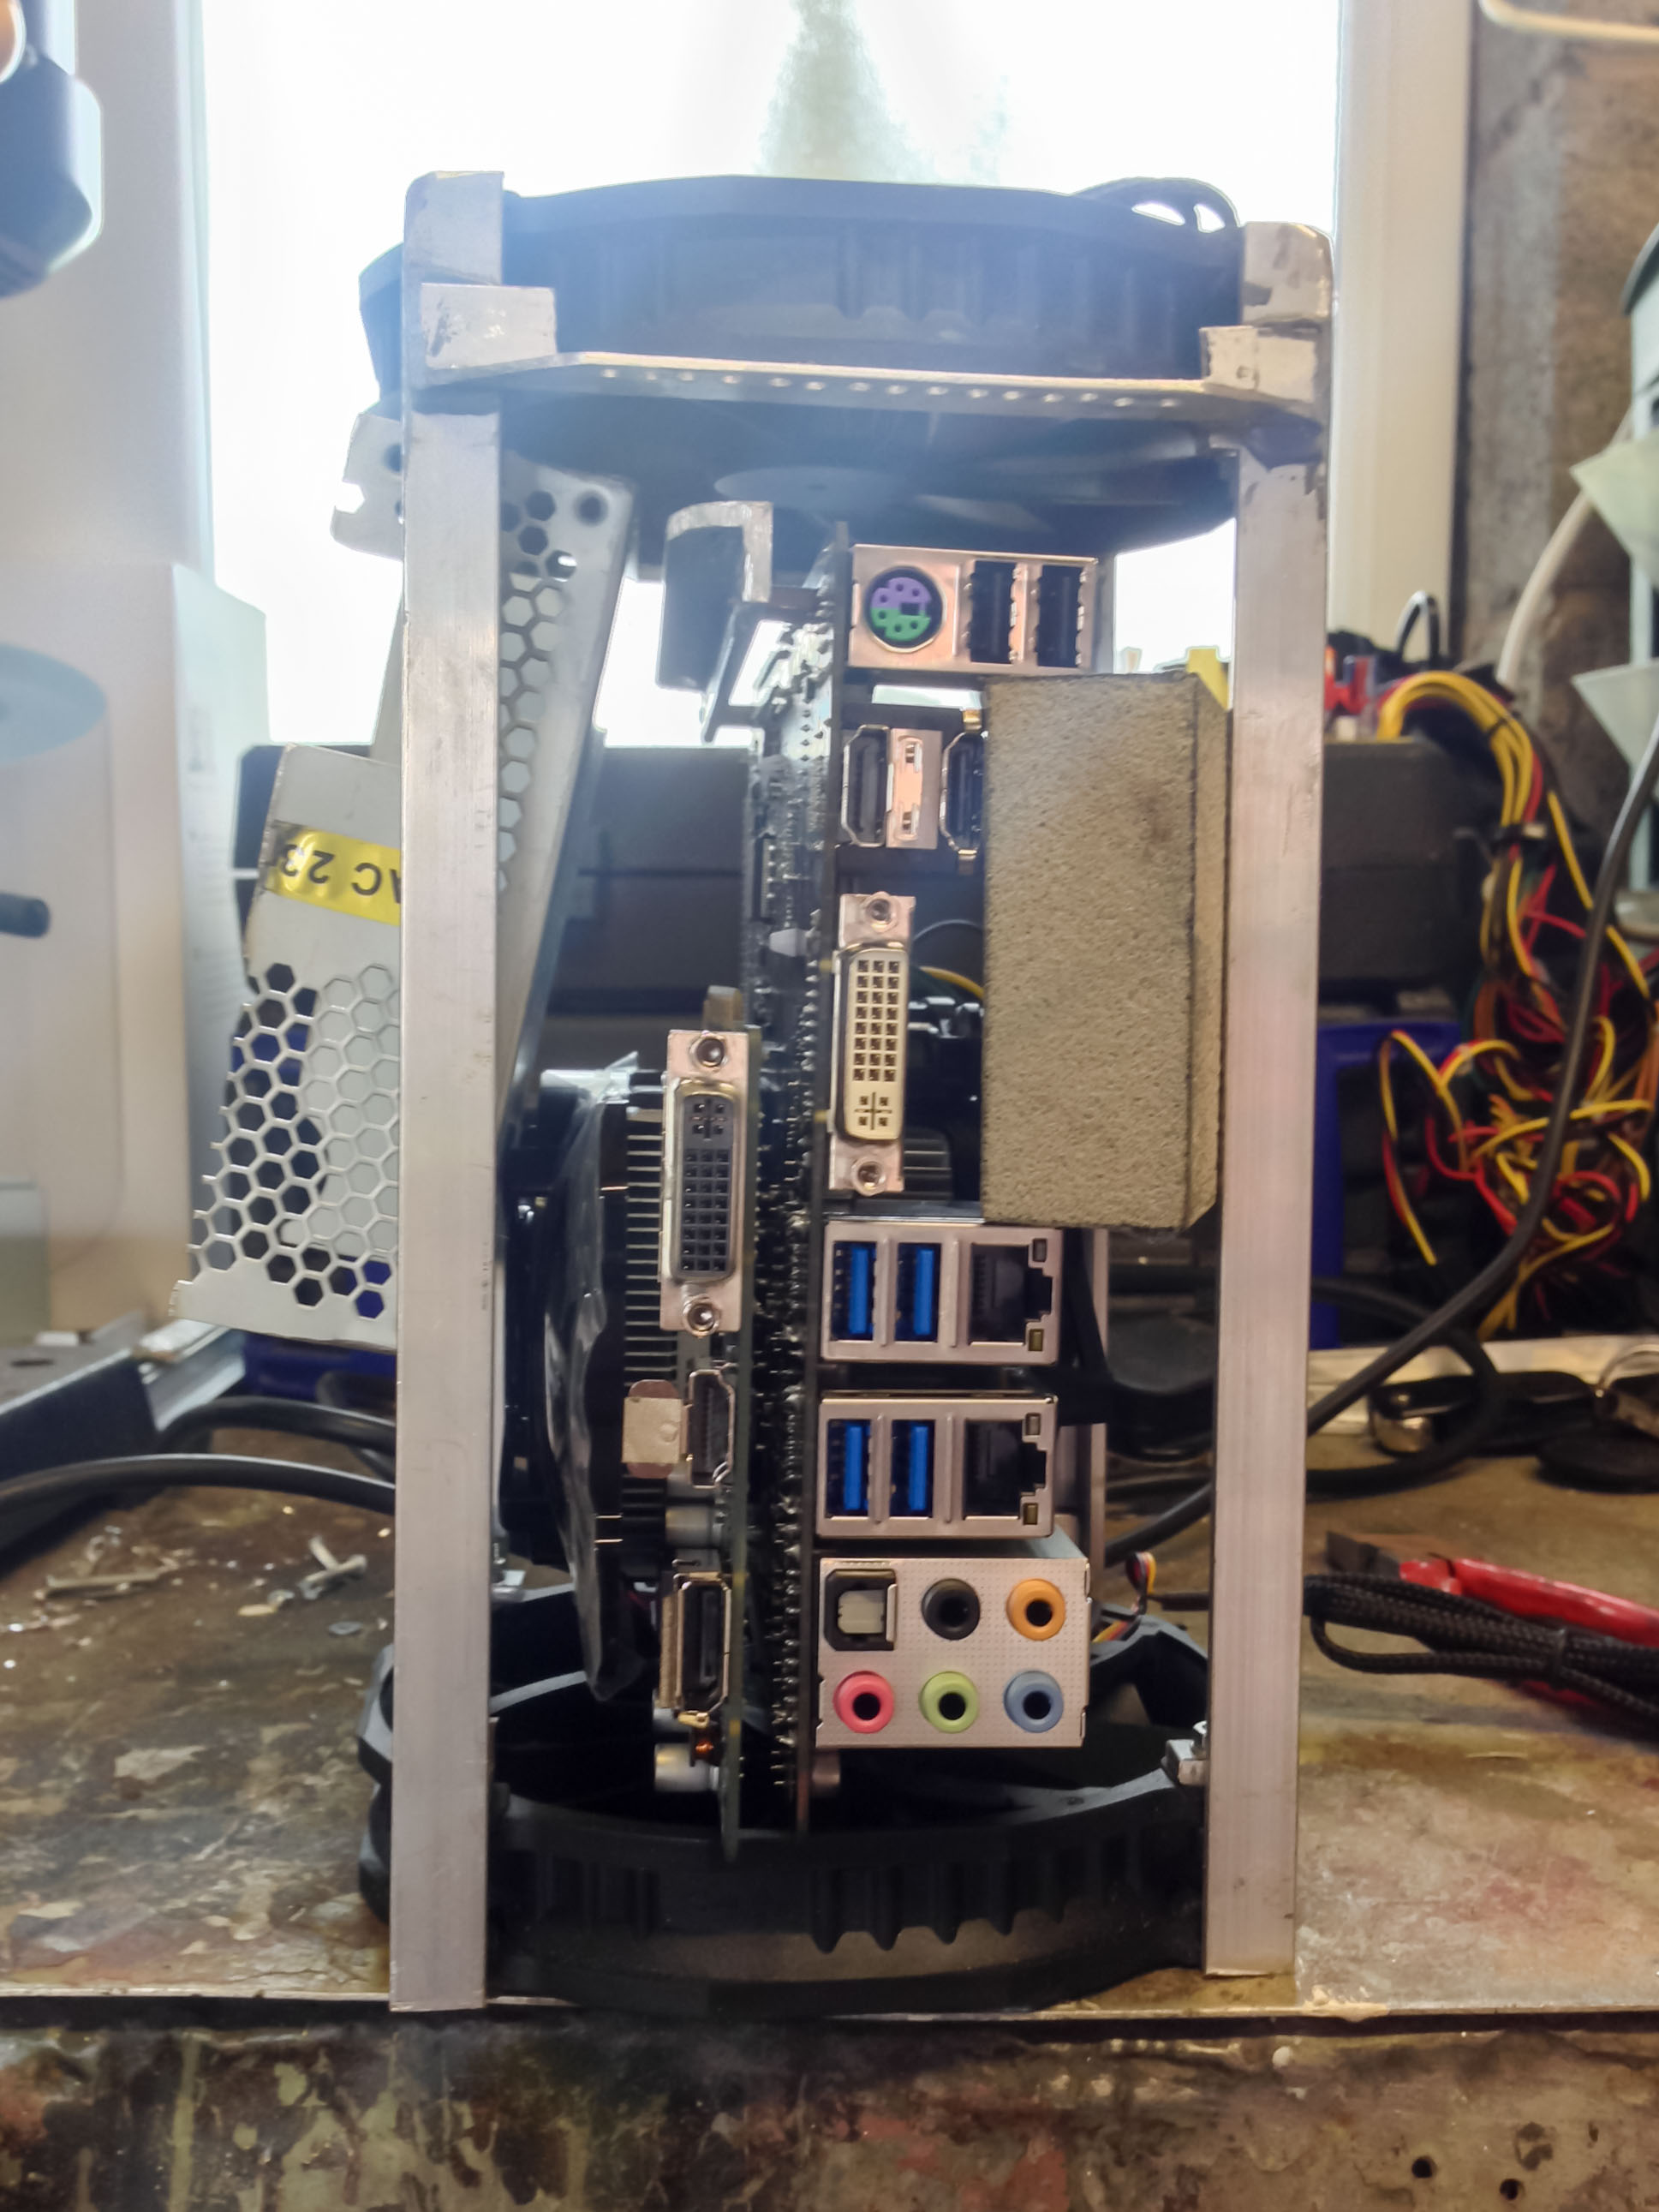
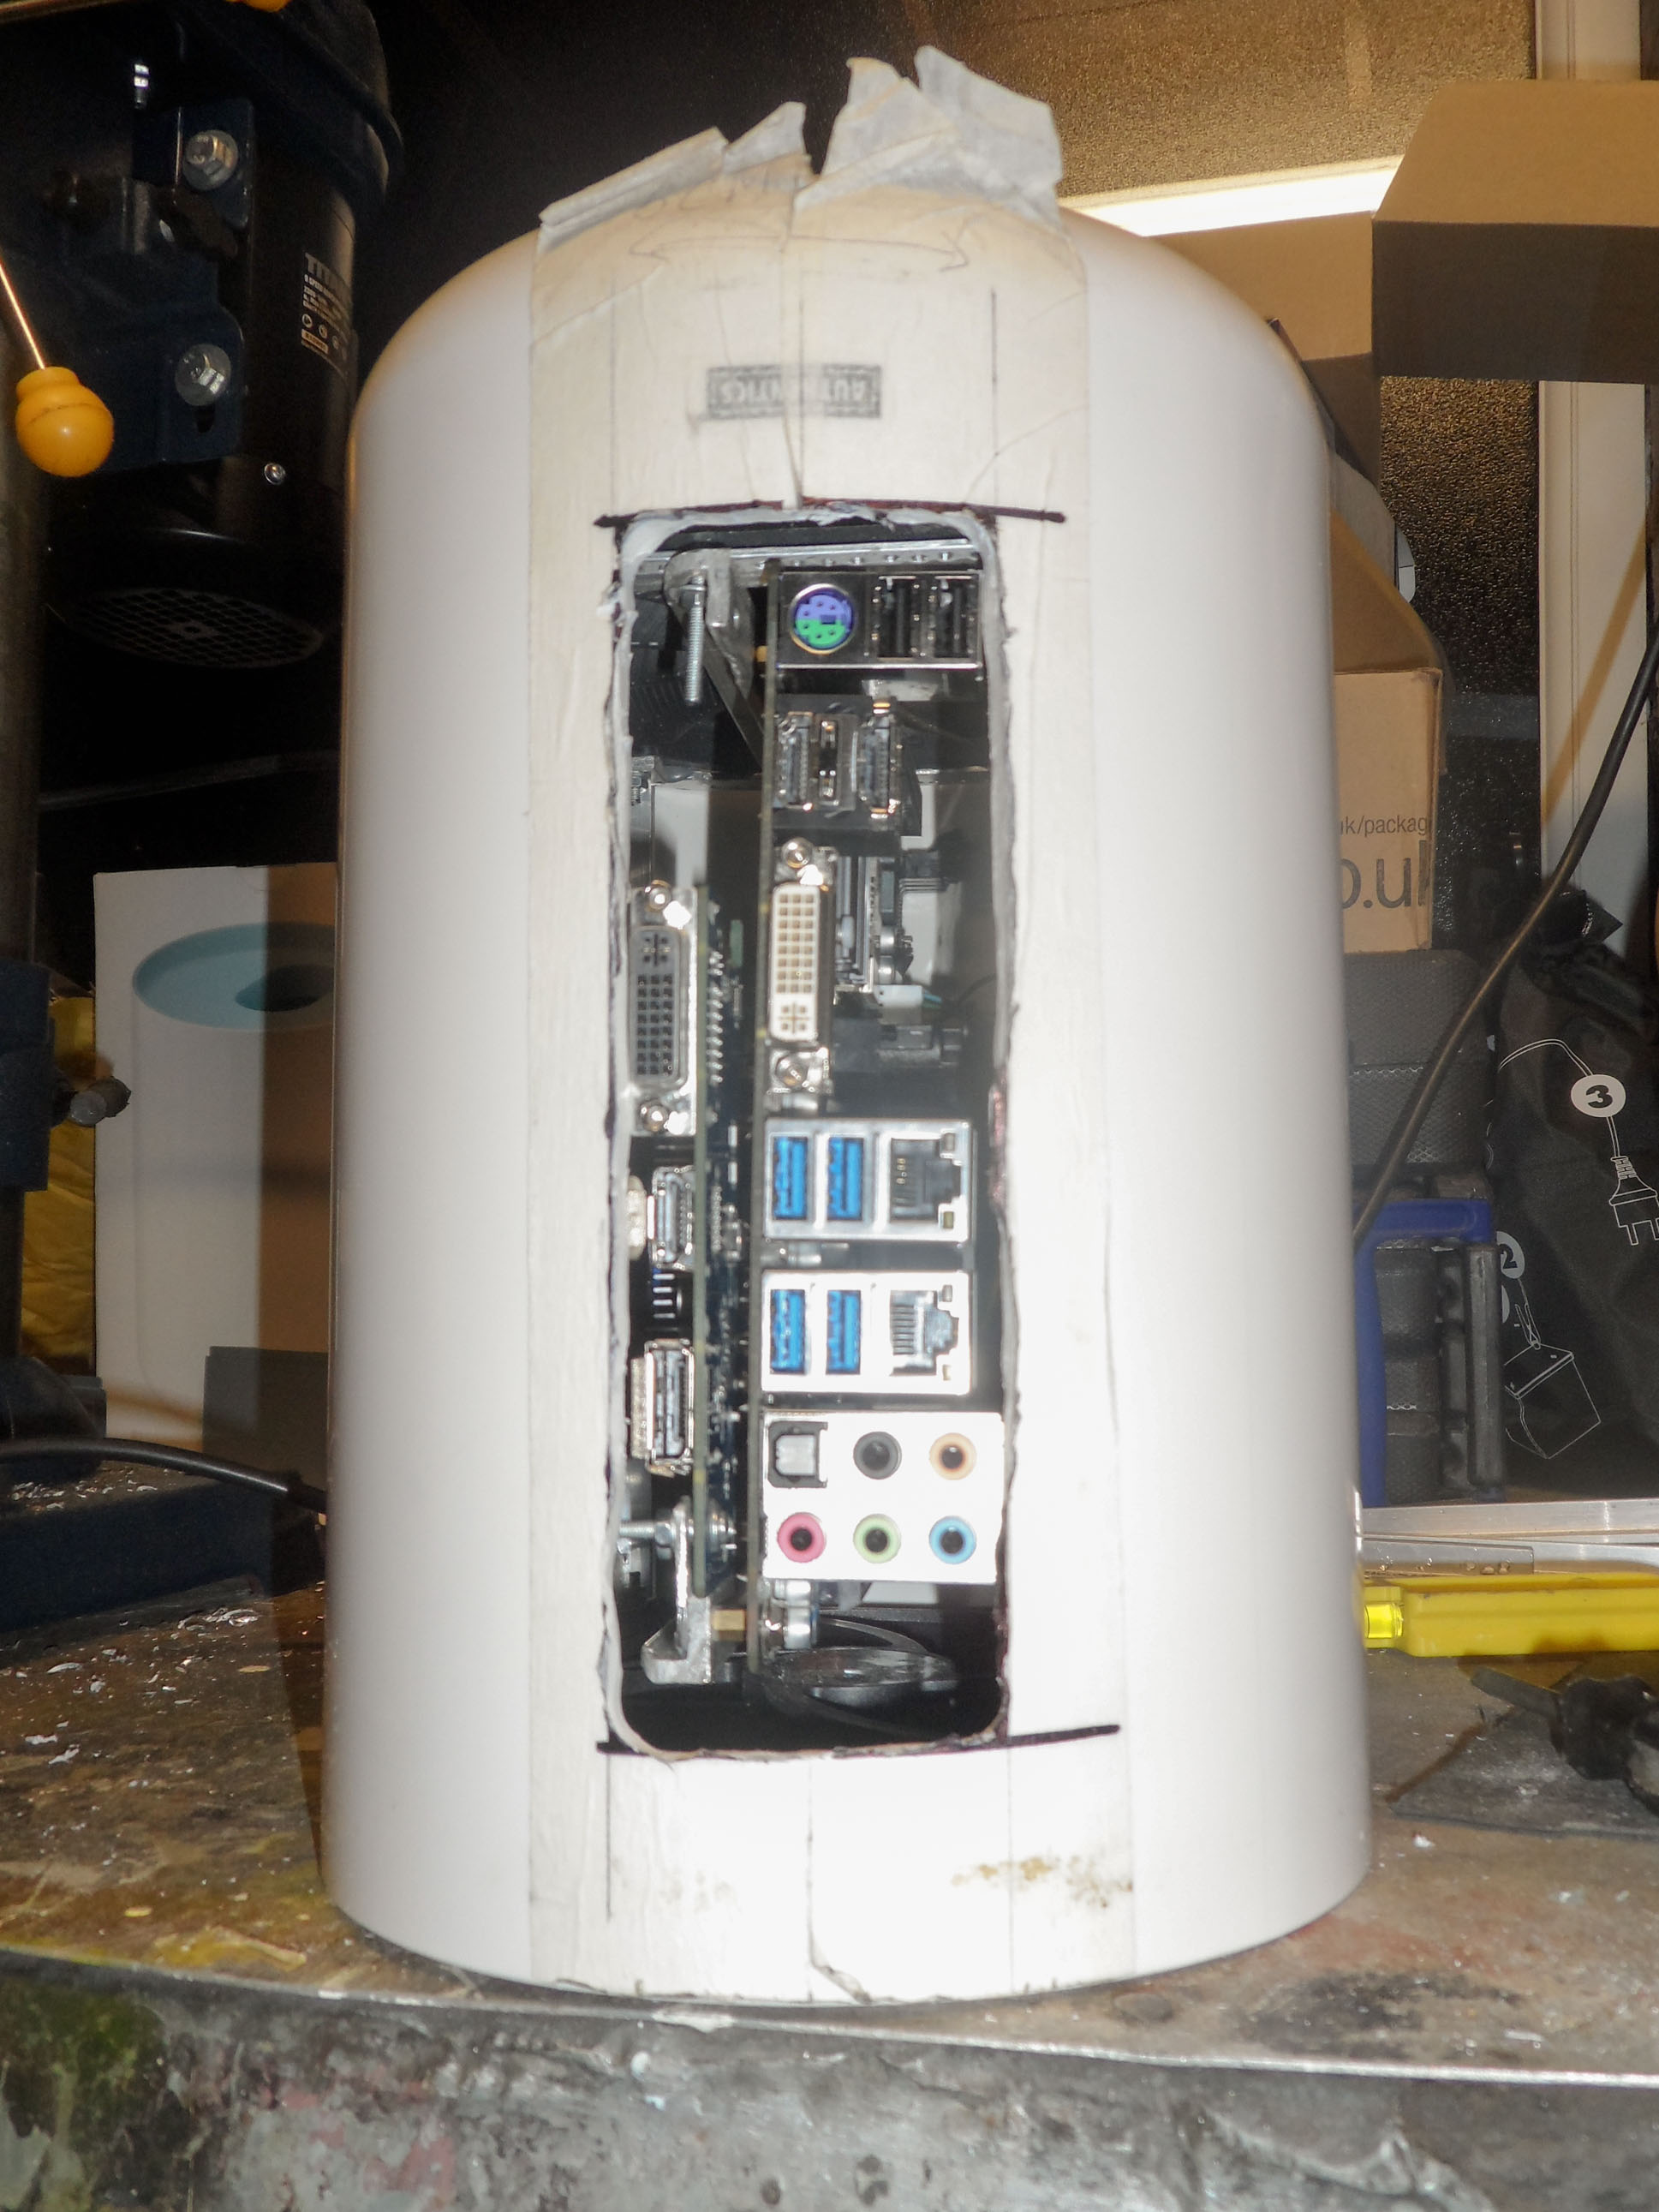
Initial alignment.
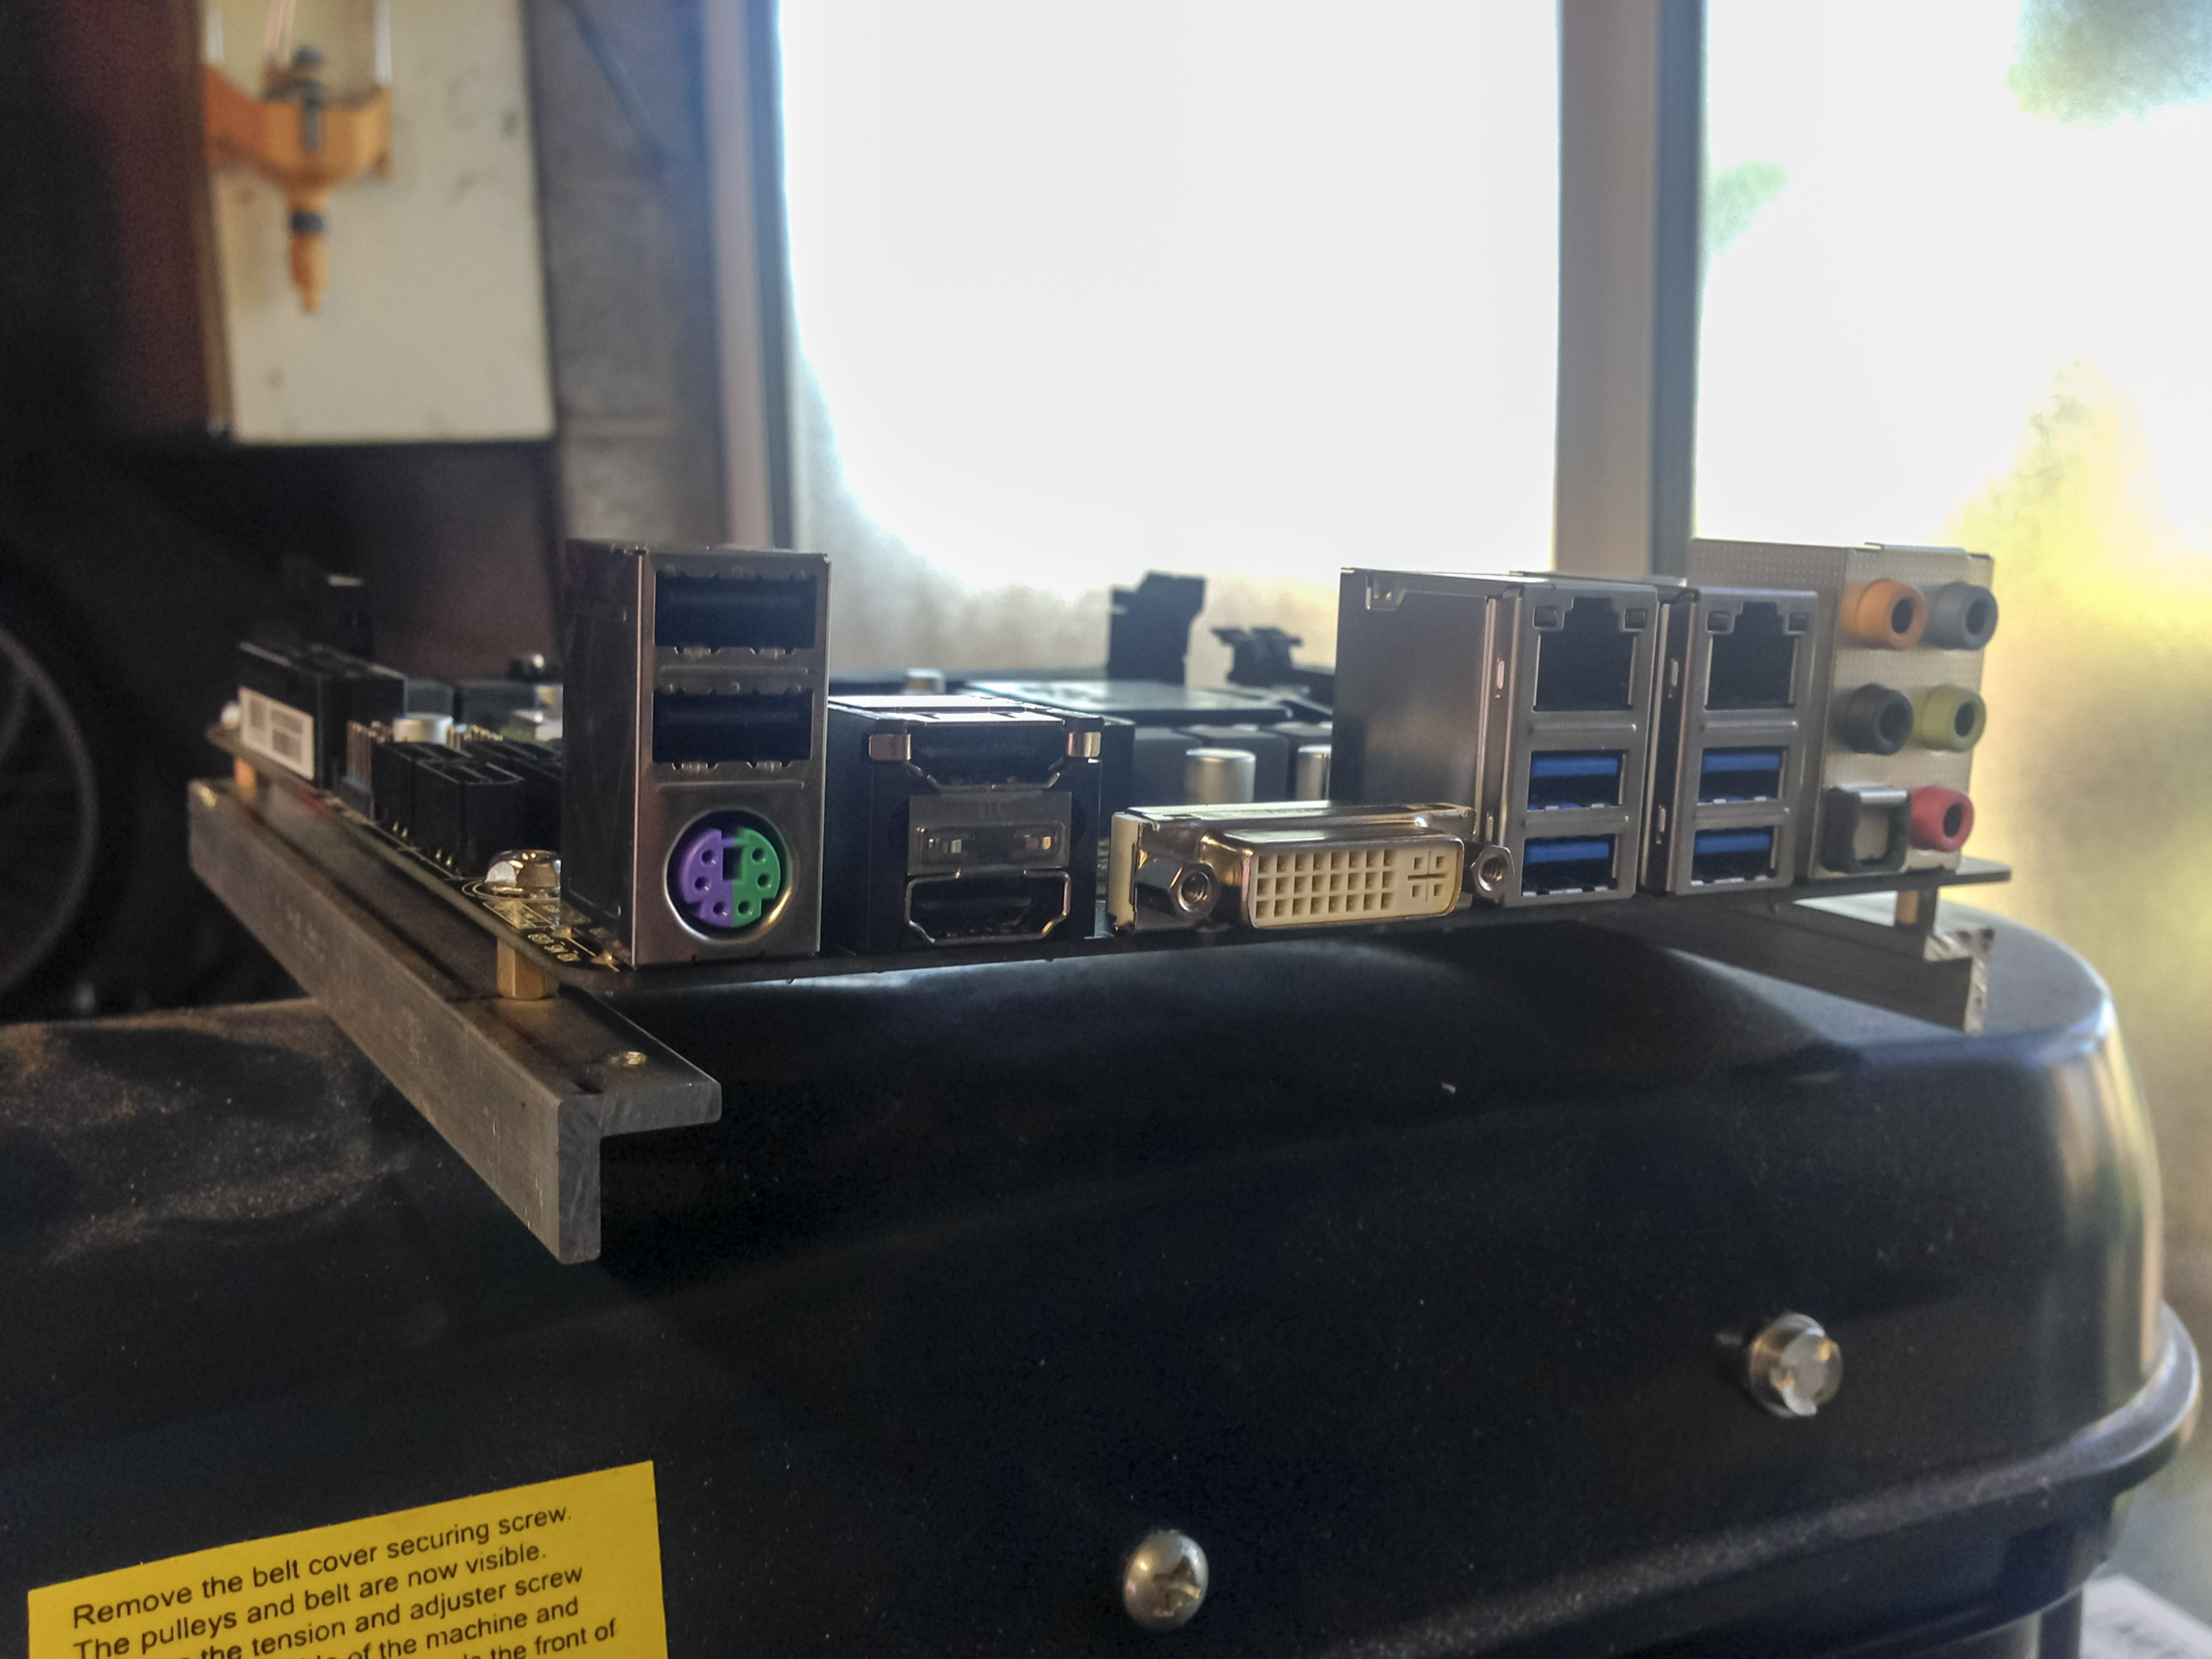
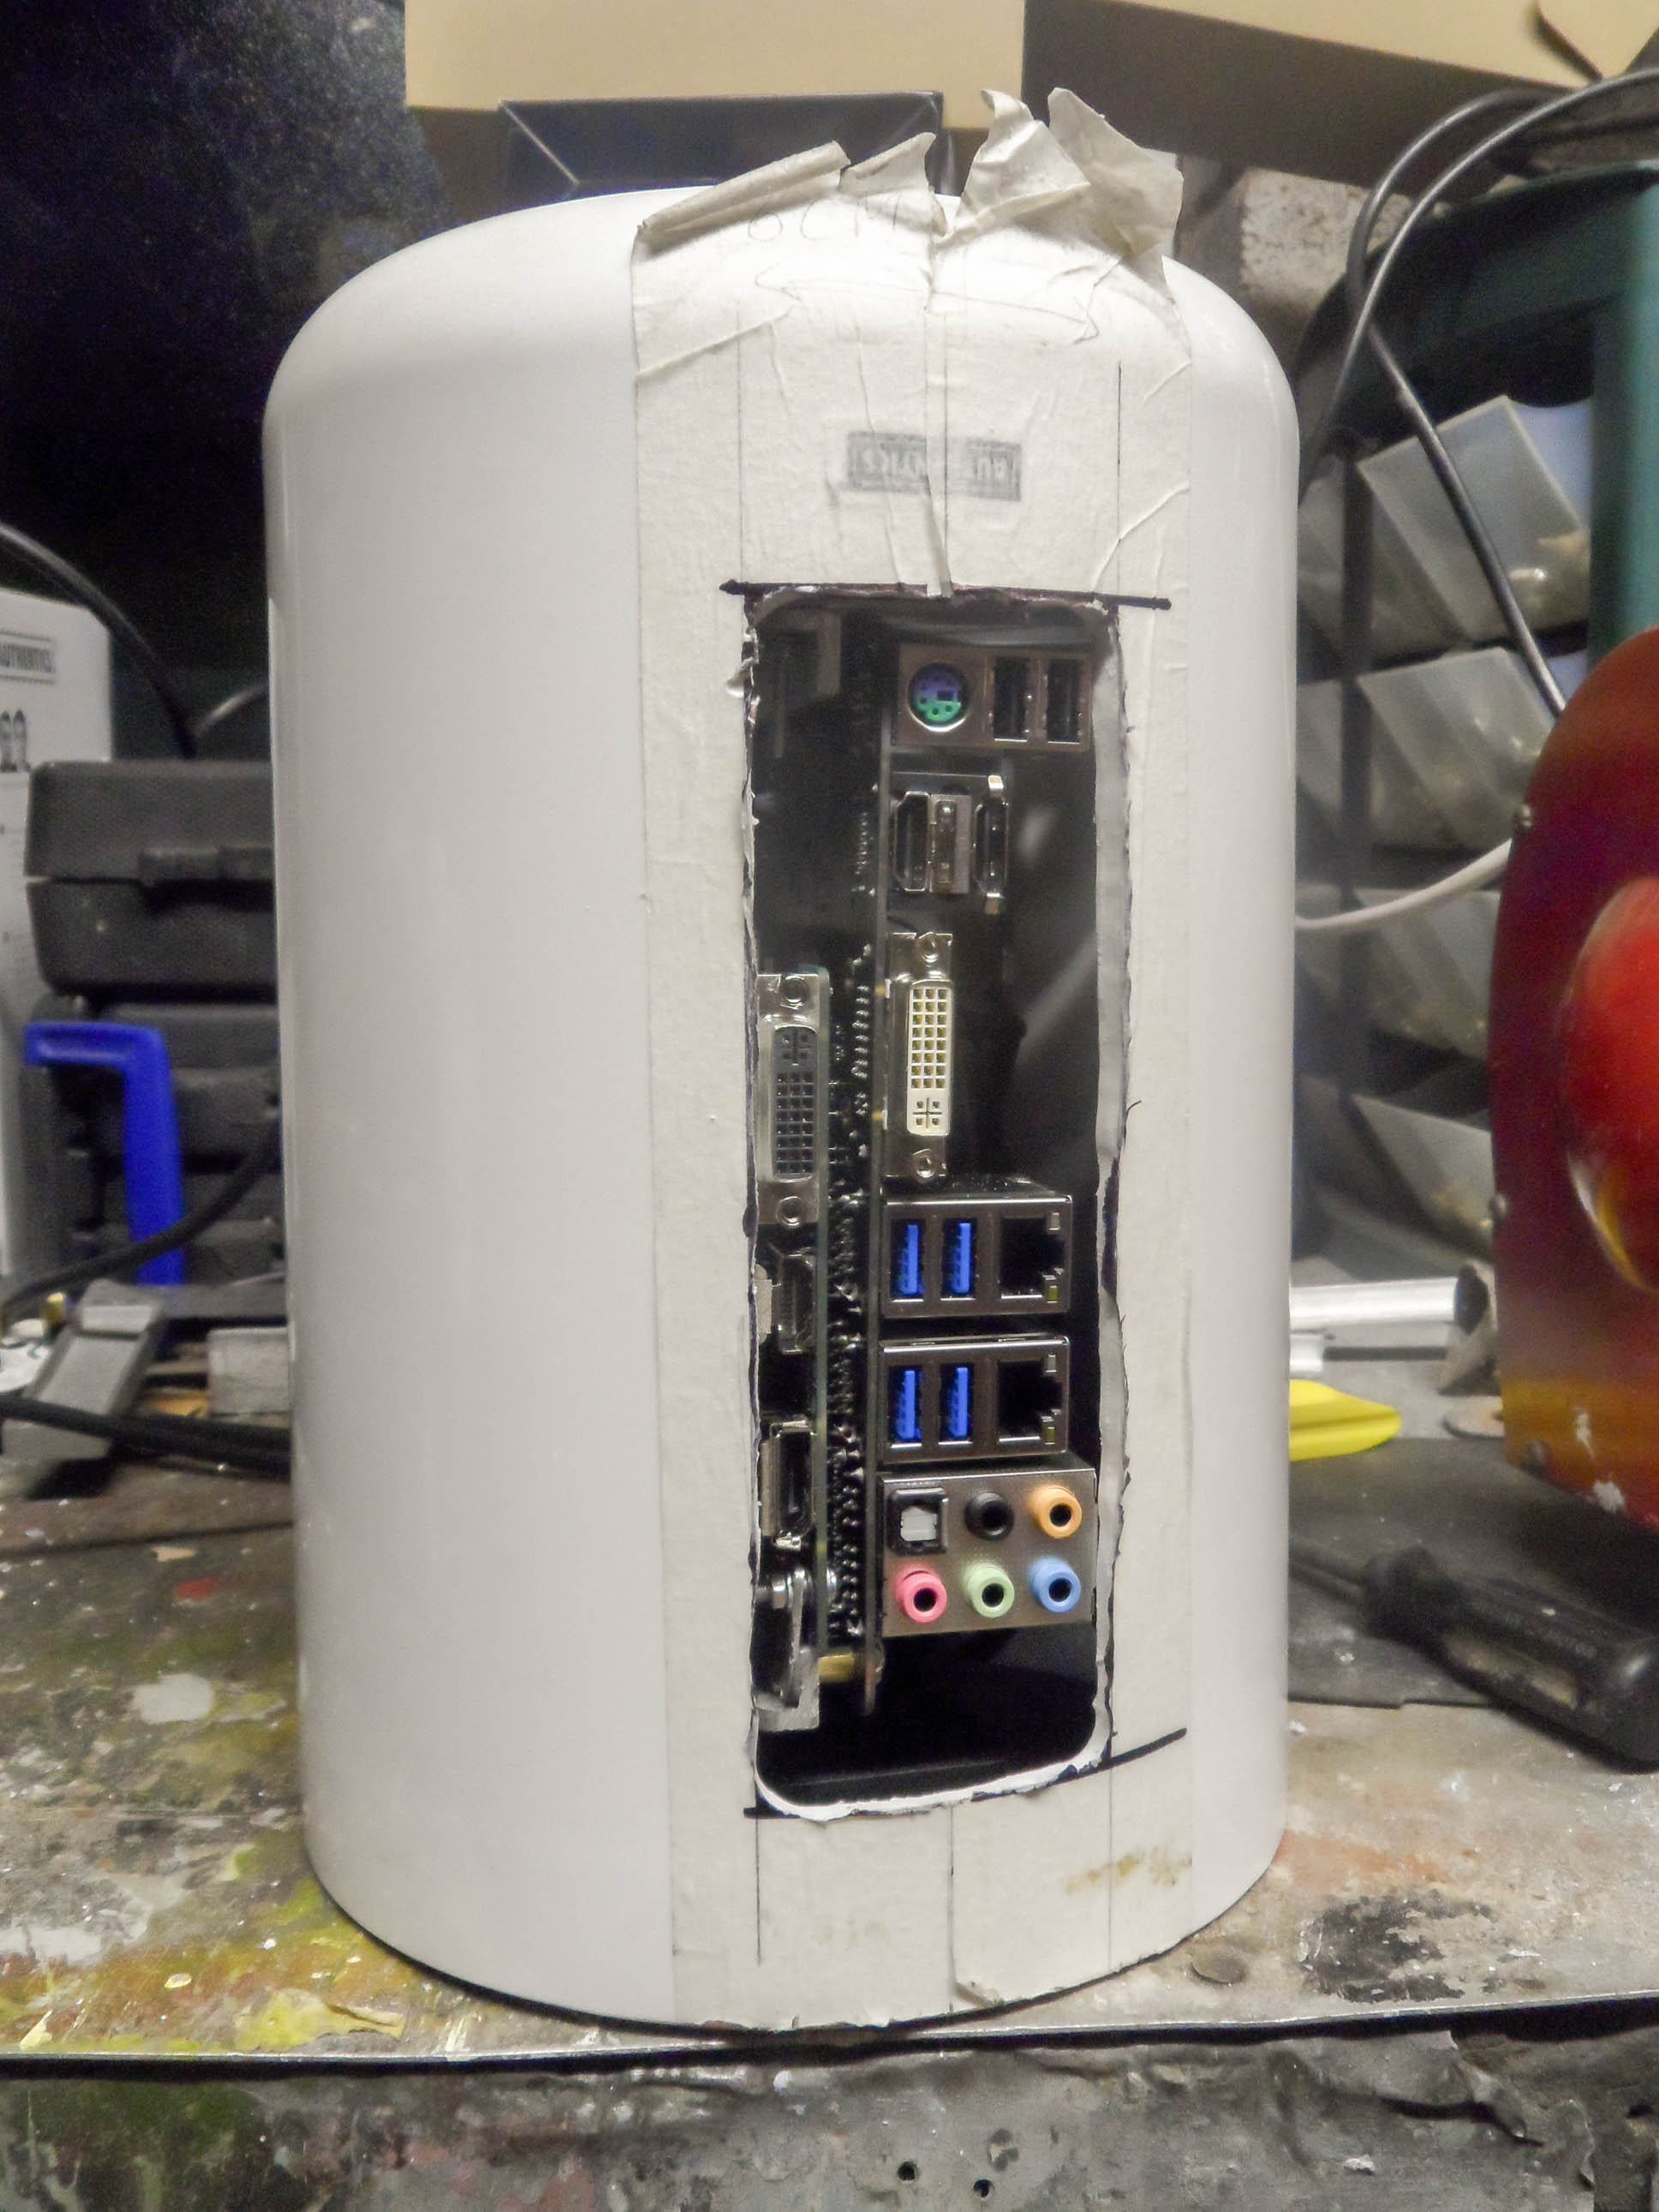
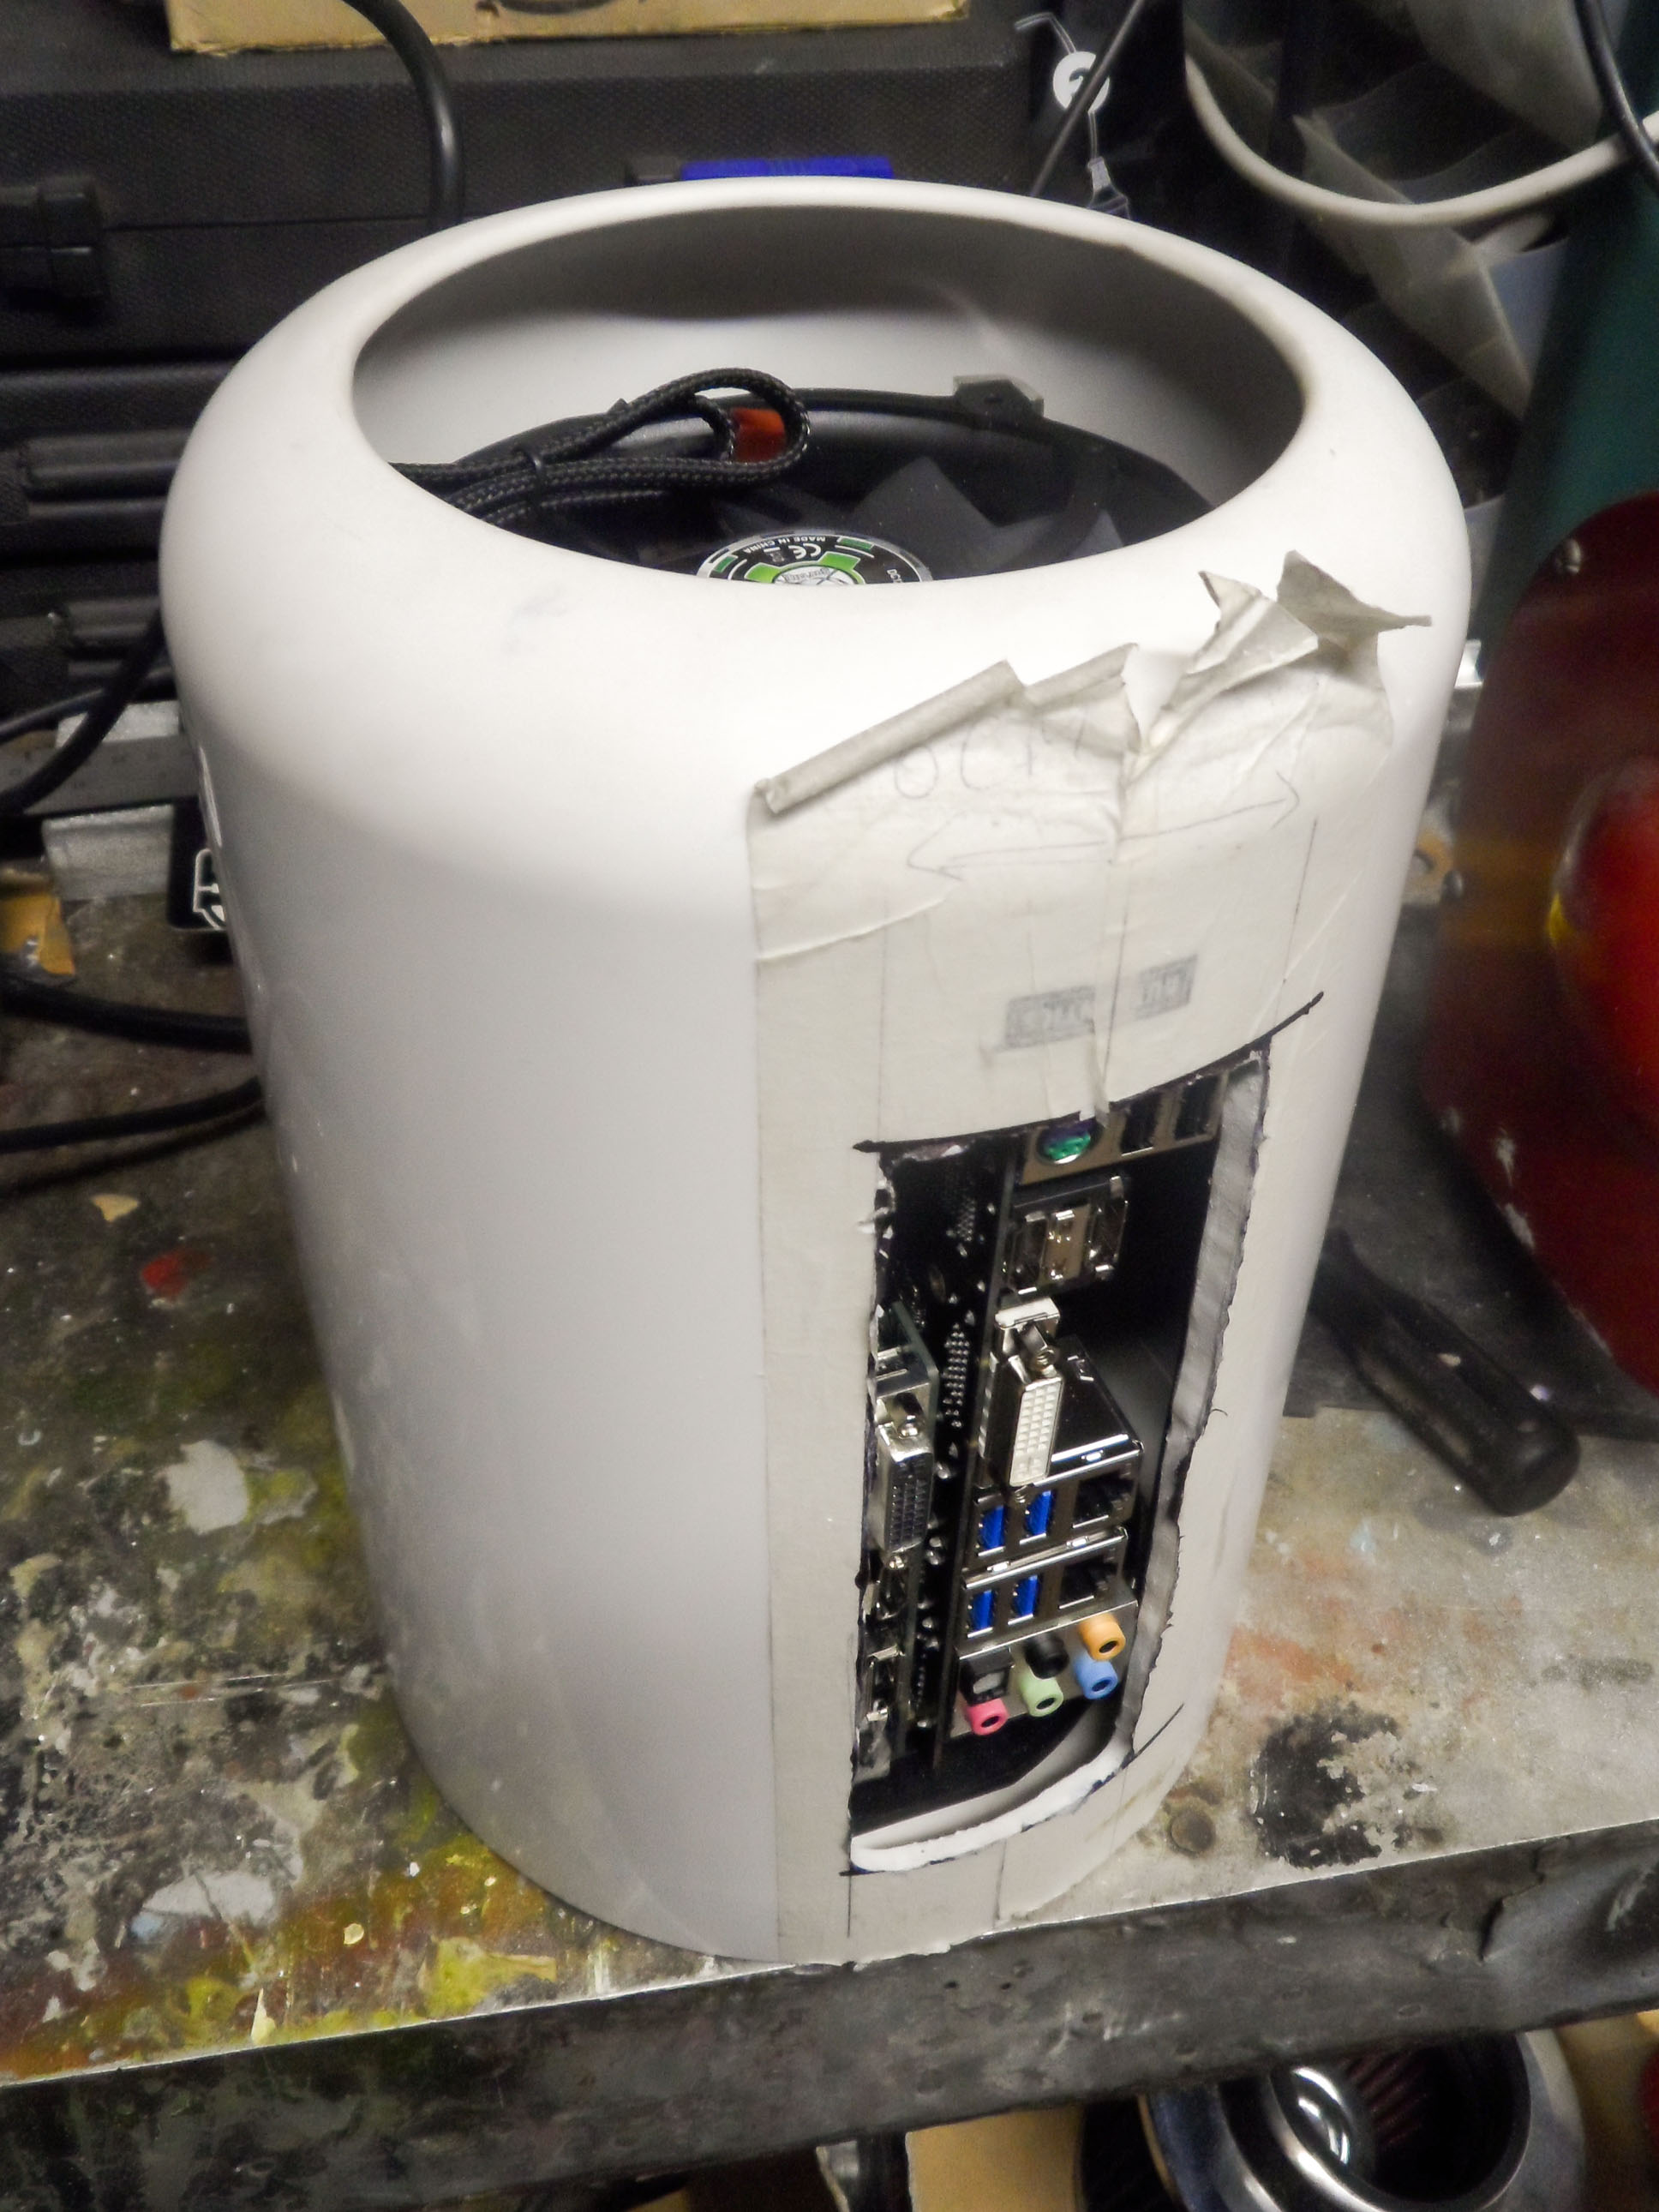
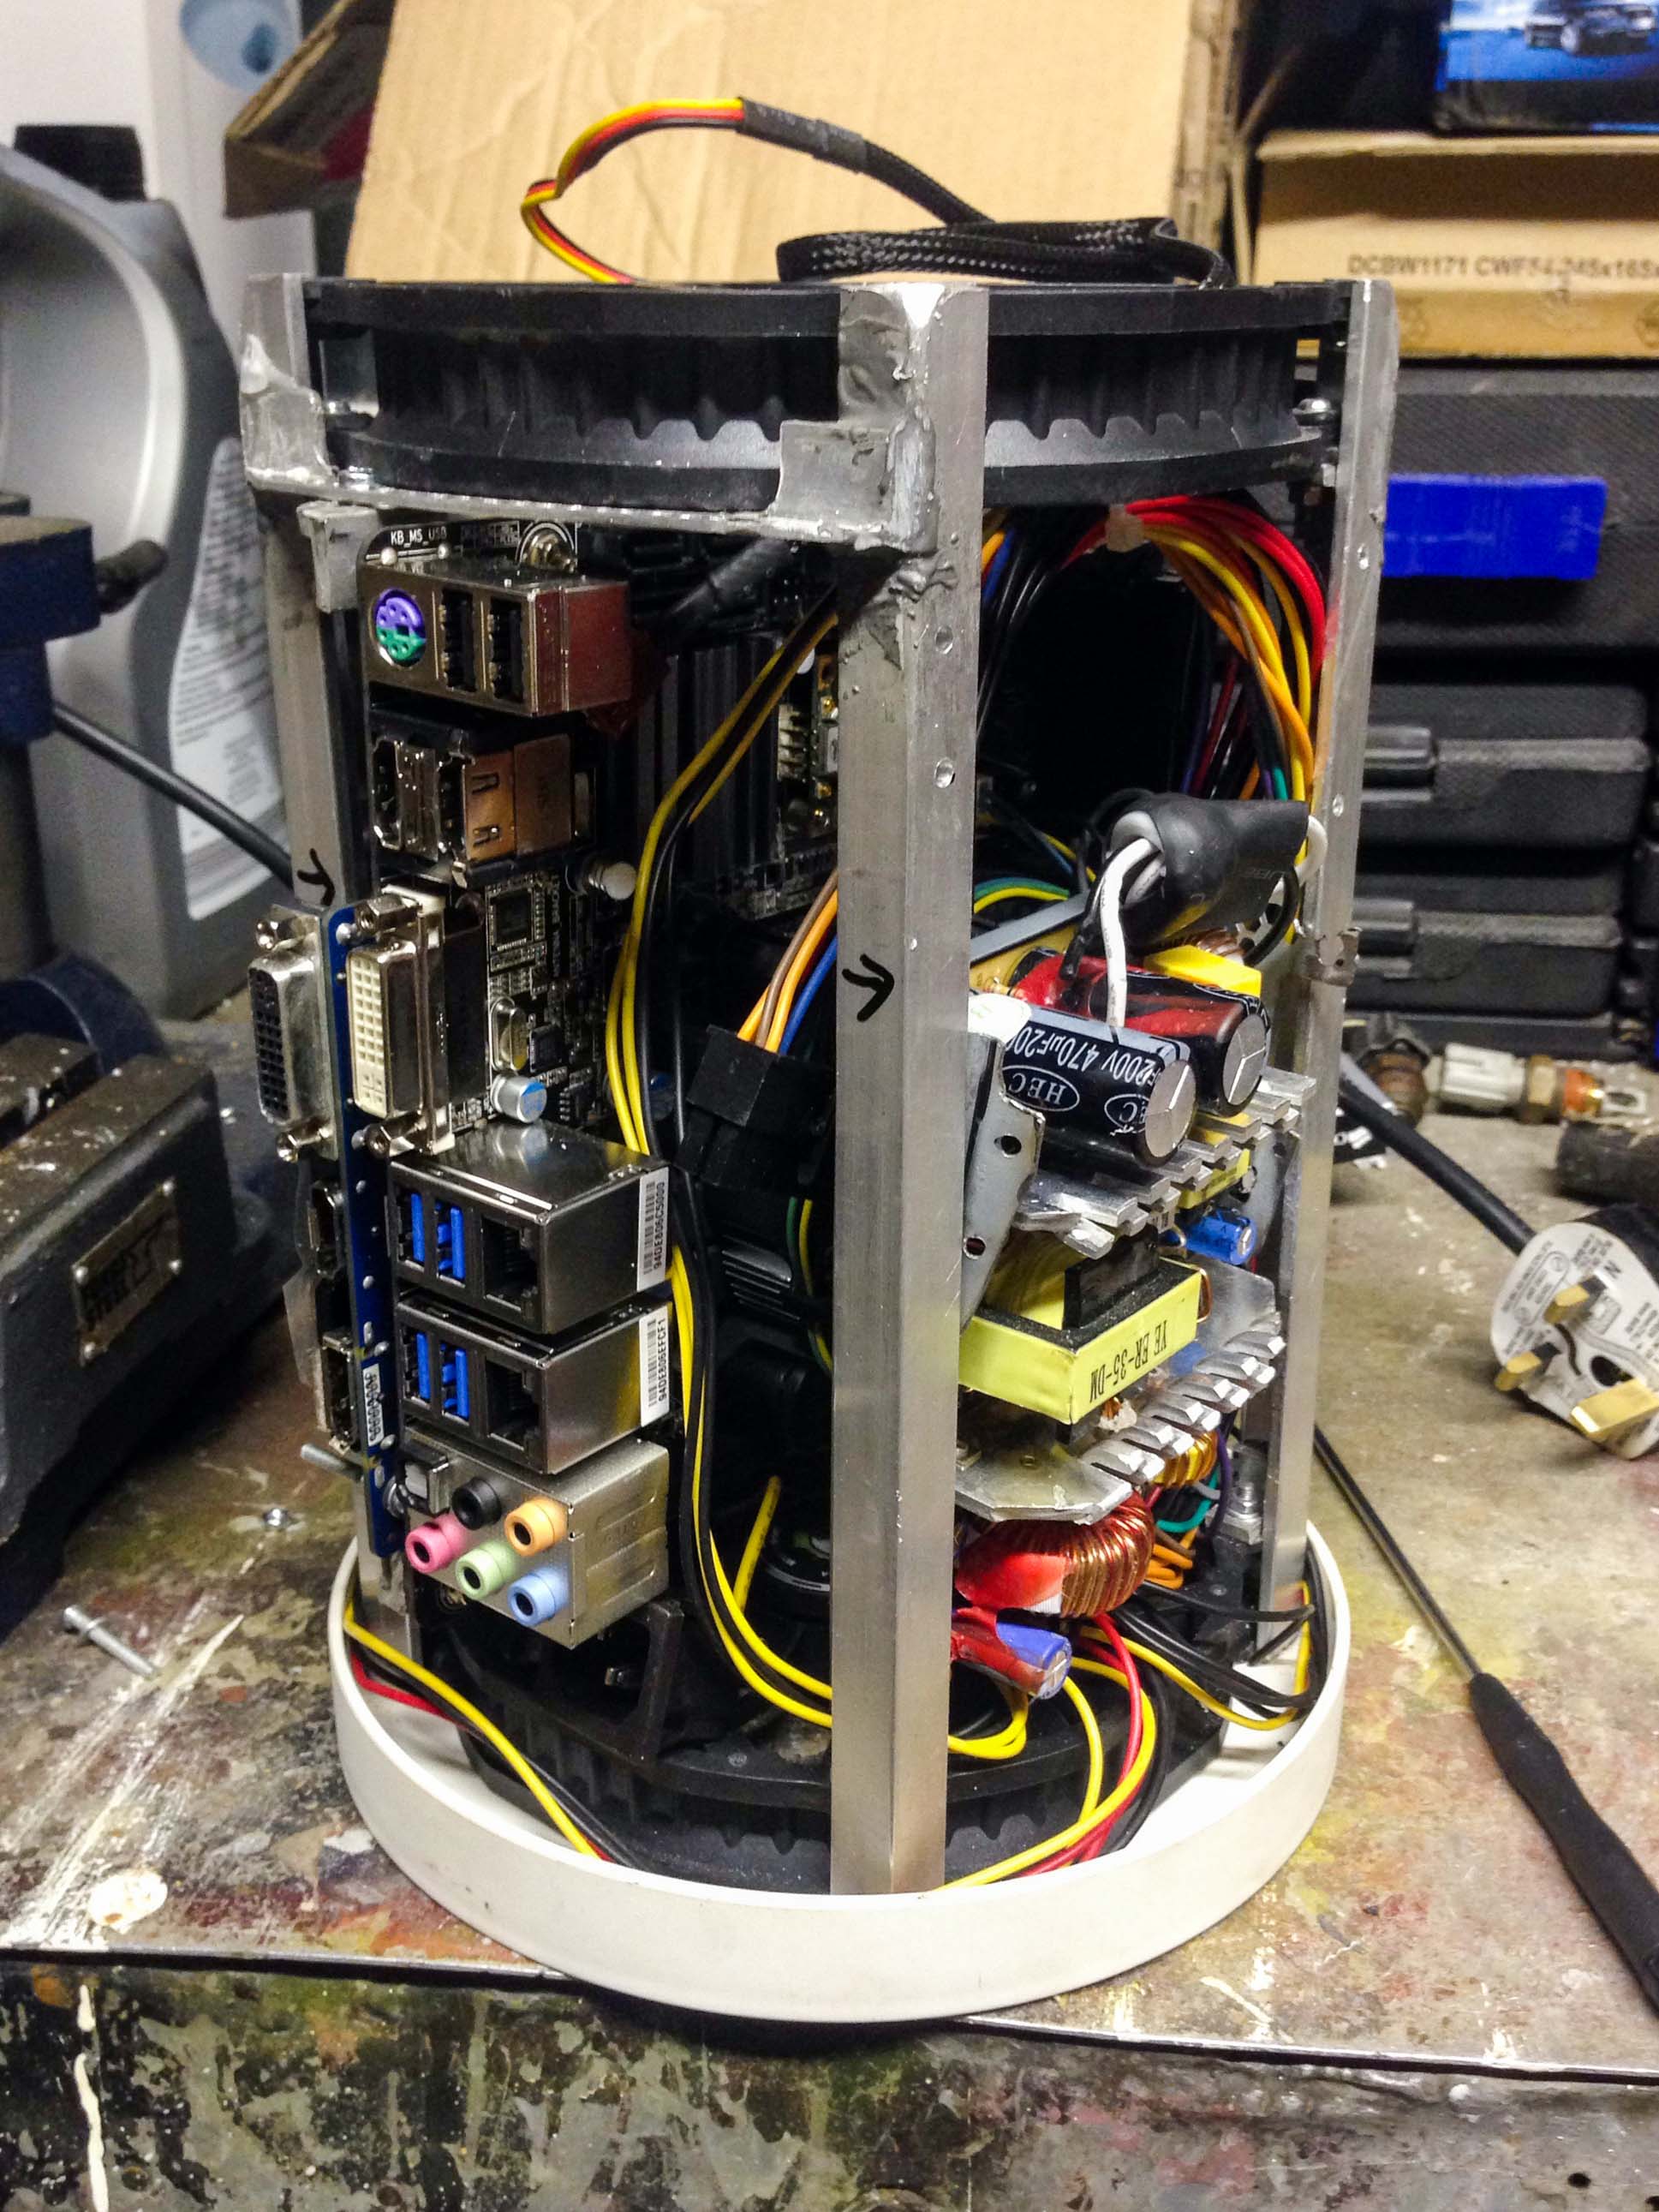
IO hole cut, everything lines up nicely 😉
Slides on and off easily enough.
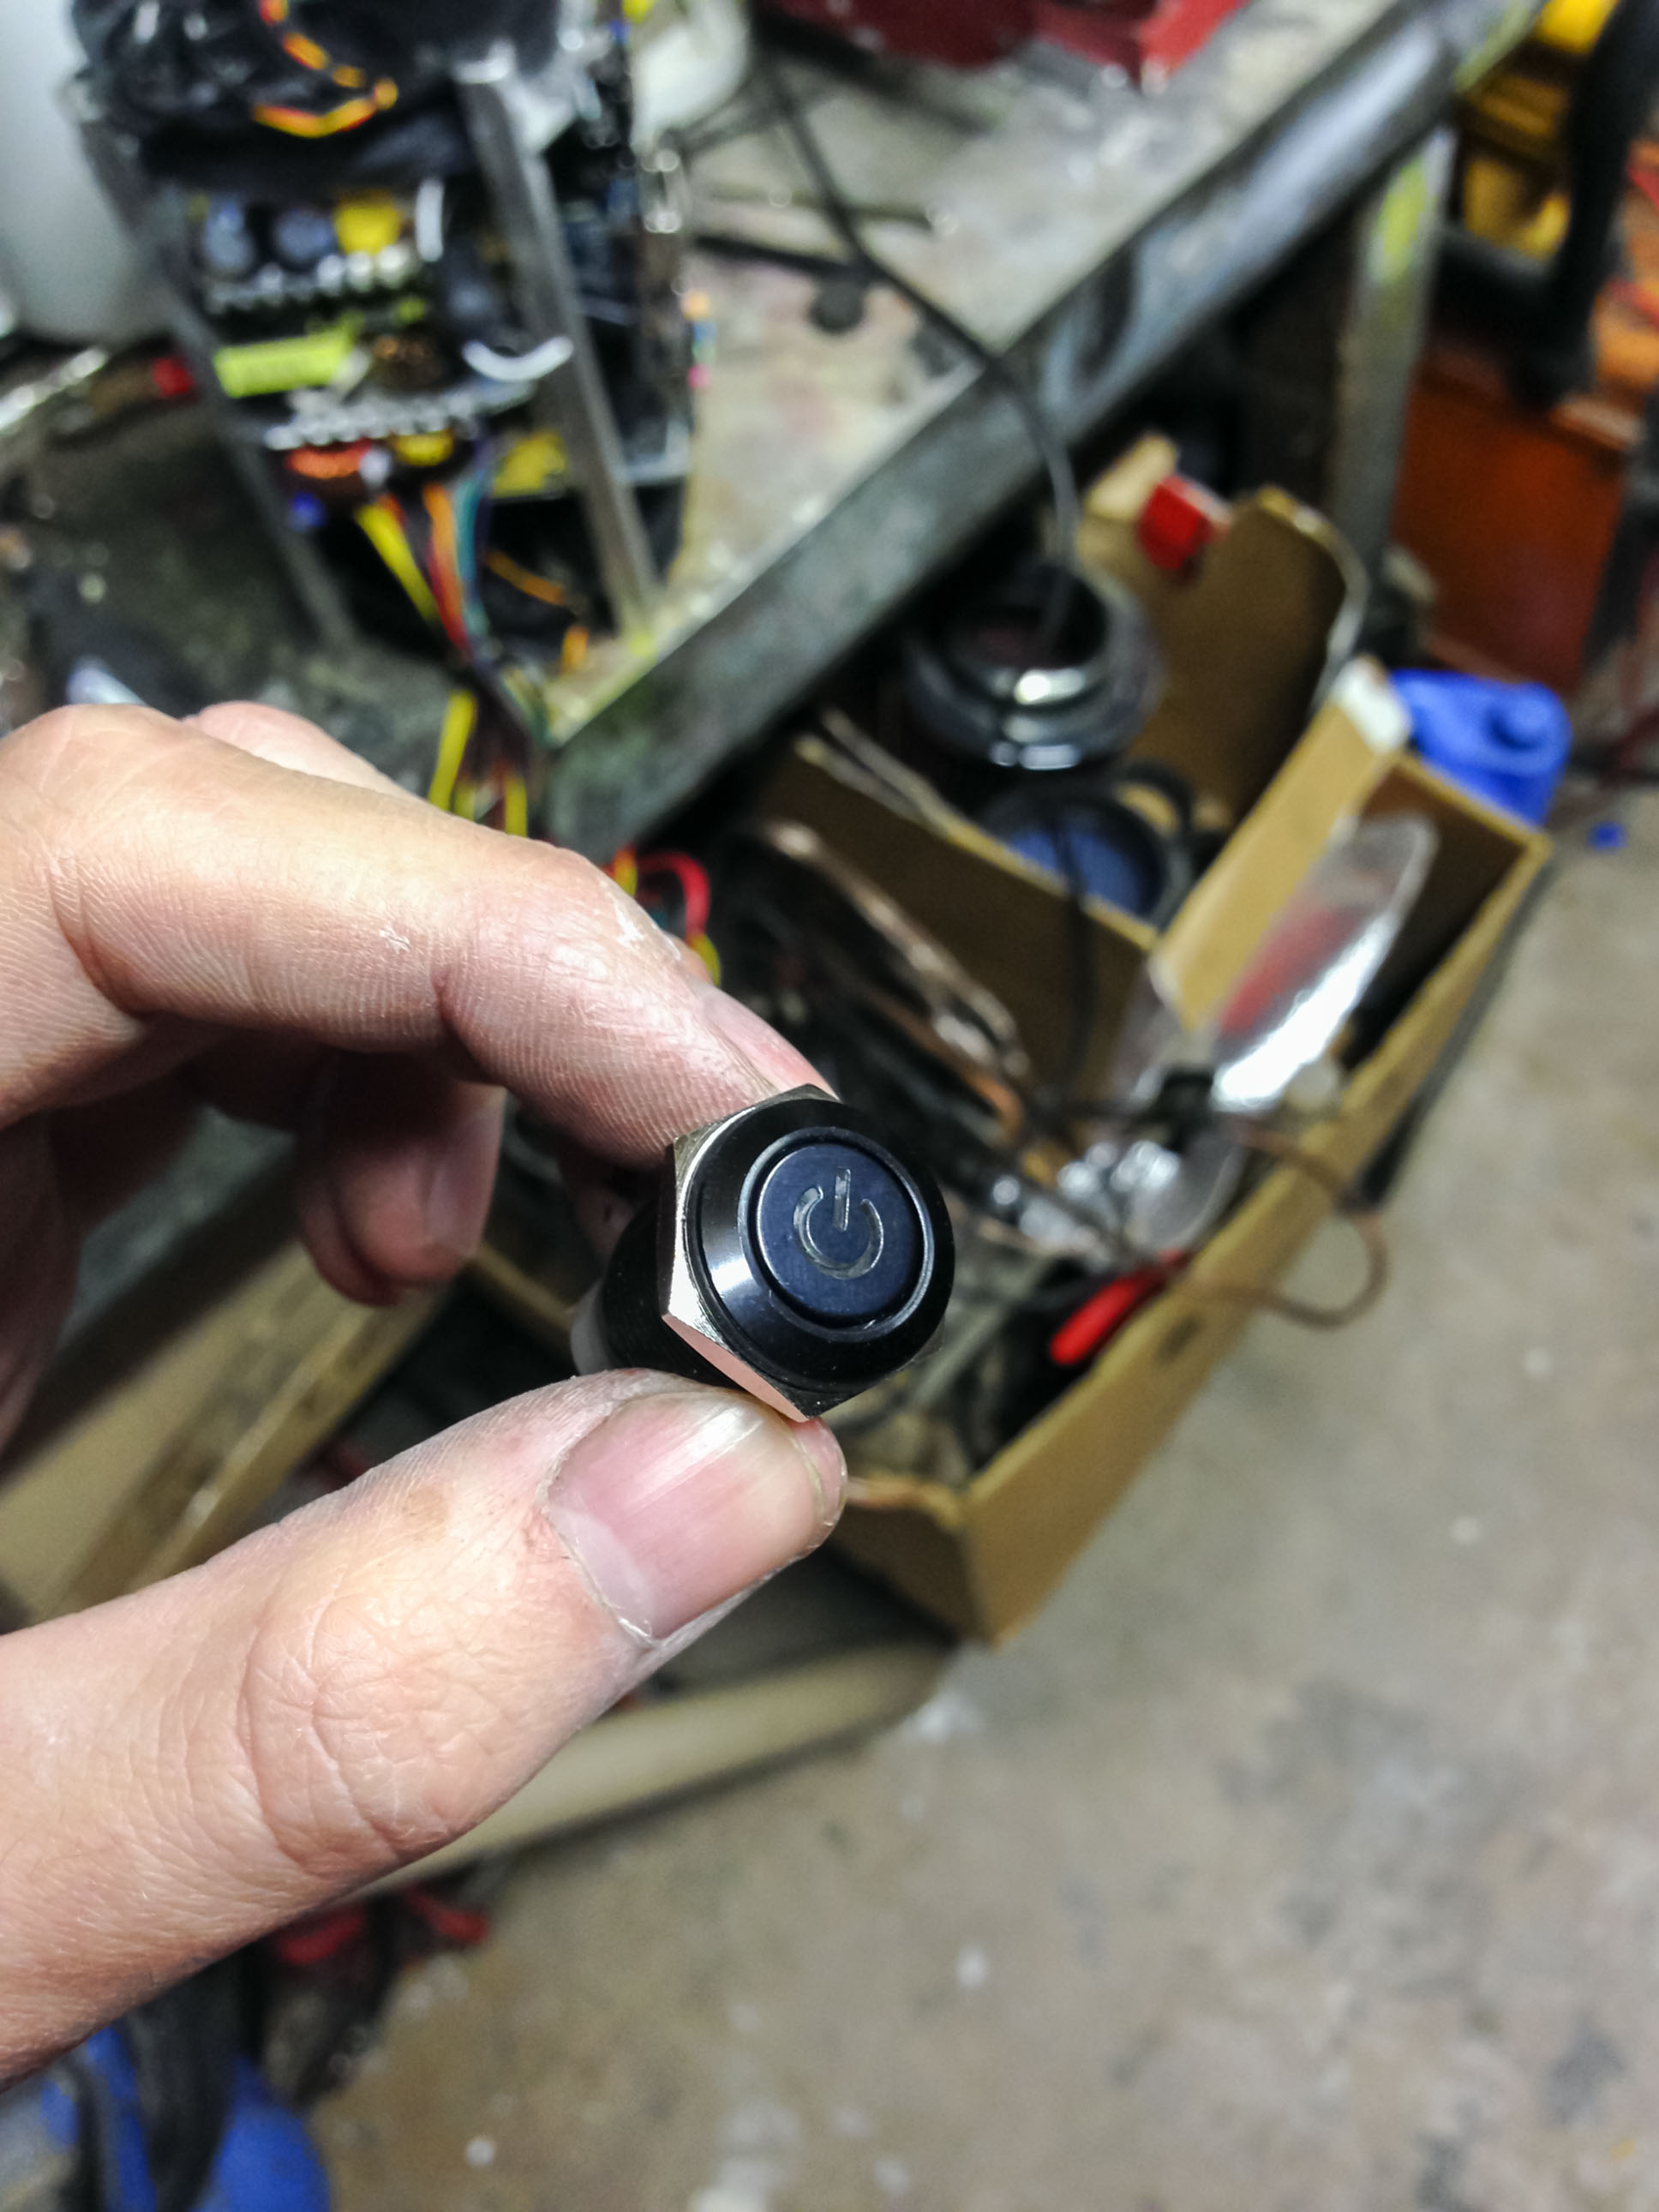
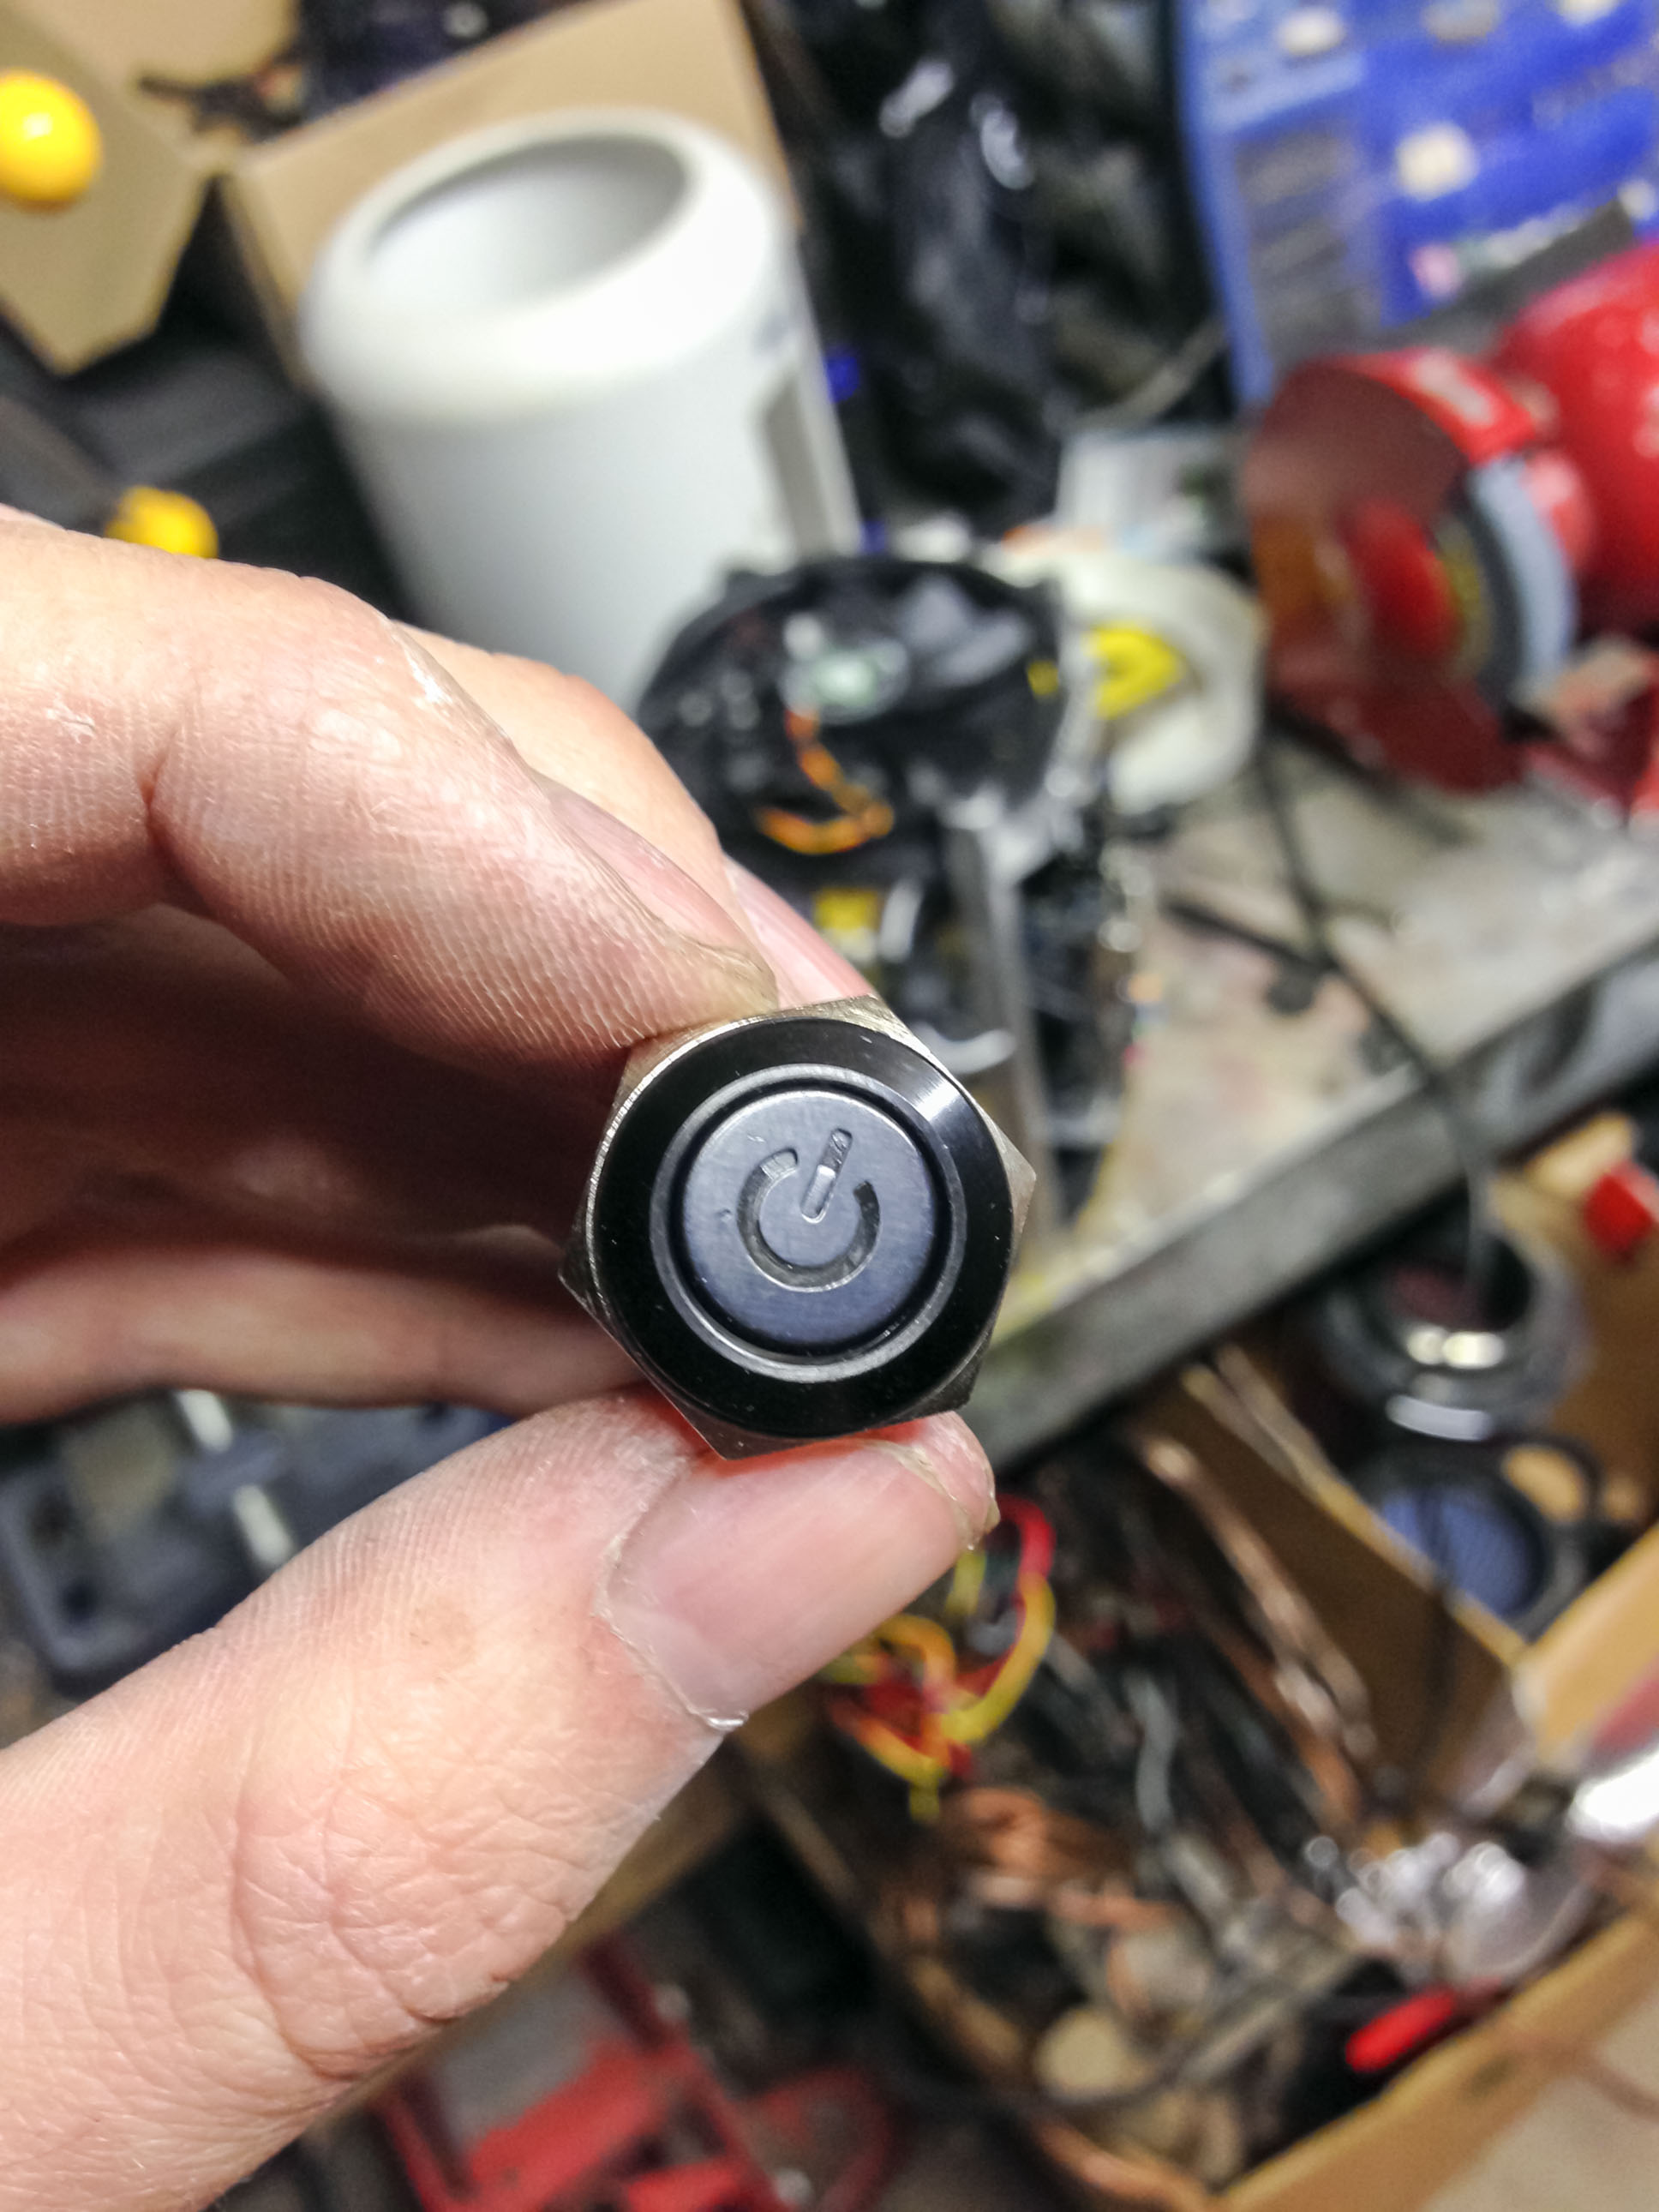
Anodised black aluminium power button
Glows blue when switched on.
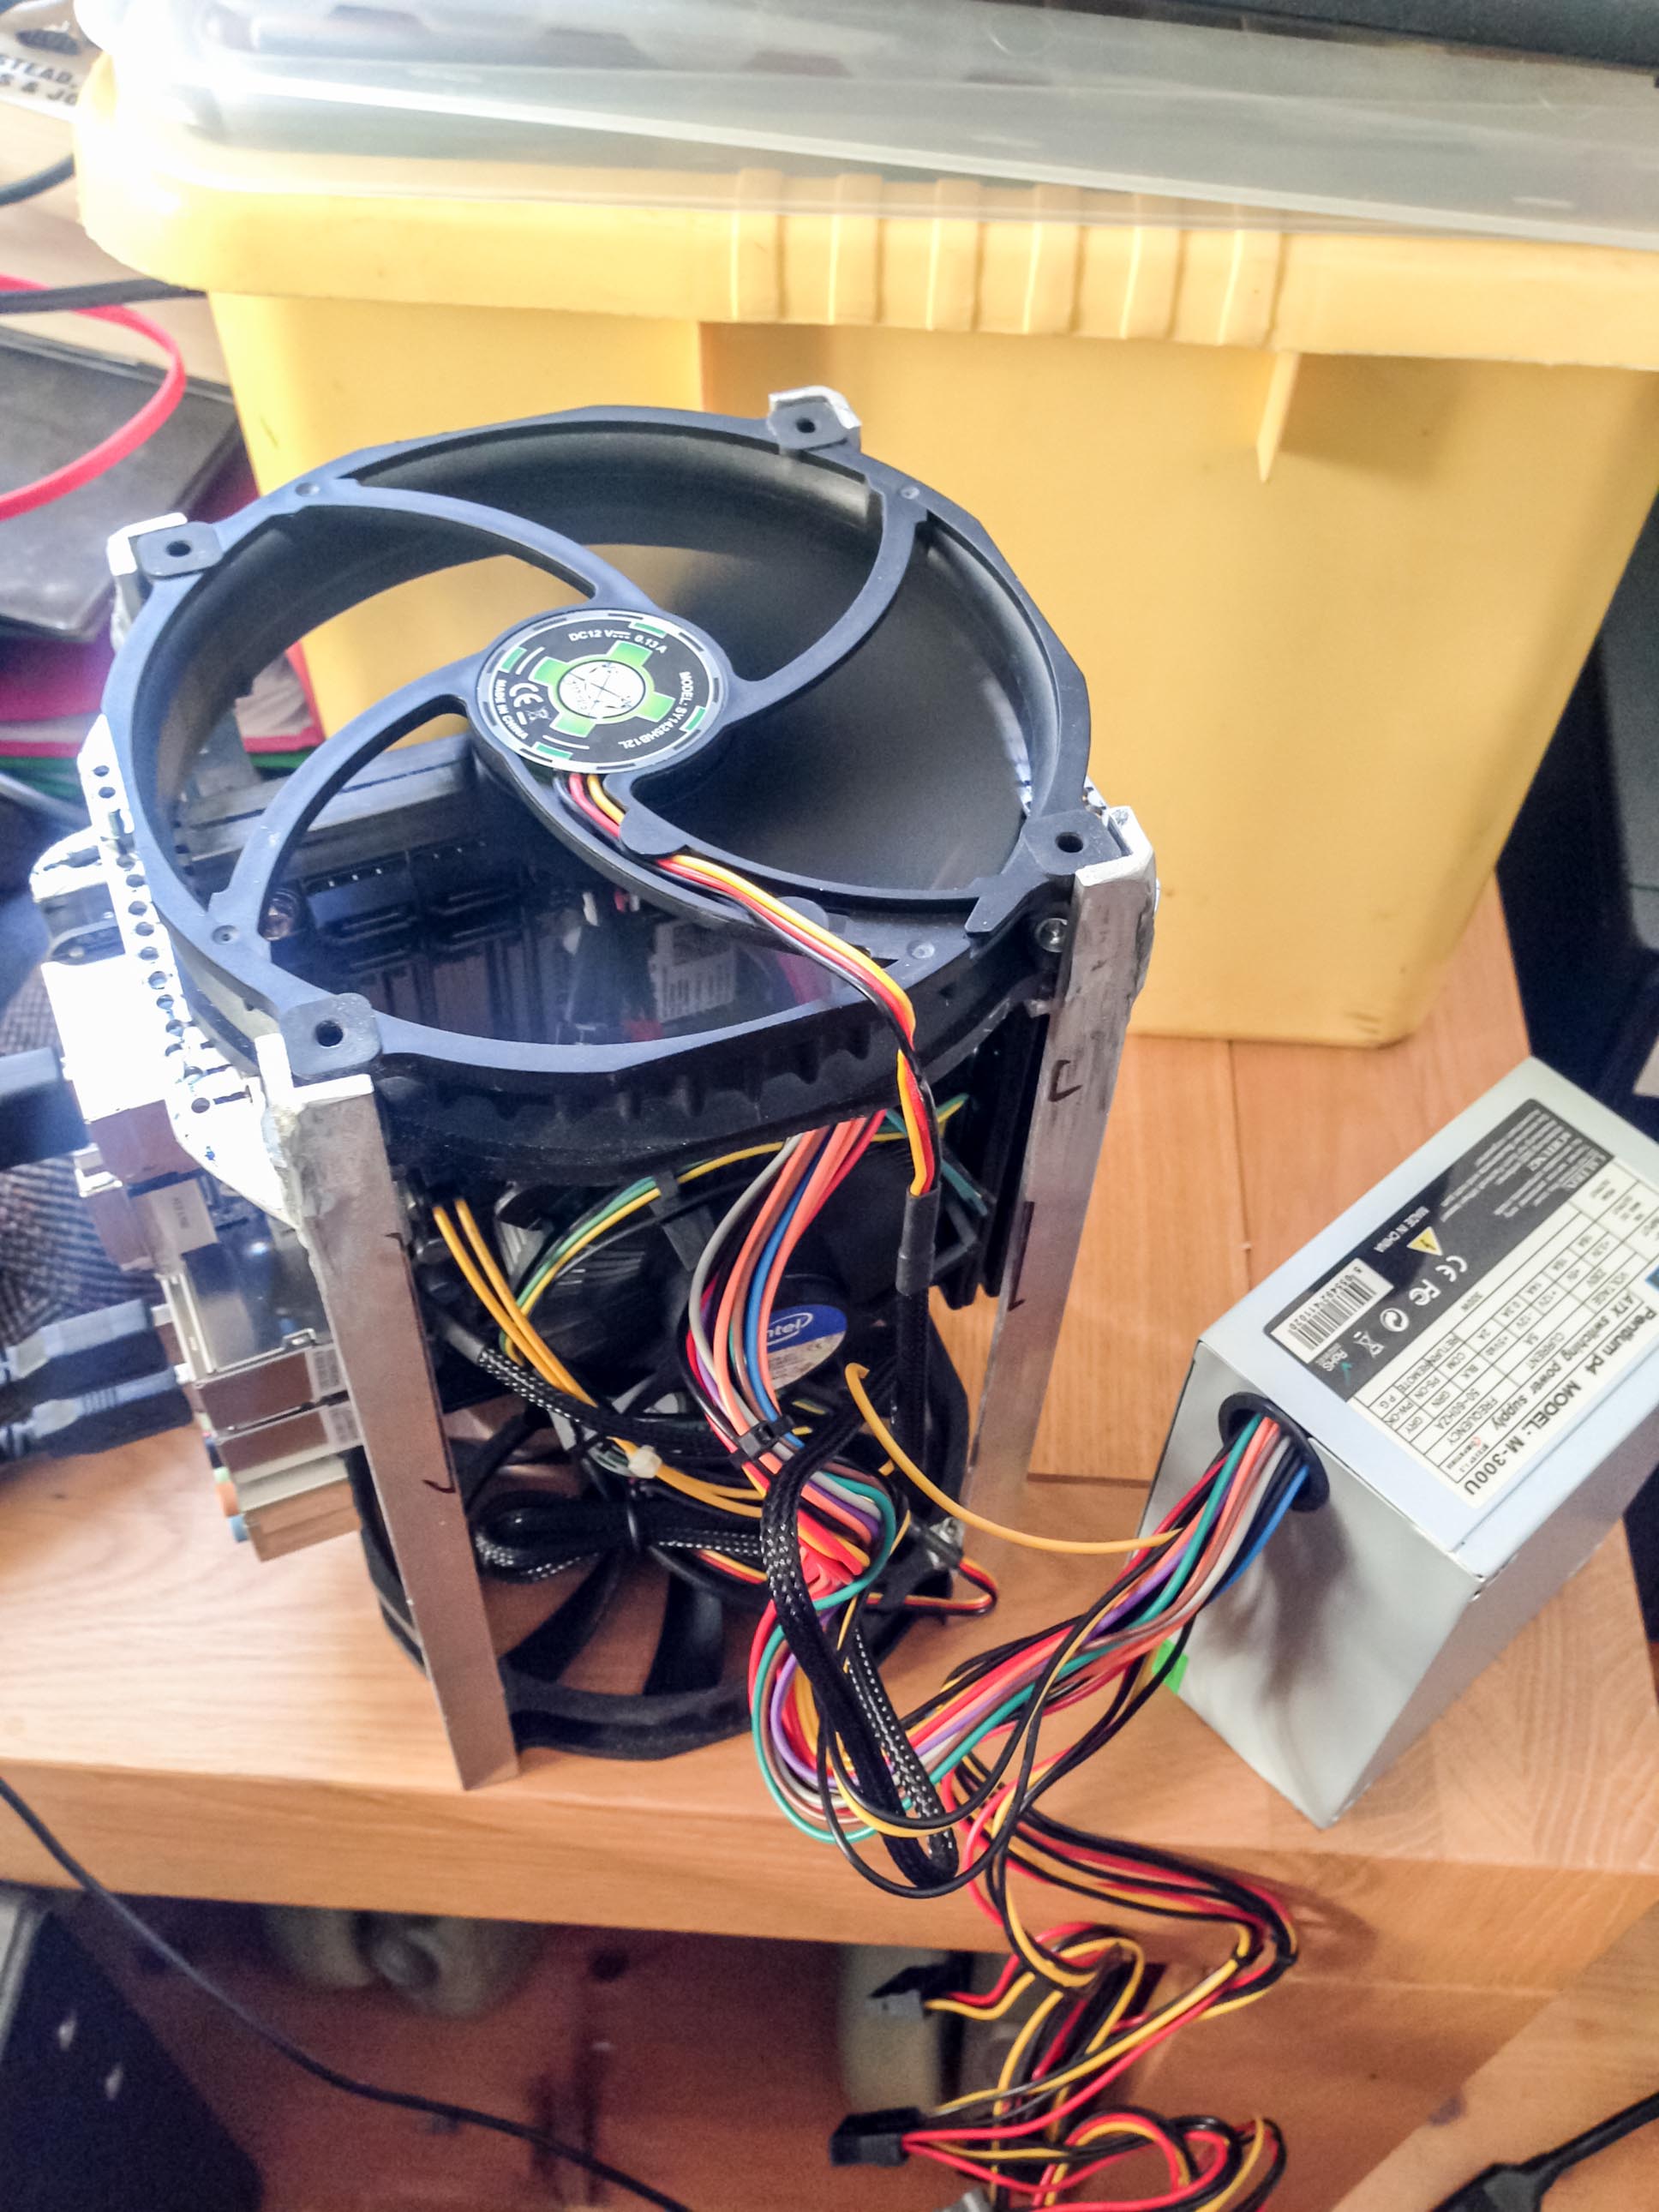
Initial bench test using external PSU. No sparks!
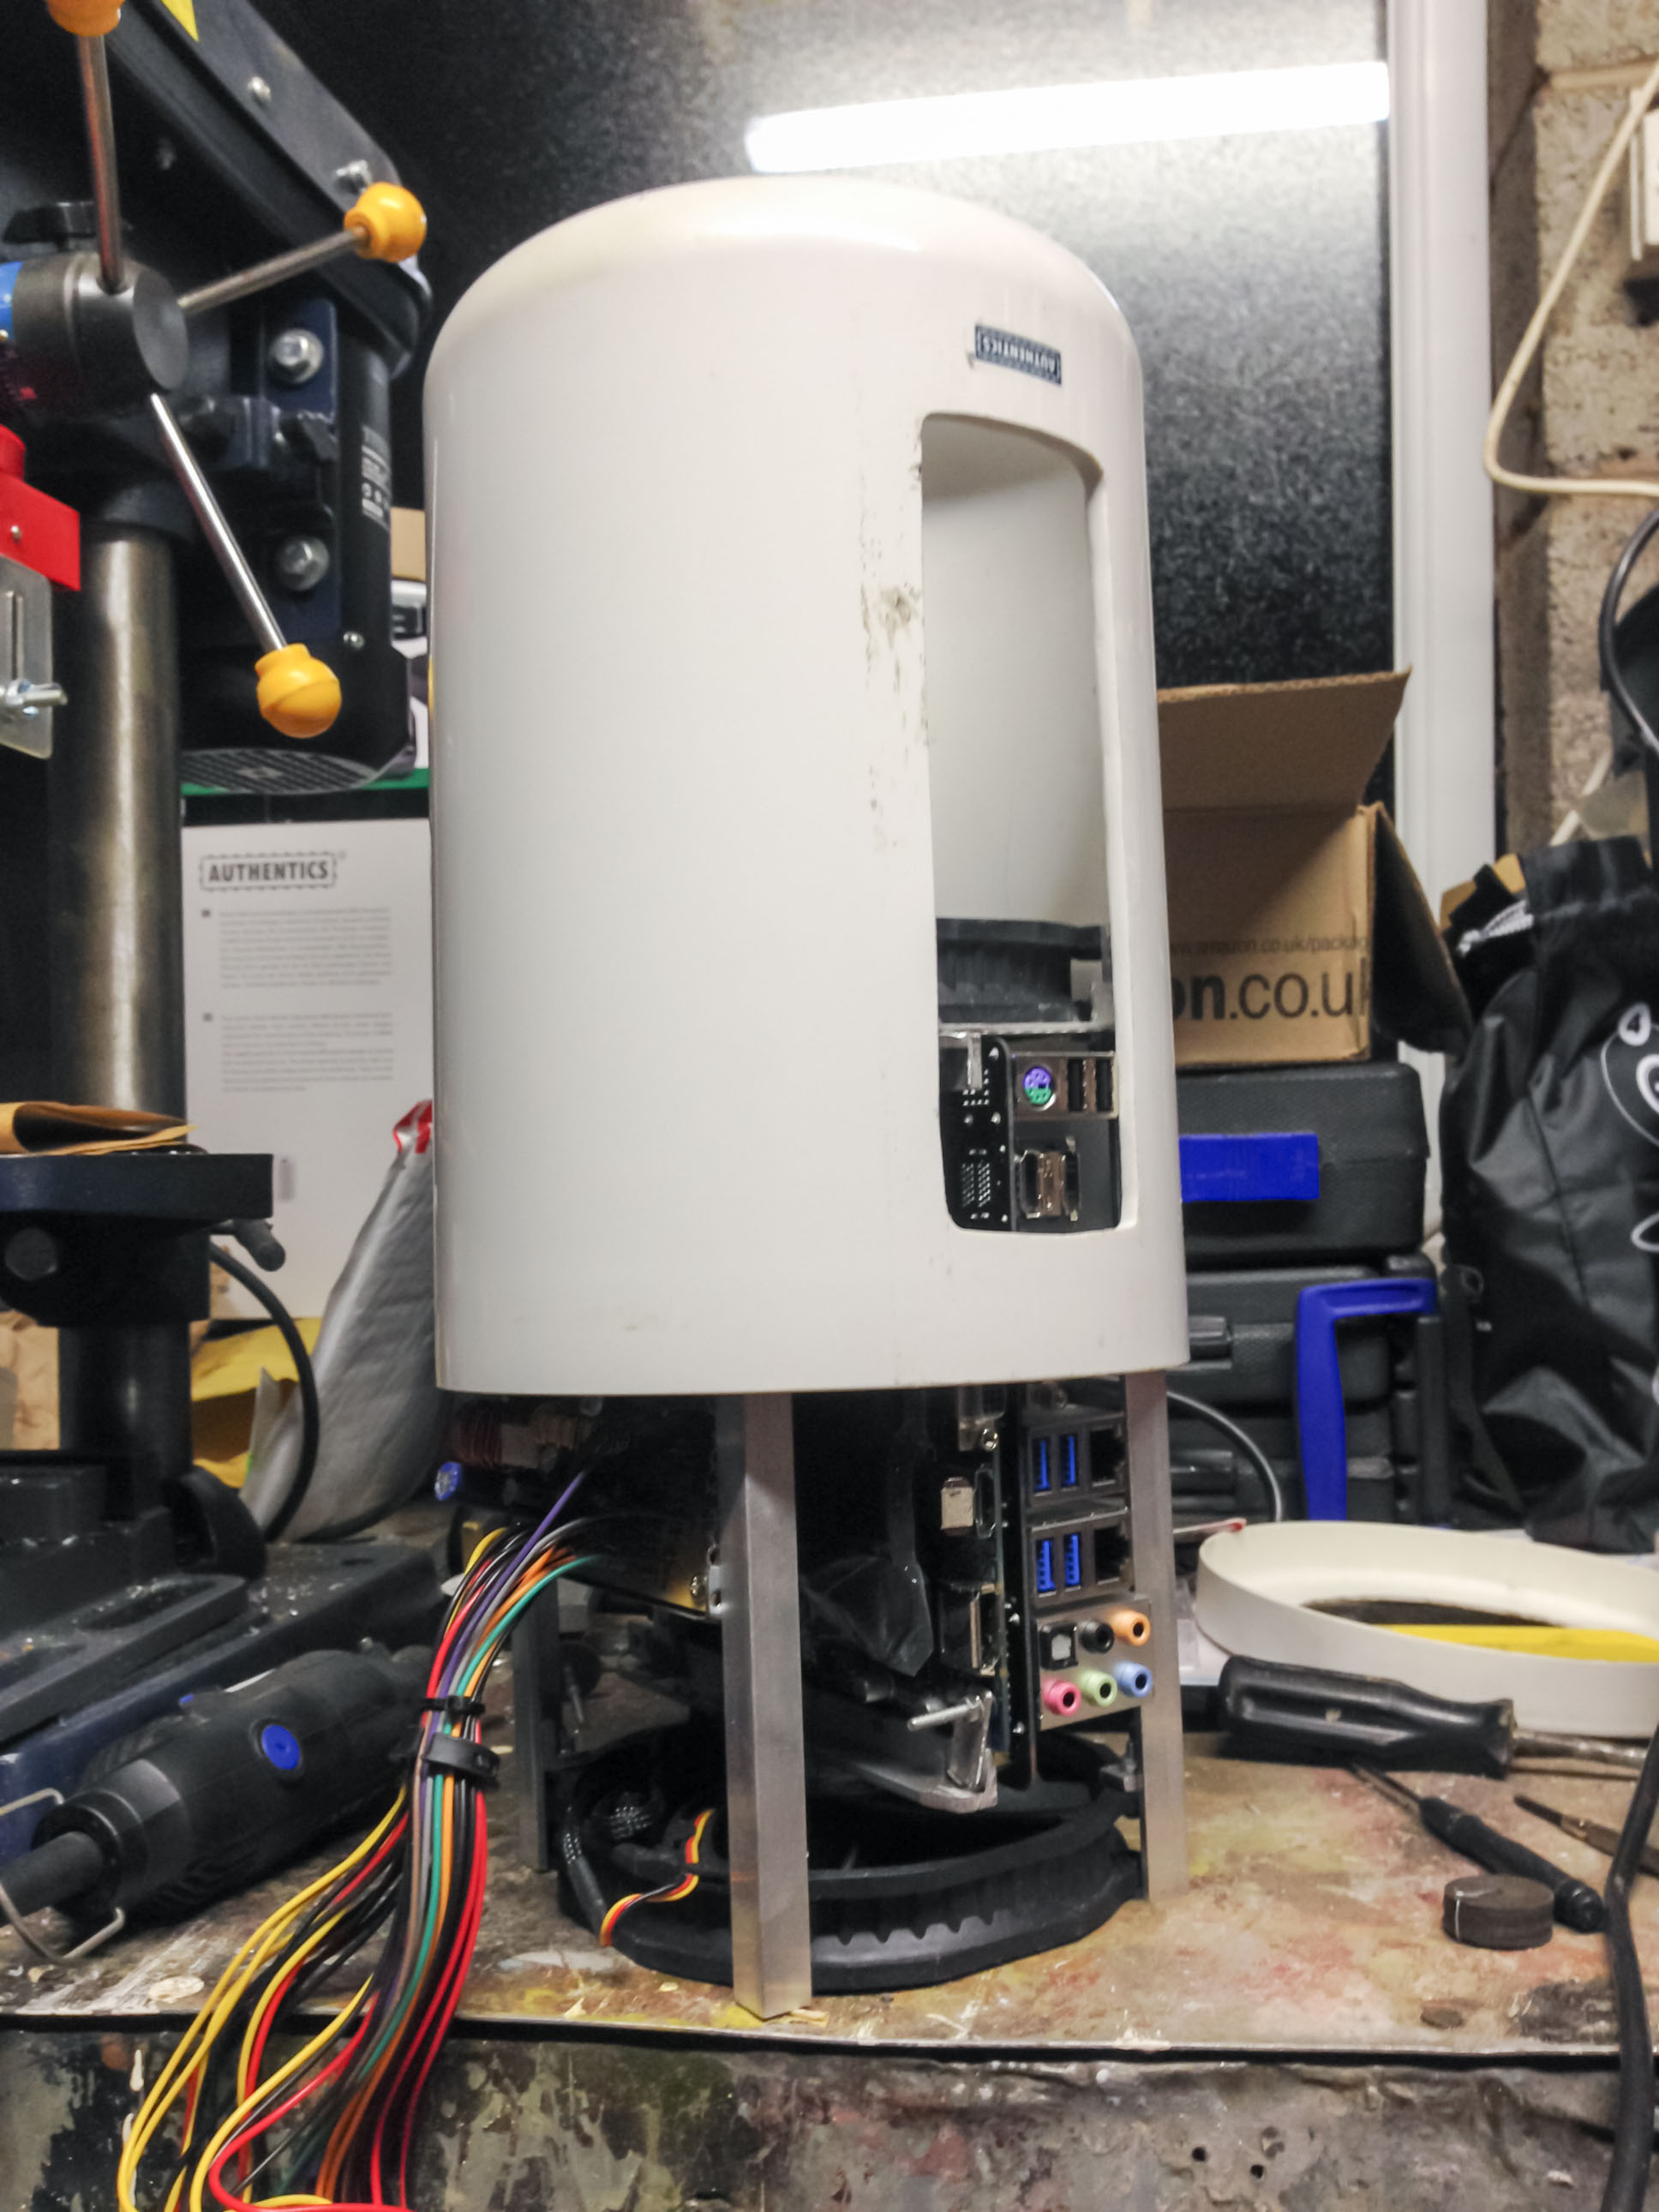
Struggle to get the case over with PSU in current place.
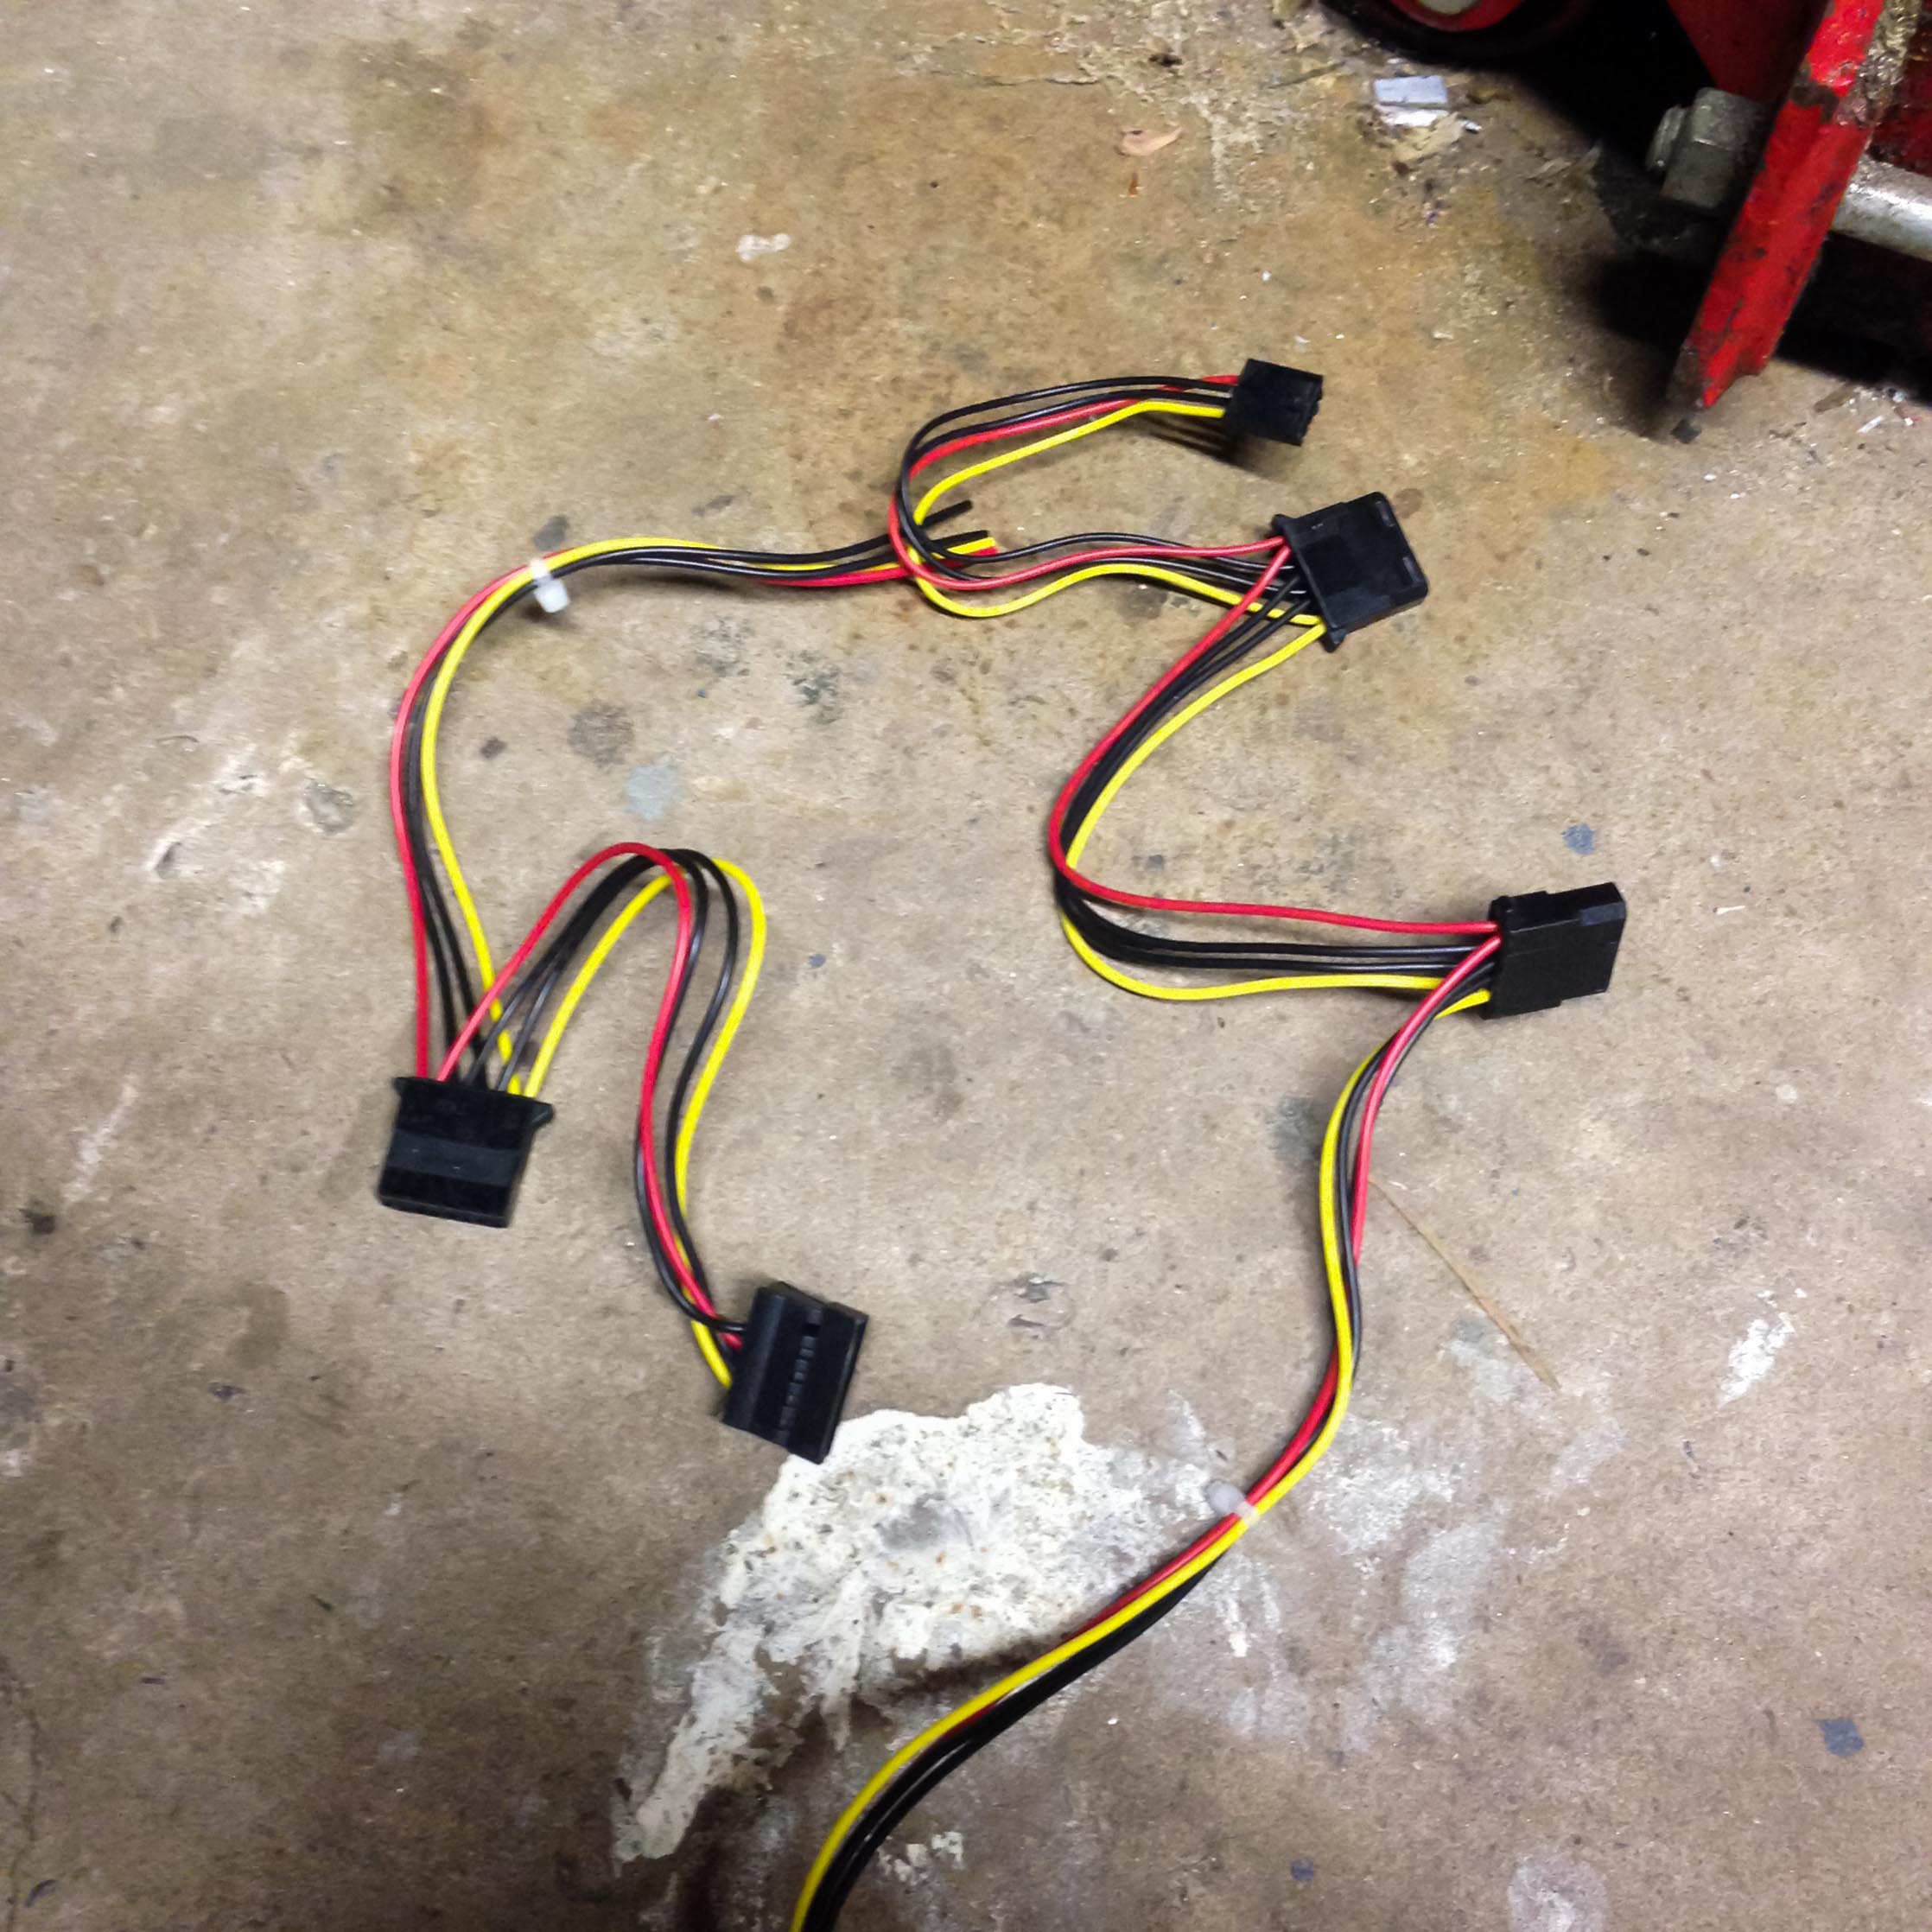
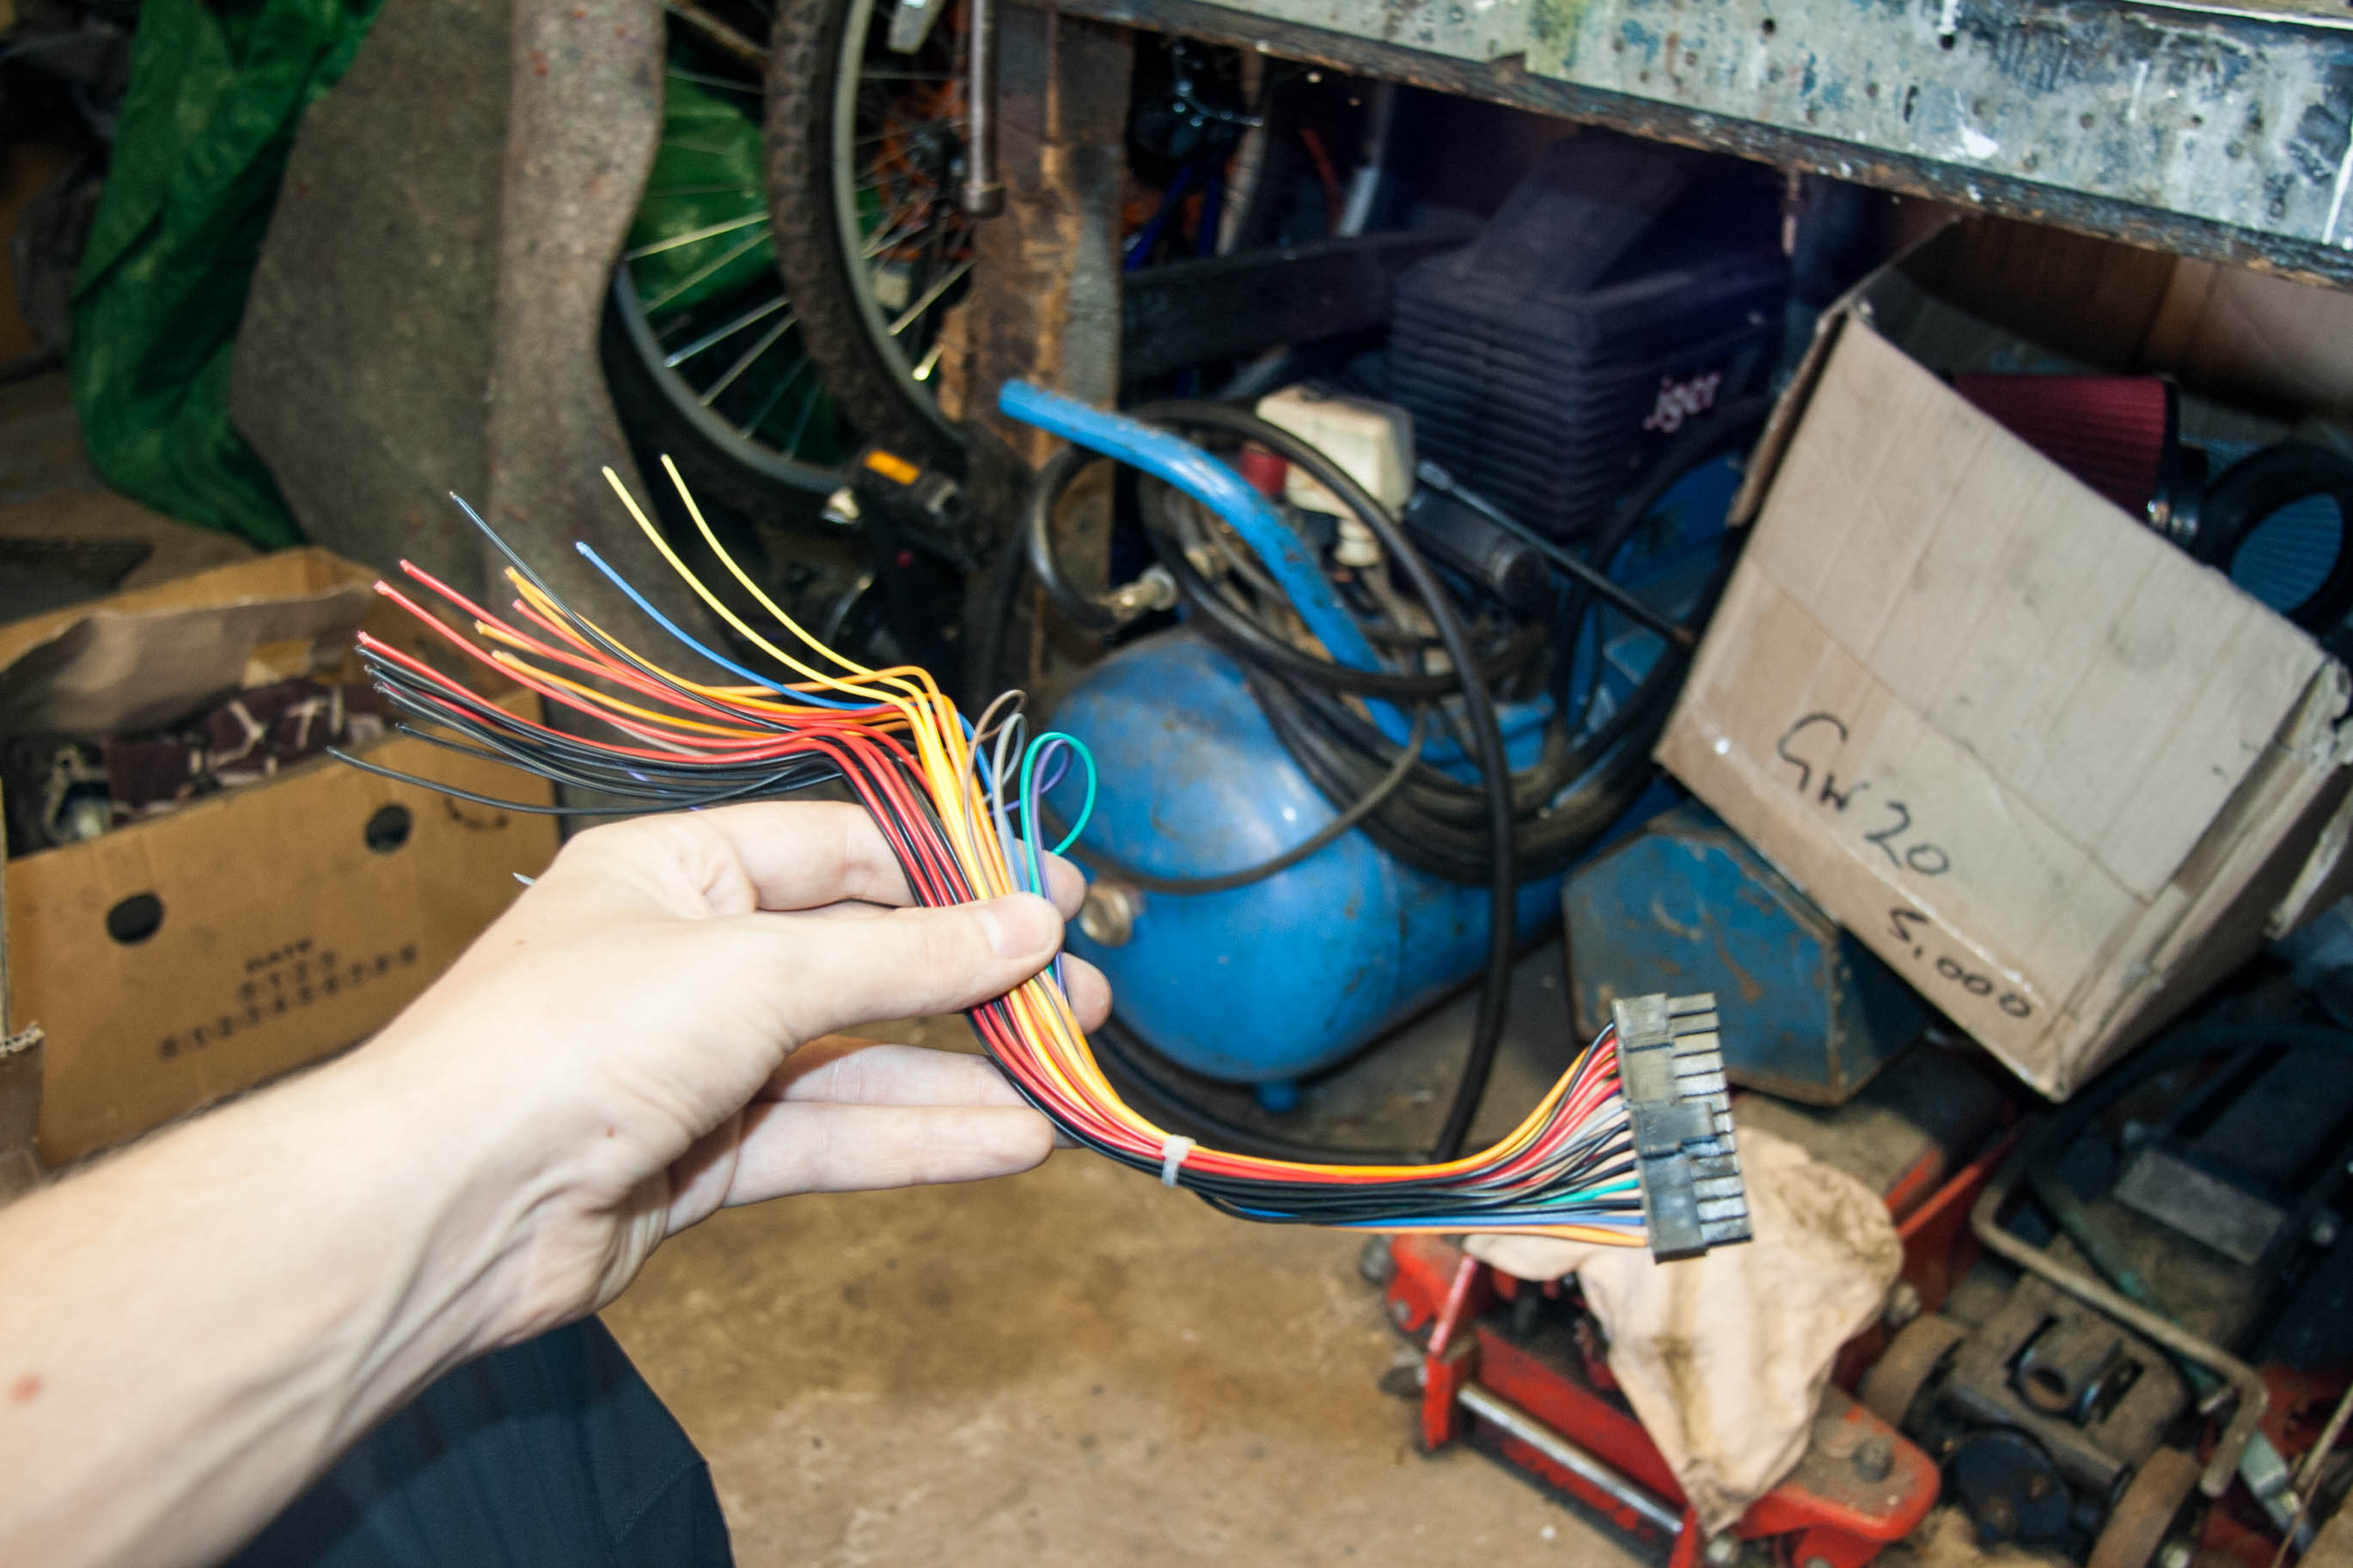
Removed unneeded cables.
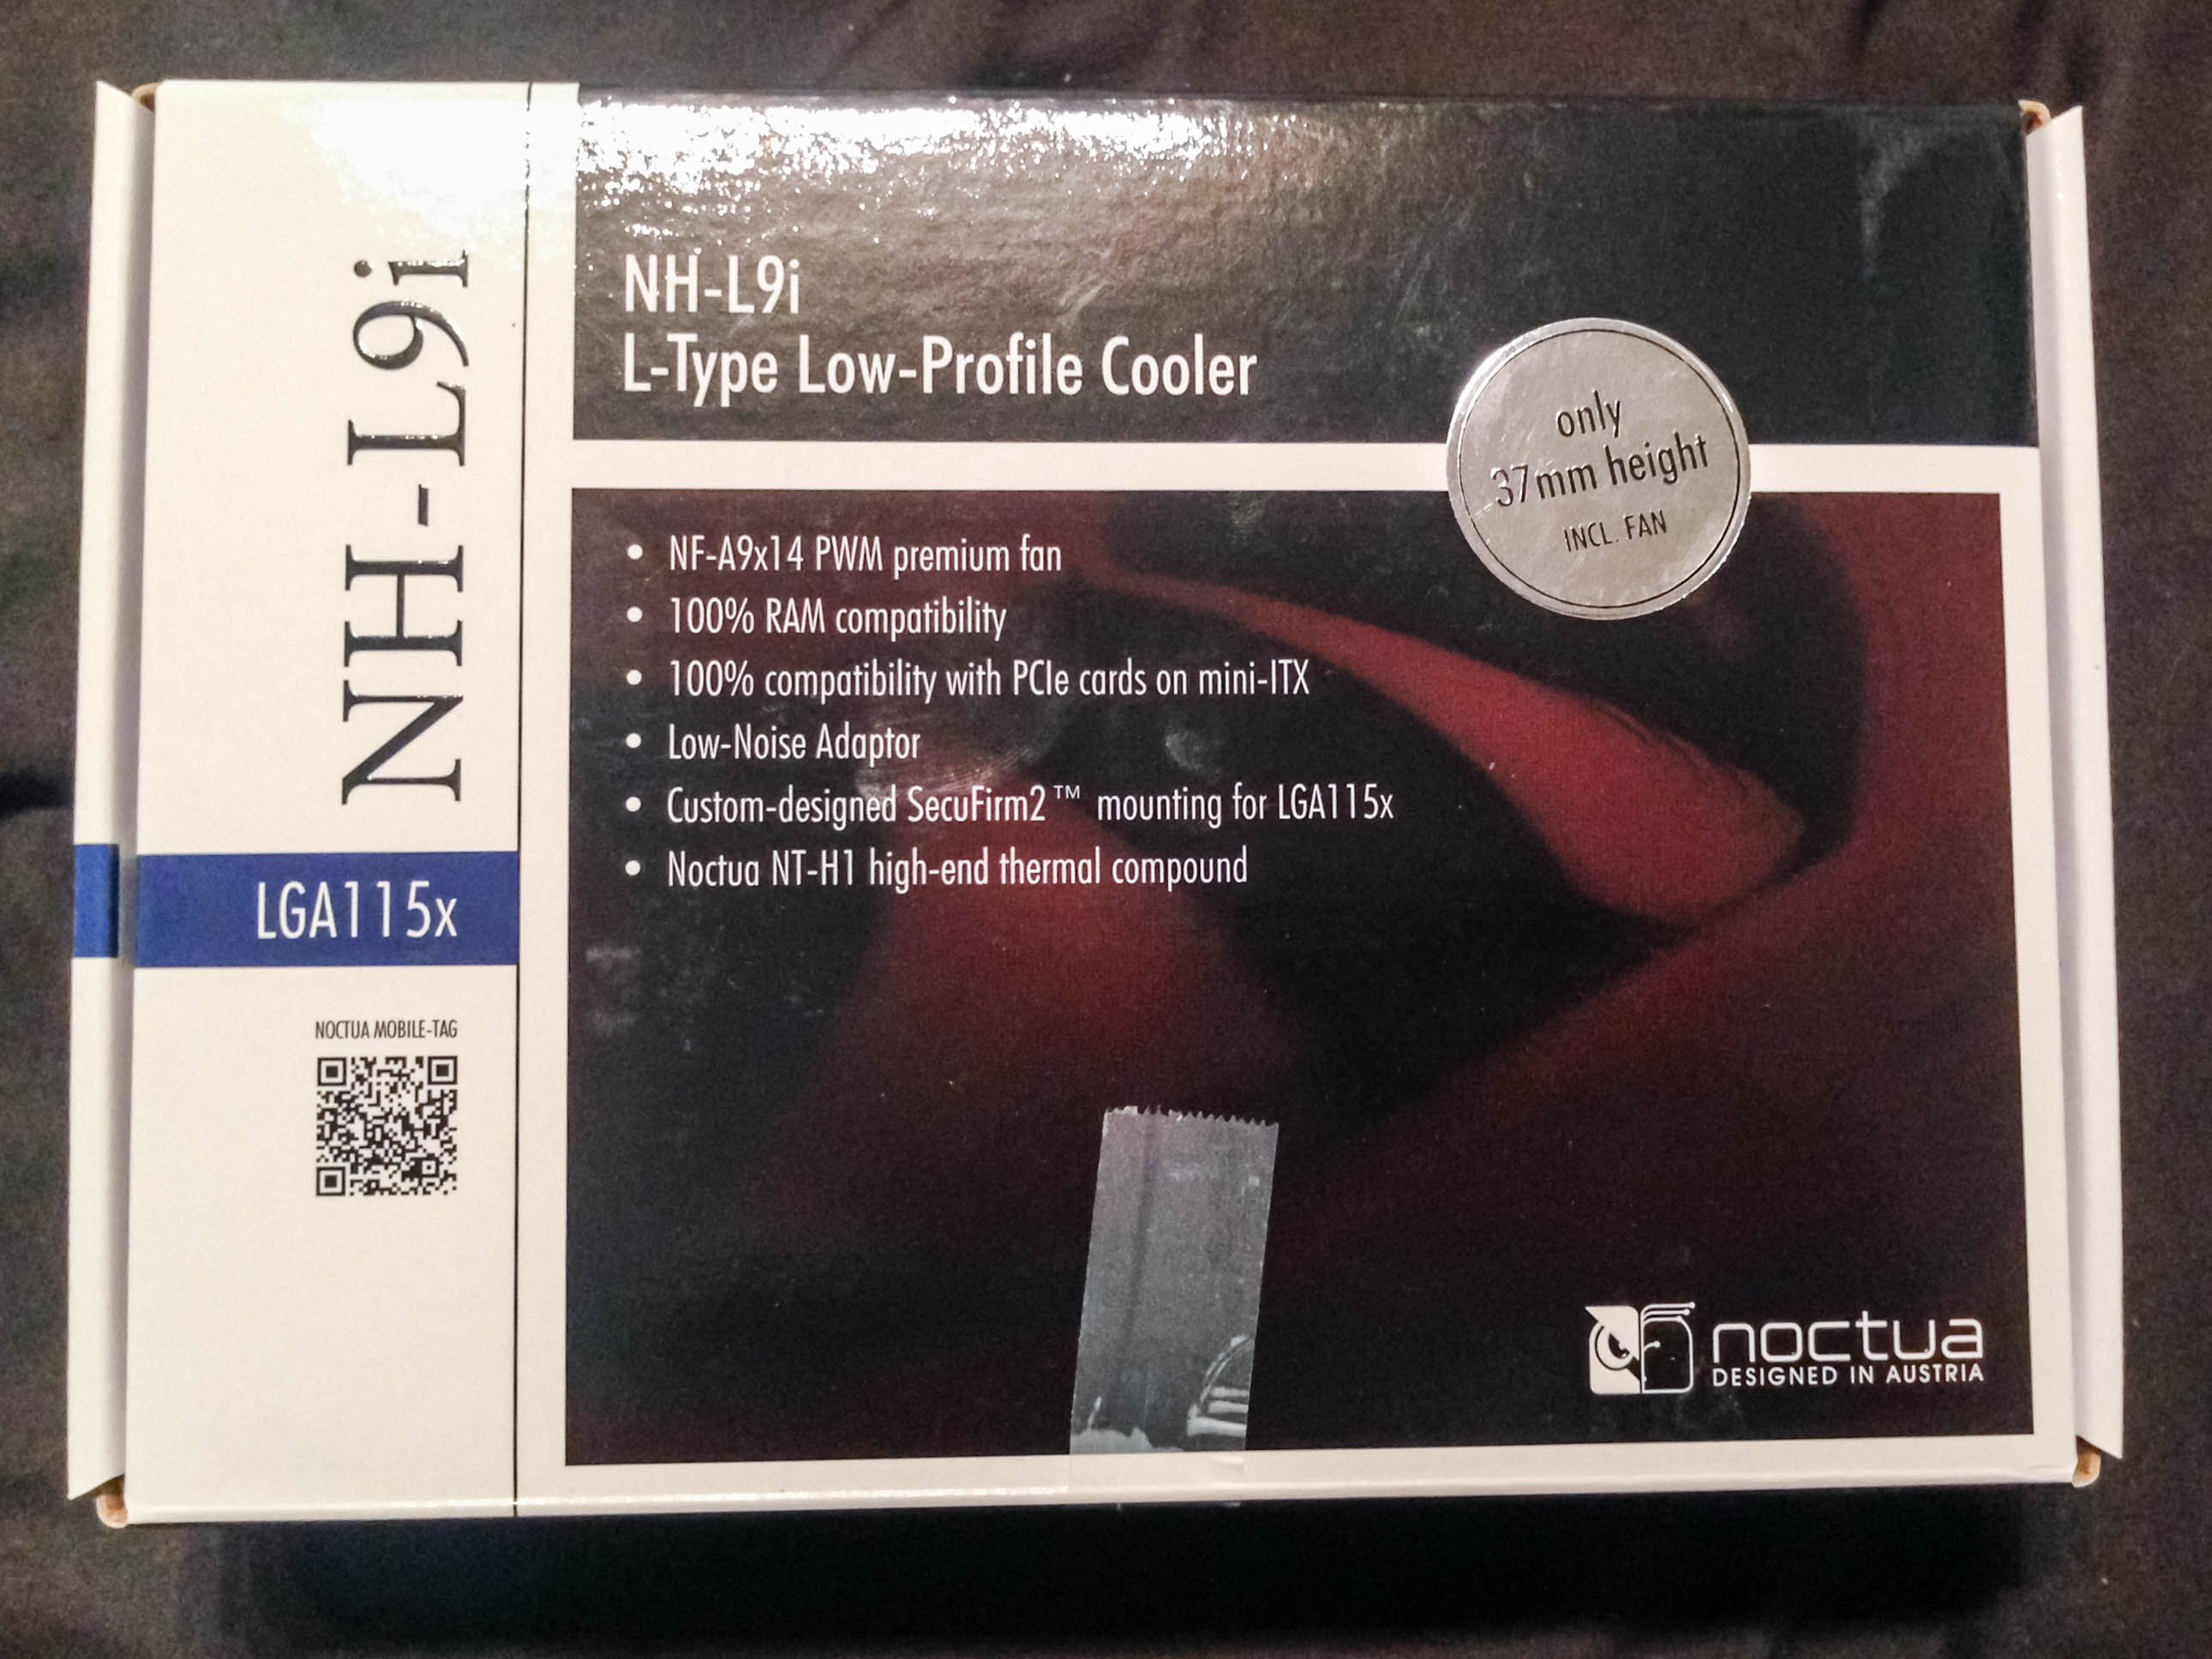
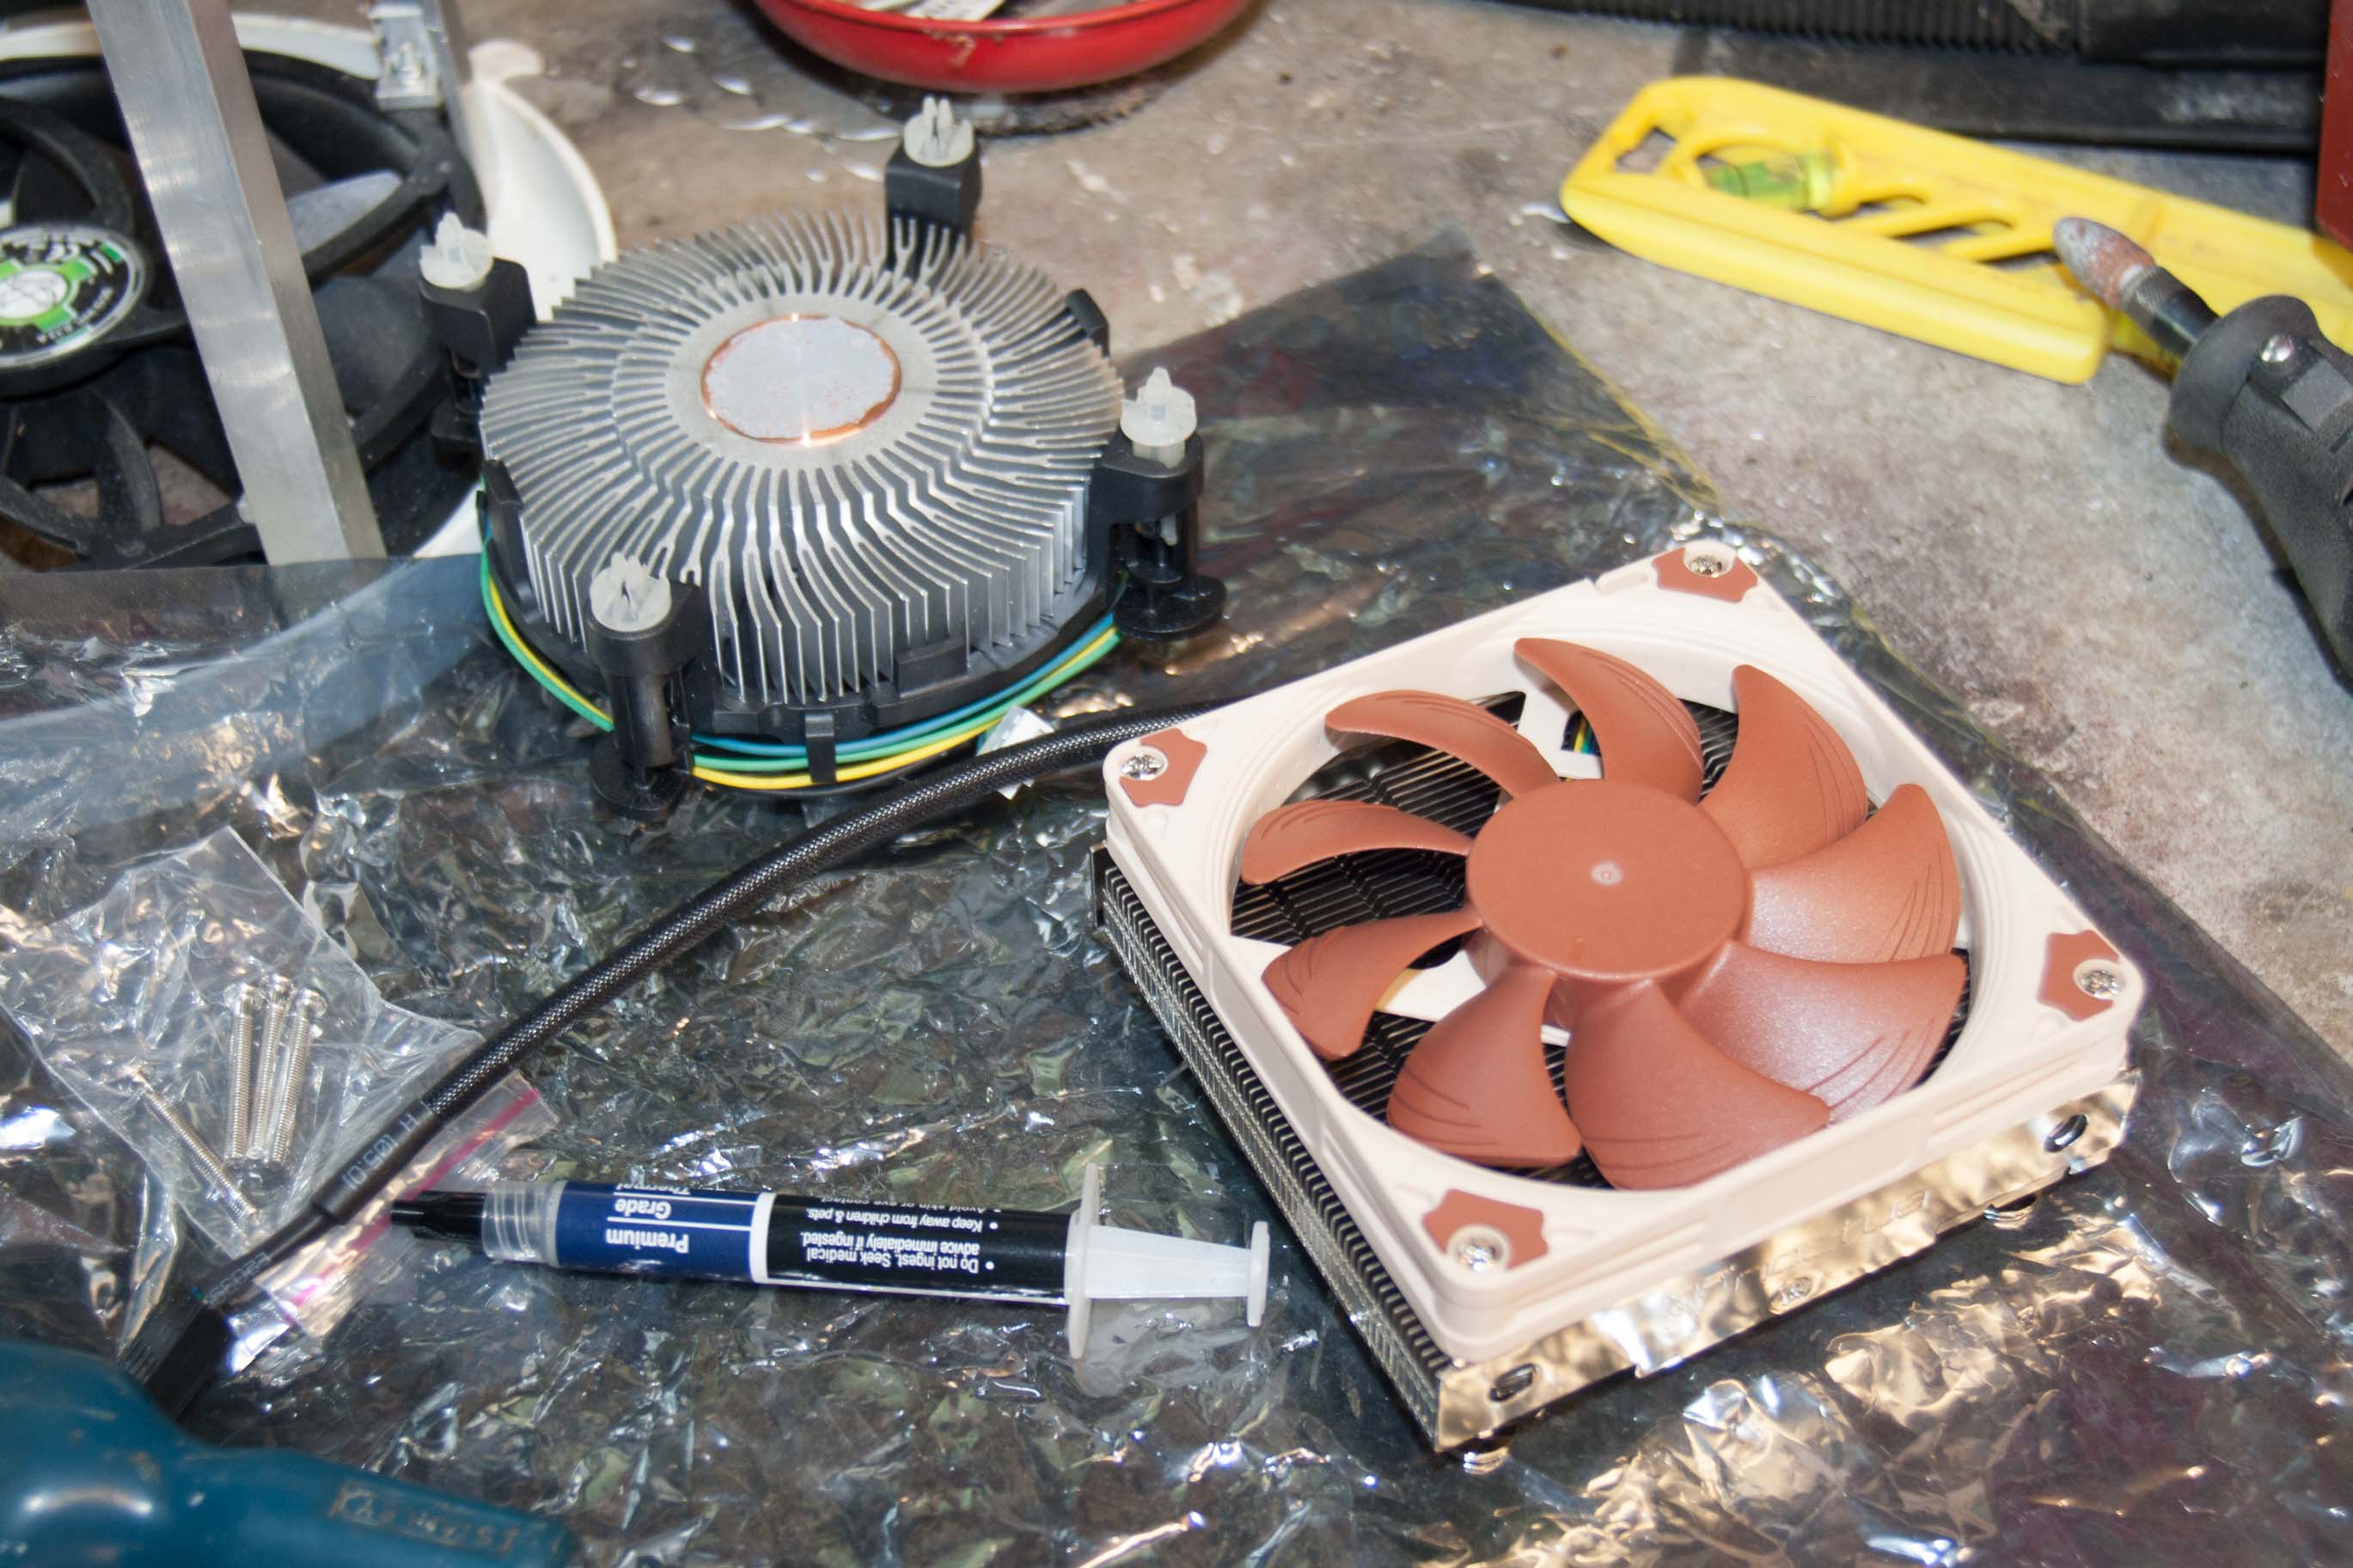
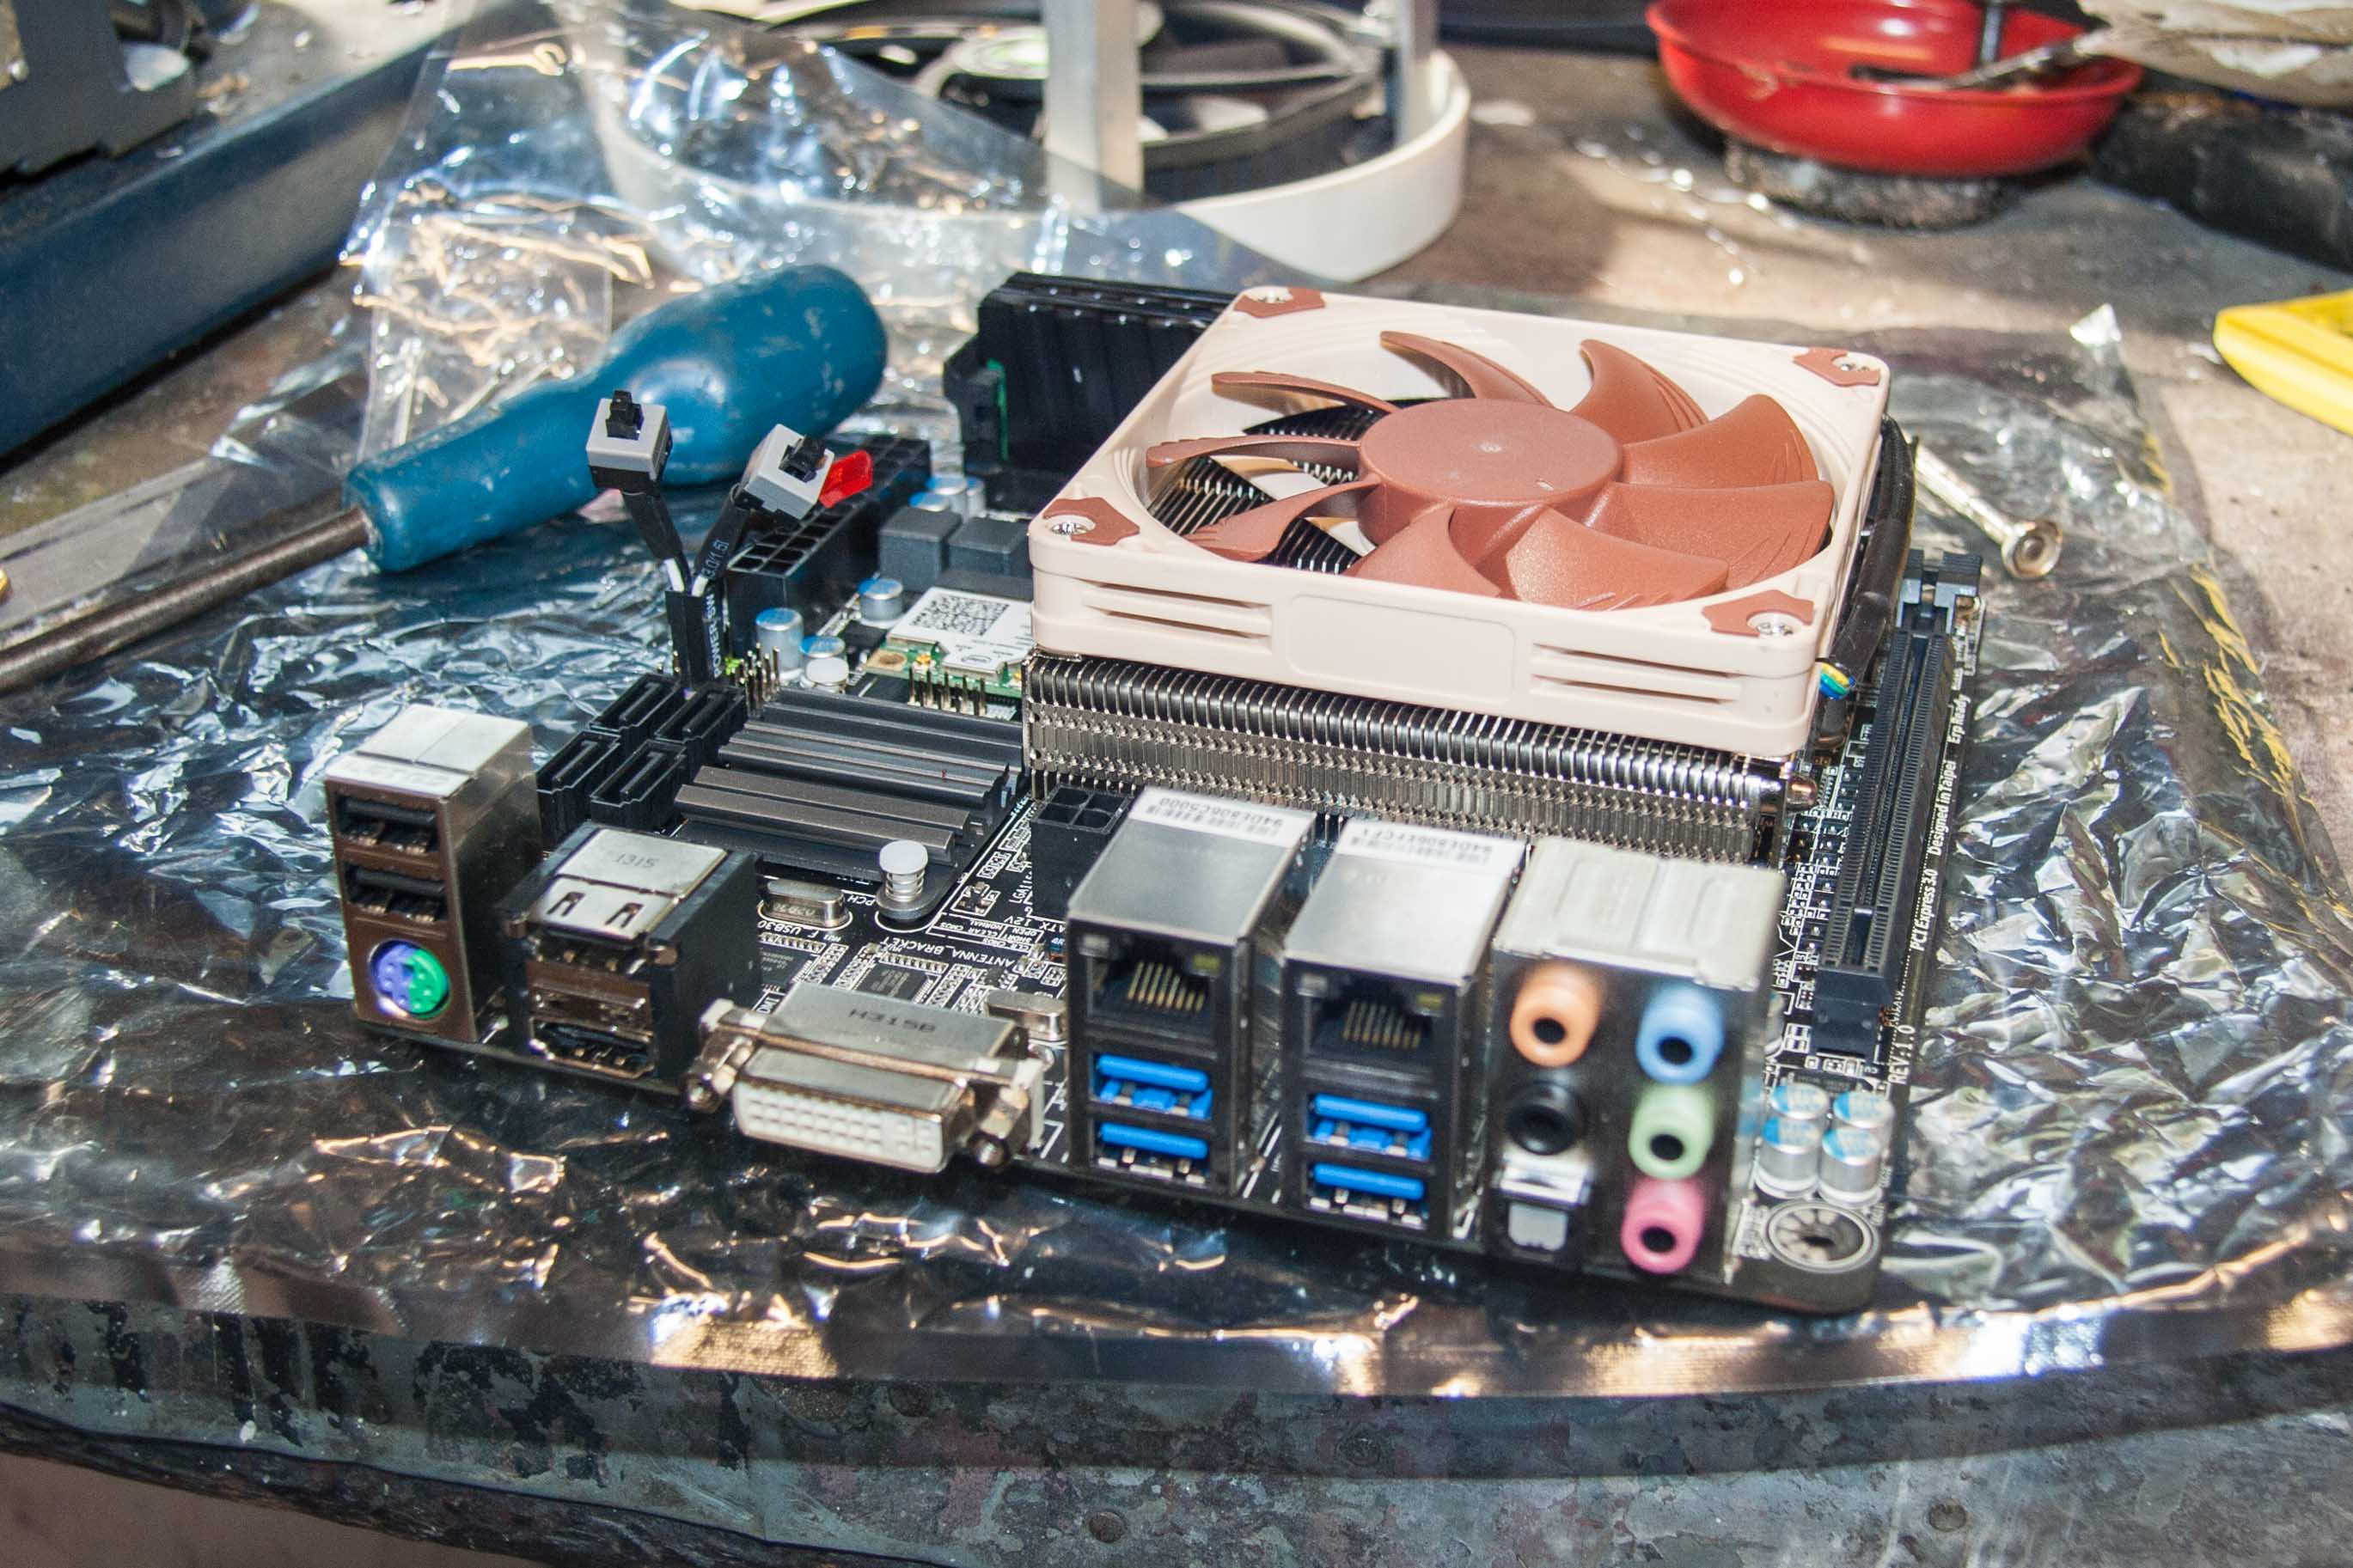
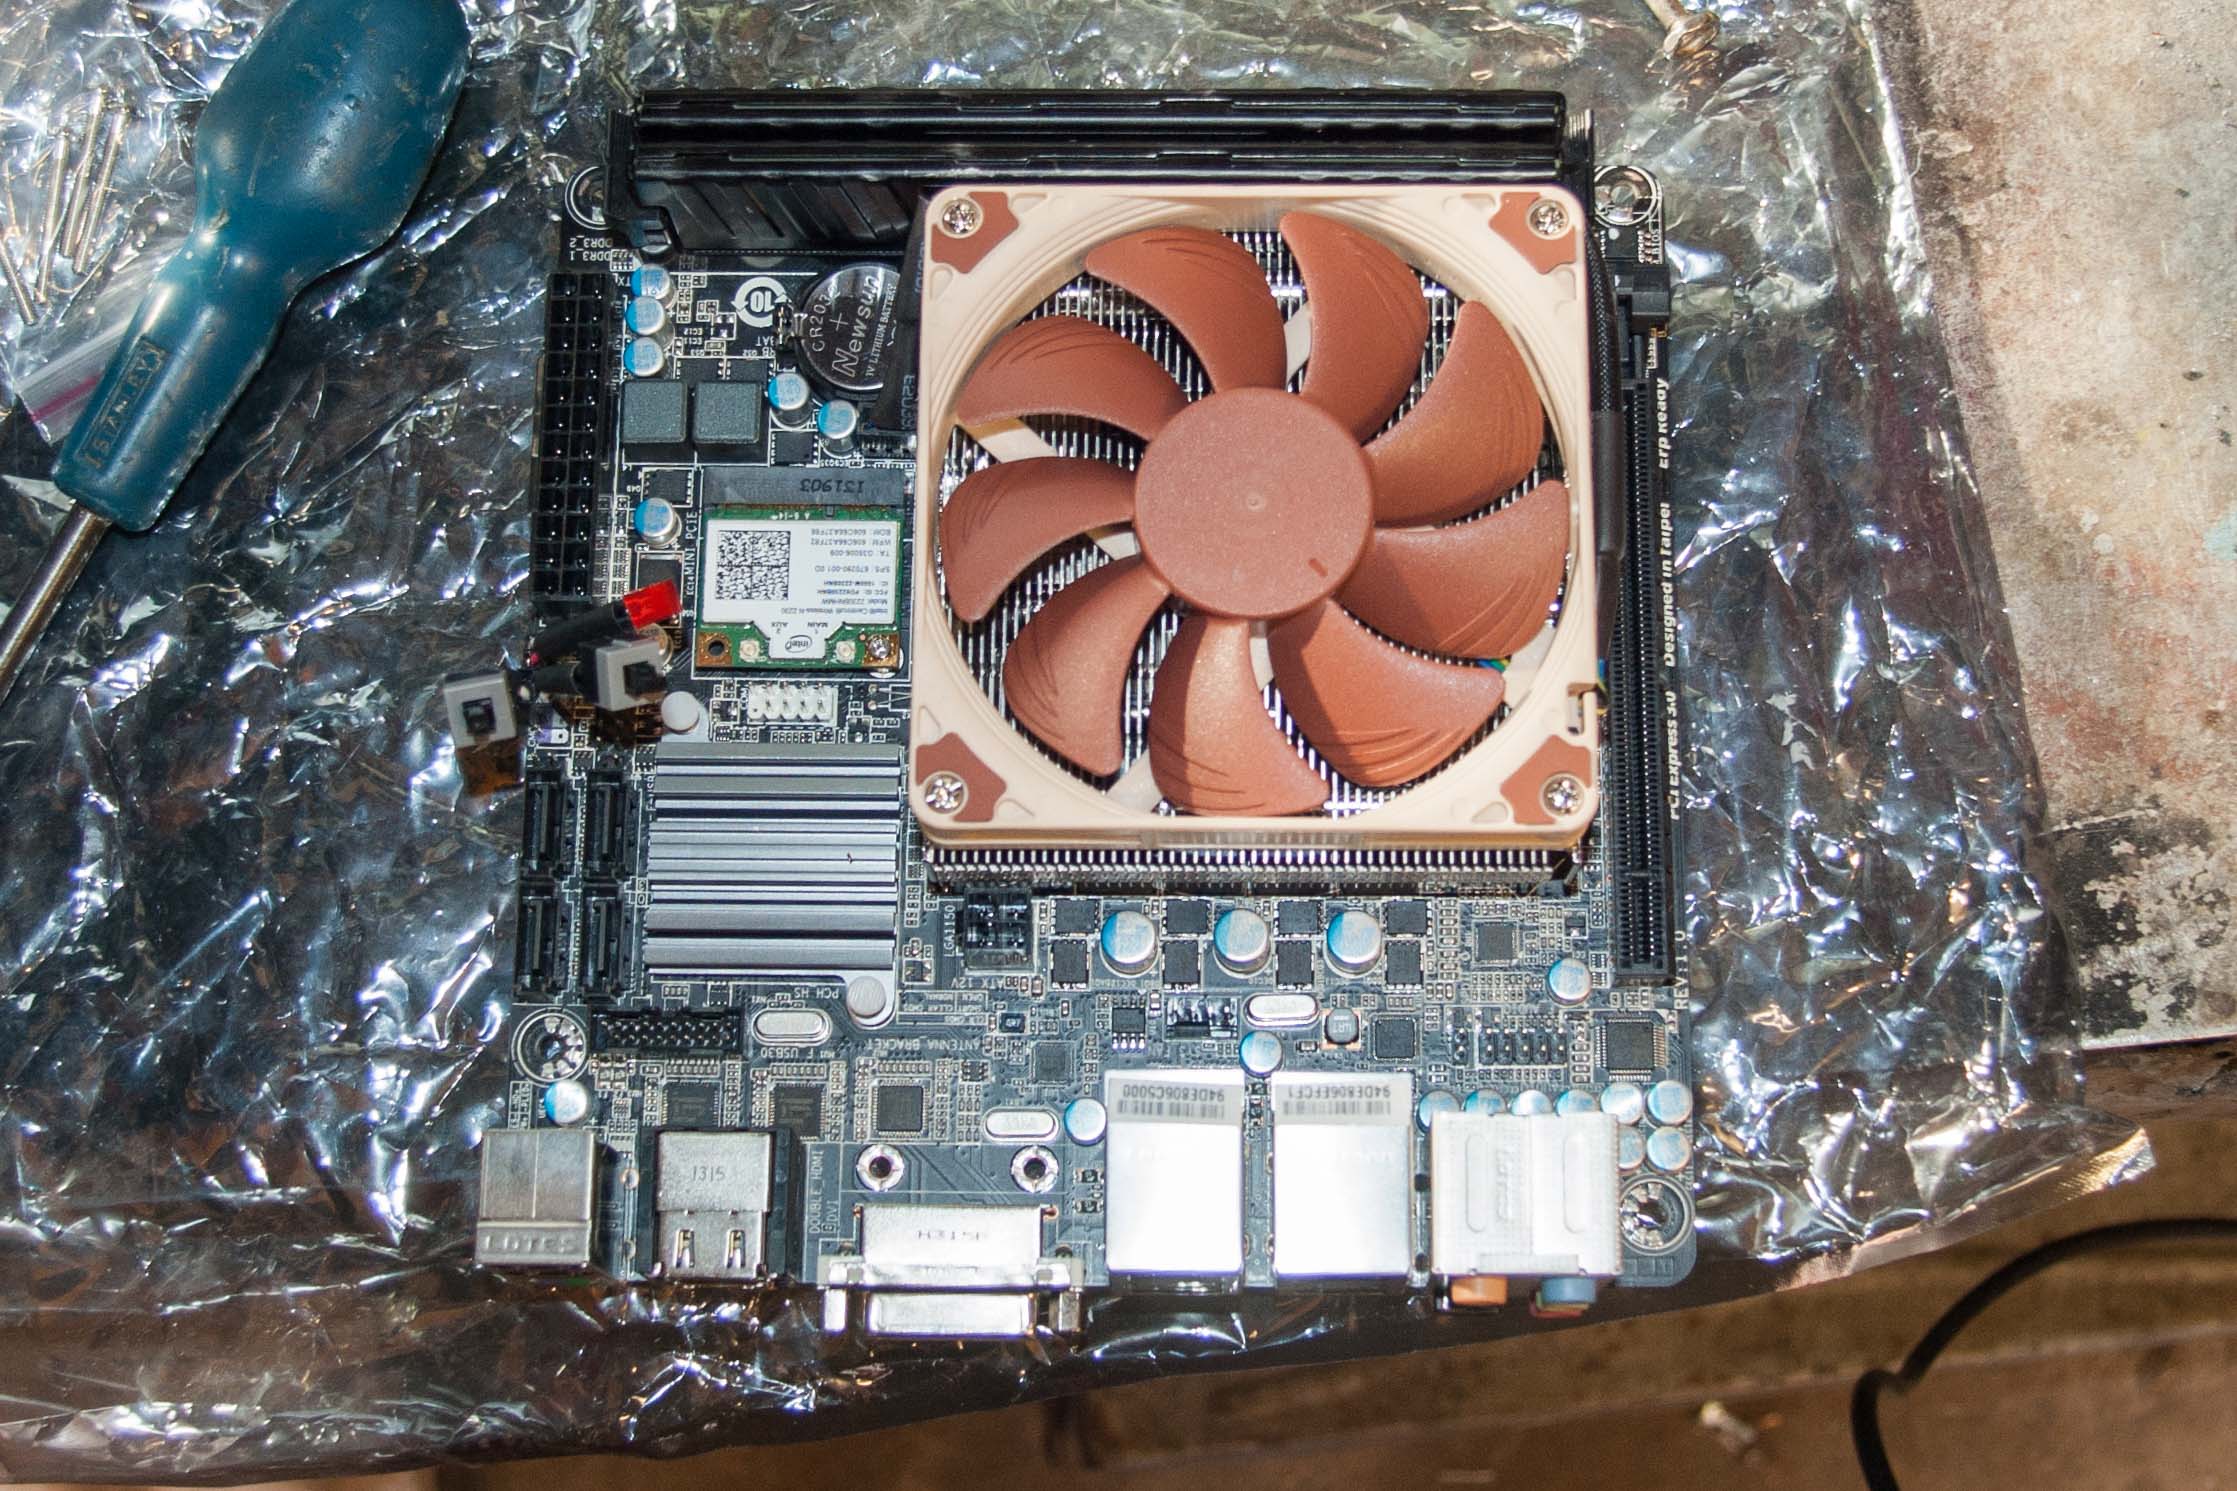
New low profile CPU cooler should allowed relocation of PSU.