Categories
Tech

Auto-starting guest VM’s using Virsh

Running this command for each individual VM, will ensure that they are automatically started and suspended when starting up and shutting down your server.

Enable autostart for VM.

sudo virsh autostart guest-vm-name

Disable autostart for VM.

sudo virsh autostart --disable guest-vm-name

Kind of a nice feature that the VMs are automatically suspended and restored when you need to restart, meaning the VMs will resume to their previous state before you restarted.. as if nothing ever happened.

Categories
Tech

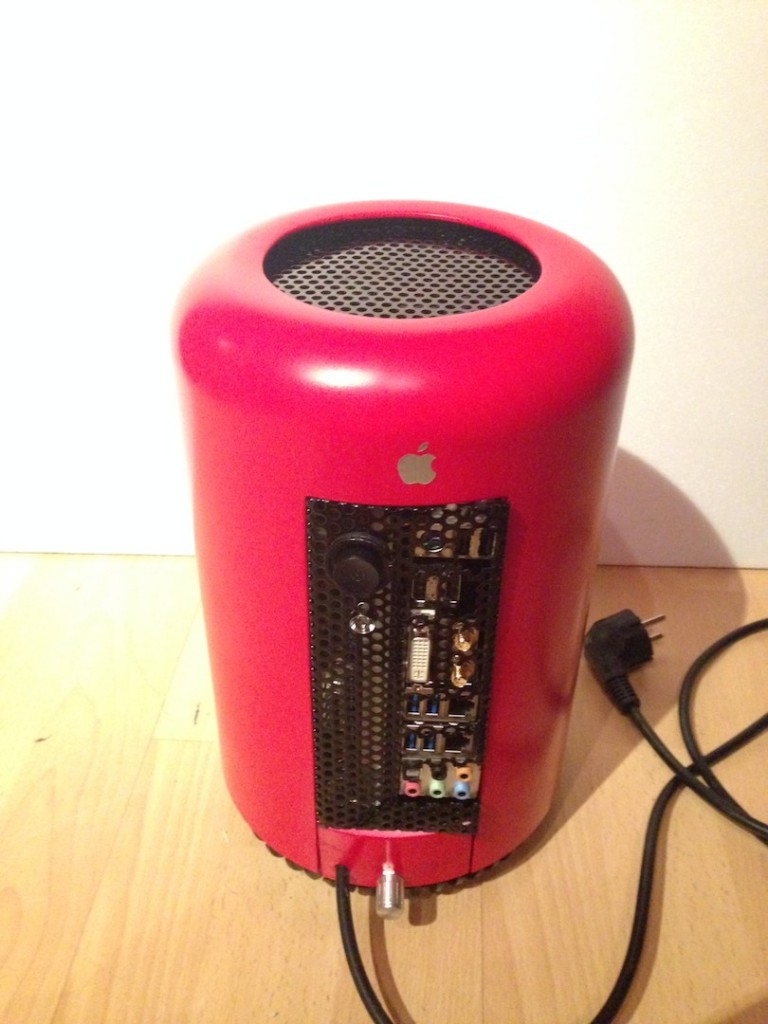
New Hackintosh – Hack Pro (Late 2013)

A work colleague shared with me a link that he found on Tonymac86 (Hackintosh Forums) where some clever guy had found a bin that was of similar shape and size to the new Late 2013 Mac Pro, and had thrown a mini-ITX board inside combined with an i3 CPU…

It's a good effort, but I'm sure I can do better.
It’s a good effort, but I’m sure I can do better.

From undertaking all the project and design work on my car last year, I know the key for success in a design and build project such as this is PLAN, PLAN and MORE PLANNING!!!..

Pick up a pencil first, before you reach for the saw

You need to start drawing/thinking/working out how you are going to do things from the moment you make that mental commitment to undergo the task. Until you have a clear enough picture within your head about how things are going to fit together, you don’t even touch the toolbox.

That is exactly what I will be doing. Nothing will be ordered for this build until the plans are in good shape.

Categories
Tech

SSD Hackintosh: SATA III 6Gb/s working on Gigabyte GA-X58A-UD3R

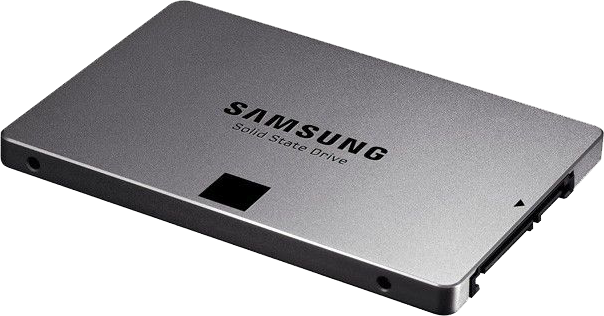
Samsung 840 EVO

It’s really frustrating to have a high-spec computer and for it to feel slow and sluggish as time goes on. Modern desktops and laptops still outperform the computing capability of smartphones and tablets, however I can’t deny that I find myself reaching for my iPhone more often than not when wanting to access the Internet. This is simply just because browsing the web on a device that utilises flash memory provides a faster and more responsive experience, rather than hanging around like a spanner waiting for things to load.

Drive manufactures have really changed the game when it comes to drive latency, with the use of non-volatile NAND flash memory as storage devices. Solid state drives as they have come to be known, aka SSD’s, utilise flash memory instead of spinning platters found in traditional hard disk drives (HDD’s). This results in SSD’s having extremely fast read and write speeds that even the fastest traditional HDD’s simply cannot match. So the solution is to swap out the existing SATA HDD for a SSD equivilent.

So recently my Hackintosh was feeling a little slow, so I asked the rents’ nicely if I could have an SSD for Christmas as I didn’t know what else I wanted (my family firmly believes in practical christmas presents). So on Christmas day after opening a few presents I gladly came across a Samsung SSD 840 EVO 120 GB with my name on 😉 as well as a professional series soldering iron, iPhone alarm clock and electric coffee grinder (sadly, no car battery chargers or fire extinguishers this year).

After arriving back in London at the weekend, I installed the SSD into my Hackintosh in addition to the existing 3 HDD’s. I used the opportunity of the new OS install to upgrade from using OS X 10.8 Mountain Lion to the most recent 10.9 Mavericks. There are mixed reports on google whether the Gigabyte X58A-UD3R works with Mavericks, but I can confirm that it works without a hitch. All the usual areas of difficulty associated with Hackintosh installs work correctly; sound, sleep, graphics (EVGA Nvidia GTX 660 Ti 2GB), bluetooth and USB 3.

To my complete surprise I also noticed that the SATA III ports were now capable of running at the full speed of 6 Gb/s instead of the usual SATA II 3 Gb/s. I have tried the Samsung SSD using both speeds and I can report the following (Old HDD speeds also shown).

  • Samsung SSD 840 EVO using onboard Intel SATA II – 270 MB/s read / 230 MB/s write
  • Samsung SSD 840 EVO using onboard Marvell SATA III – 390 MB/s read / 230 MB/s write
  • Samsung HHD HD103SJ using onboard Intel SATA II – 43 MB/s read / 43 MB/s write

My HackPro now turns on in just a few seconds (once past the boot loader), which is just FAB!.
Categories
Tech

Preserve original host IP via Apache reverse proxy using mod_extract_forwarded in CentOS

Using Apache as a reverse proxy can cause difficulty when reviewing backend web server logs. The default Apache server configuration will incorrectly log the reverse proxy host as being the origin IP address, instead of the actual IP that sent the request. Luckily there is a pretty simple fix to this using the Apache module mod_extract_forwarded. Using this module is much simpler and easier to install than using the alternative method using the mod_rpaf module.

This guide focuses on Apache installations running on CentOS, however the configuration will be applicable to other Redhat distros too.

First ensure that you have the EPEL repository installed and configured. See here

Install the mod_extract_forwarded Apache module

sudo yum install mod_extract_forwarded

Edit the mod_extract_forwarded.conf, uncomment the MEFaccept line and replace the sample IP addresses with your own reverse proxy IP.

sudo vi /etc/httpd/conf.d/mod_extract_forwarded.conf

Restart Apache to take effect and verify the module is loaded.

sudo service httpd restart
yum list installed | grep forward 
Categories
Tech

Install EPEL repository on CentOS 5.x or 6.x

In order to install extra packages like PHP, MySQL and other cool stuff in RHEL based distros like CentOS, it’s usually a pretty good idea to configure Yum to make use of the EPEL repository. EPEL stands for Extra Packages for Enterprise Linux.

CentOS 5.x

wget http://dl.fedoraproject.org/pub/epel/5/x86_64/epel-release-5-4.noarch.rpm
sudo rpm -Uvh epel-release-5*.rpm
rm epel-release-5*

CentOS 6.x

wget http://dl.fedoraproject.org/pub/epel/6/x86_64/epel-release-6-8.noarch.rpm
sudo rpm -Uvh epel-release-6*.rpm
rm epel-release-6*

The rm command at the end is optional, it just removes the downloaded .rpm file as it’s no longer needed.

Output from running the command below will verify a successful installation.

ls -1 /etc/yum.repos.d/epel*

As so..

/etc/yum.repos.d/epel.repo
/etc/yum.repos.d/epel-testing.repo